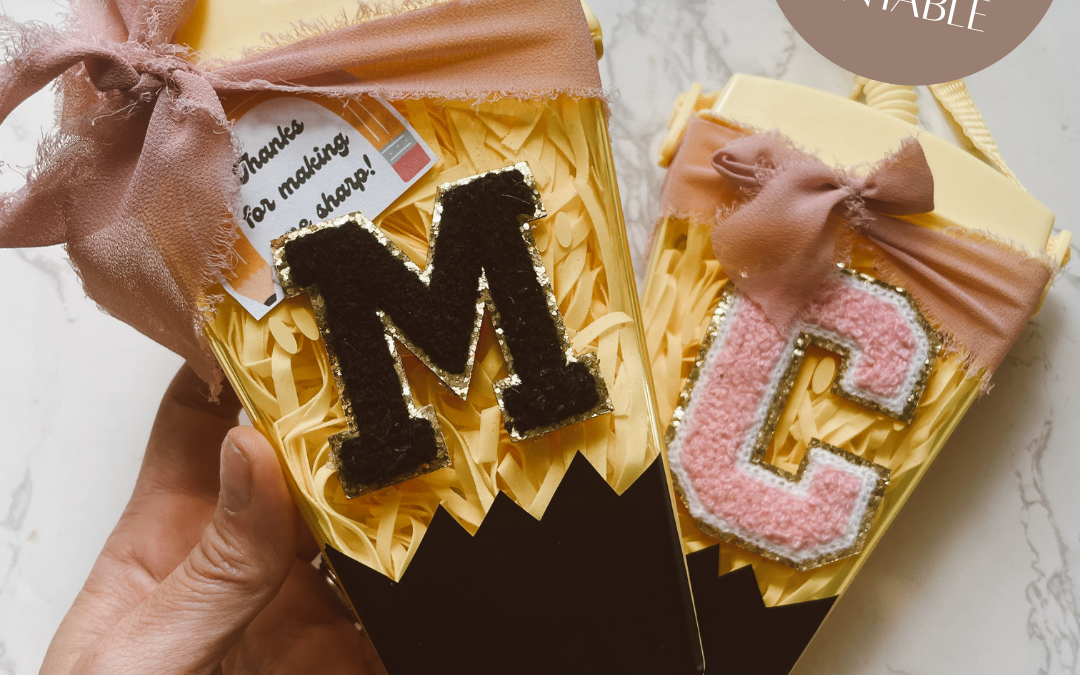
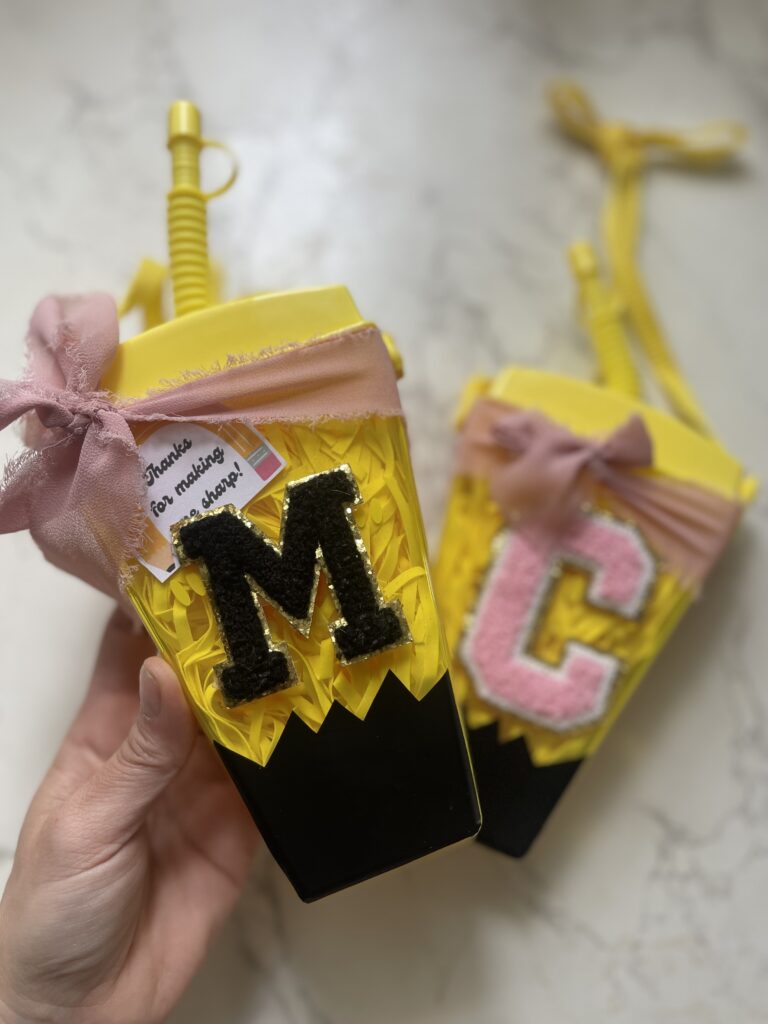
If you’re anything like me, you love a good dollar store flip—and with Teacher Appreciation Week just around the corner, I had so much fun turning these yellow plastic tumblers into the cutest pencil-shaped gift card holders!
These were such a hit with my kids’ teachers, and honestly, they’re as fun to make as they are to give!
Supplies I Used:
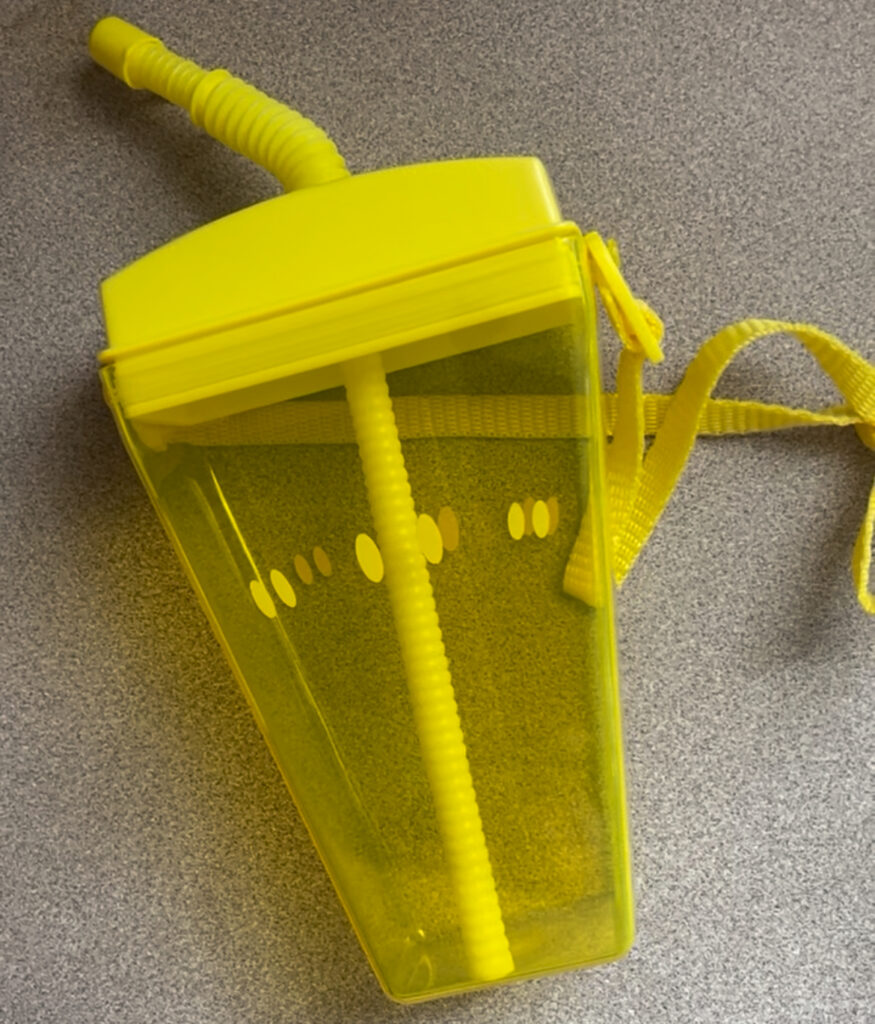
Bright yellow drink tumblers with straps (Dollar Tree)
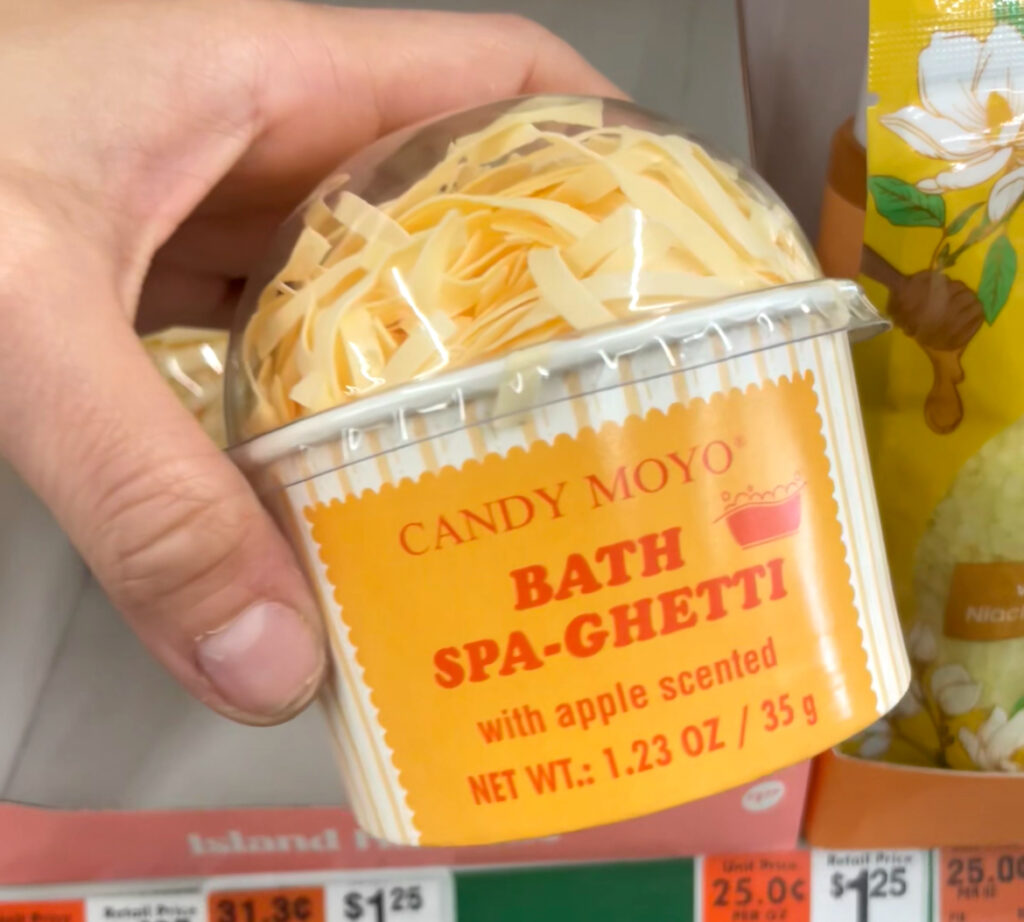
Apple-scented “Bath Spa-ghetti” (found in the beauty aisle—perfect to mimic pencil shavings!)
Black vinyl or black paper for the pencil tip
Yellow and pink paper or fabric for the pencil body
Pink chiffon ribbon to give it that soft eraser look
Chunky letter patches for personalization
Gift card
Hot glue
Free printable tag: “Thanks for making me sharp!” (download below!)
How-To:
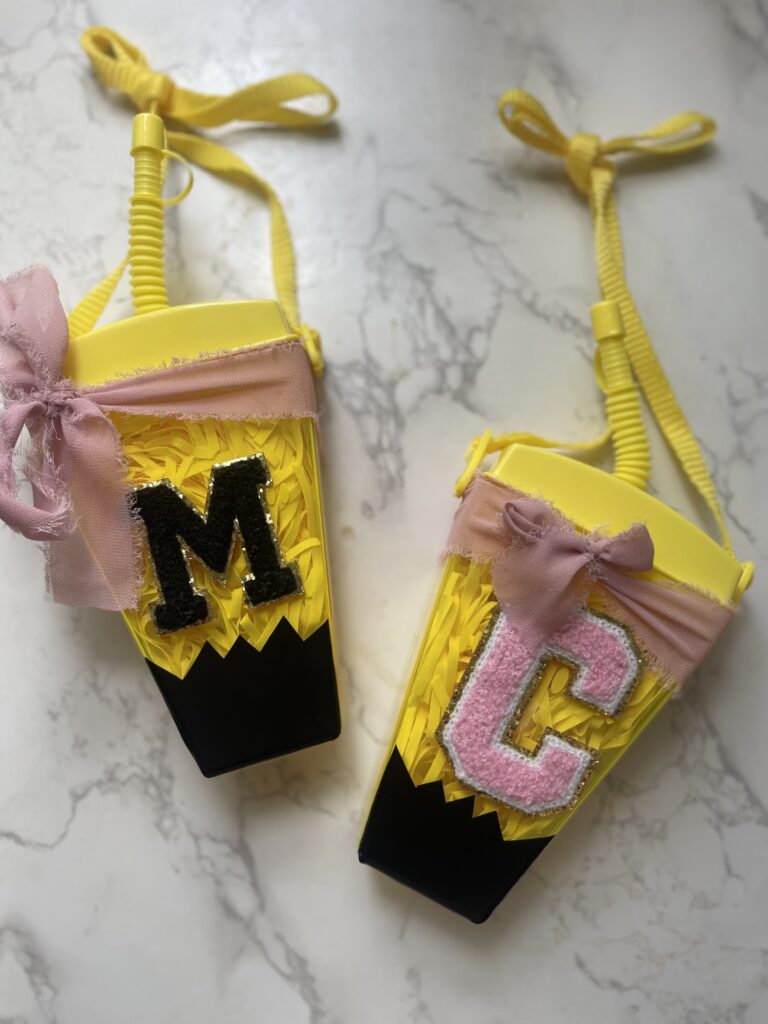
Start with your yellow tumbler – these totally gave off pencil vibes to me already!
Cut black vinyl in a zig-zag shape to create the sharpened pencil point and glue to the bottom.
Layer yellow and pink paper/fabric to complete the body of the pencil.
Wrap pink chiffon ribbon around the top to look just like an eraser—such a cute detail!
Fill it up! I added a little cup of “Bath Spa-ghetti” that looks just like pencil shavings. Add gift card of choice.
Add a personal touch with an initial patch and tie on the gift tag.
Free Printable Gift Tag:
Click below to download the “Thanks for making me sharp!” tag. Just print, cut, and tie on!
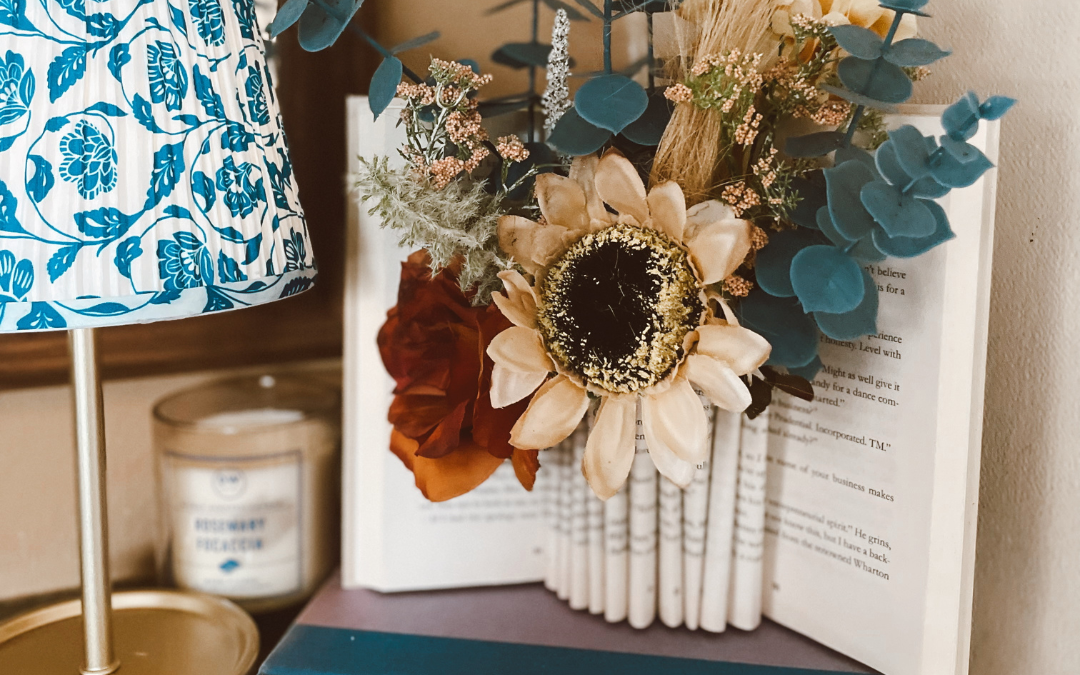
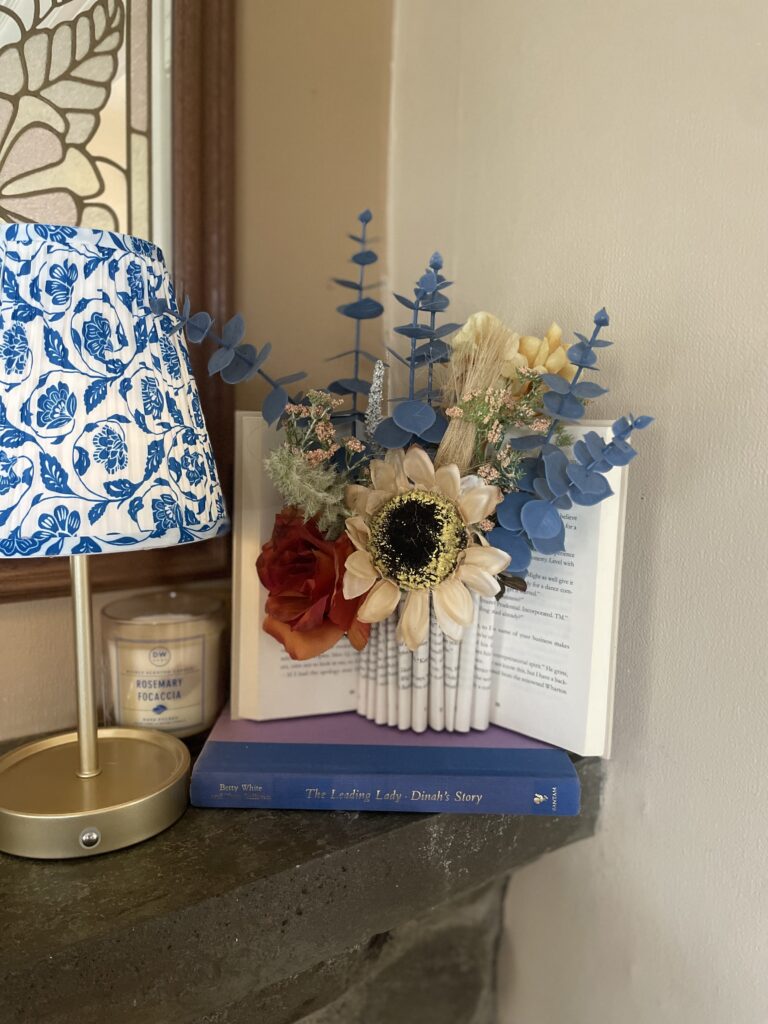
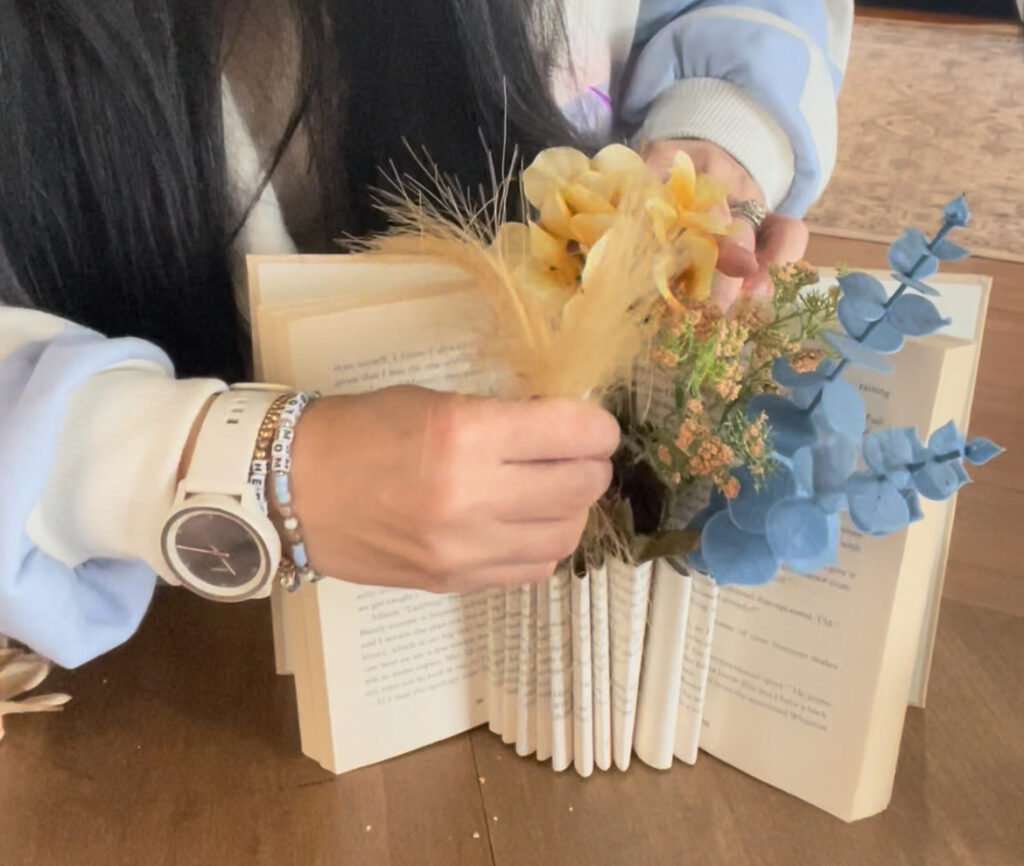
As moms, we often find ourselves surrounded by books—some cherished, others collecting dust. Why not give those old hardbacks a new lease on life? This DIY folded book page vase is a creative and eco-friendly way to repurpose books into stunning home decor.
What You’ll Need
A hardback book (preferably with at least 300 pages)
Exacto knife or scissors
Ruler
Tape runner or glue stick (optional)
Faux florals and greenery
Step-by-Step Guide
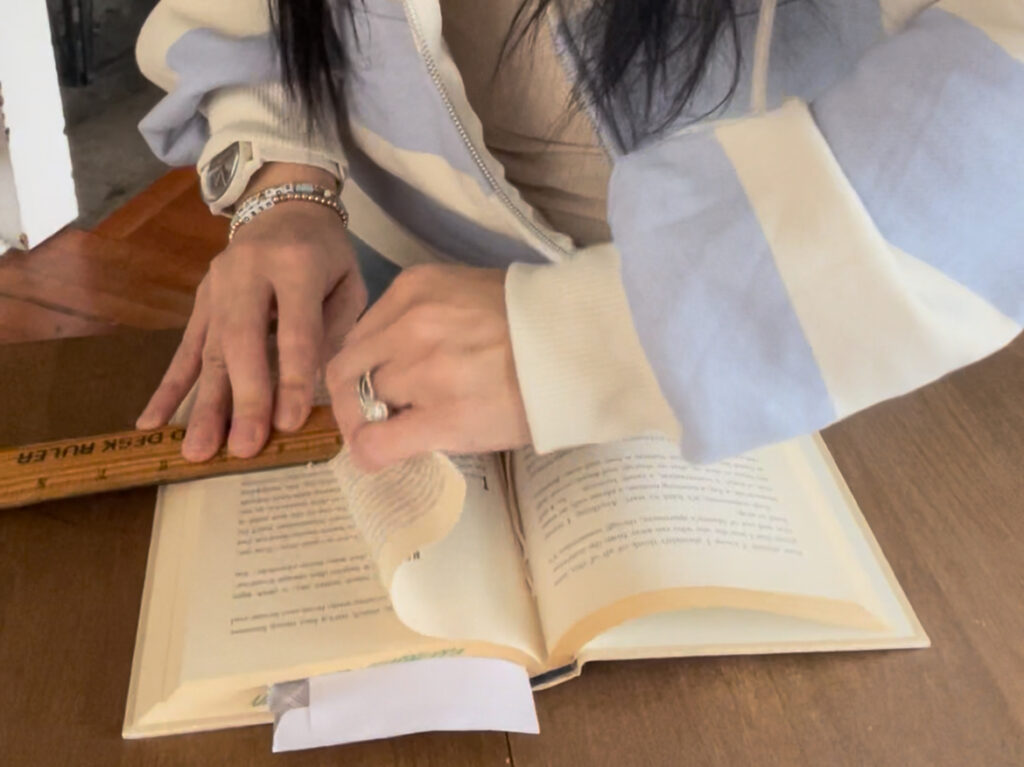
Prepare the Book: Find the center of your book and open it wide to crease the spine. This helps the book stay open and form the vase shape.
Select Pages: Choose 100 numbered pages centered around the middle of the book (50 pages on each side).
Cut Pages: Measure halfway up the book and use your knife or scissors (or tear!) to cut through a few pages at a time, removing the top half of each page in your selected section.
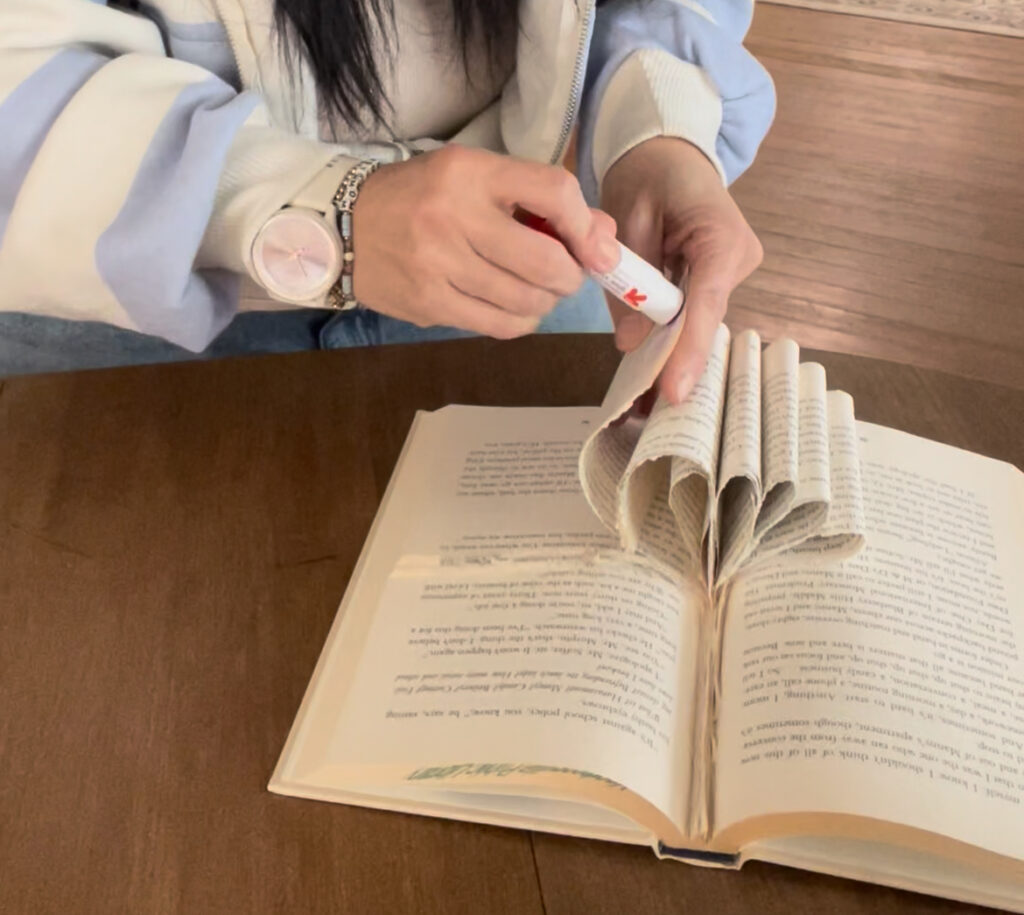
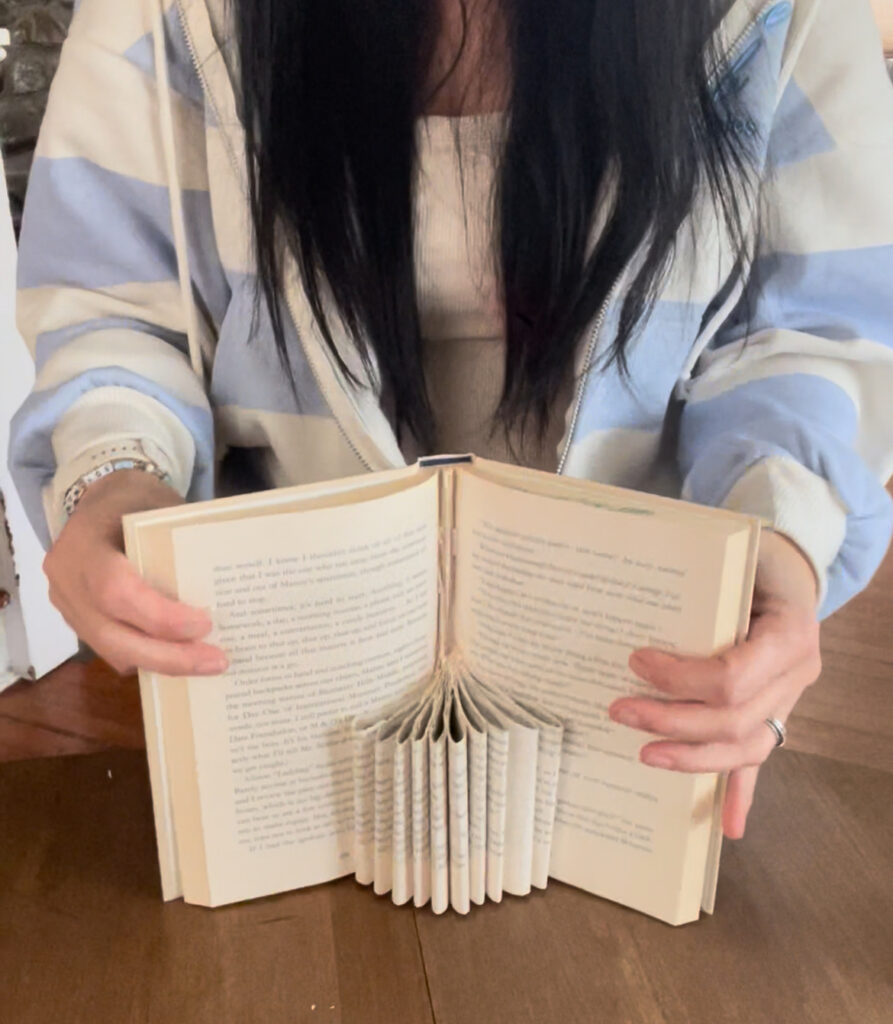
Fold Pages: Apply adhesive to the top and bottom corners of the first half-page. Count five half-pages, fold them together to the right without creasing, rolling the outer edge toward the spine, and tuck them in. Repeat this process to create ten rolled sections.
Add Florals: Stand the book upright and insert faux florals into the rolled sections. No glue needed—the flowers should stay in place, allowing you to change them out seasonally.
Why Moms Love This Craft
Budget-Friendly: Utilizes materials you likely already have at home.
Eco-Conscious: Gives old books a new purpose.
Quick and Easy: Can be completed in under 30 minutes.
Customizable: Easily matches any home decor style.
Display Ideas
Place your folded book vase on a mantel, bookshelf, or as a centerpiece. It’s a conversation starter and a testament to your creativity.
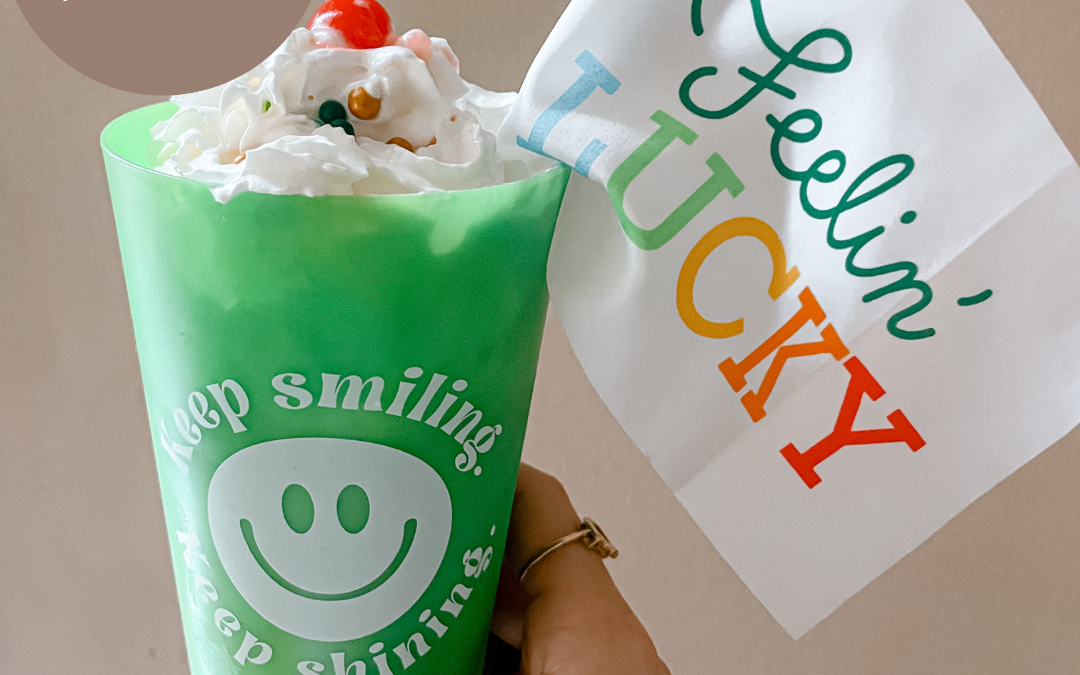
St. Patrick’s Day is all about magic, mischief, and a little bit of luck. This year, bring some extra fun into your home with a Shamrock Shake Scavenger Hunt—a playful way for kids to gather the ingredients needed to make their own festive green milkshake.
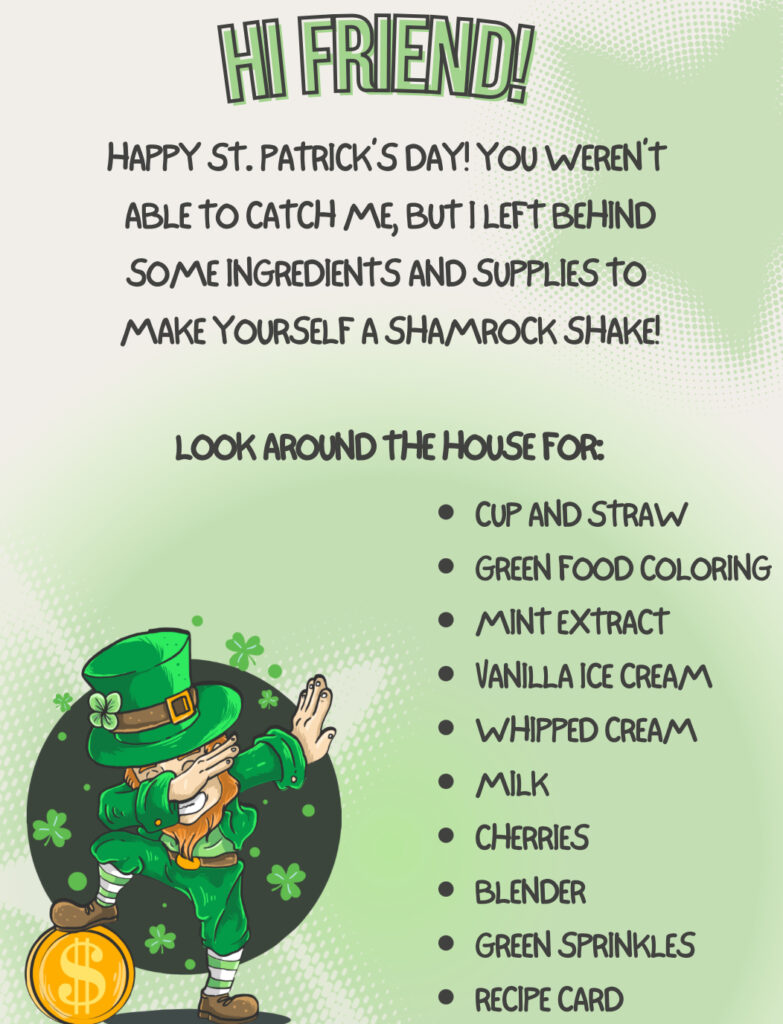
A sneaky leprechaun will leave behind a note with instructions, leading your little ones on a scavenger hunt around the house to find the ingredients for a delicious Shamrock Shake. At the end of the hunt, you’ll all whip up the shake together and enjoy a lucky treat.
To make it even easier, I’ve included a free printable with:
• A leprechaun’s note to start the hunt
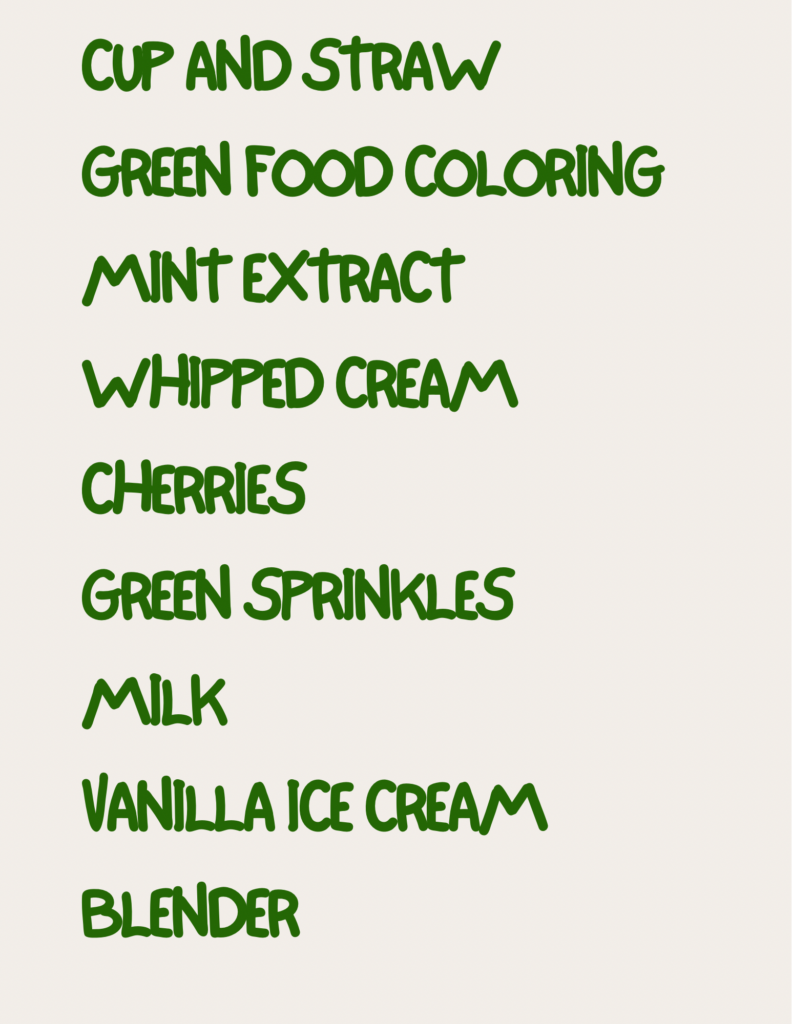
• Ingredient labels to place on hidden items
• A recipe card for making the perfect Shamrock Shake
How the Shamrock Shake Scavenger Hunt Works
1. Set the Scene
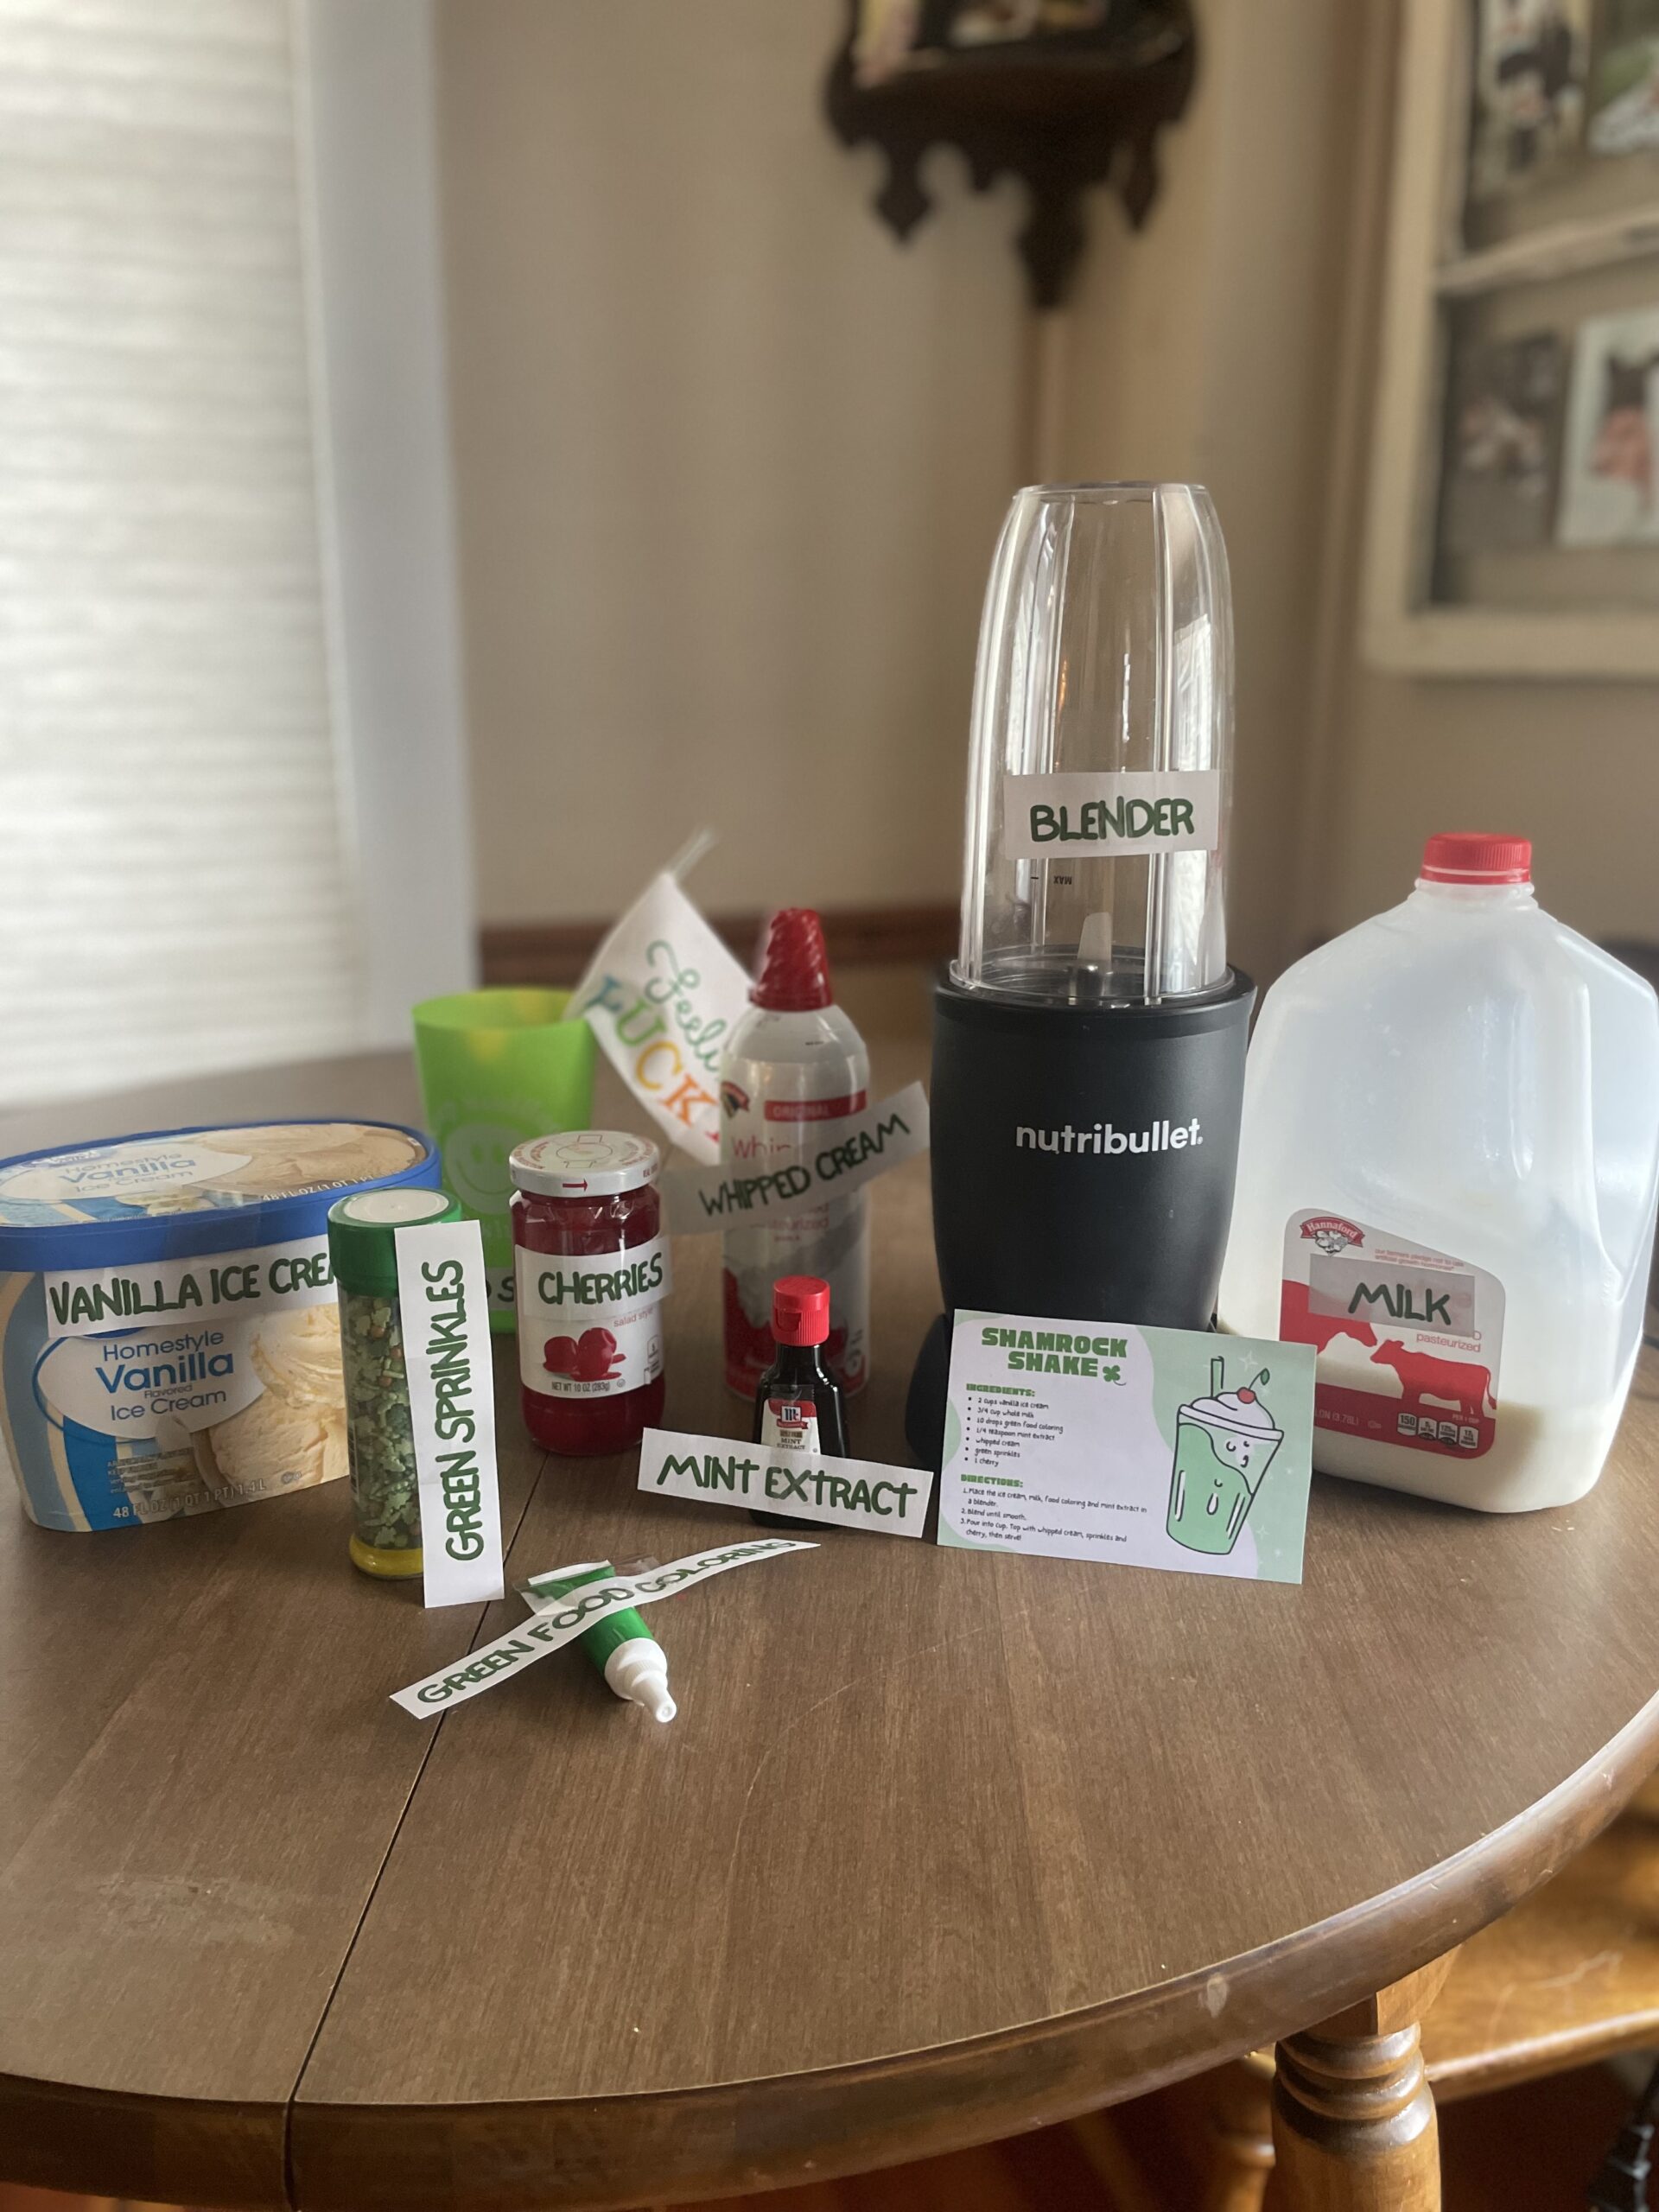
Before your kids wake up or return home, hide the ingredients in different spots around the house. Use the printable ingredient labels to mark each item so they know they’re on the right track.
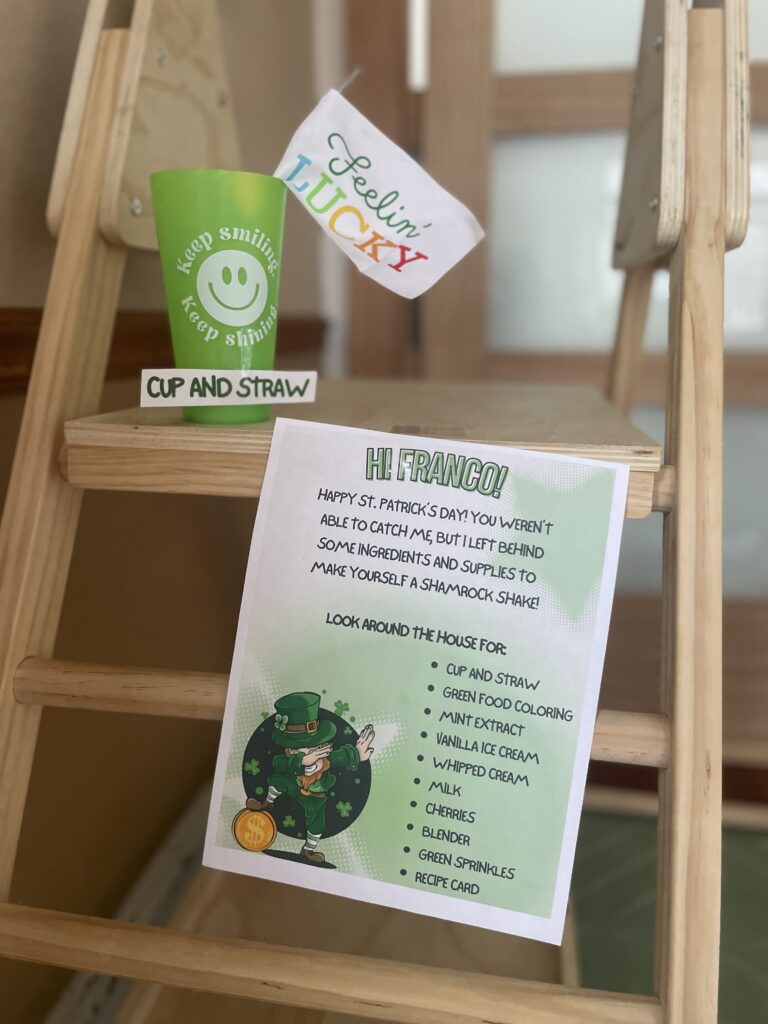
2. The Leprechaun’s Note
Place the leprechaun’s note where your kids will find it first—maybe near their breakfast plate or taped to the fridge. The note explains that the sneaky little guy has hidden the ingredients for a special Shamrock Shake and challenges them to find each one.
3. The Hunt Begins
Your kids will search the house to find:
• Milk
• Vanilla ice cream
• Mint extract
• Green food coloring
• Whipped cream
• Festive sprinkles
• Cherry
Once all the ingredients are collected, it’s time to blend up the magic.
4. Making the Shamrock Shake
Use the printable recipe card to guide your little ones in making their own Shamrock Shake.
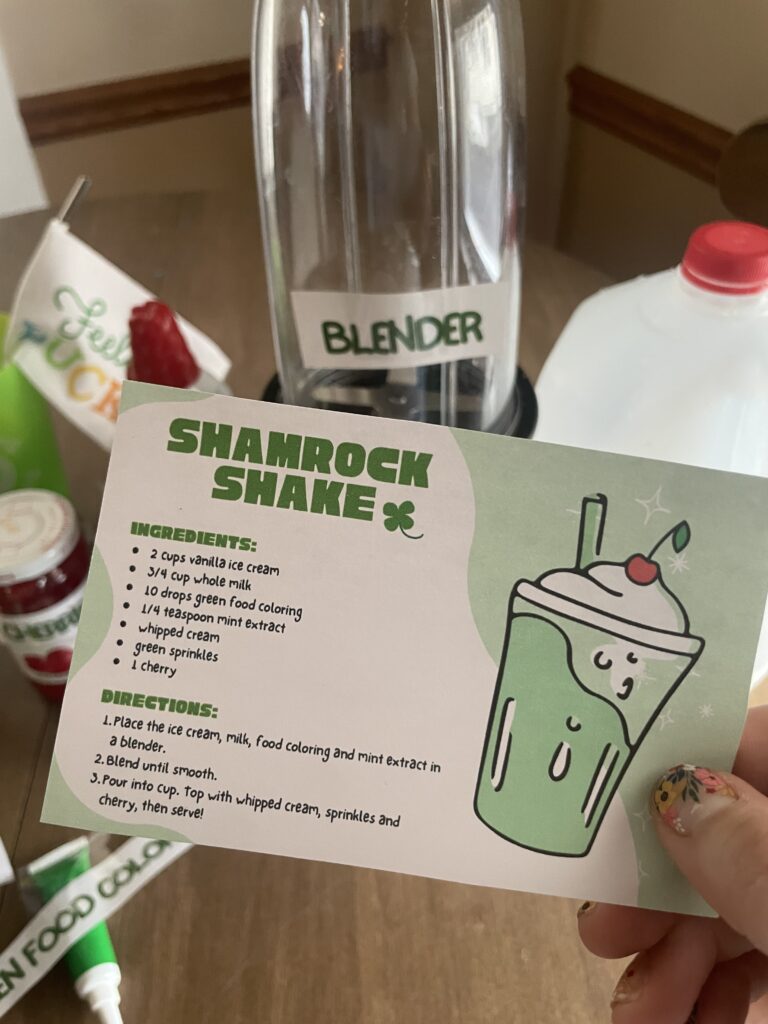
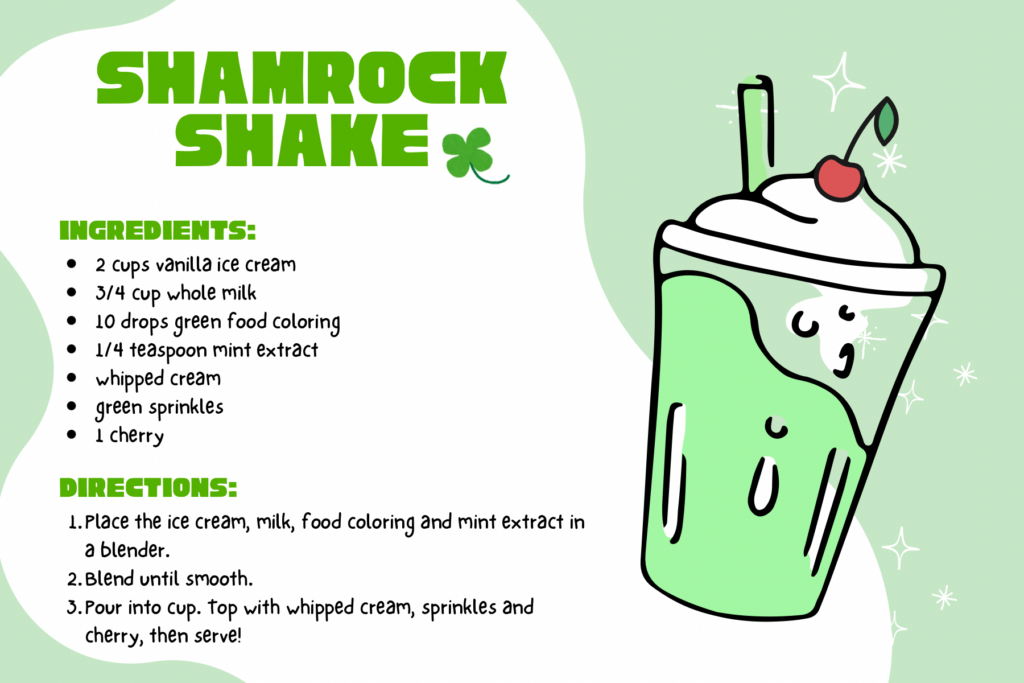
Shamrock Shake Recipe
Ingredients:
• 2 cups vanilla ice cream
• 3/4 cup milk
• 1/4 teaspoon mint extract
• 10 drops green food coloring
• Whipped cream (for topping)
• Green sprinkles
• Cherry (for garnish)
Instructions:
1. In a blender, combine ice cream, milk, mint extract, and green food coloring.
2. Blend until smooth and creamy.
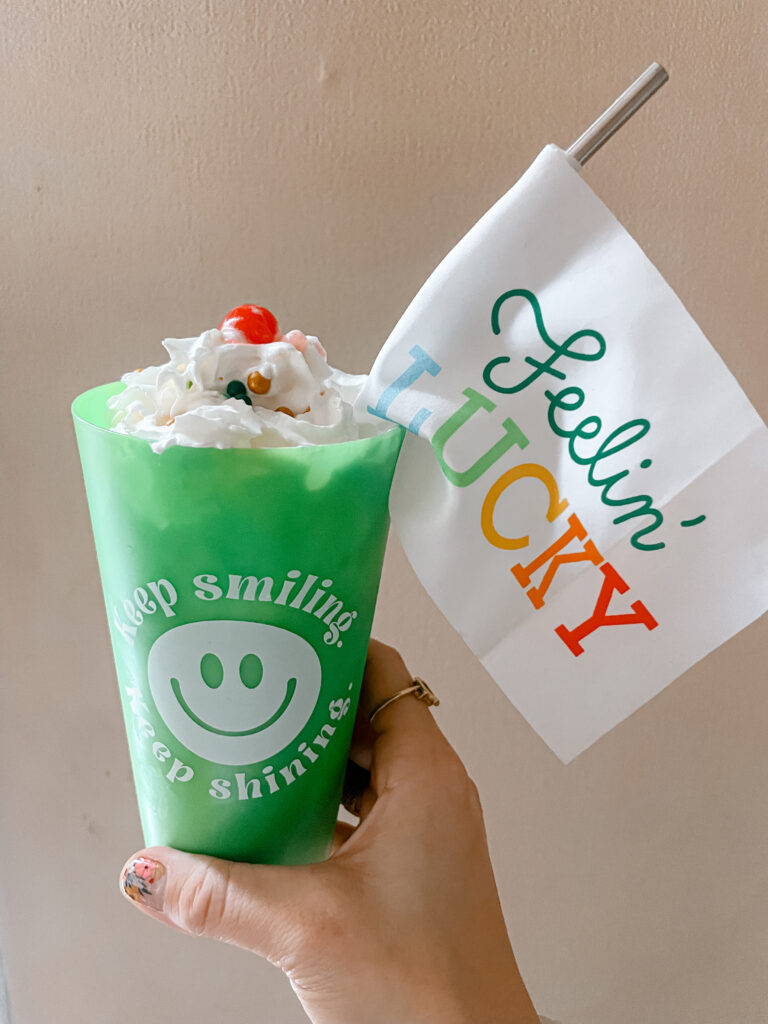
3. Pour into a glass, top with whipped cream, sprinkles, and a cherry.
4. Enjoy your lucky treat.
Once the shakes are ready, snap a few photos of your little leprechauns enjoying their prize. You can also turn this into a leprechaun trap night, leaving out the empty glass as “evidence” that a leprechaun stopped by.
Get the Free Printable
To make this Shamrock Shake Scavenger Hunt even easier, grab the free printable set below. It includes:
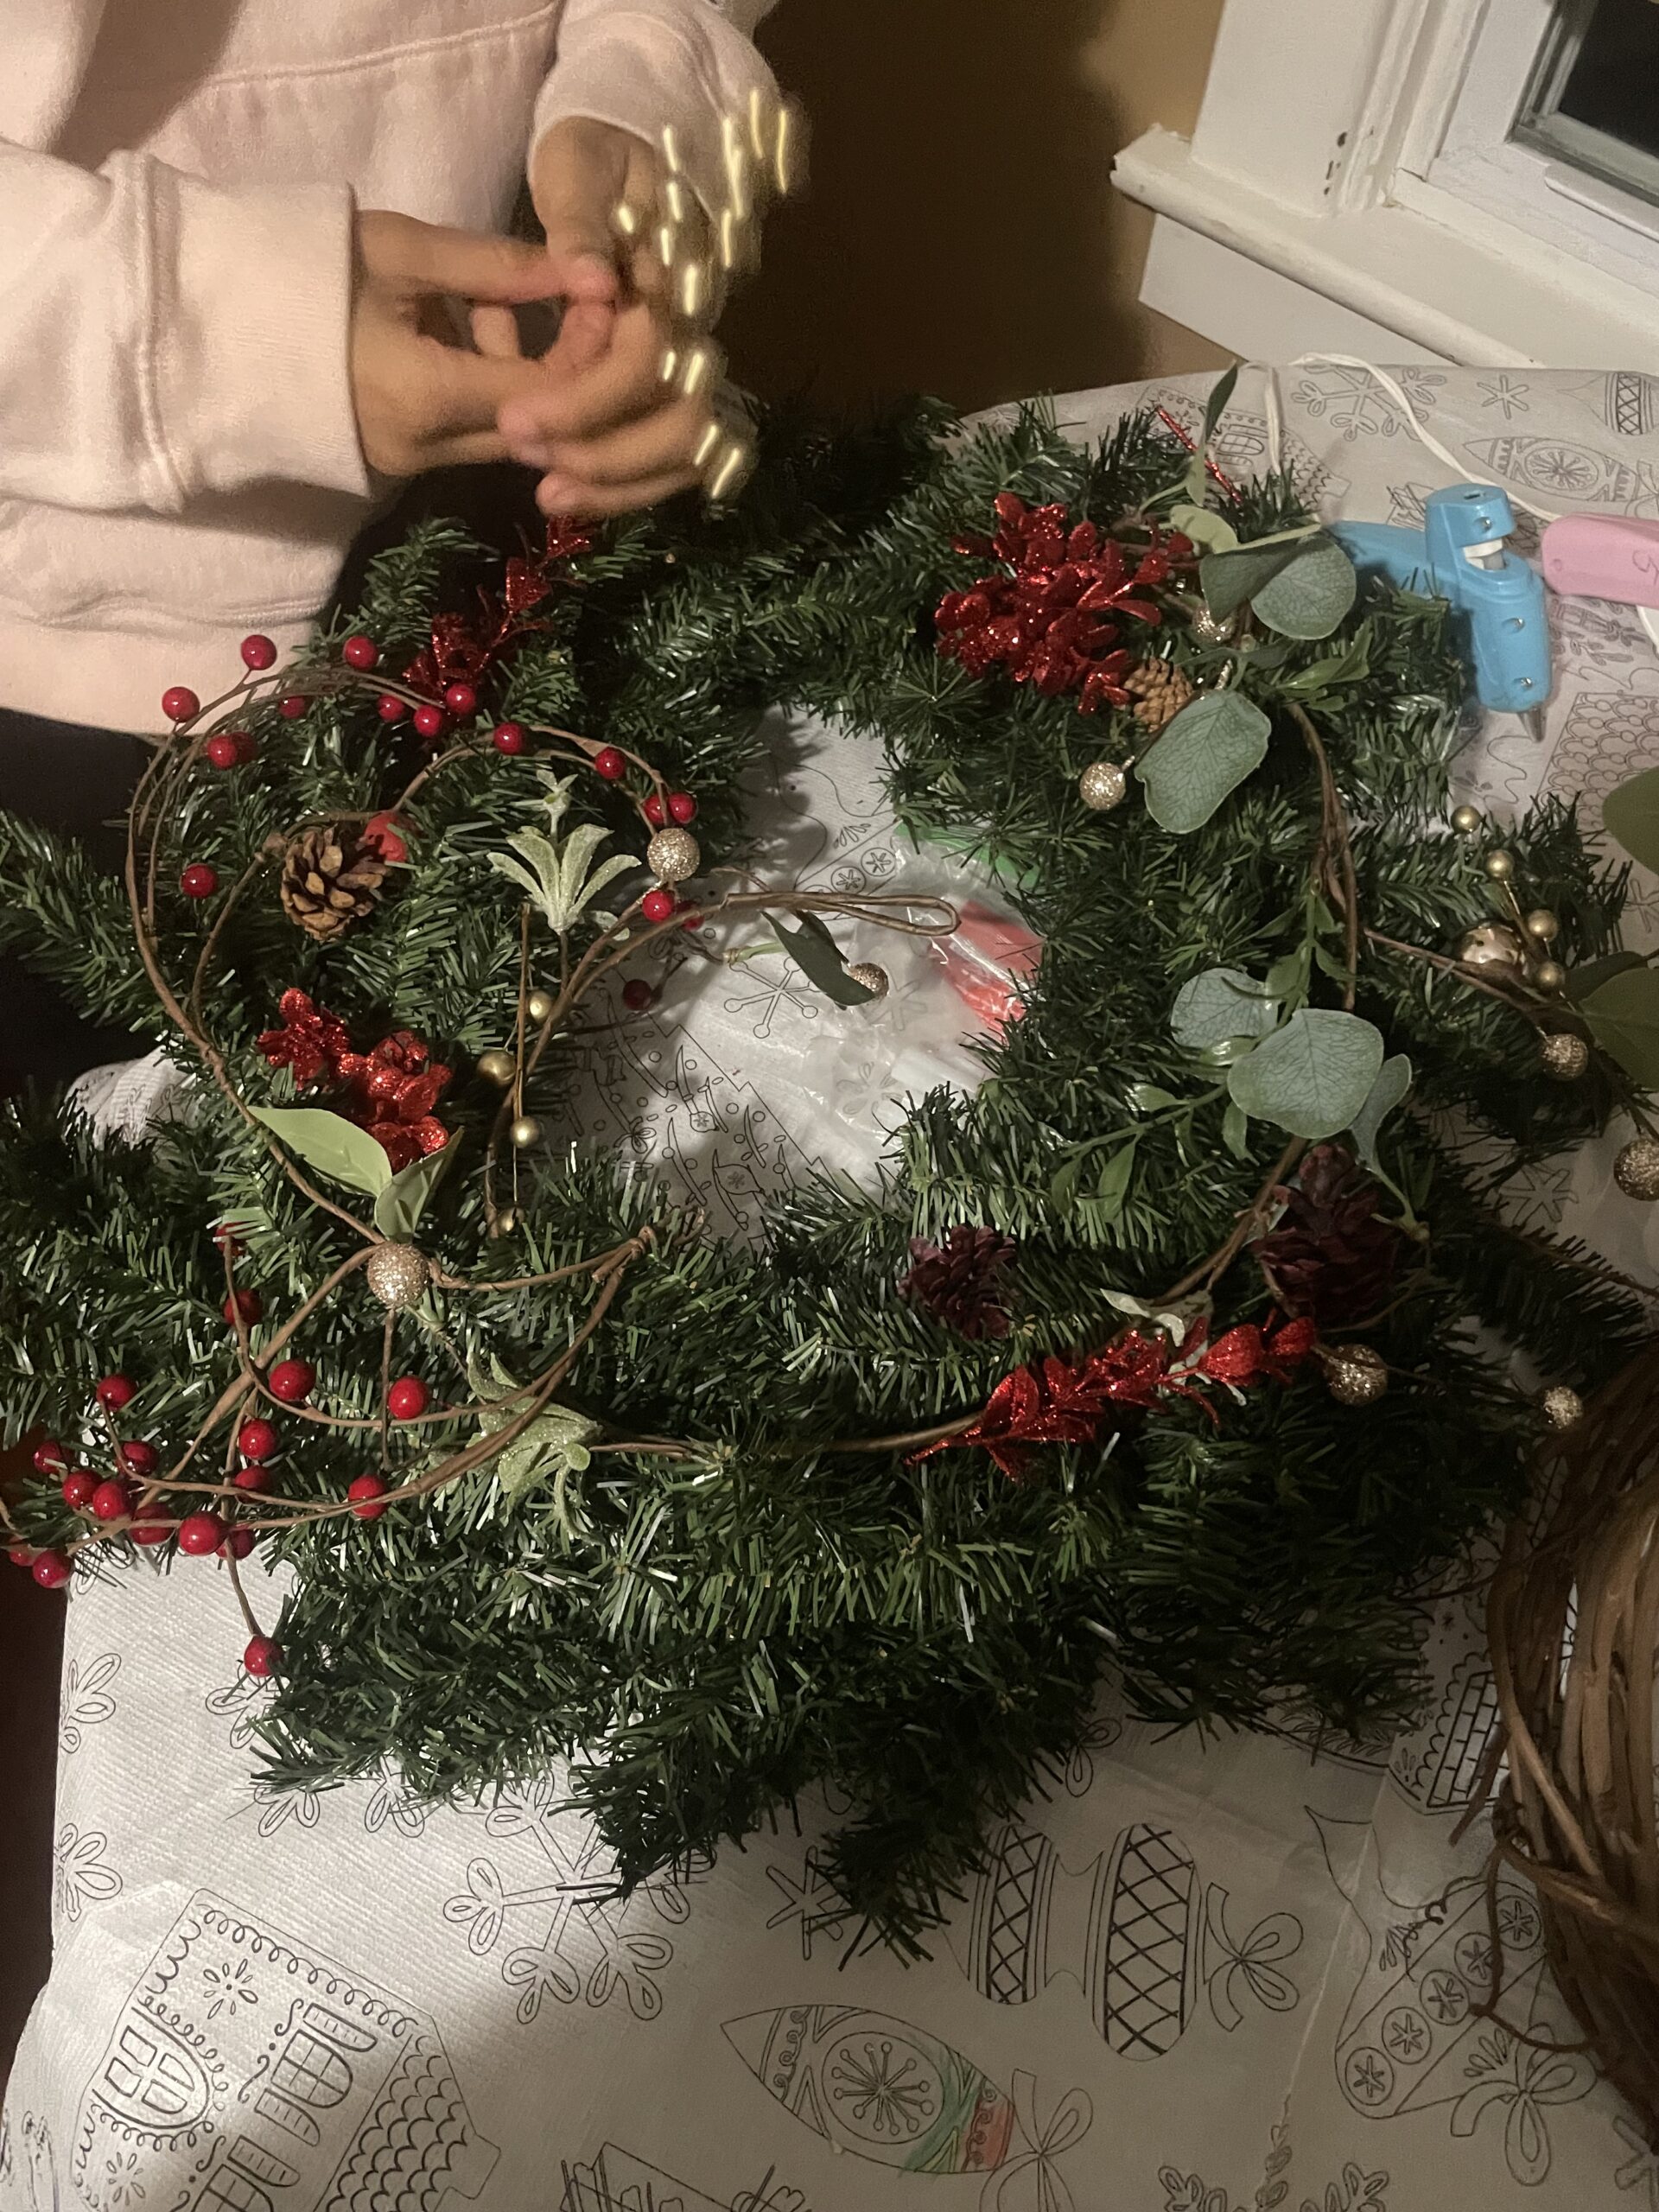
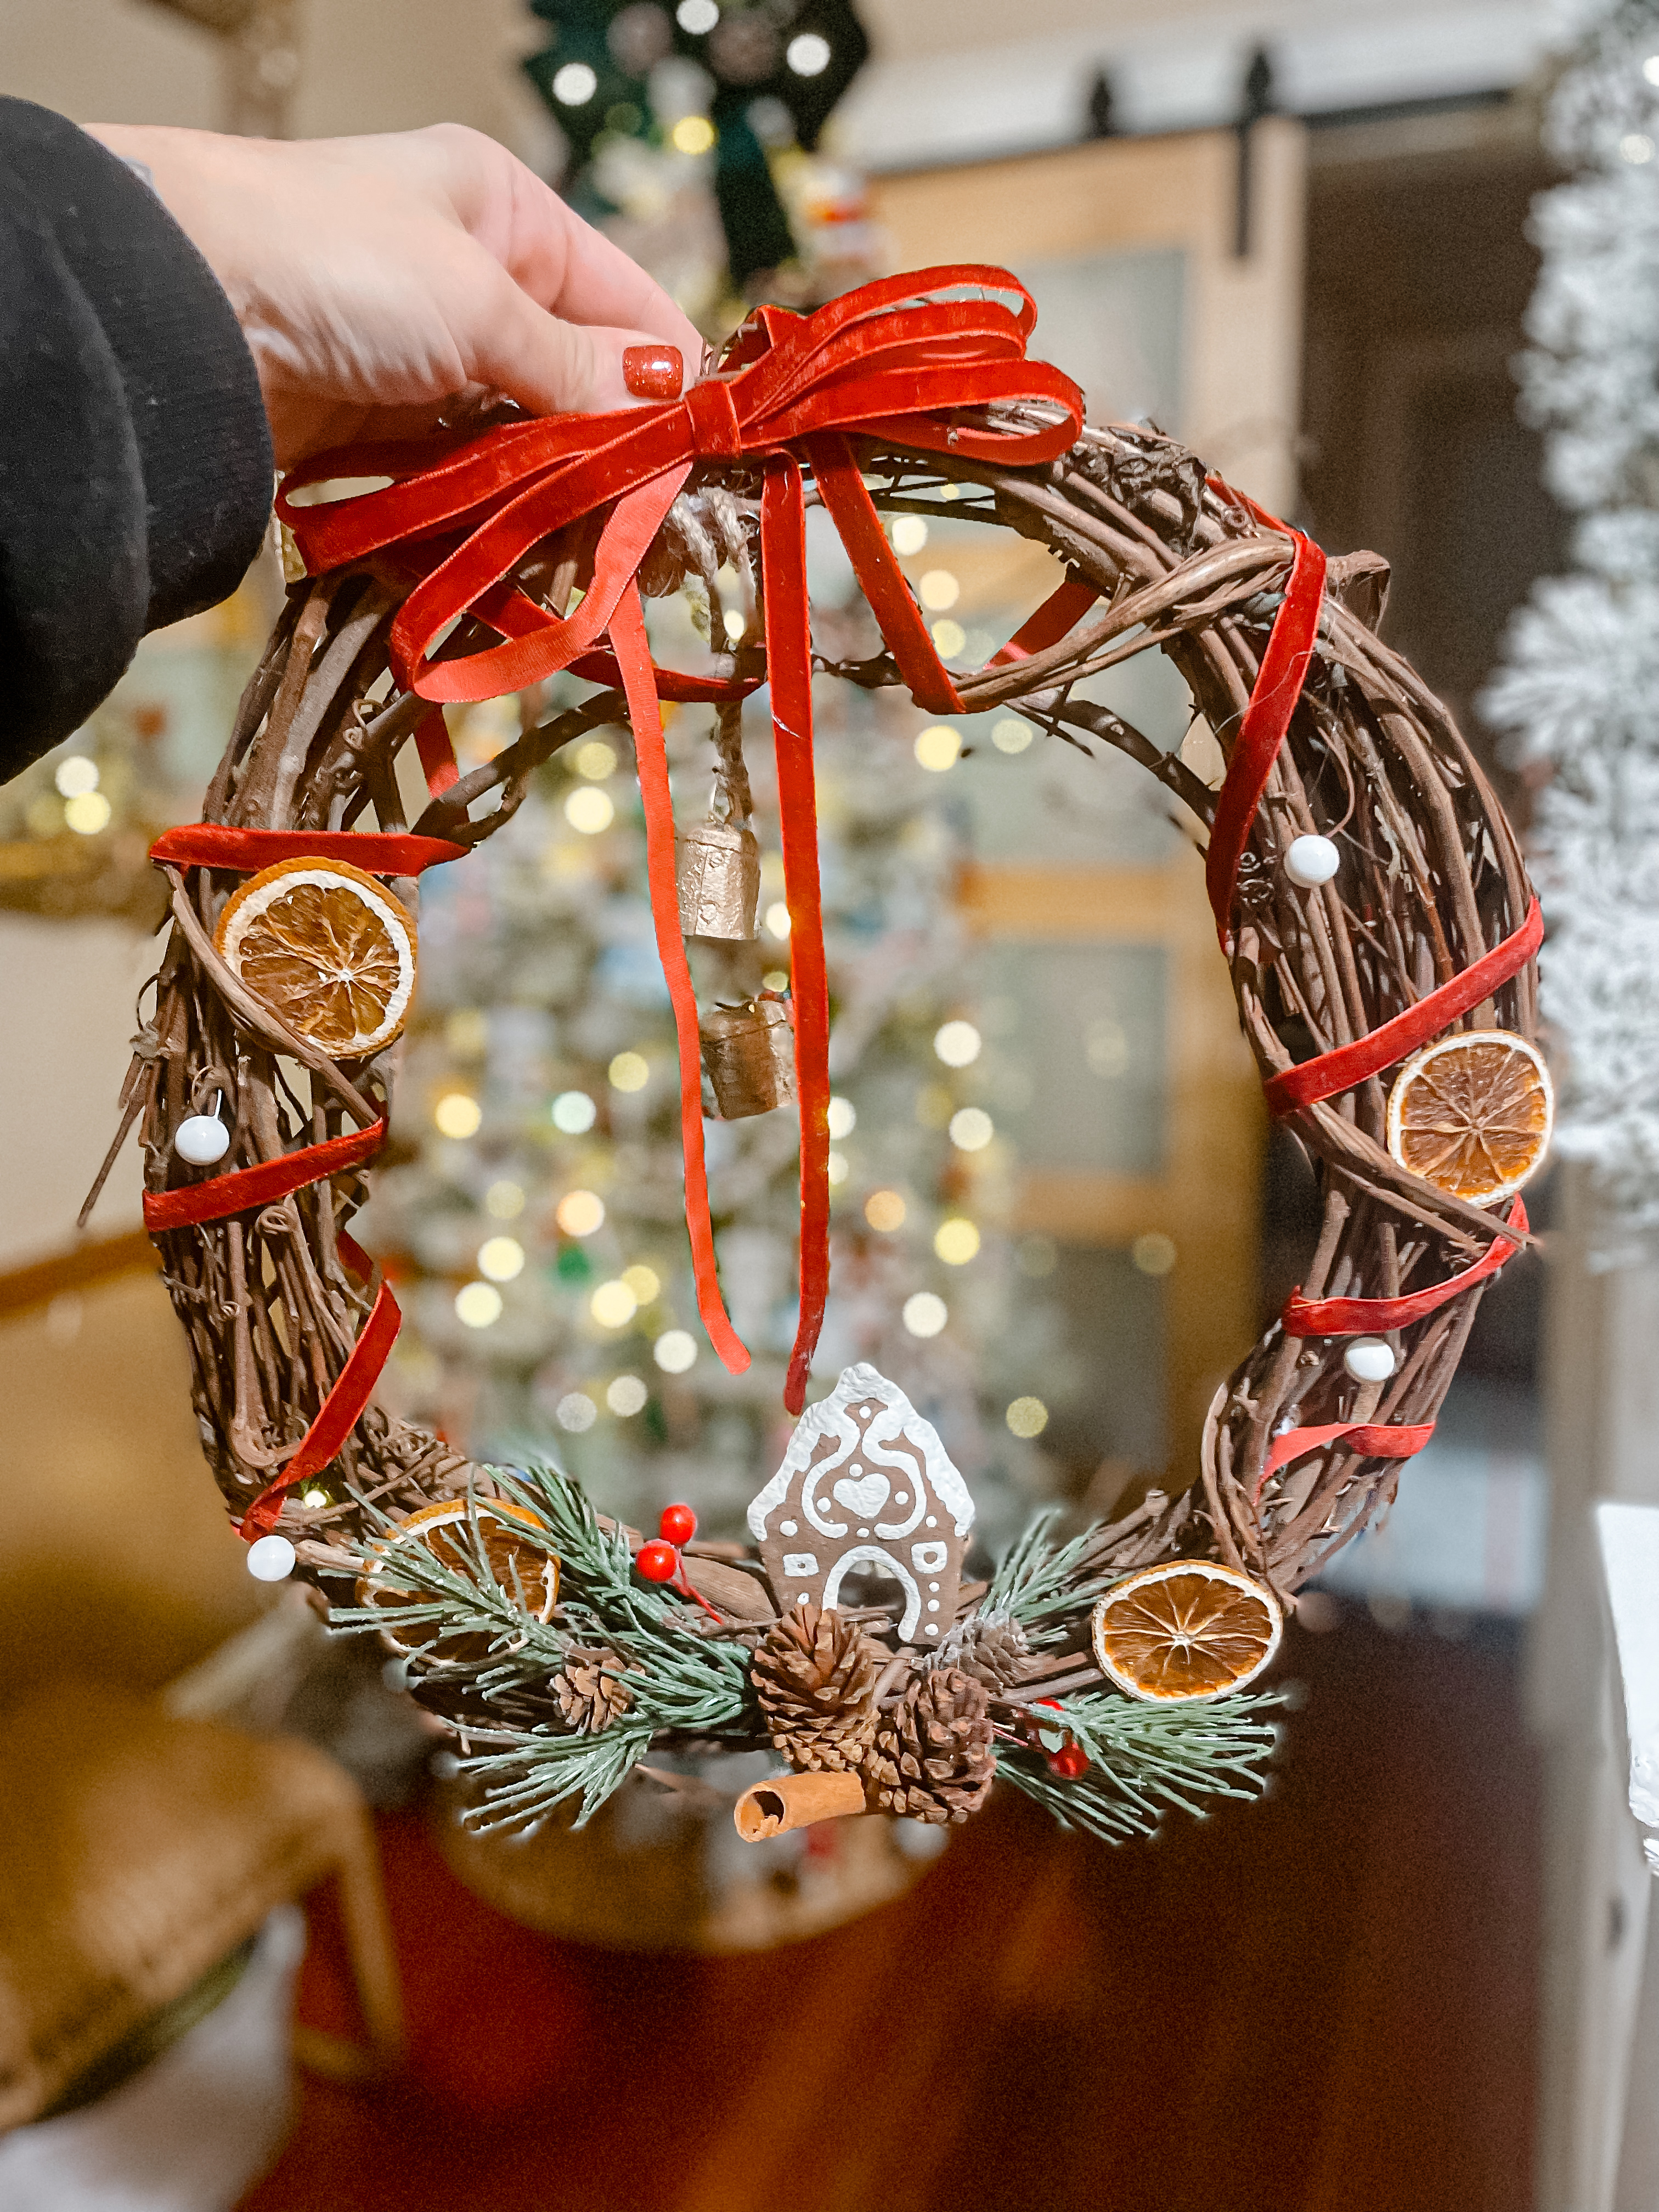
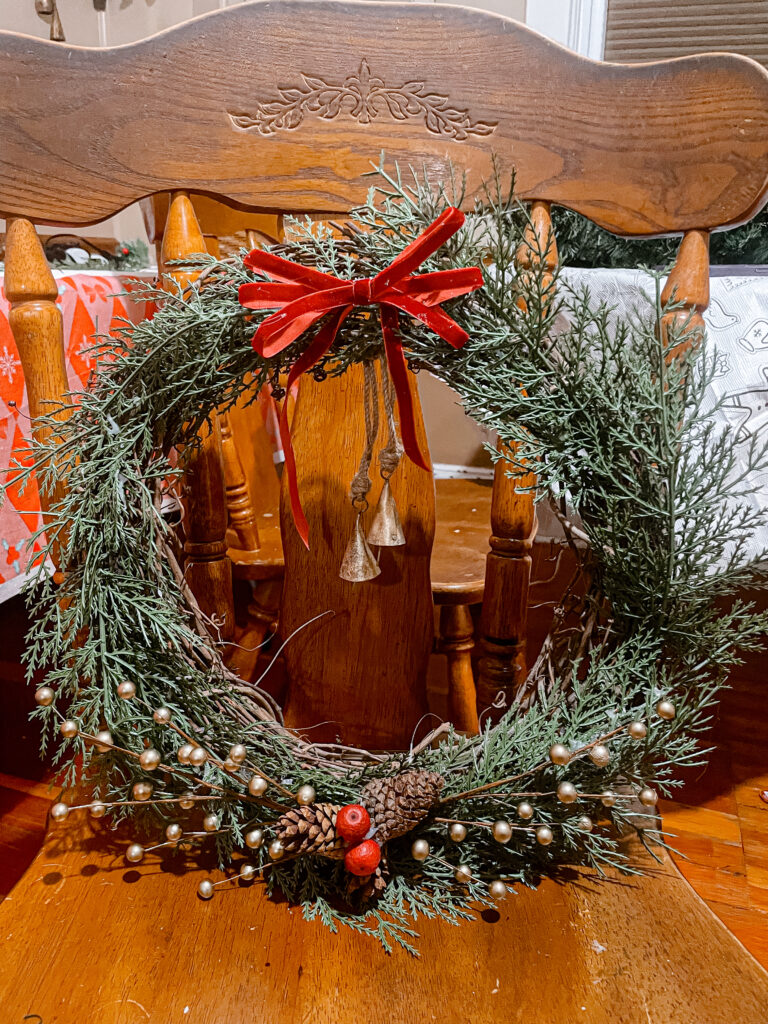
The holiday season is the perfect time to gather your friends, unleash your creativity, and make something festive together. Hosting a girls’ craft night focused on Christmas wreath-making is not only fun but also a unique way to kick off the holidays. Here’s everything you need to plan a magical evening your friends will be talking about all season long.
Step 1: Set the Scene
Create a cozy and festive atmosphere with:
• Twinkling Lights: String fairy lights around the room for a soft, magical glow.
• Holiday Music: Build a playlist with your favorite Christmas classics or soft instrumentals for background ambiance.
• Seasonal Décor: Deck the space with garlands, candles, and mini Christmas trees to set the holiday mood.
• Craft Tables: Cover tables with kraft paper or holiday-themed tablecloths to protect surfaces and make cleanup a breeze.
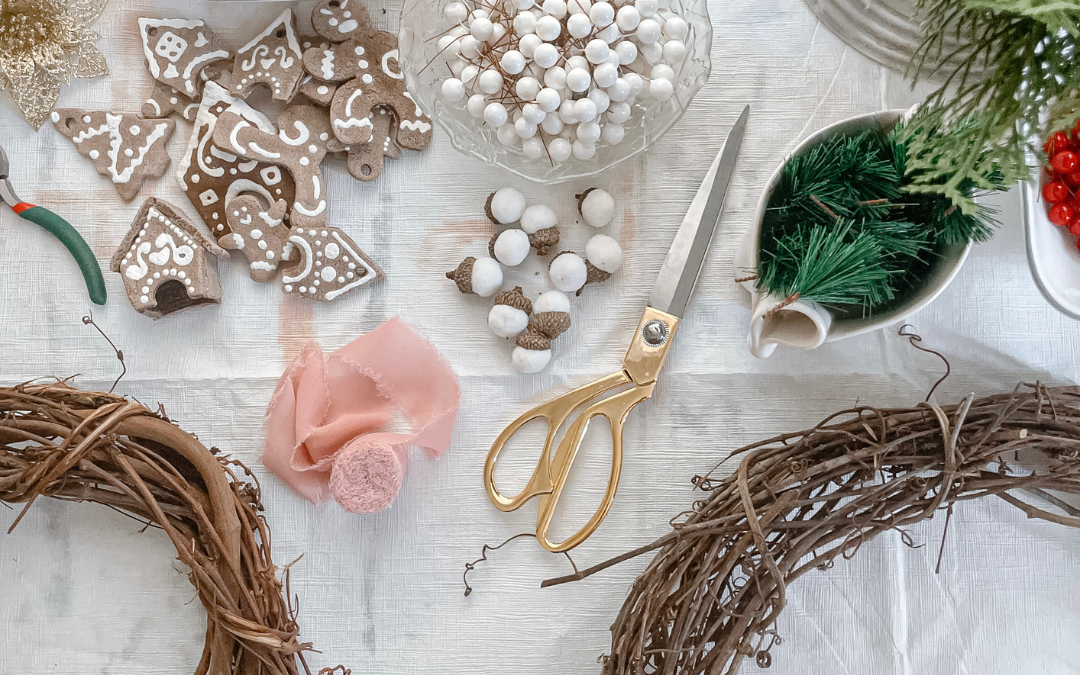
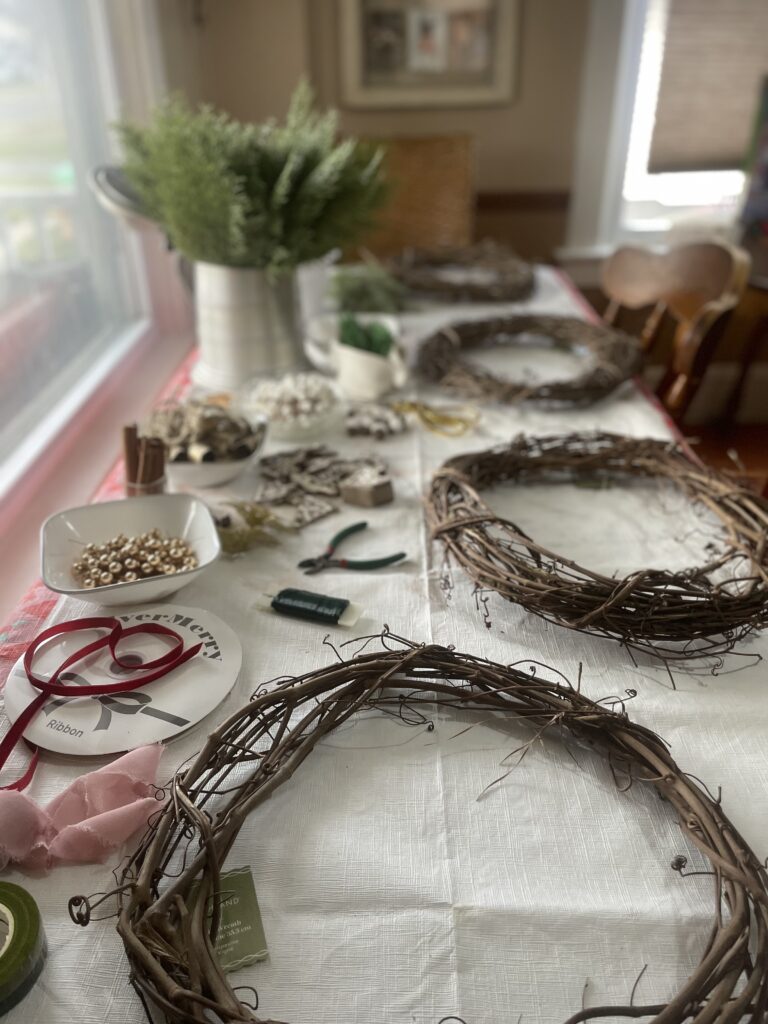
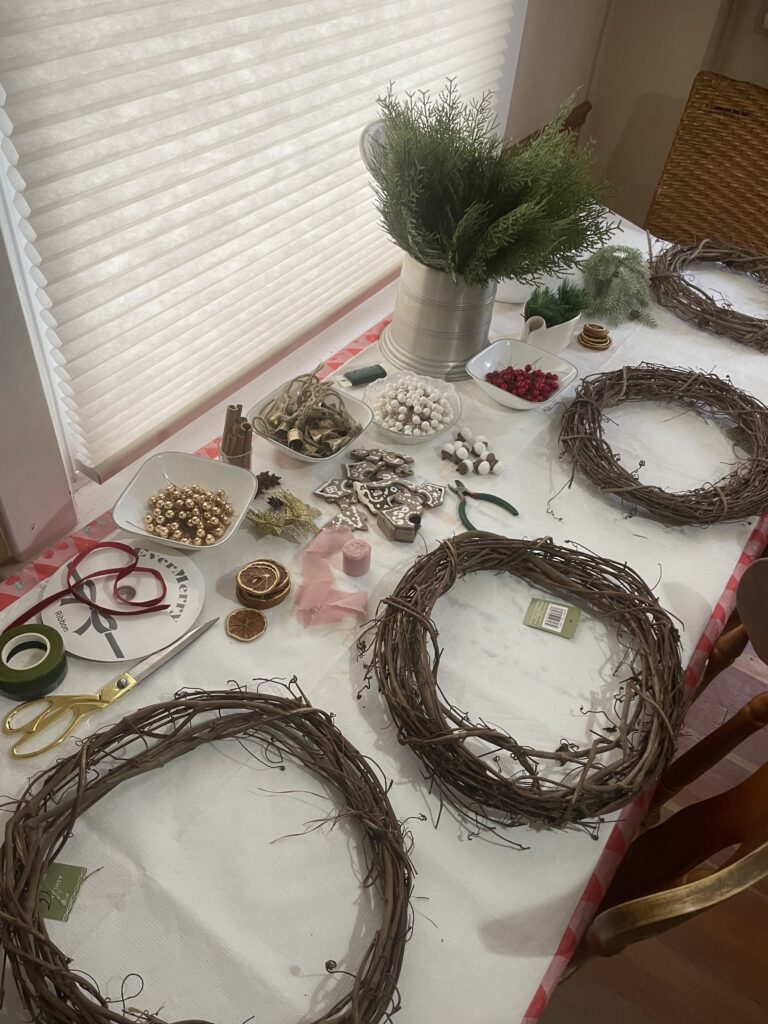
Step 2: Gather Supplies
Make it easy for your guests by providing the essentials. Here’s a list to get you started:
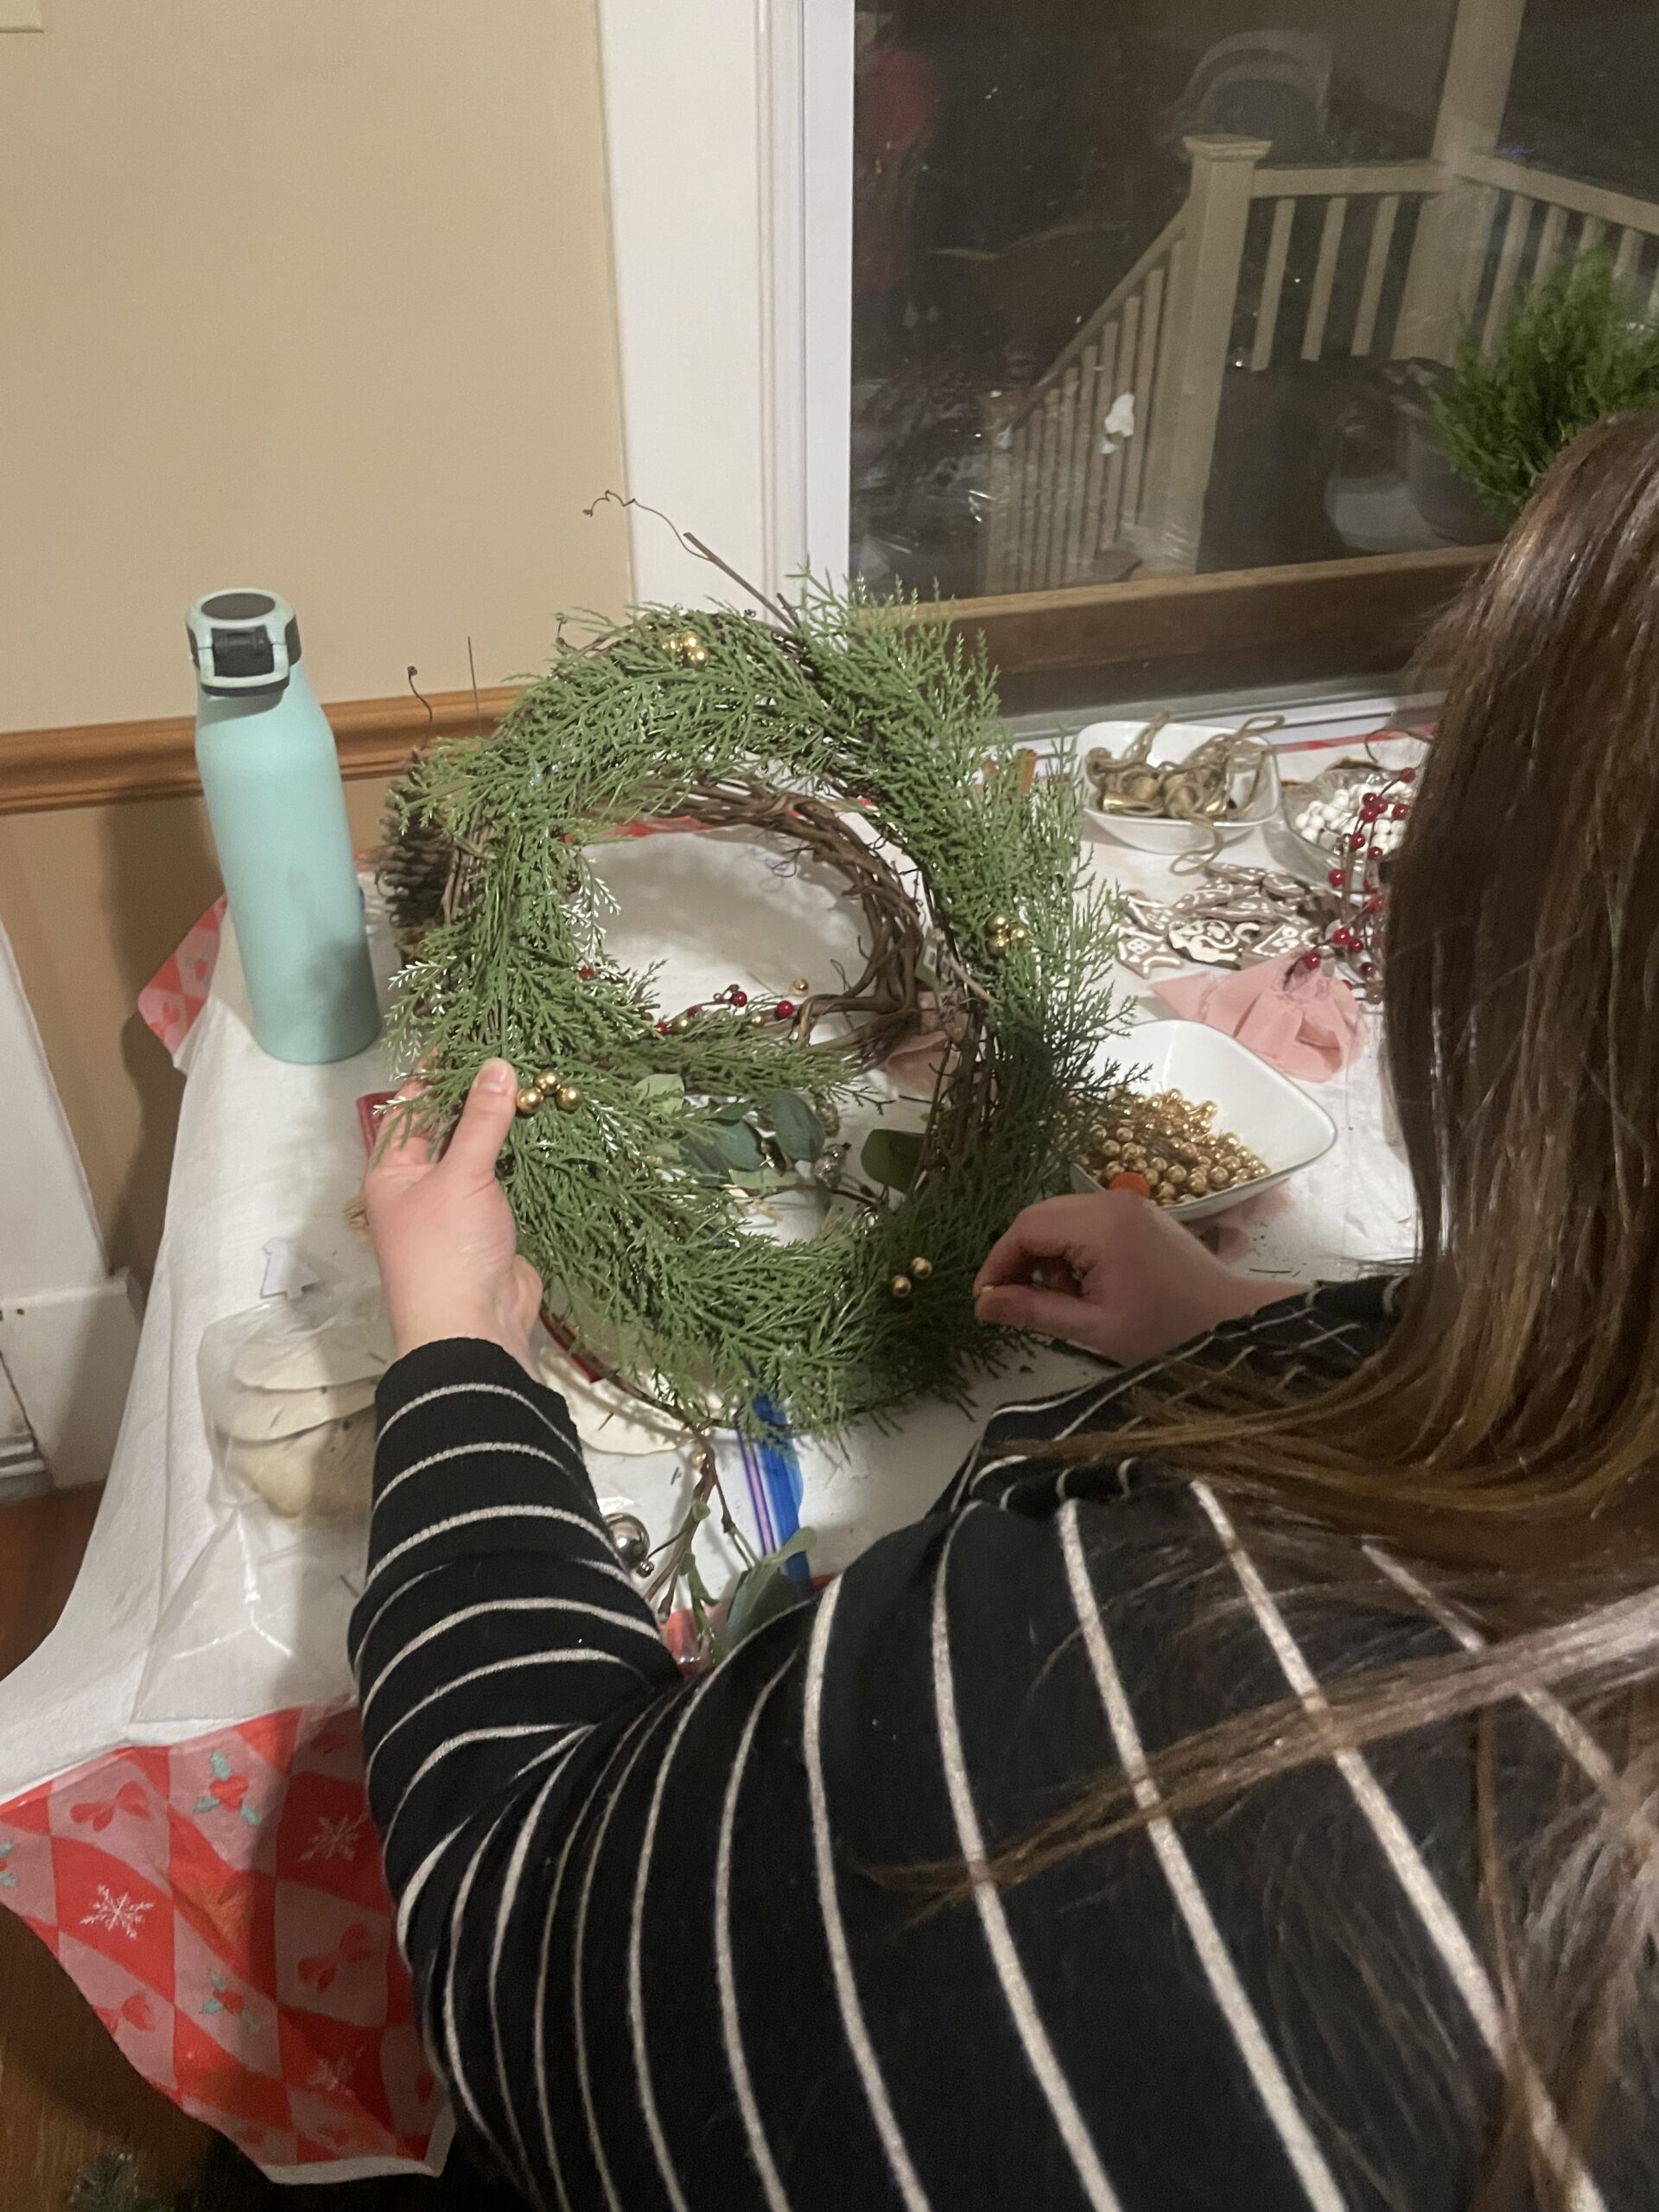
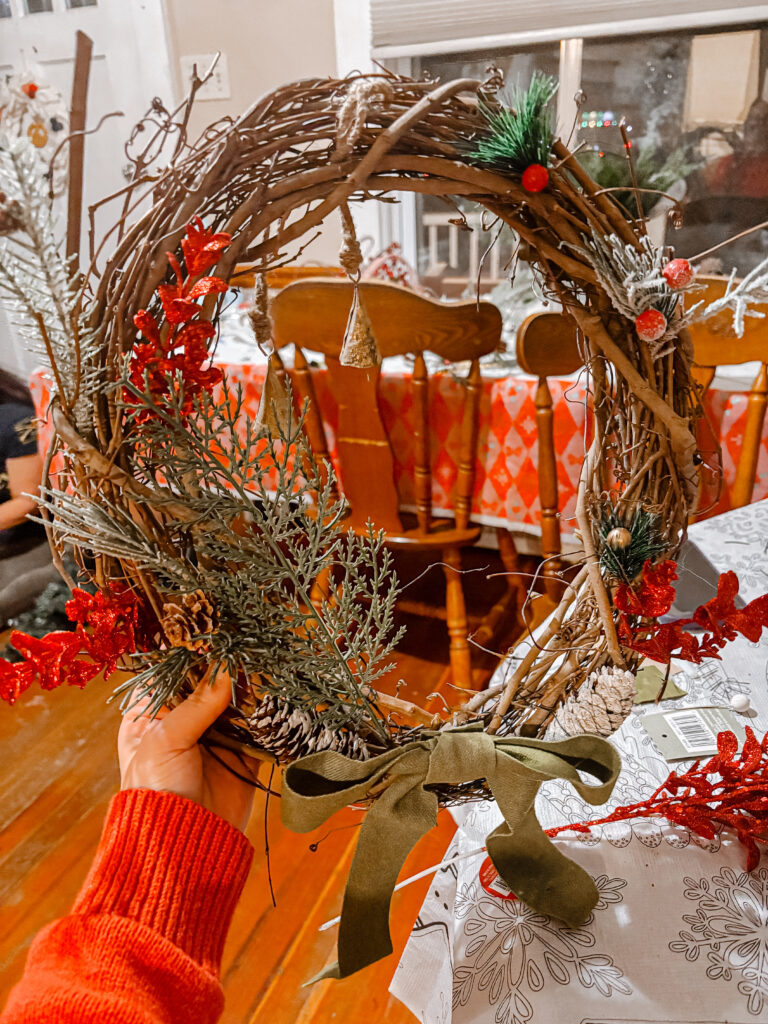
• Wreath Bases: Grapevine, wire, or foam wreath forms.
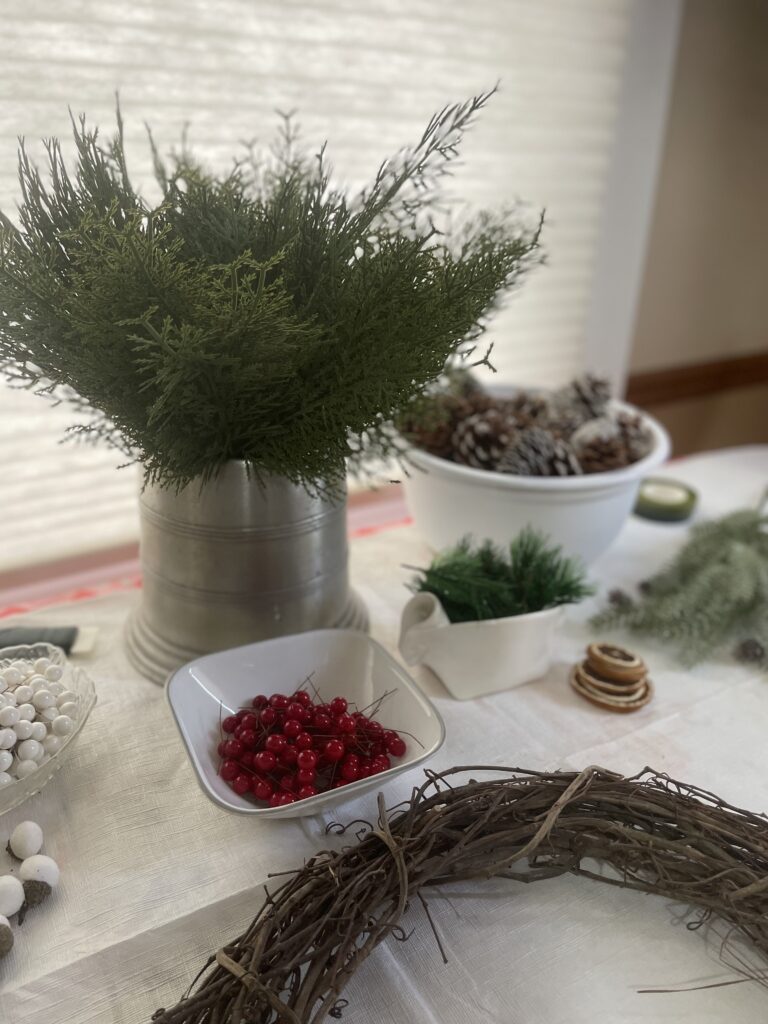
• Greenery: Faux pine branches, eucalyptus, or fresh clippings from your yard.
• Decorative Items: Ornaments, ribbon, berries, pinecones, bows, and glitter.
• Tools: Hot glue guns, floral wire, scissors, wire cutters, and zip ties.
Pro Tip: Set up a “supply bar” where guests can browse and grab what they need for their creations.
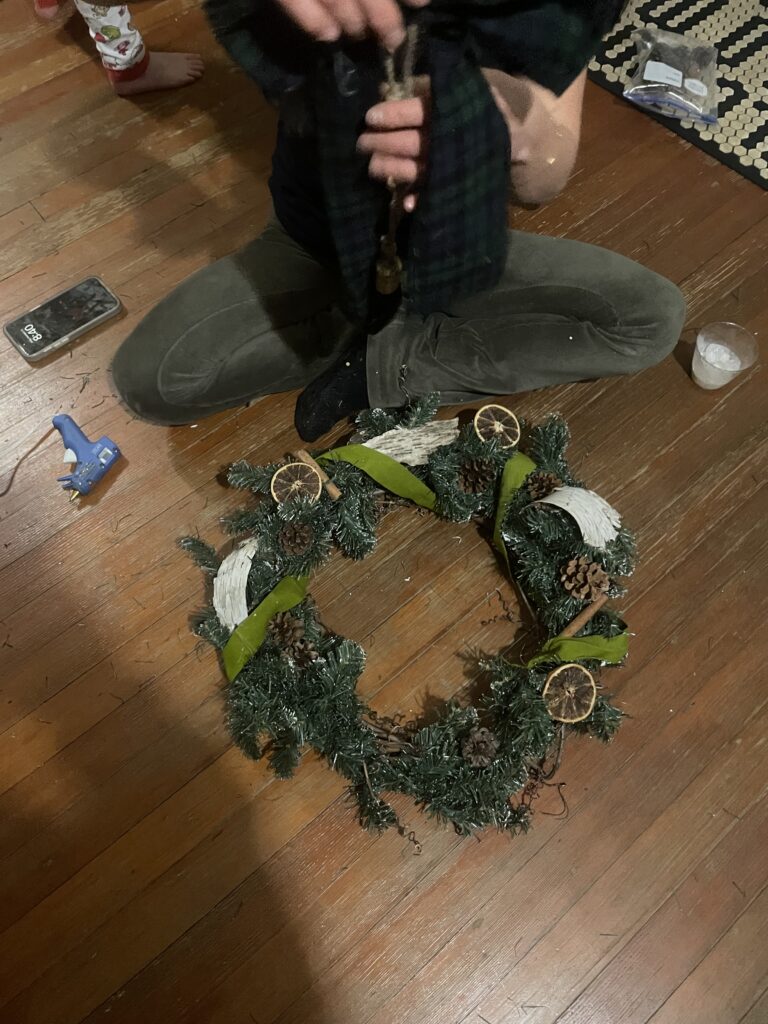
Step 3: Choose a Theme
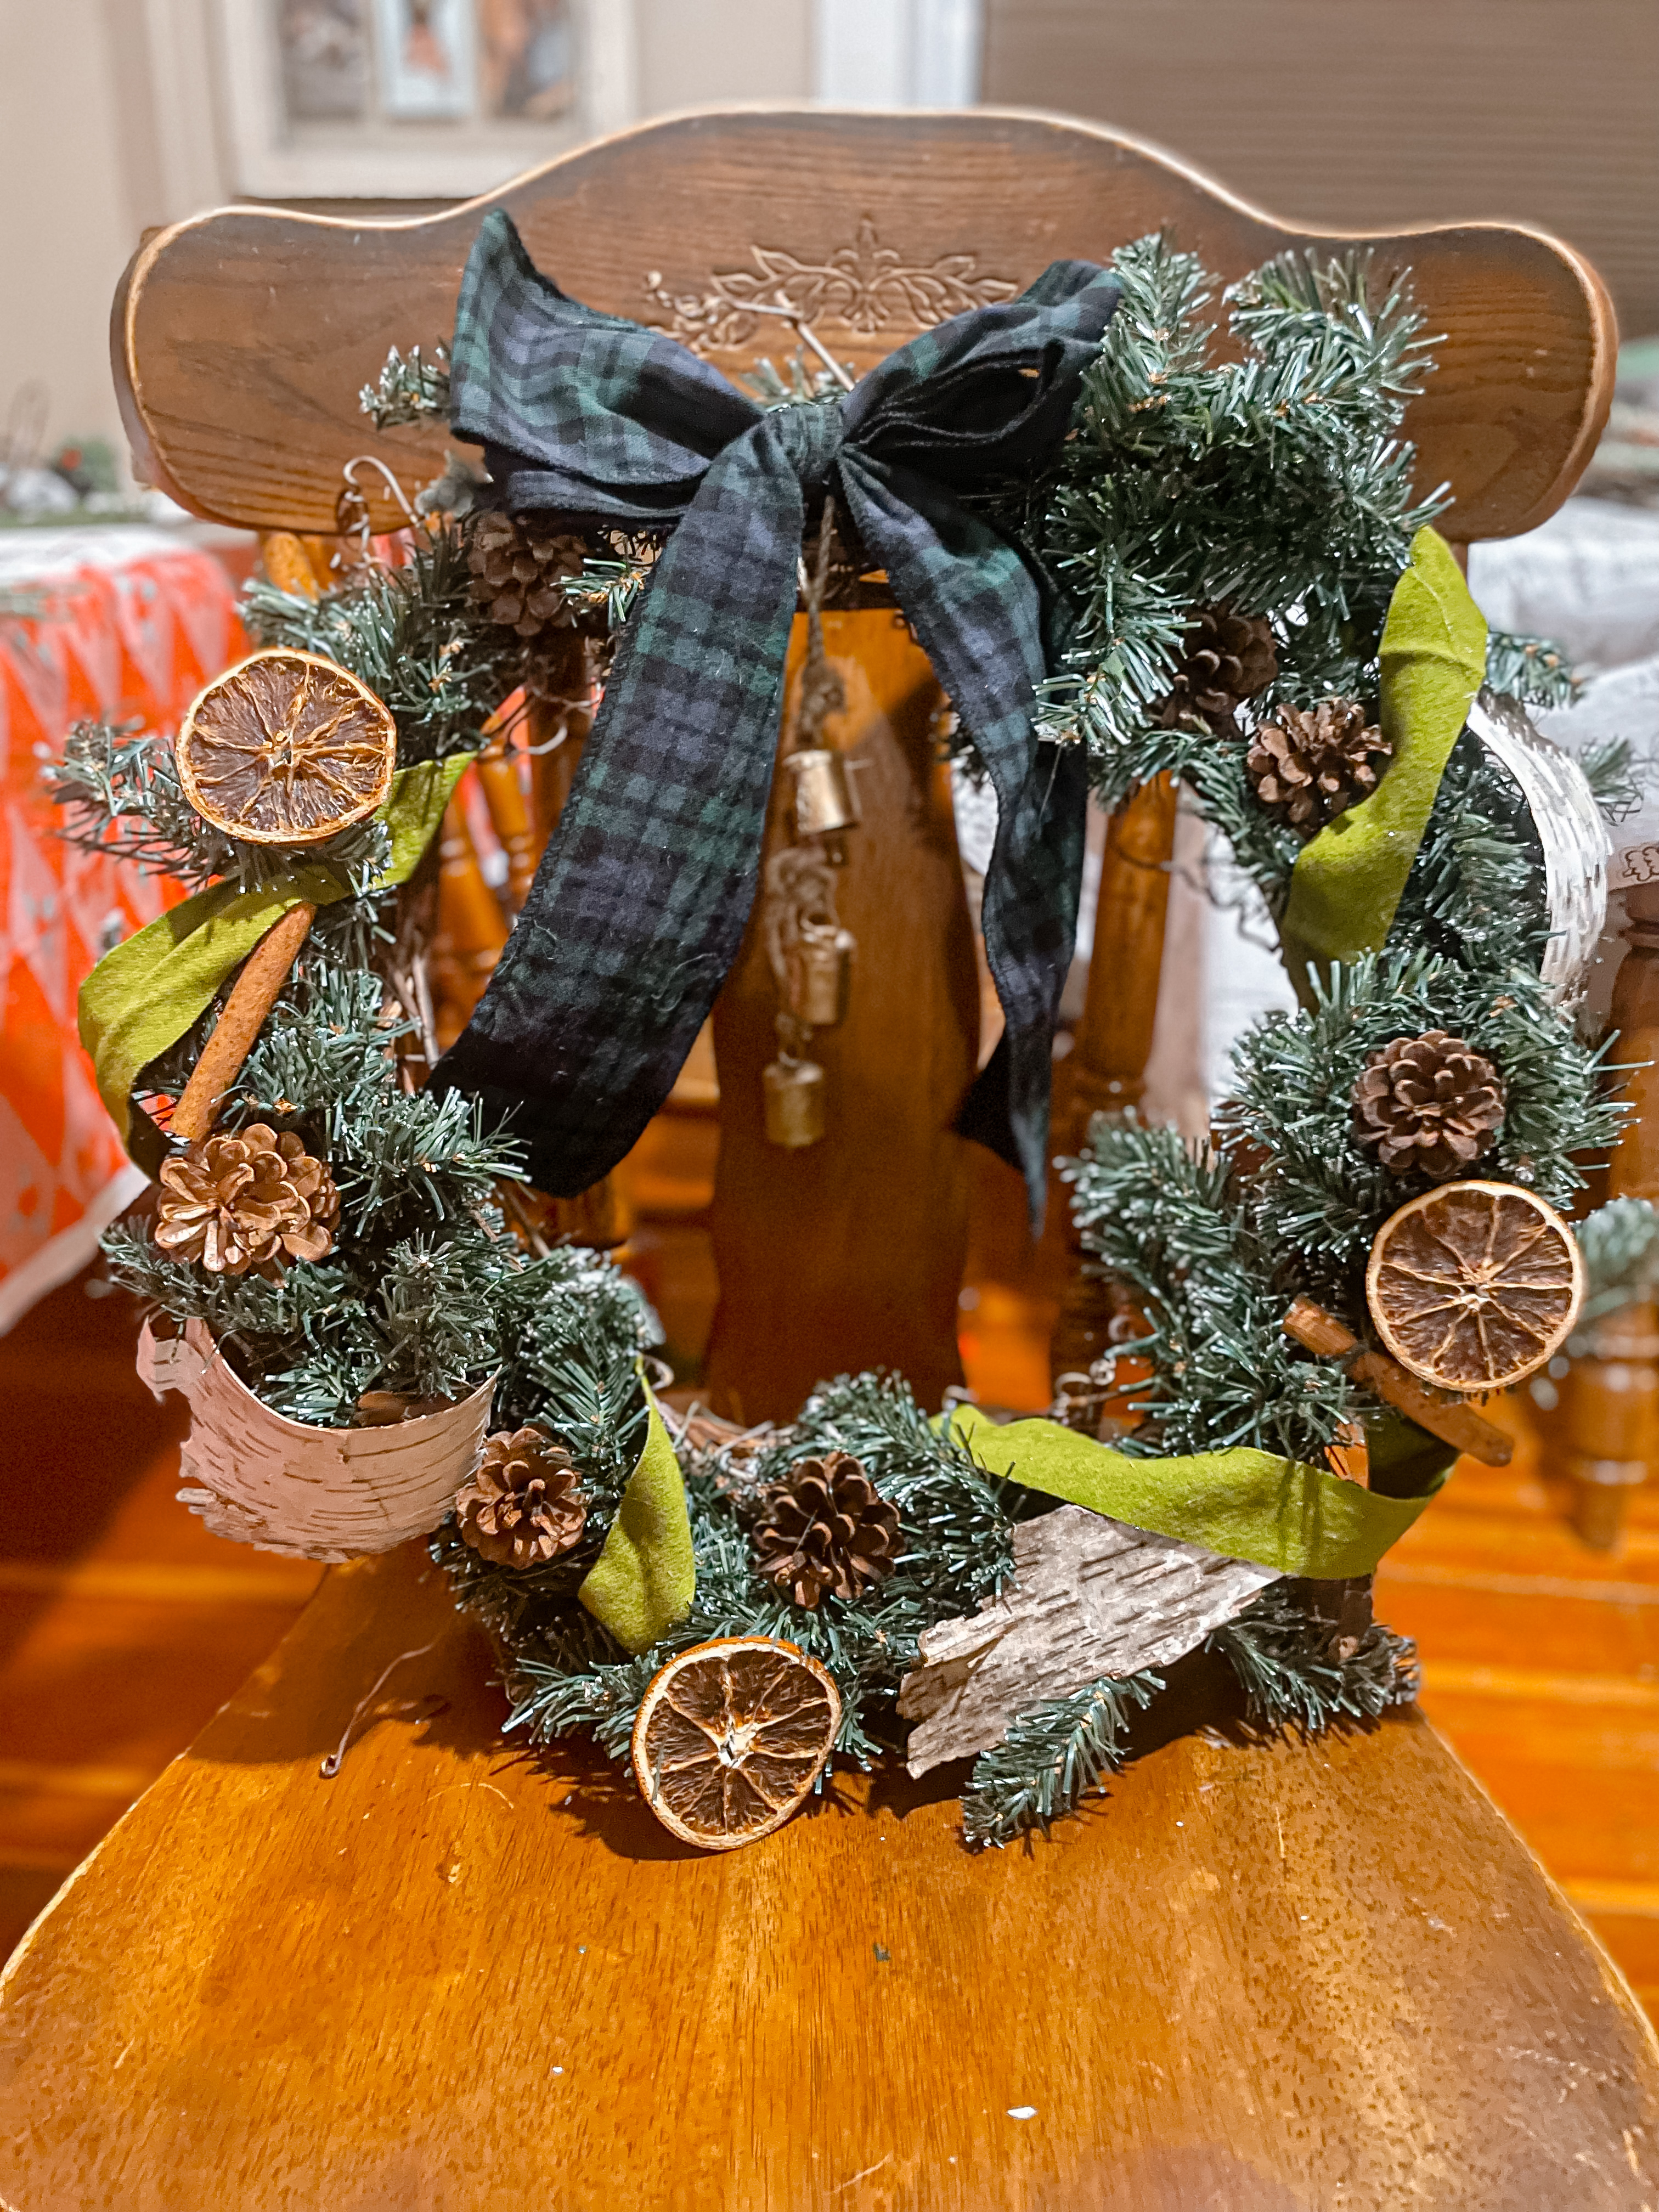
To keep things cohesive and easy, suggest a theme for the wreaths. Some fun options:
• Winter Wonderland: Silver, white, and frosted elements.
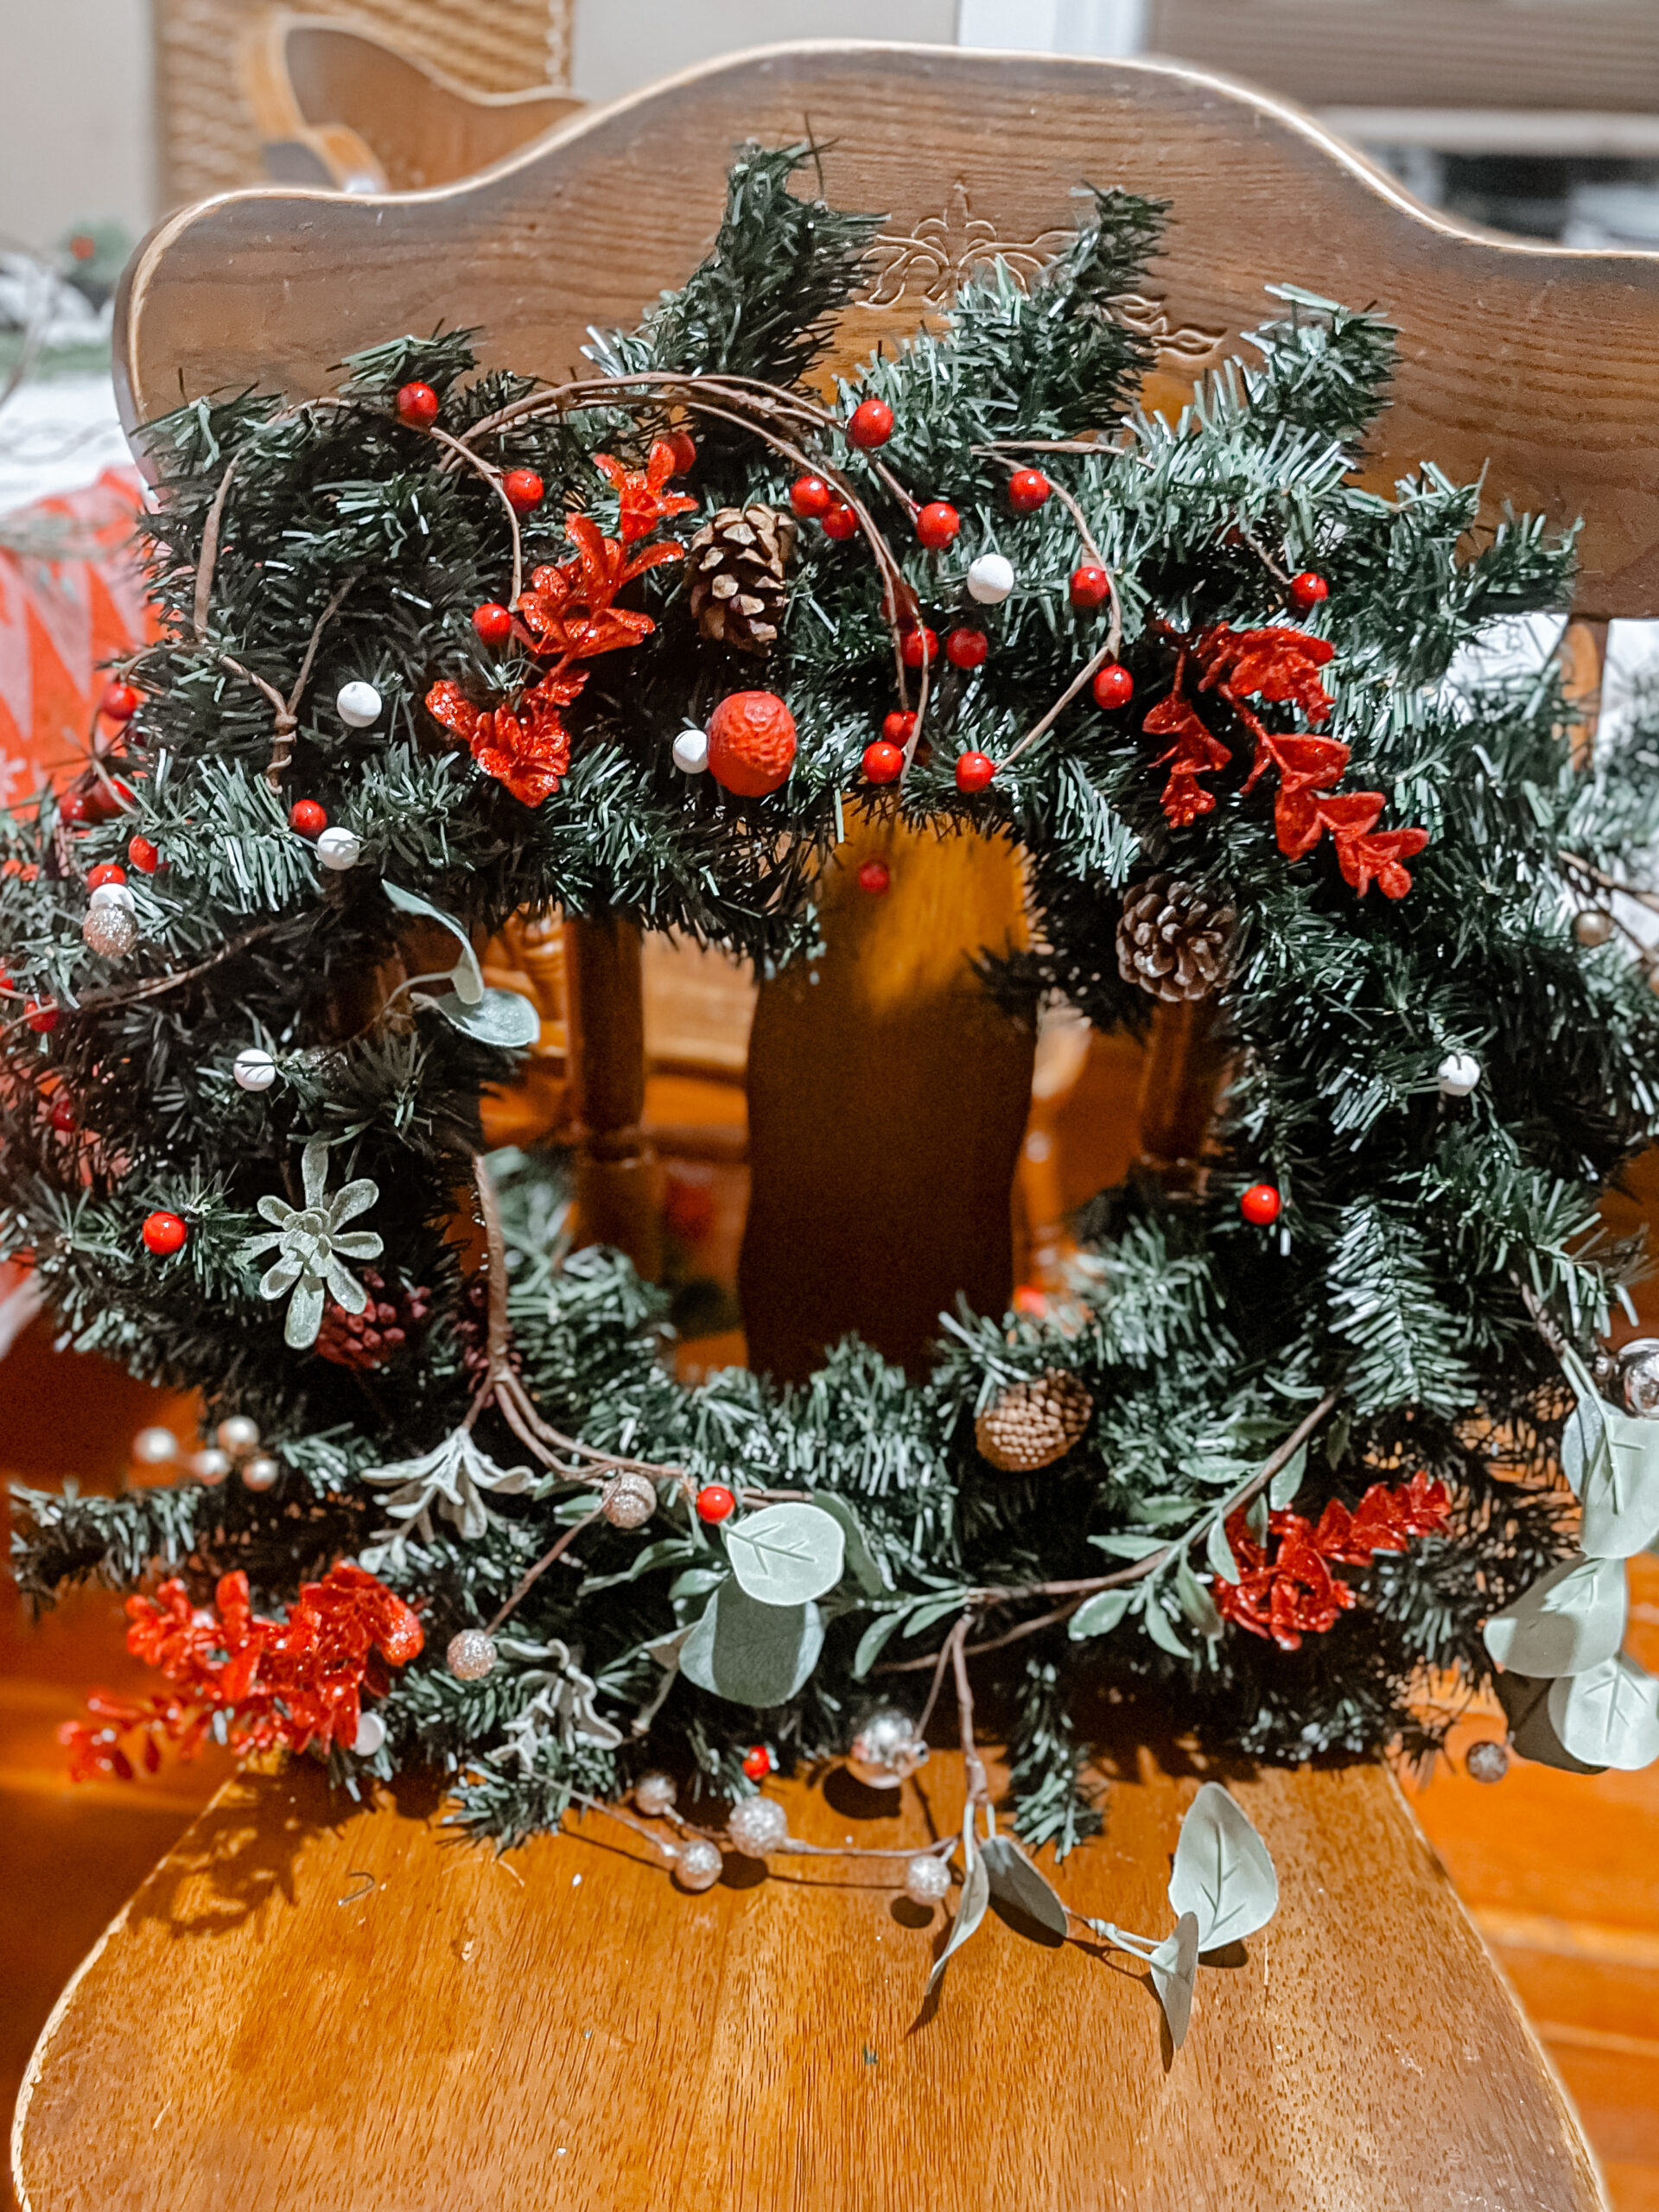
• Traditional Christmas: Red, green, and gold accents.
• Modern Glam: Metallics, monochrome palettes, and bold ribbons.
Encourage guests to bring their unique flair to their wreath while sticking loosely to the theme.
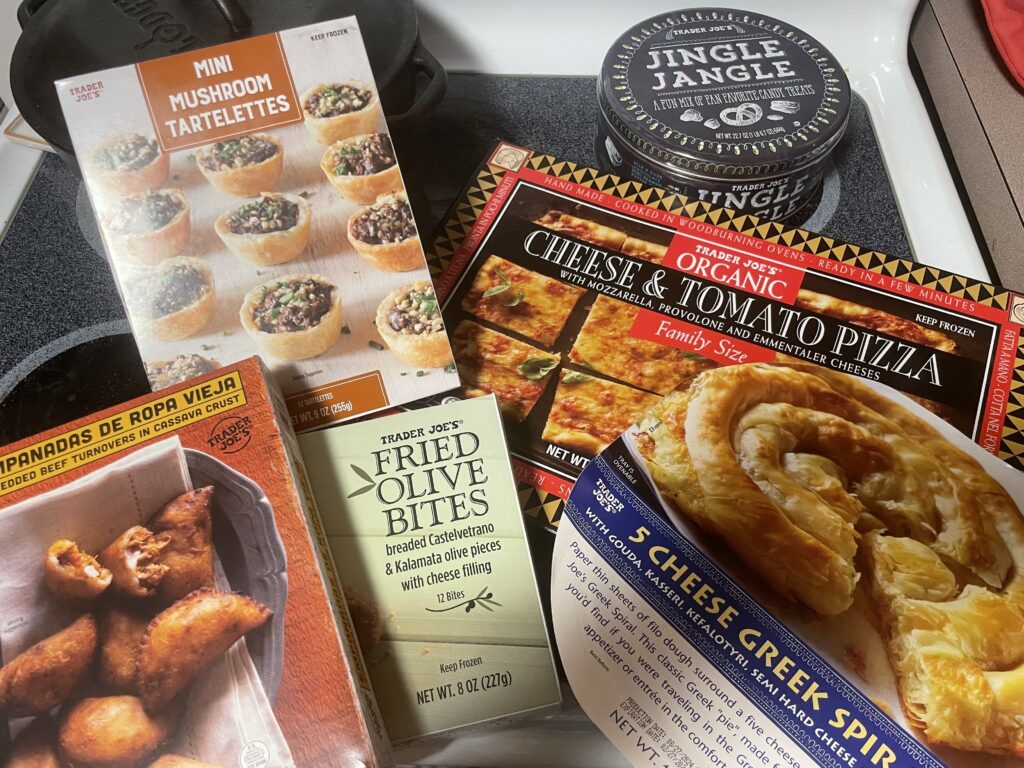
Step 4: Add Holiday Treats
No craft night is complete without snacks! Offer a mix of sweet and savory holiday goodies:
• Savory Bites: Mini charcuterie boards, spinach puffs, or warm cheese dips.
• Sweet Treats: Peppermint bark, sugar cookies, or hot cocoa brownies.
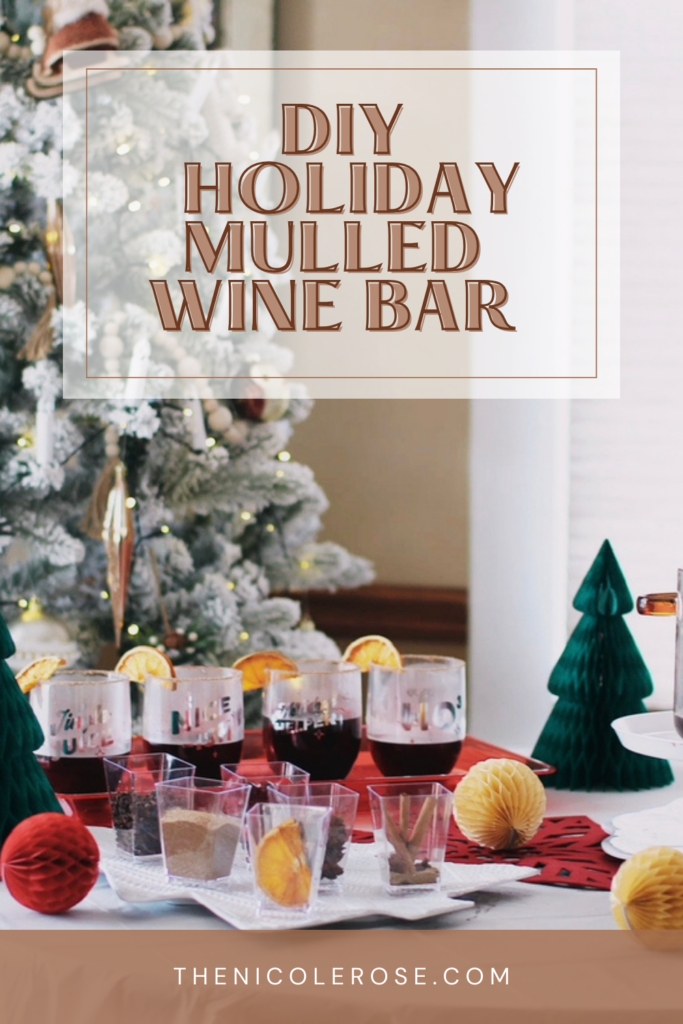
• Drinks: A hot cocoa bar with toppings, mulled wine, or festive mocktails.
Step 5: Plan for Fun Extras
Elevate the experience with a few thoughtful touches:
• Photo Station: Set up a backdrop with holiday props so guests can snap photos with their finished wreaths.
• Holiday Favors: Send guests home with a small gift, like a mini ornament or a holiday-scented candle.
• Friendly Competition: Have a lighthearted “Best Wreath” contest with a small prize for the winner.
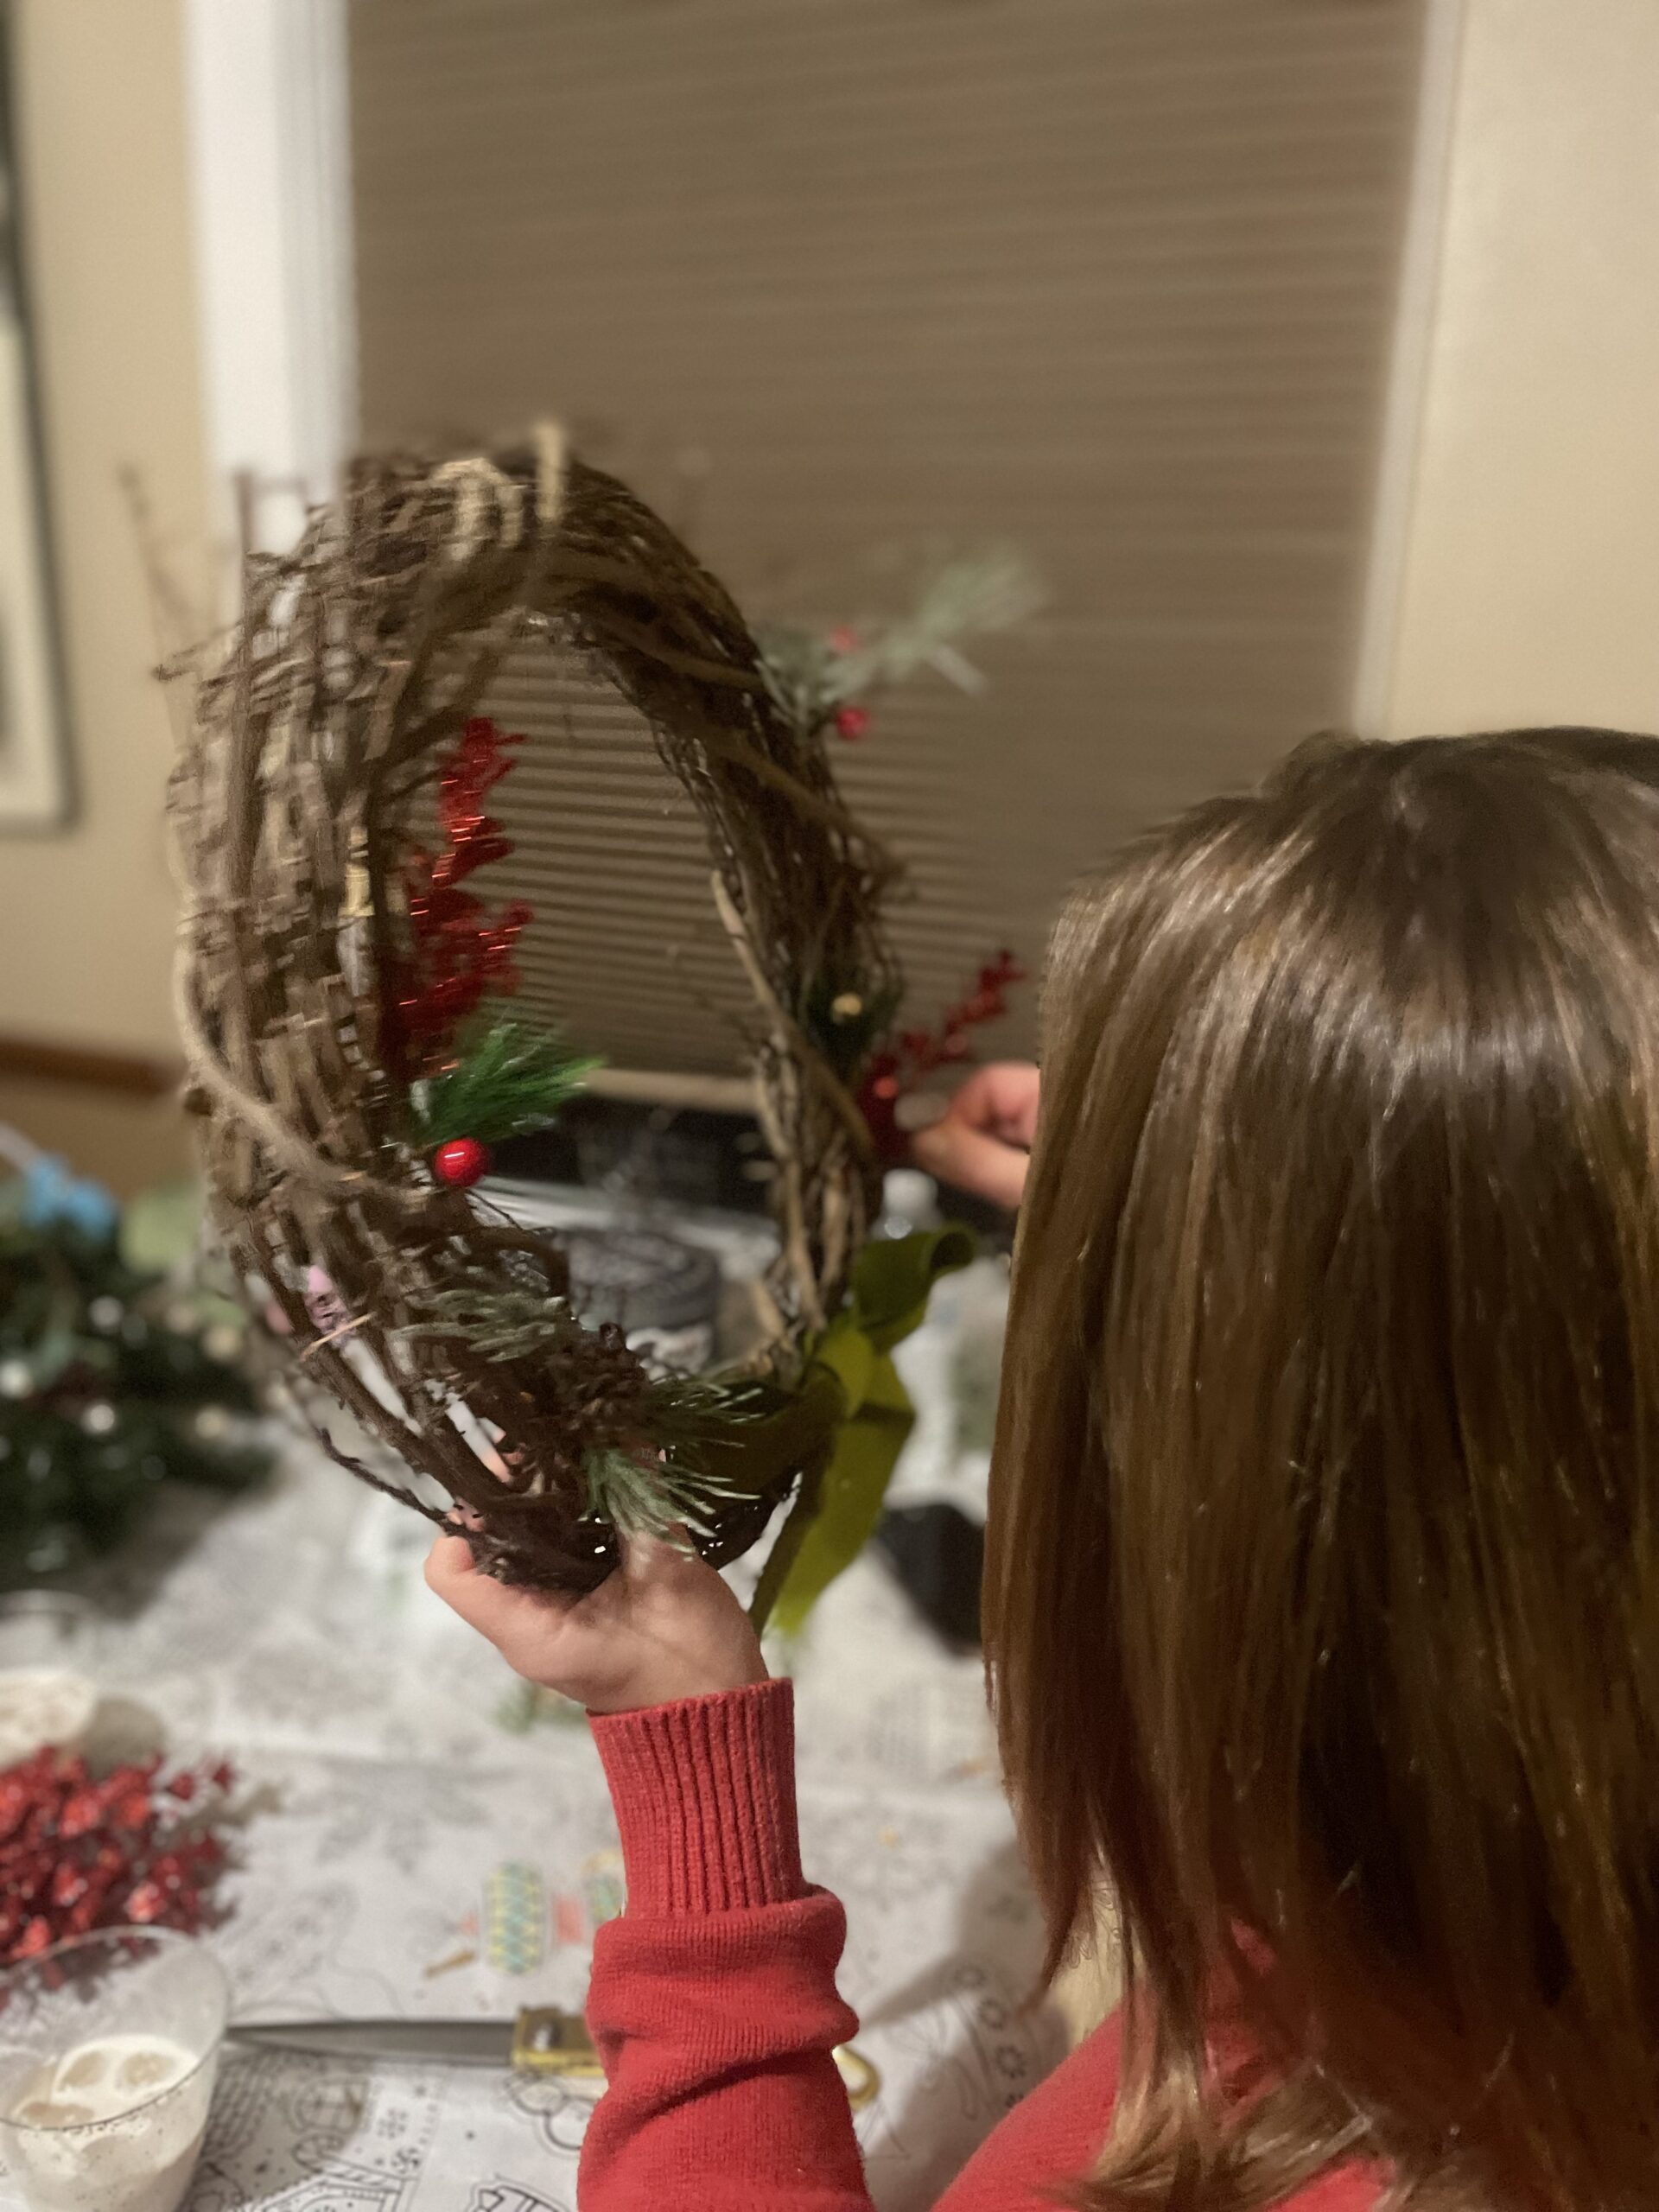
Step 6: Enjoy the Night
The most important part of the evening is enjoying time with your friends. Don’t stress over the details; focus on laughter, creativity, and making memories.
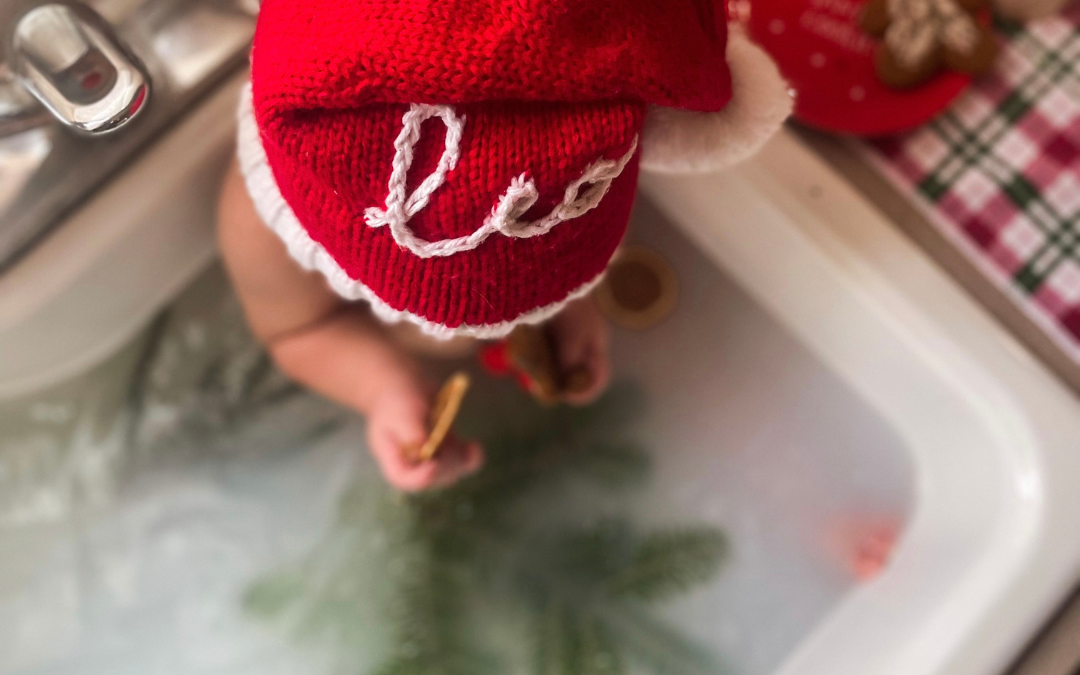
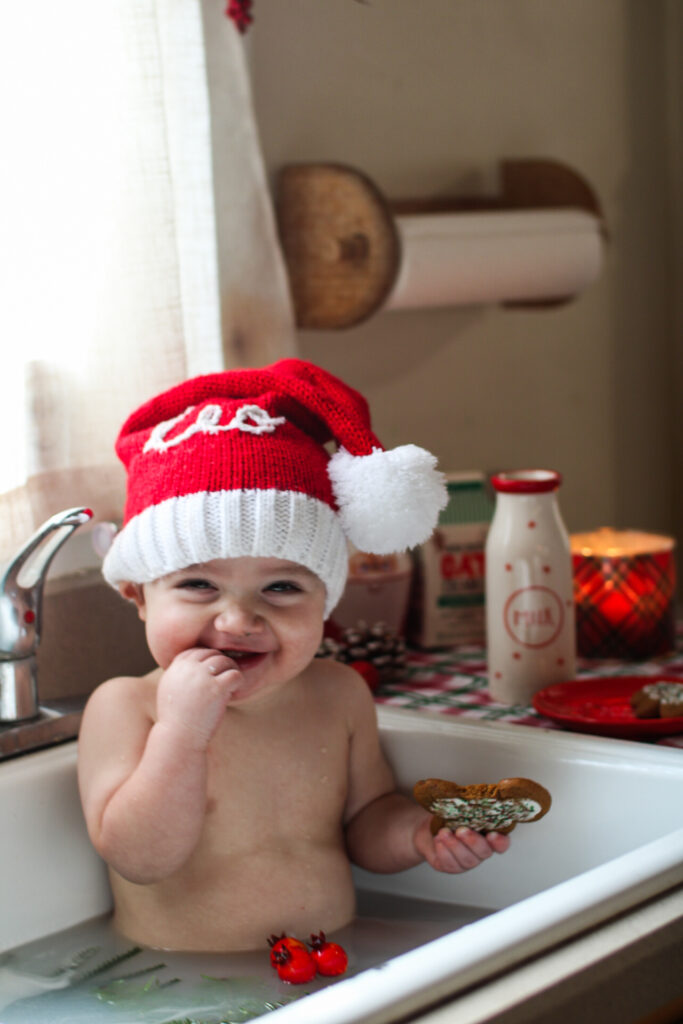
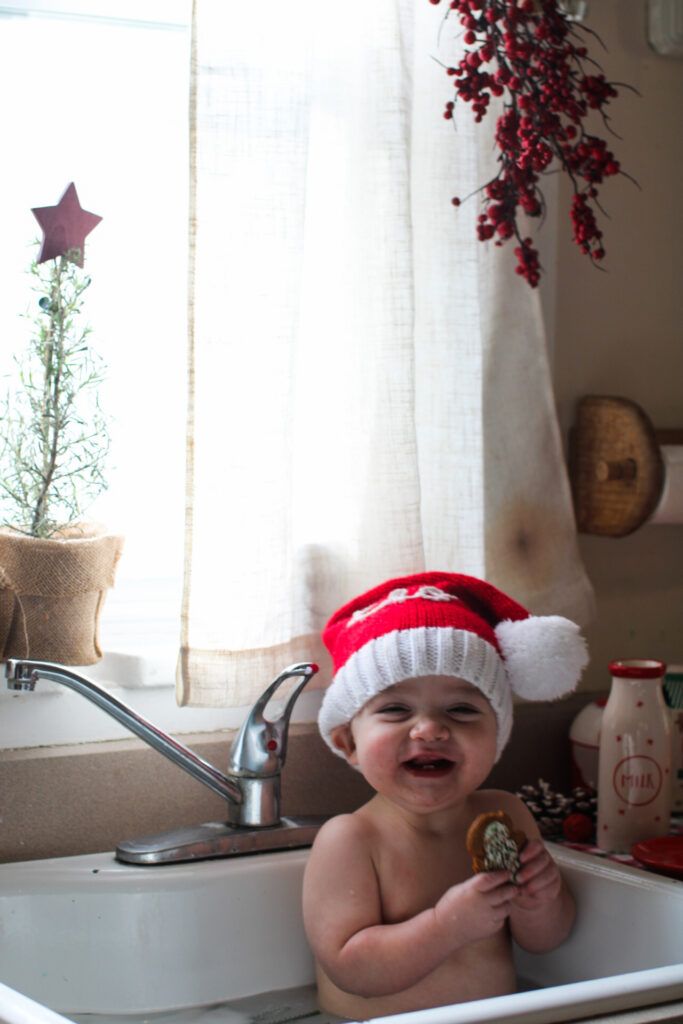
Looking for a festive and soothing experience for your little one this holiday season? A magical Christmas milk bath for your baby is the perfect combination of sensory play, relaxation, and photo-worthy moments. Plus, it’s gentle on your baby’s skin and easy to make with natural, calming ingredients.
Here’s how to create your very own Christmas milk bath:
Why a Milk Bath?
Milk baths are wonderful for babies because they help hydrate and nourish the skin. Milk contains lactic acid, which can gently exfoliate and leave your baby’s skin soft and smooth. Adding Christmas-inspired elements makes this bath not only therapeutic but also a fun holiday experience.
Christmas Milk Bath Recipe
Ingredients
• 1-2 cups of milk: Use breast milk, cow’s milk, or plant-based alternatives like oat or coconut milk.
• 1-2 tablespoons of baking soda: To soothe any irritation.
• A few drops of baby-safe essential oil: Lavender or chamomile are perfect for calming; avoid strong scents like peppermint.
• Decorative elements (optional):
• Cranberries and oranges (for a pop of festive color).
• Fresh pine sprigs (ensure they’re non-toxic and baby-safe).
• Edible holiday flowers like red and white roses or marigolds (check for safety).
Optional Add-Ons
• Baby bath toys: Look for Christmas-themed toys like rubber snowmen or candy canes.
• Holiday lights: String soft, warm fairy lights around the tub (not in it!) for an extra cozy ambiance.
How to Prepare the Christmas Milk Bath
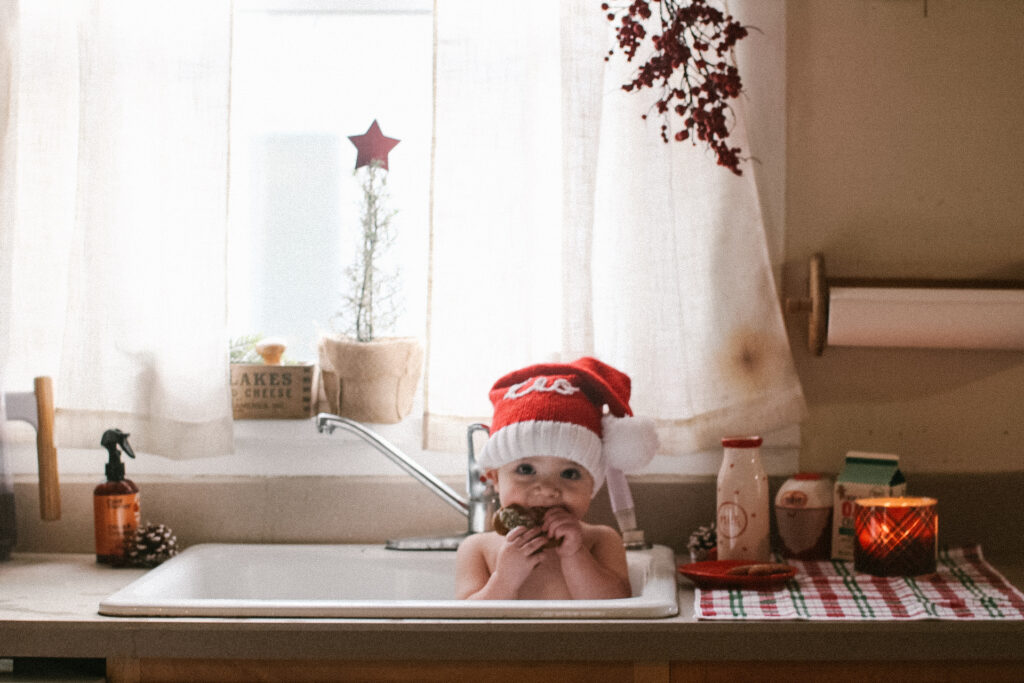
1. Set Up the Bath Space:
• Fill the baby bath or sink with warm water, about 3-4 inches deep, ensuring the temperature is perfect for your baby.
2. Add the Milk:
• Slowly pour in 1-2 cups of milk, mixing it with the water until it becomes cloudy. Adjust based on the size of your tub.
3. Add Baking Soda:
• Stir in baking soda to balance pH levels and create a soothing effect on your baby’s skin.
4. Incorporate Essential Oil:
• Add a drop or two of baby-safe essential oil and mix gently.
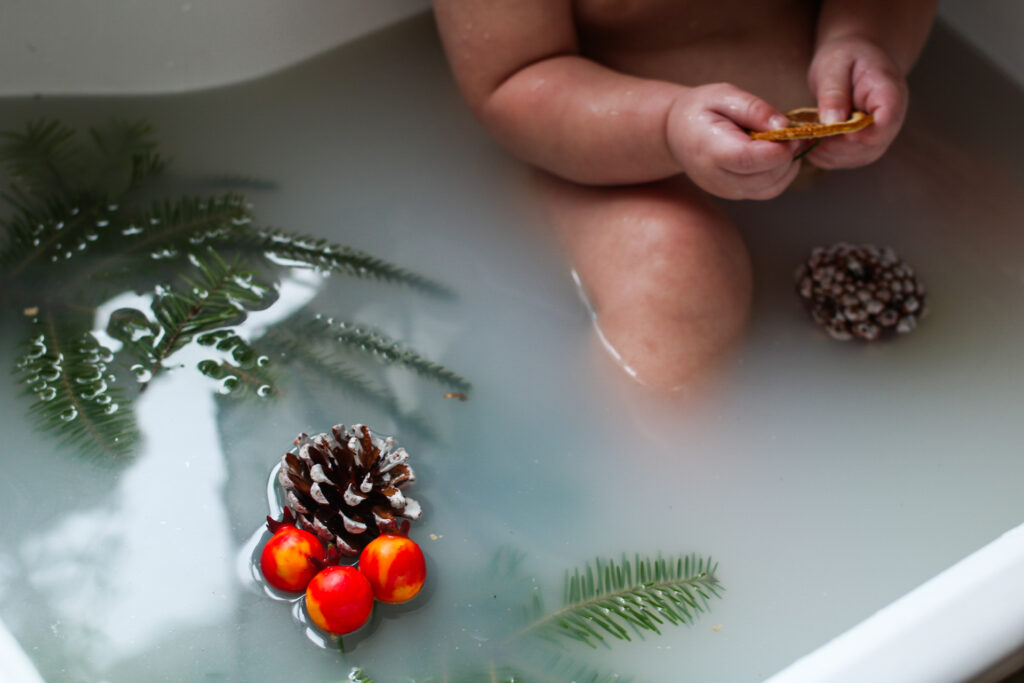
5. Decorate:
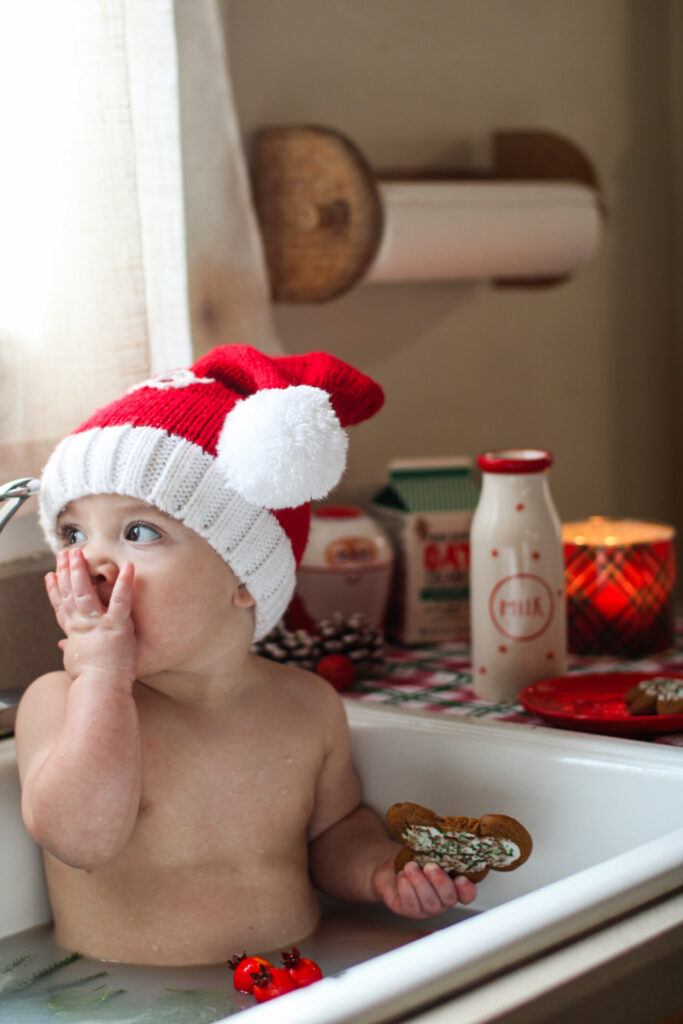
• Float cranberries, pine sprigs, and flowers on the surface. These elements add a festive touch and create beautiful photo opportunities.
6. Enjoy the Experience:
• Place your baby in the bath, allowing them to splash and explore while being supervised.
Safety Tips for Milk Baths
• Always check ingredients for allergies, especially if you’re introducing something new to your baby.
• Avoid using glitter or other non-edible decorations that may irritate your baby’s skin.
• Never leave your baby unattended in the bath, even for a moment.
• Make sure the water is warm but not hot, around 98-100°F (36-37°C).
The Perfect Moment to Capture
A Christmas milk bath is not just a fun bonding experience; it’s also a great opportunity for holiday photos. Dress your baby in a Santa hat or a cozy Christmas headband to complete the look. With the milk’s soft glow and festive elements floating around, you’ll have photos to cherish for years to come.
If motherhood has you stressed and you feel like you’ve lost your creativity, I am here to help! Here you will find easy recipes, simple DIY’s, affordable styles, and what to read next. I believe we all have a creative side, some of us just need a little help to find it. I will help inspire you to have creative expression without standards.