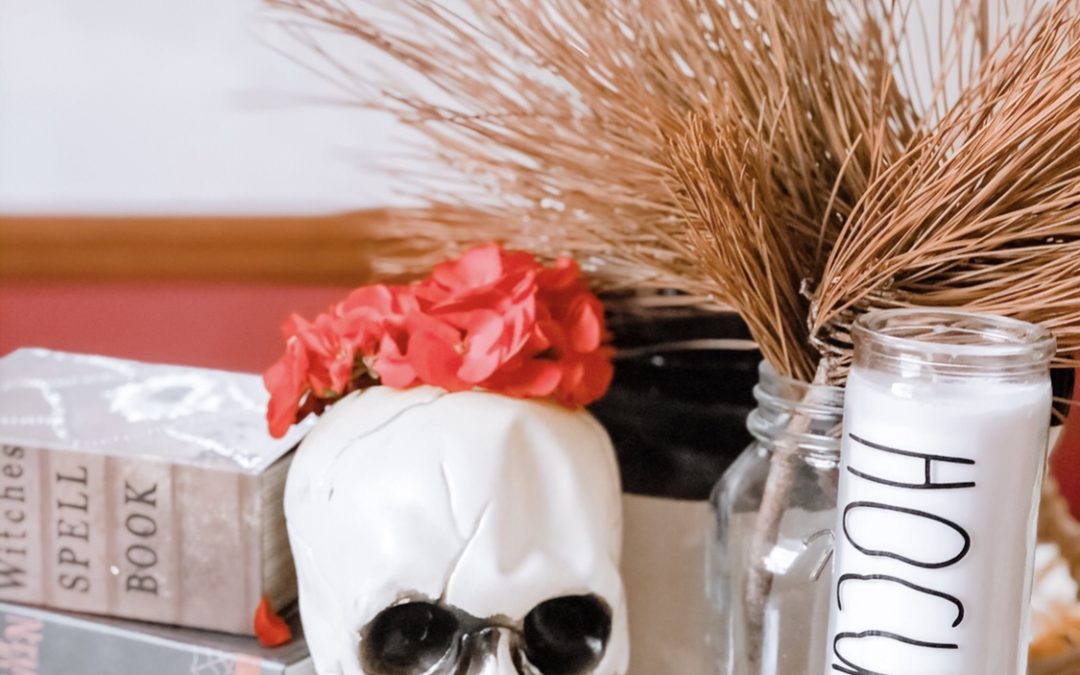
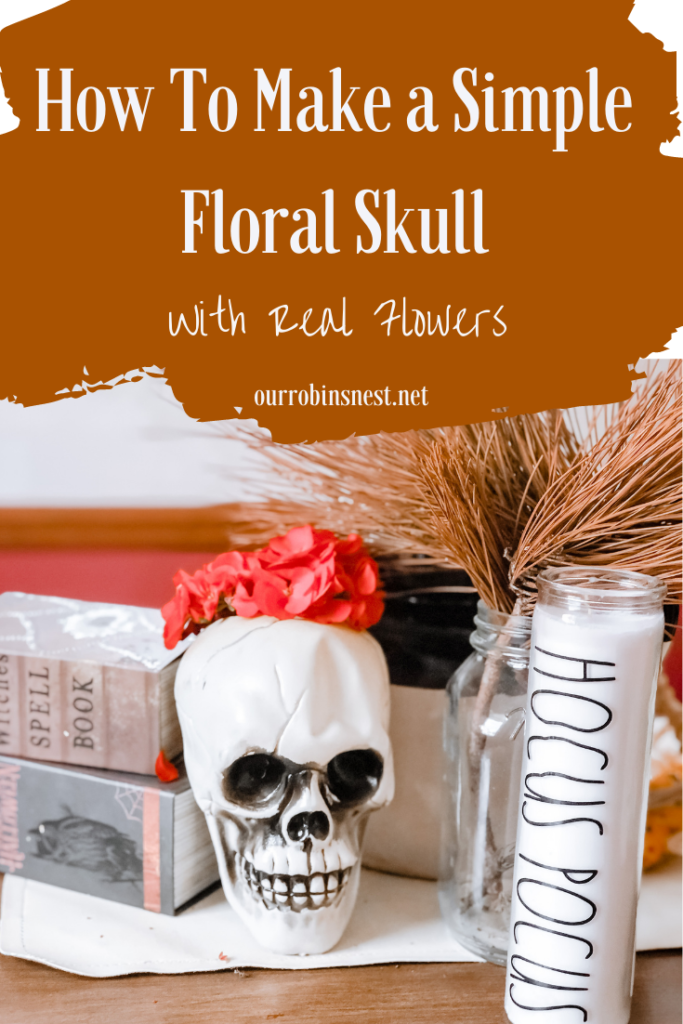
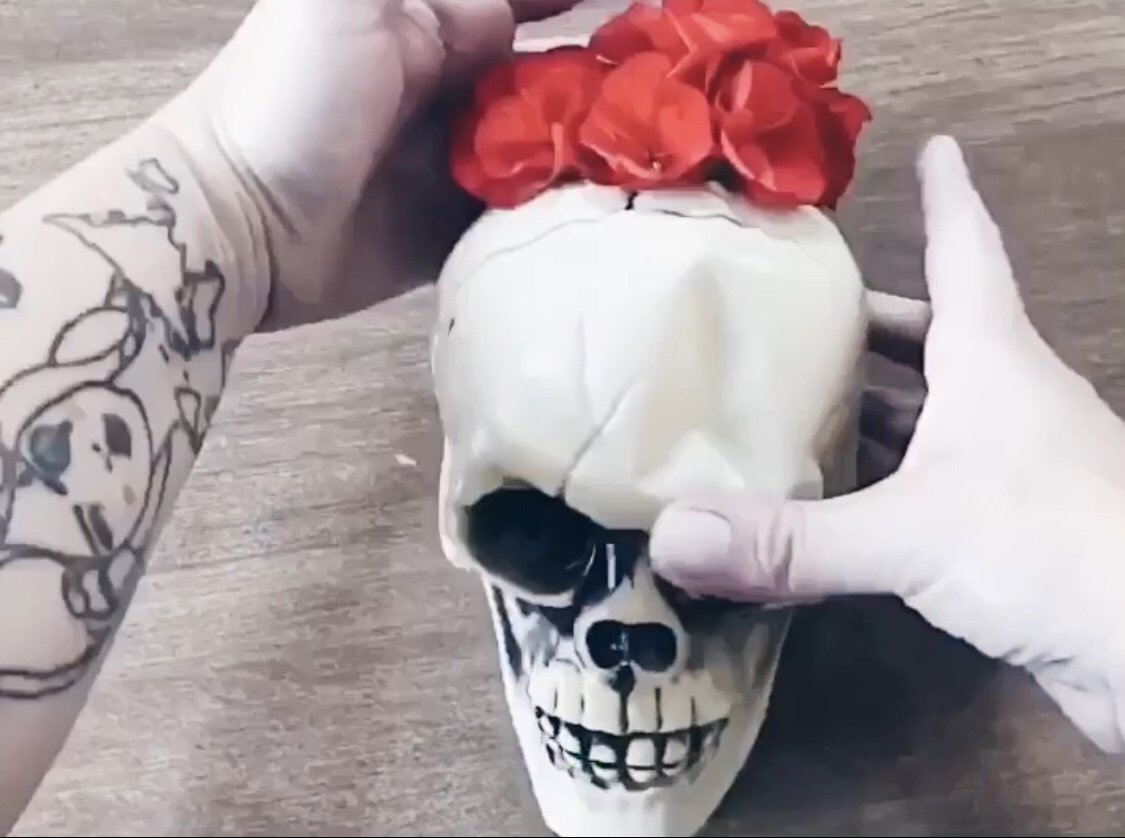
Keep your summer flowers alive while decorating for fall! Give them a little spooky vibe by putting them in this skull head from my favorite store, Dollar Tree!
Materials:
Plastic skull head from Dollar Tree or any other department store
Fresh flowers
Box cutter
Water
Black magic marker
Directions:
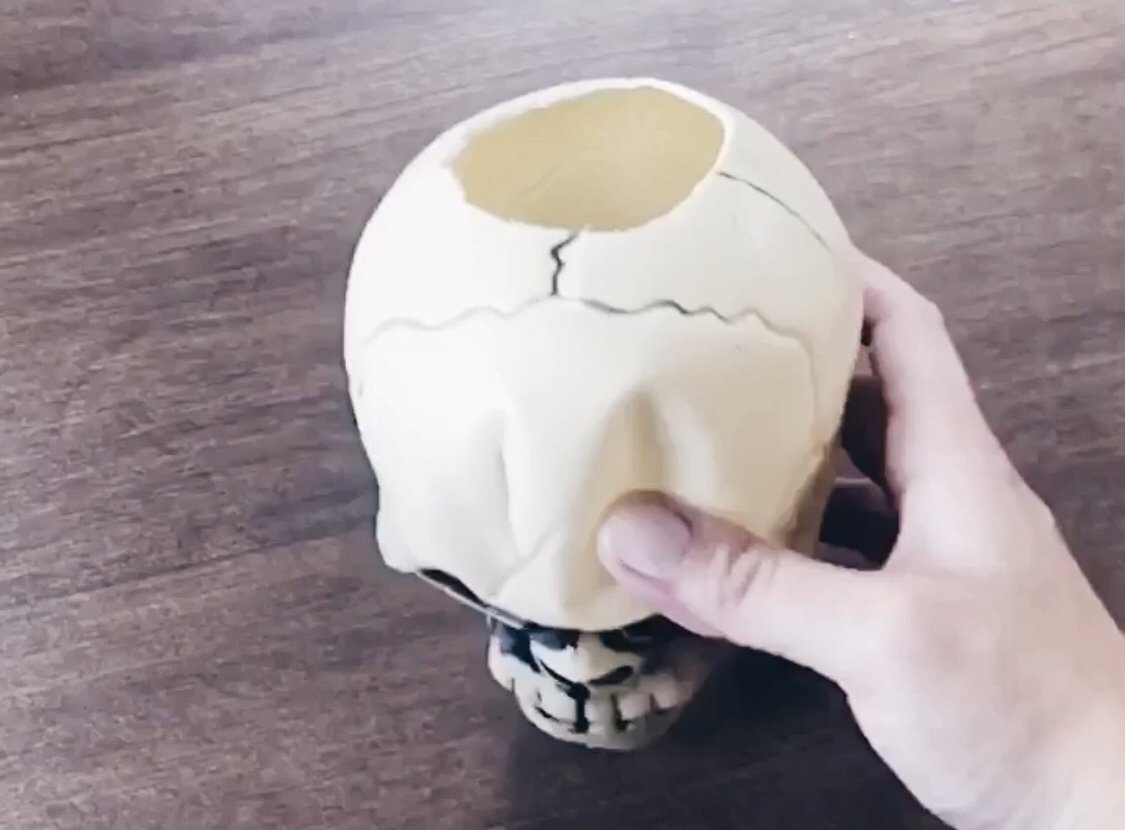
Trace a circle on top of the skull with a black marker. The circumference of a shot glass is a good size for the circle.
Cut out the circle using the box cutter.
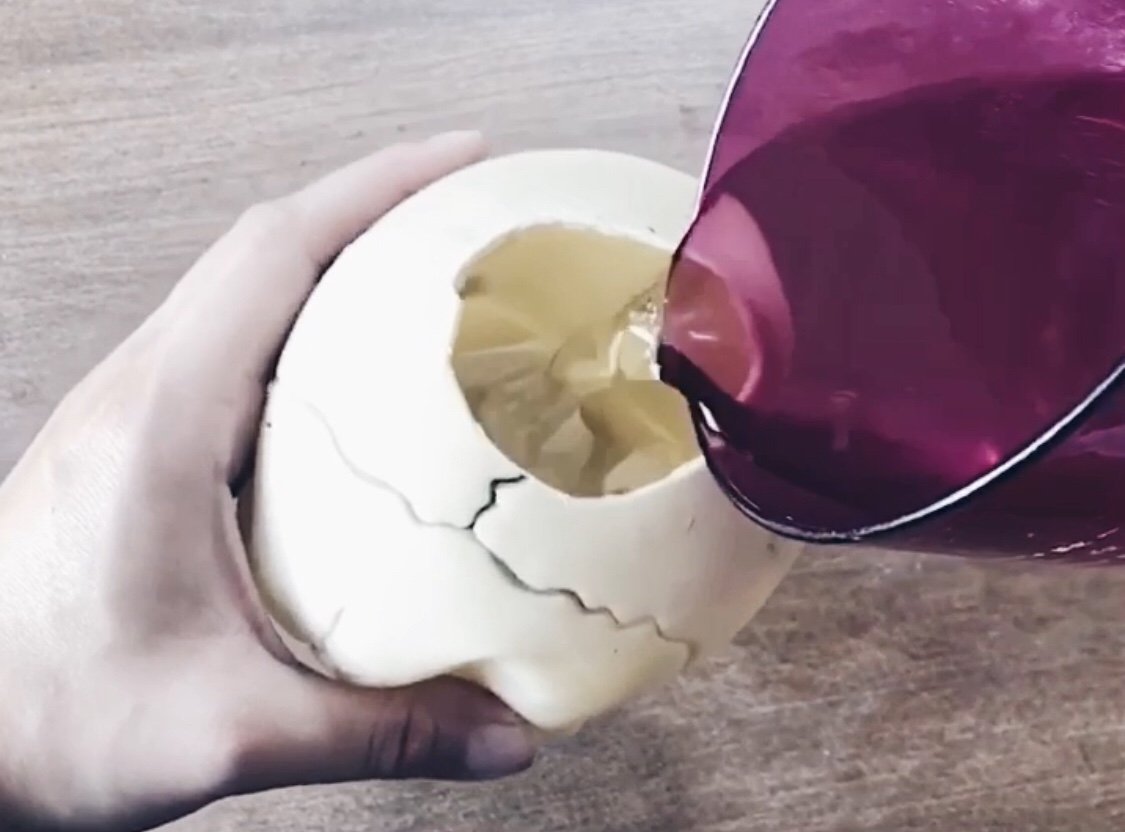
Pour some water into the skull head and place flower arrangement of your choice.
Remember to keep water in it and change flowers throughout the season to stay spooked!
And now for the super fun part, I am excited to announce a fun giveaway!
I have teamed up with an amazing group of bloggers to give YOU a chance to win:
a $1,00 Amazon Gift Card to kick off Fall season!
Simply enter below by completing the rafflecopter. You’ll receive one entry per completion. This giveaway is open to the U.S. and Canada only and runs until 9/23. Winner will be announced here. Good Luck!
Void where prohibited. By entering the giveaway you acknowledge that you are agreeing to complete each task, which involves following, liking and subscribing to newsletter’s.
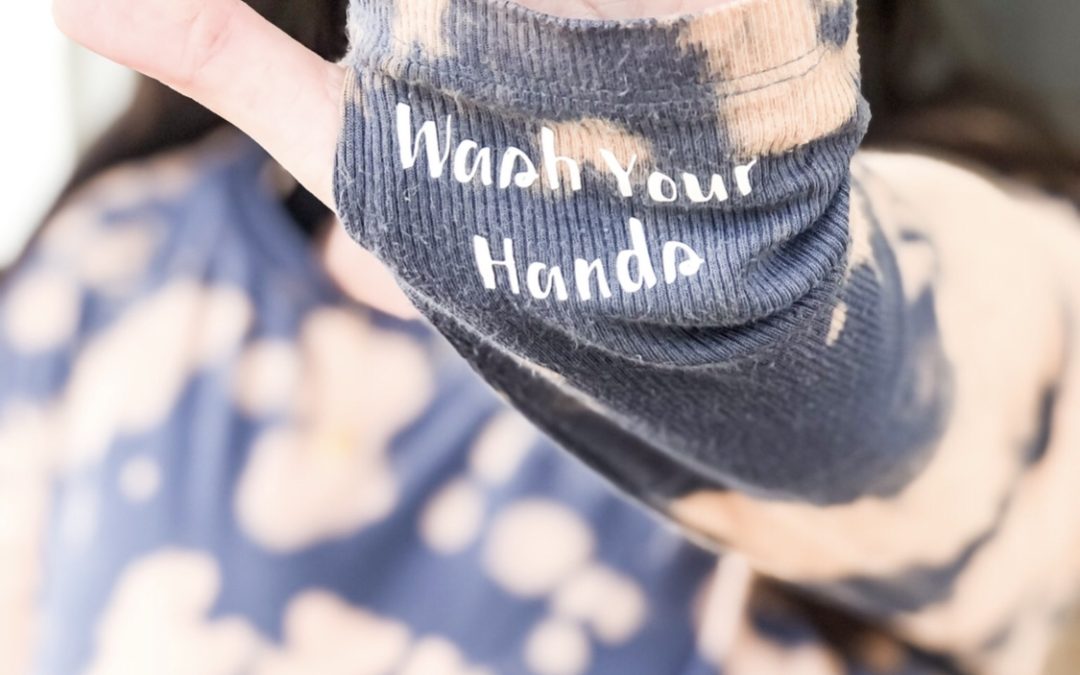
ABI x ECB x DIYWe tapped into our diverse network of creatives and artists to get a glimpse into their creative process while staying at home. The result is a new video series we're calling "Quarantorials"!For our first episode, we've partnered with Nicole of Our Robins Nest to bring you a DIY tutorial on tie dyeing with bleach!Our Robins Nest (www.ourrobinsnest.net) is a platform designed to educate, support, and raise awareness around modern day motherhood. Through her blog, Nicole helps create a lifestyle for moms who just don't 'have the time.' Check out Our Robins Nest for easy recipes, simple DIY's, and affordable style inspiration!
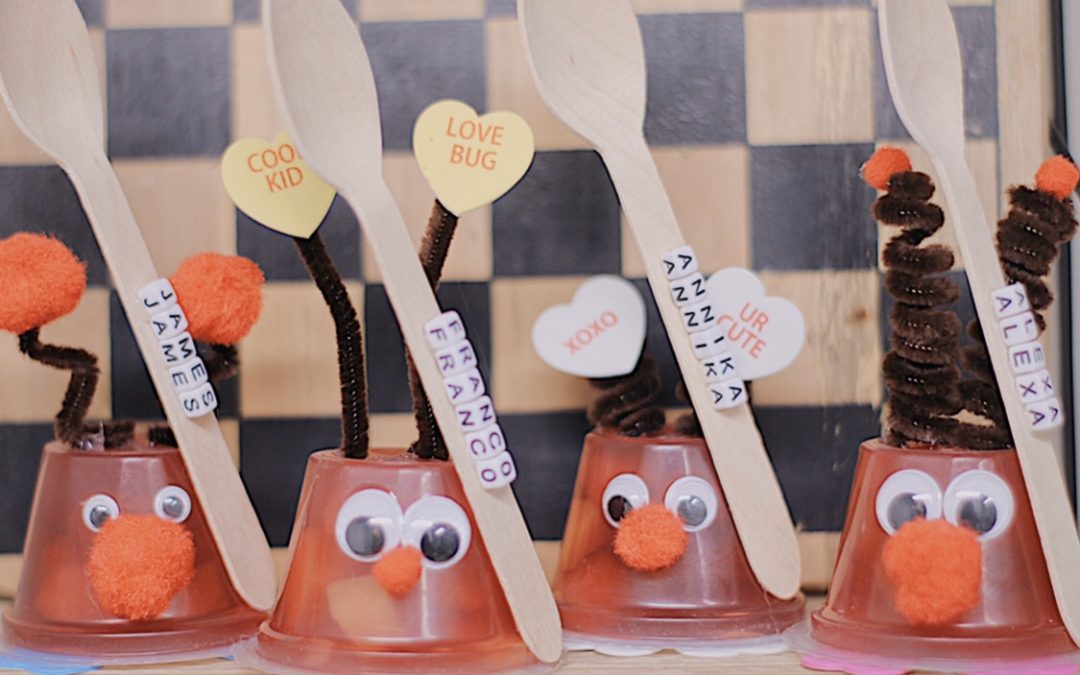
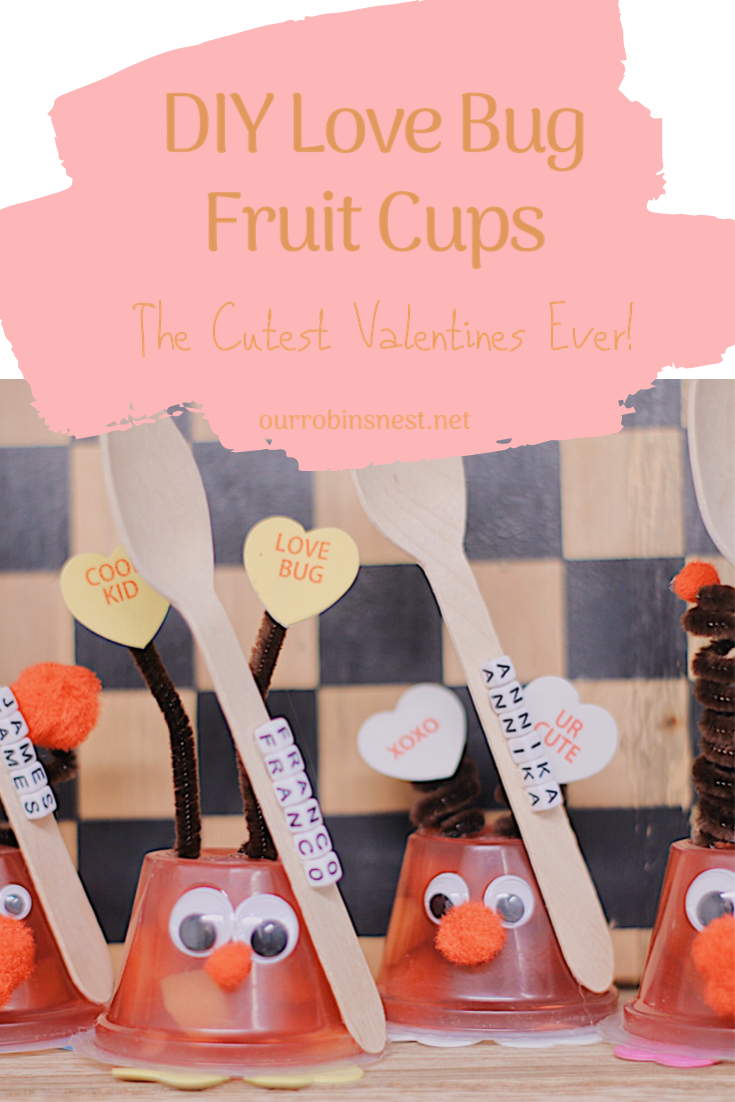
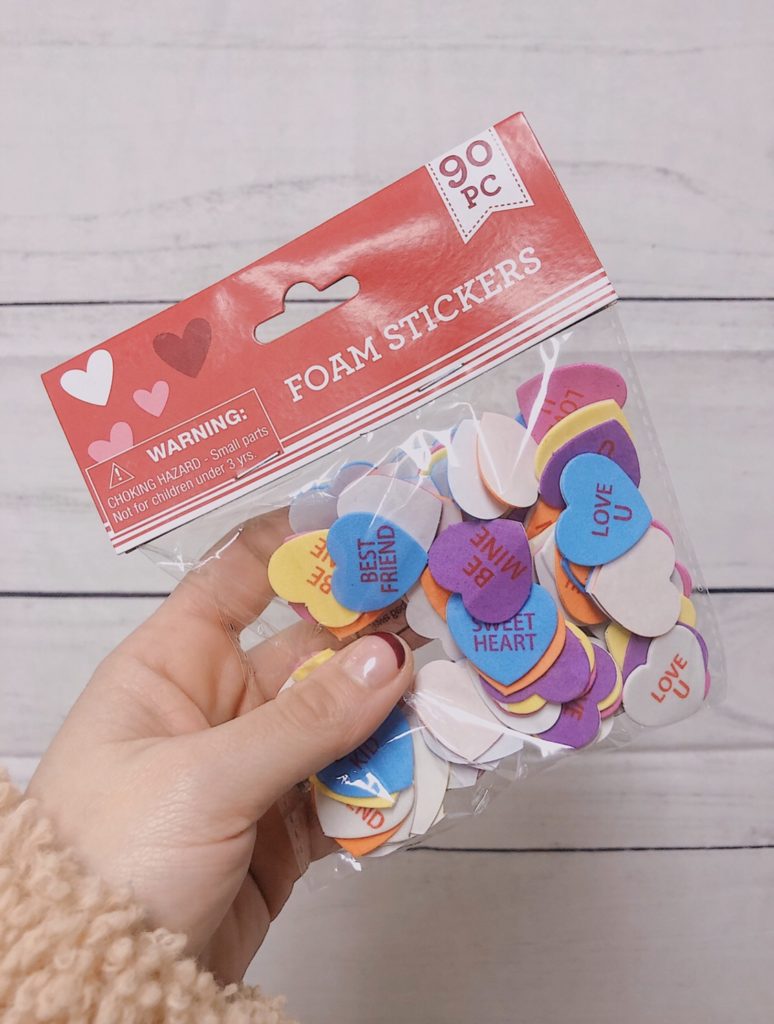
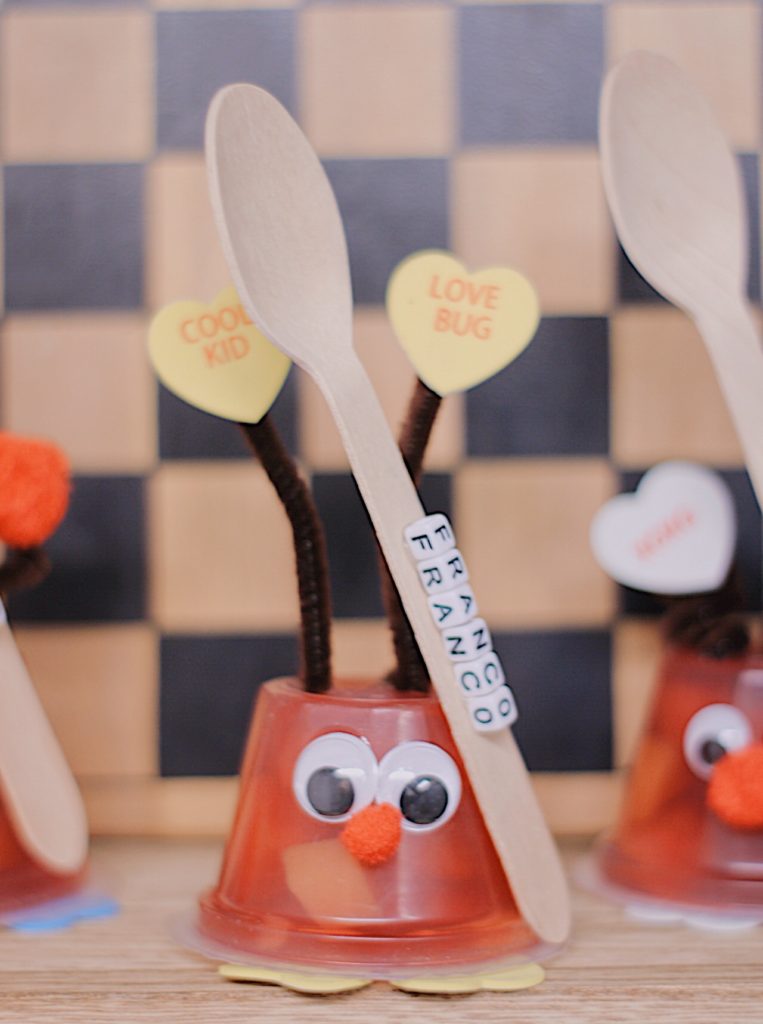
These DIY love bug fruit cups are the perfect Valentine’s Day treat! They are perfect as Valentine’s or to bring to a party. They are fun, silly and customizable. The perfect touch is adding a personalized spoon with them!
Isn’t great to live in a world where there are such adorable Valentine’s? I remember being a kid and loving the cute cards from all my classmates. If I got one today though, boy would I be excited!
There are so many cute ideas and if you’re not the crafty type, there are plenty that are super simple!
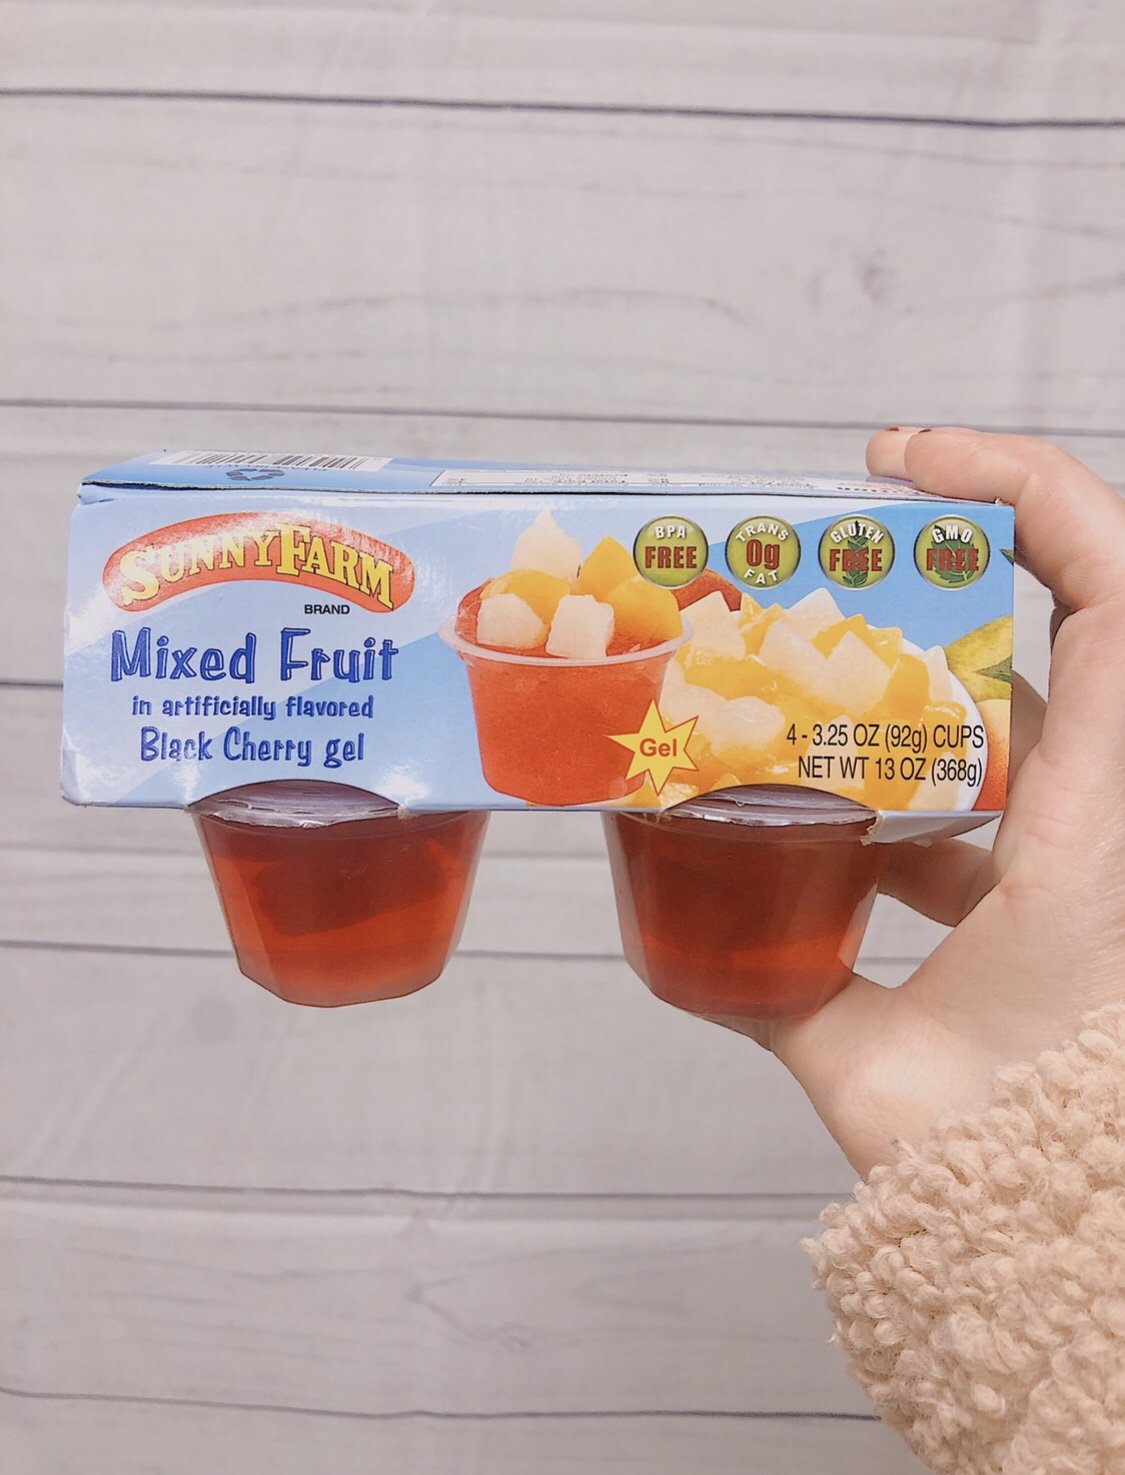
This year Franco’s classmates are getting these adorable love bug fruit cups. Most materials you can find at Dollar Tree or you just order everything off Amazon.
I found these jelly cups with fruit in them. You can use applesauce, Jello or fruit cups, it’s all up to you!
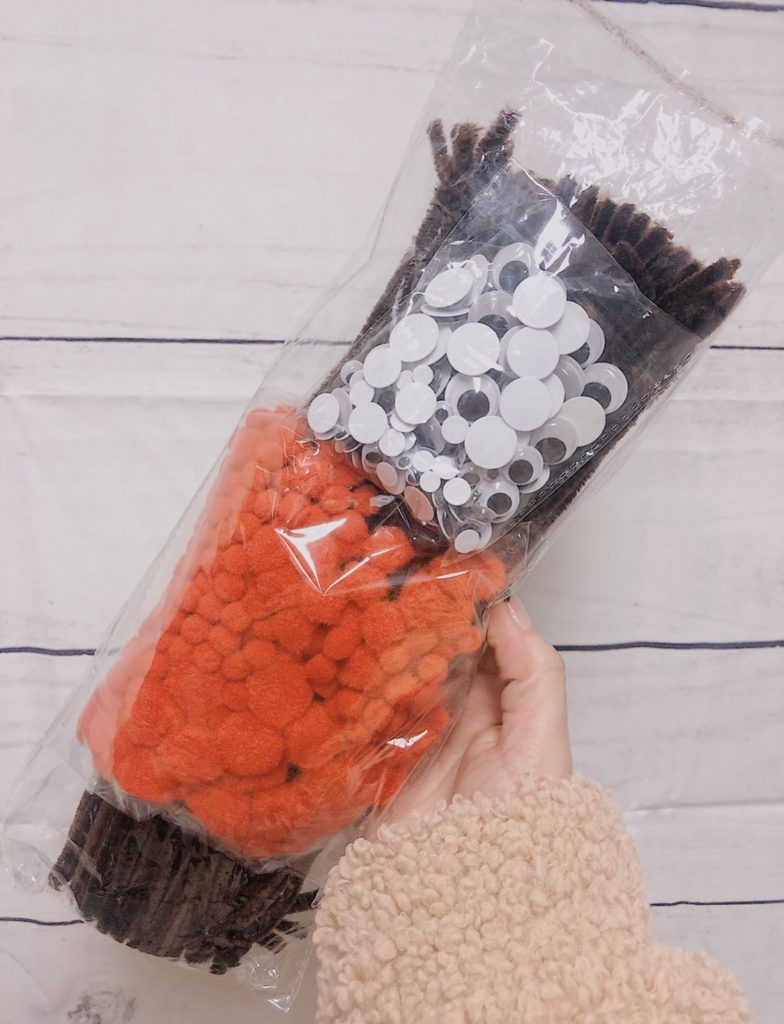
The best part about these cute crafts is that they are fully customizable. You can use different color lip cleaners and Pom poms, different sized eyes etc. the possibilities are endless and the beat part is your little one will love to help you make these!
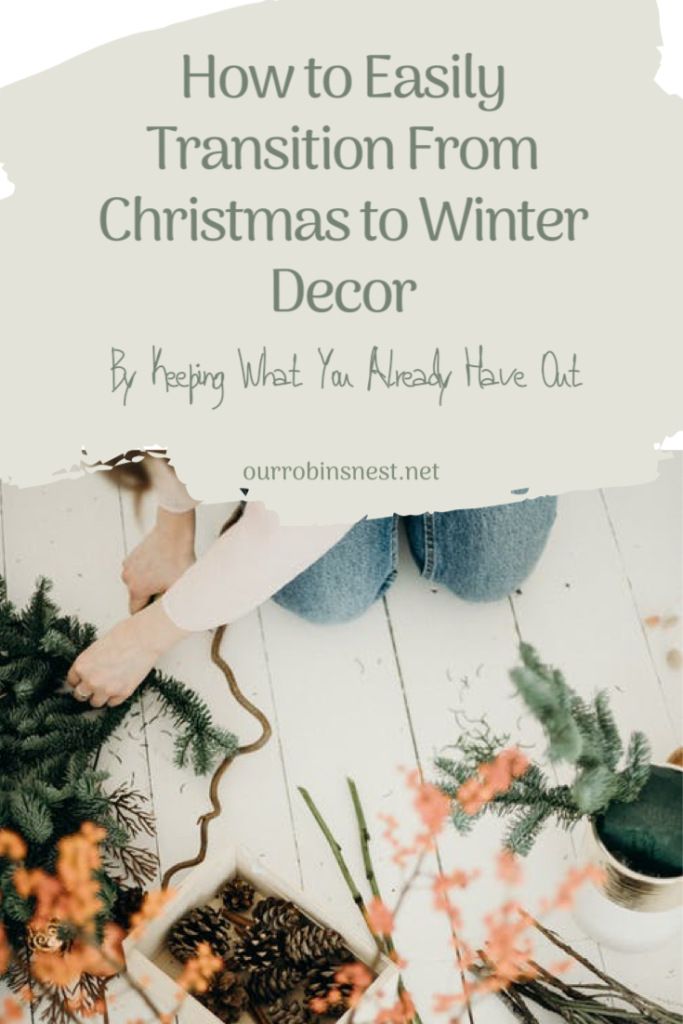
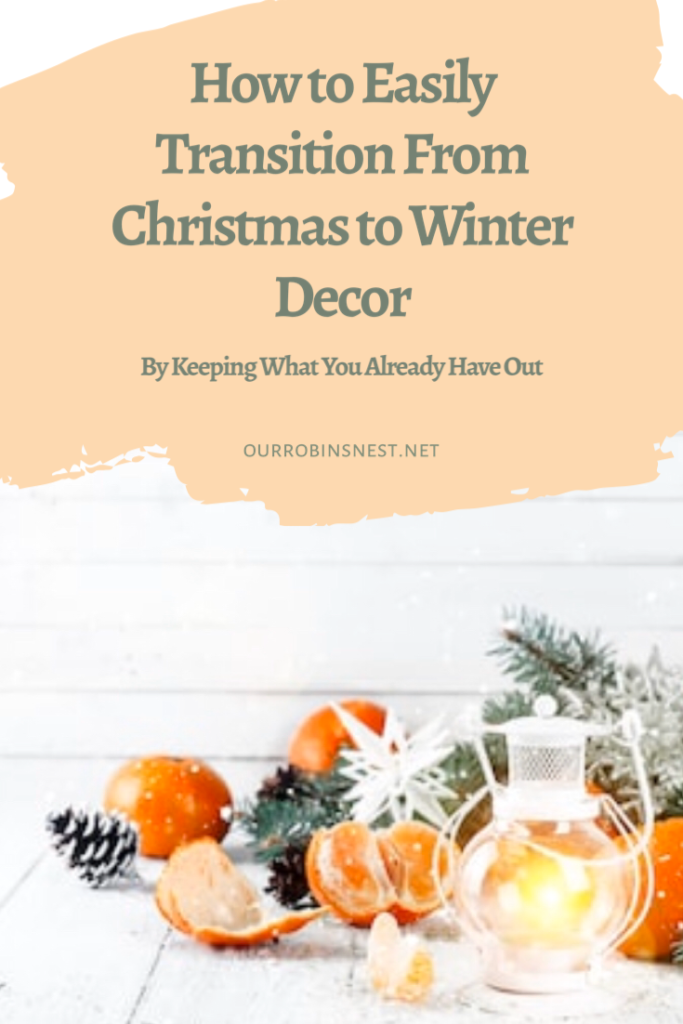
I may be outnumbered on this, but I like to take all of my Christmas decor down the day after Christmas. I know, I know how “Grinch” of me, but as a working mom I have no idea when I will have the time to get to it. I also get the post holiday blues pretty bad so best way I handle it is by getting my house back in order as soon as possible.
This does not mean I put everything away, I try to make my transition to Christmas to winter decor fairly easy.
My number one tip? Put away all the ornaments and anything red. You can keep your bases, such as garland and mini trees as long as they are bare.
Stick to neutral colors as much as possible, and you can keep some of your lights as long as they are tiny and white.
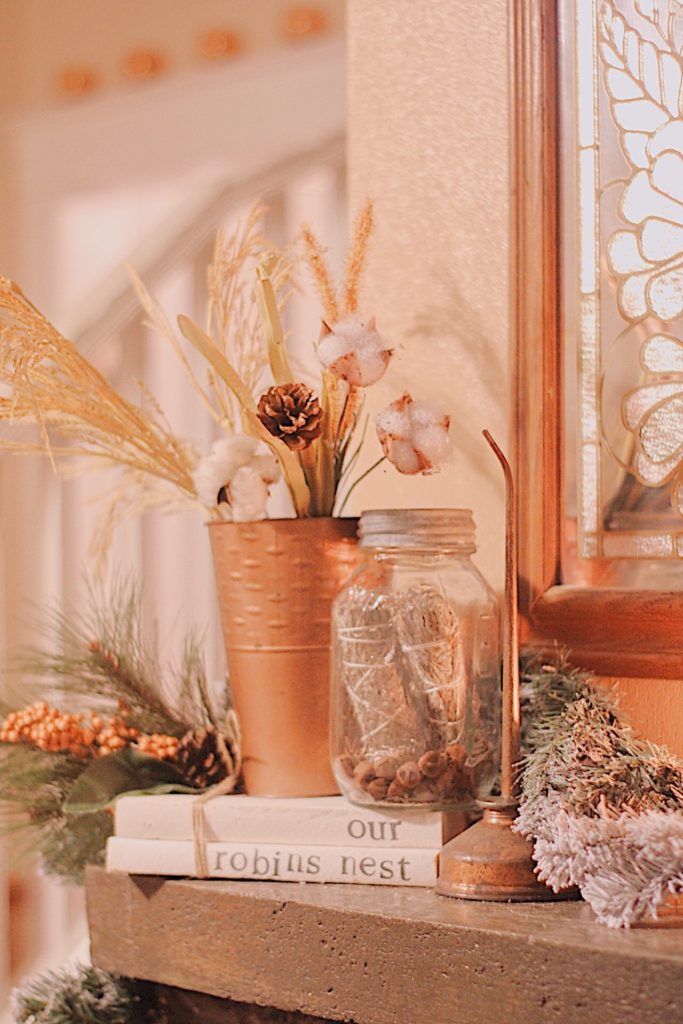
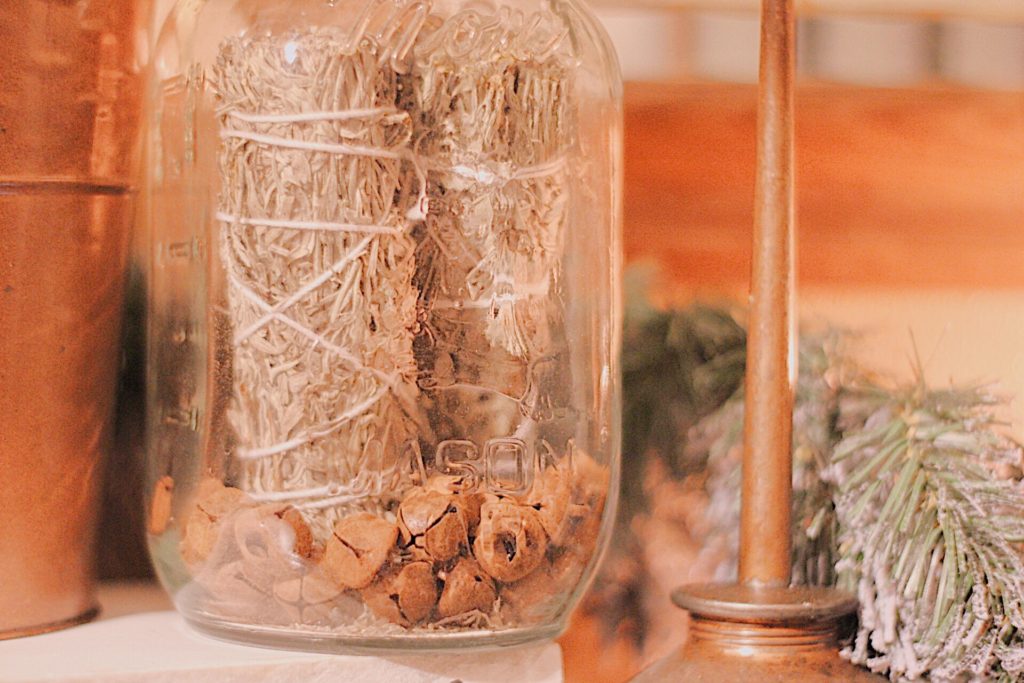
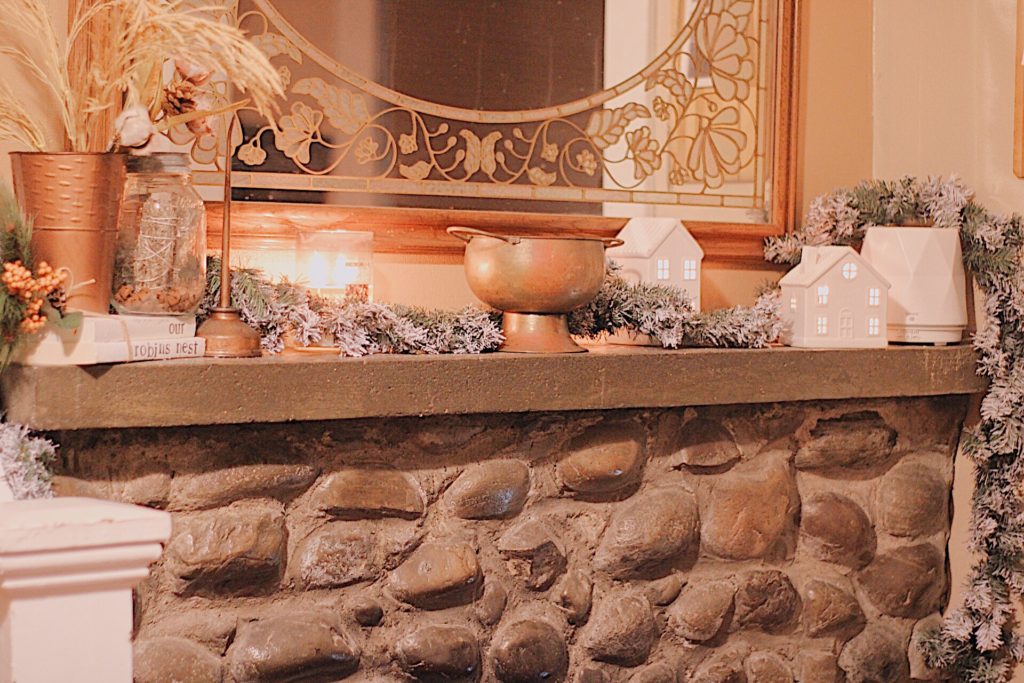
Some things that I keep out are my mason jars. I like to fill them with whatever I have such as smudge sticks, dried citrus or something rustic.
You might have received some jars with cookies in them or you might have had them filled with red ornaments, but if you do not have any check out your local thrift stores or here.
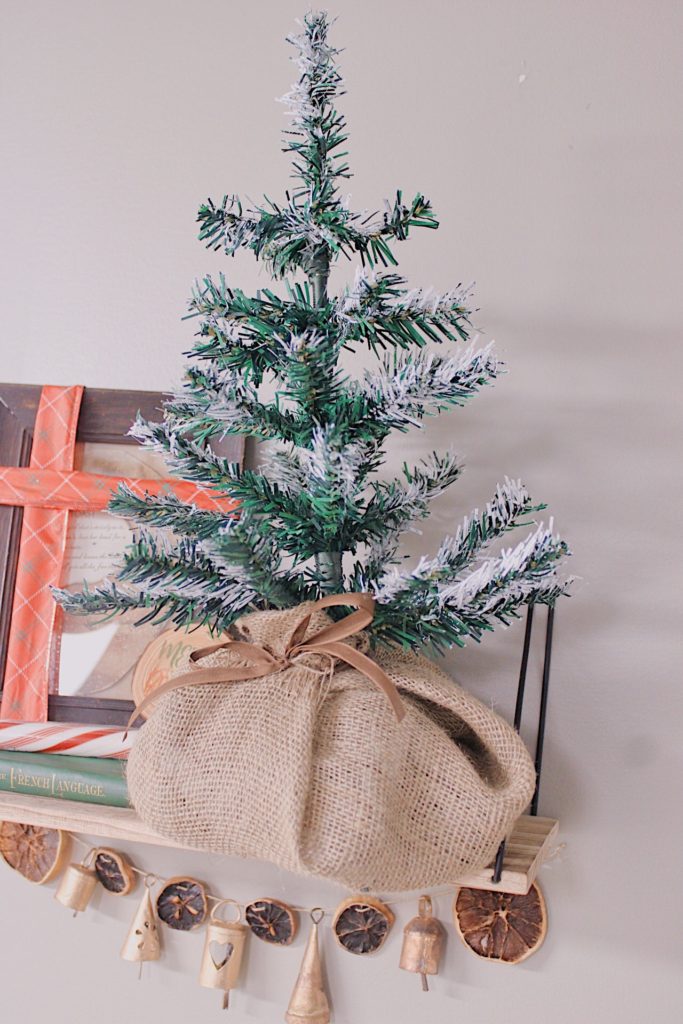
I take my big Christmas trees down, but any mini ones I will keep especially if they are flocked. Winter means snow so a frosted white touch is a great addition to your home.
You can check out my DIY flocked tree from Dollar Tree here or you can find some great deals right now on pre-made ones. Check this one out!
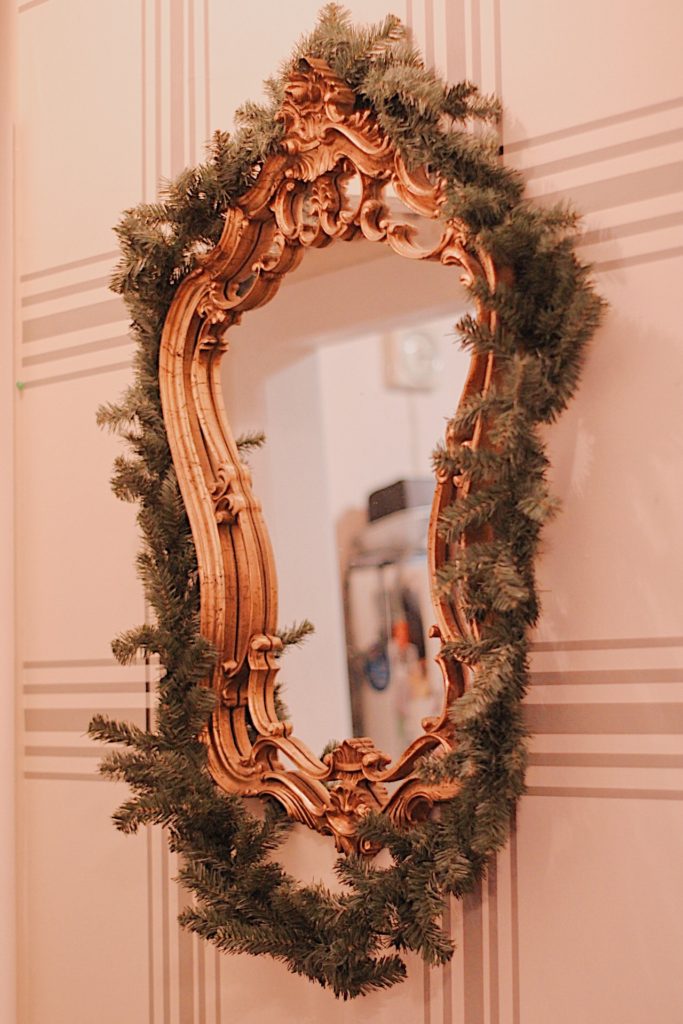
Garland throughout your home is great for winter decor. If there are pine cones even better. Check out these great holiday garlands you can keep out all winter long.
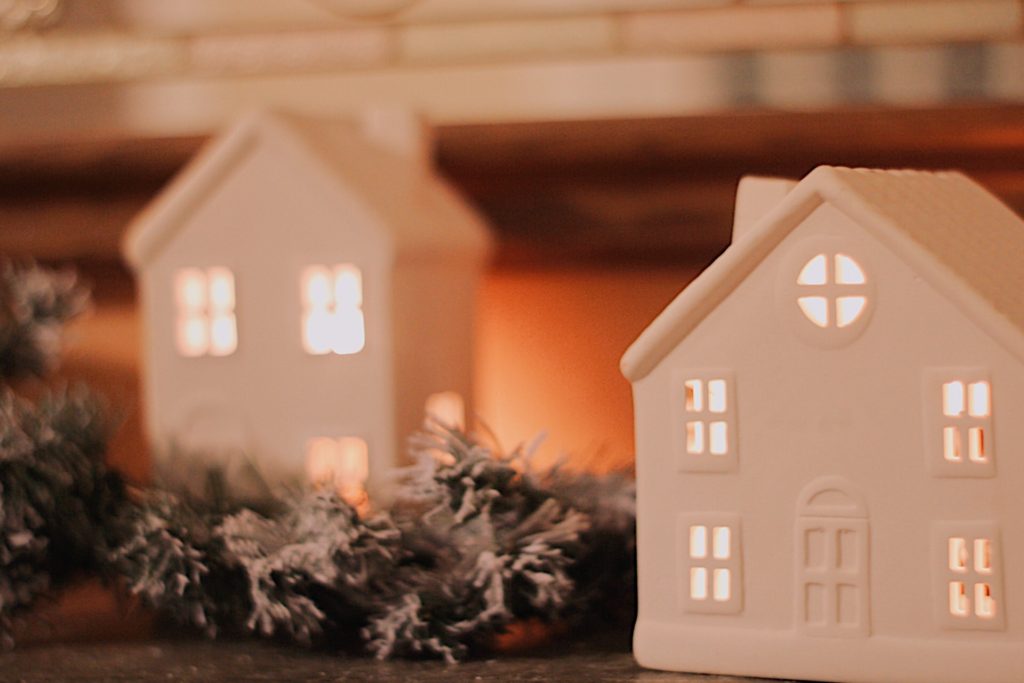
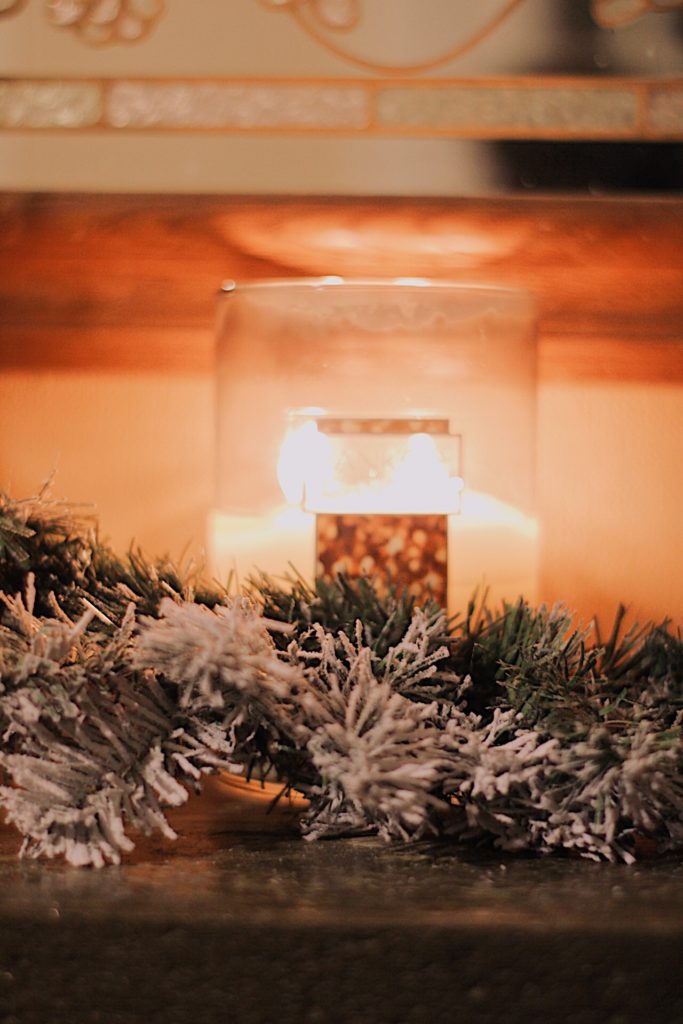
House candle lanterns aren’t just great for the holidays. When you add a tealight to them you instantly get the cozy feeling right in your living room. Add them with your flocked trees or garland and you have a winter scene glowing in your home. Find some similar ones to mine here.
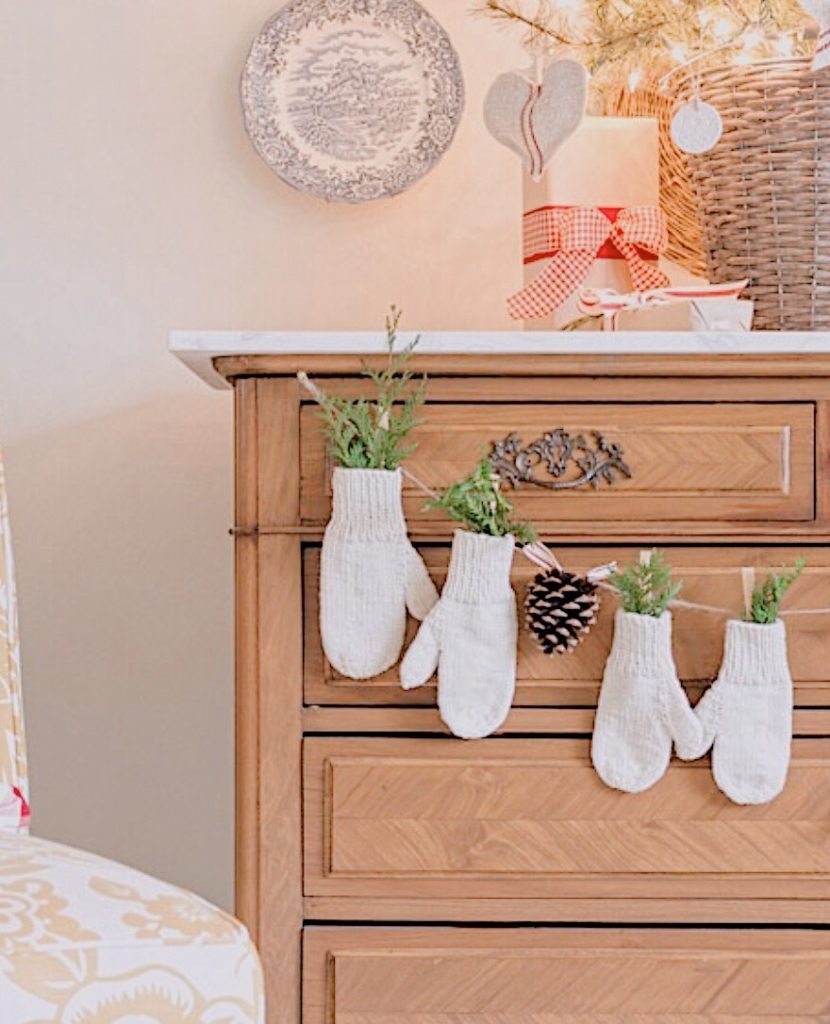
Received another pair of mittens for Christmas? Put them to use but not how you are thinking. Use them as decorations! I am in love with this mitten banner you can keep up all winter.
Candles are always a great way to keep your home warm during the cold weather. If you can, stay away from bright color candles and stick to white and neutral. Check out some great candles here.
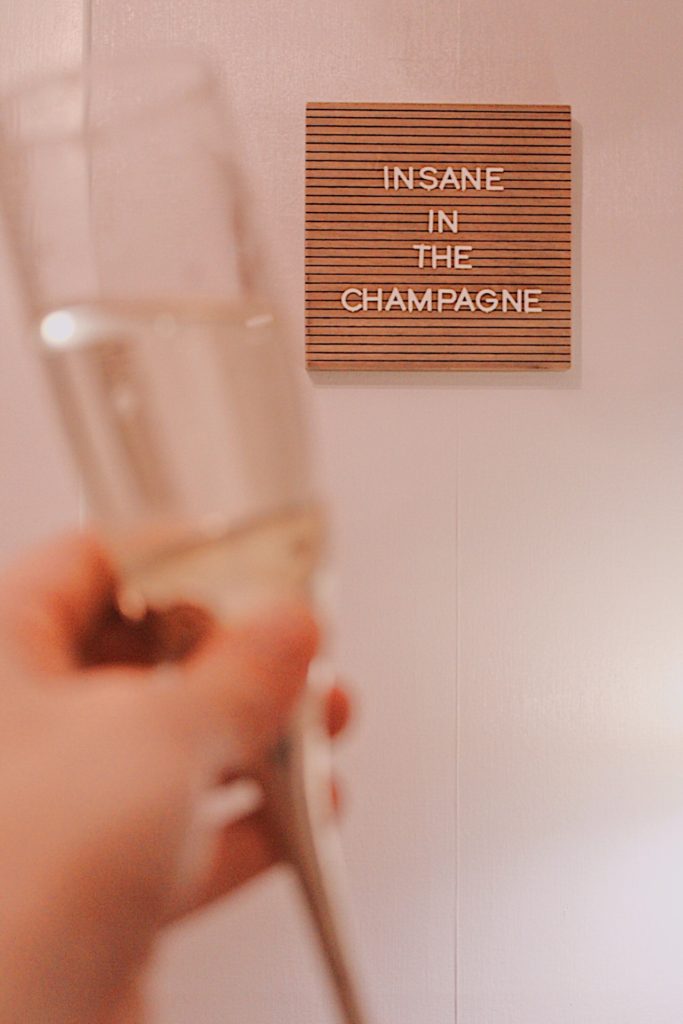
Either you are a letter board person or you are not. If you are, you definitely had a cute quote on it this holiday season. Keep the puns alive by switching it to something related to the New Year, winter or snow.
Post holiday blues are real so don’t let them ruin the rest of the winter season. These little touches around your home will help keep your spirit alive long after Christmas is over!
I may earn a small commission from this post due to affiliate links. This helps support my work in bringing you real life tips for the everyday mom.
If motherhood has you stressed and you feel like you’ve lost your creativity, I am here to help! Here you will find easy recipes, simple DIY’s, affordable styles, and what to read next. I believe we all have a creative side, some of us just need a little help to find it. I will help inspire you to have creative expression without standards.