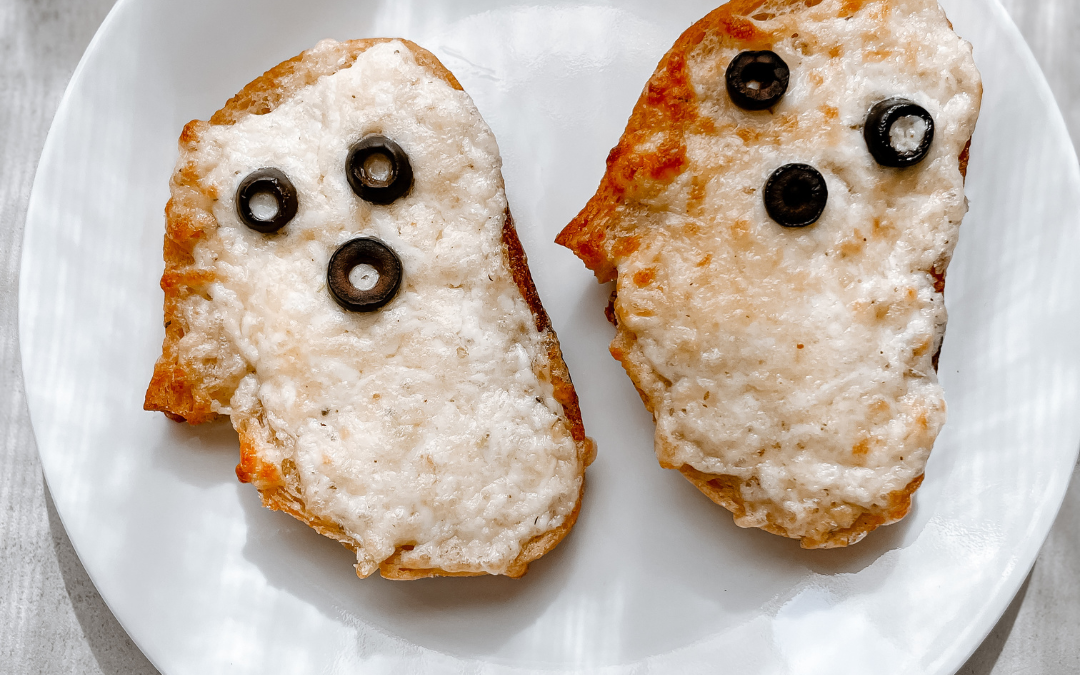
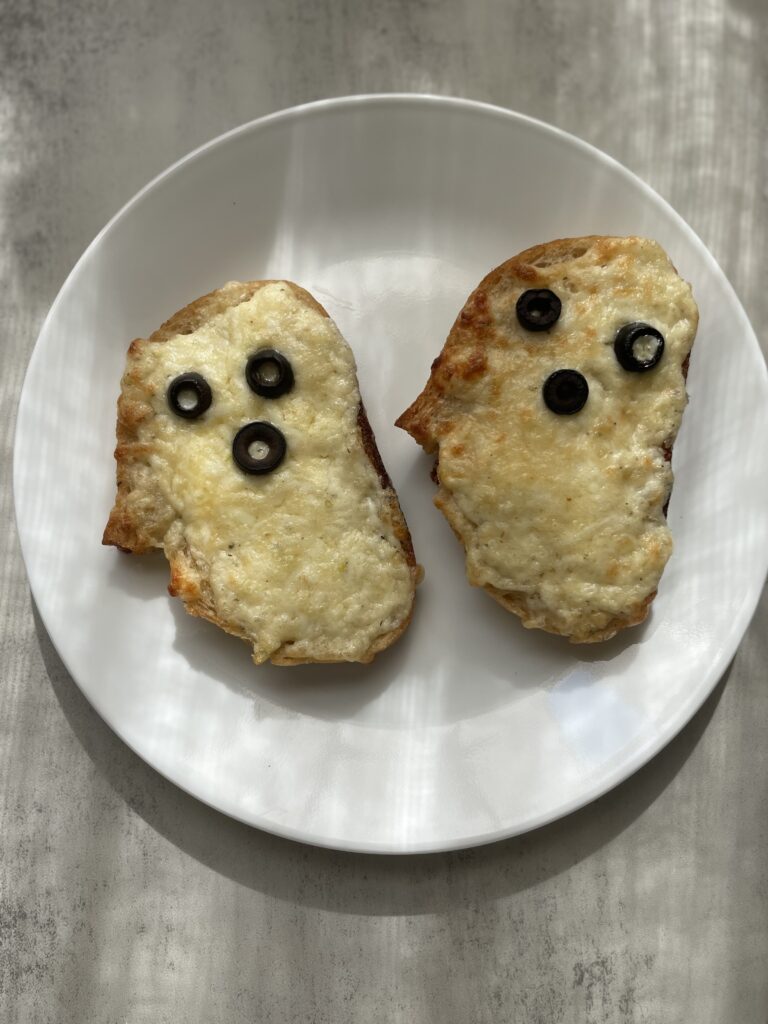
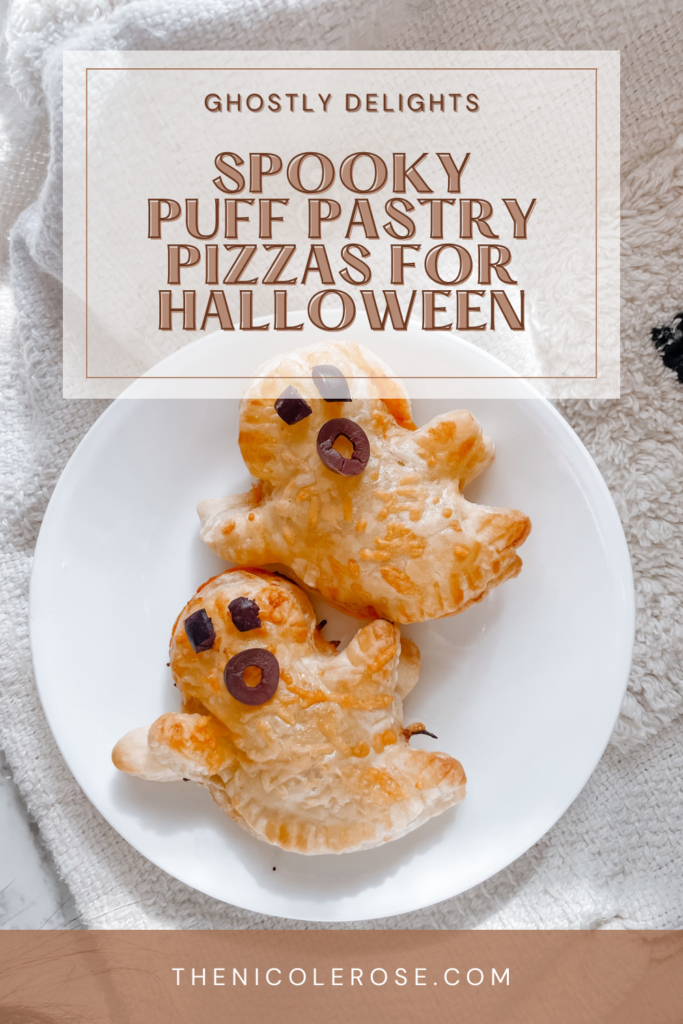
Looking for a spooky and savory treat that’s perfect for Halloween or any ghostly gathering? These cheesy garlic bread ghosts are a fun and delicious way to dress up classic garlic bread. Using simple ingredients like butter, cheese, and olives, this recipe adds a playful twist to a favorite snack. Plus, bread loaf slices make the perfect ghost shape without any extra effort! The ghosts are crunchy on the outside, cheesy on the inside, and hauntingly delicious.
Ingredients:
• 4 slices of sourdough bread (or any bread loaf slices)
• 2 tablespoons butter (softened)
• 2 tablespoons mayonnaise
• 1 clove garlic, minced
• 1 cup shredded cheese (cheddar or mozzarella works great)
• ¼ cup grated Parmesan cheese
• ½ teaspoon dried oregano
• ½ teaspoon dried basil
• Salt and pepper to taste
• Black olive slices (for the eyes and mouth)
Instructions:
1. Prepare the Bread:
• Preheat your oven to 375°F (190°C).
• If you’re using bread loaf slices, you’ll notice they naturally resemble ghost shapes, especially if you use sourdough. You can either leave them as is or trim them slightly to enhance the ghostly appearance with a knife.
2. Mix the Spread:
• In a small bowl, combine the softened butter, mayonnaise, minced garlic, garlic powder, oregano, basil, salt, and pepper. Mix until smooth and spreadable.
3. Get Cheesy:
• Spread the butter-mayo mixture generously on each slice of ghost-shaped bread.
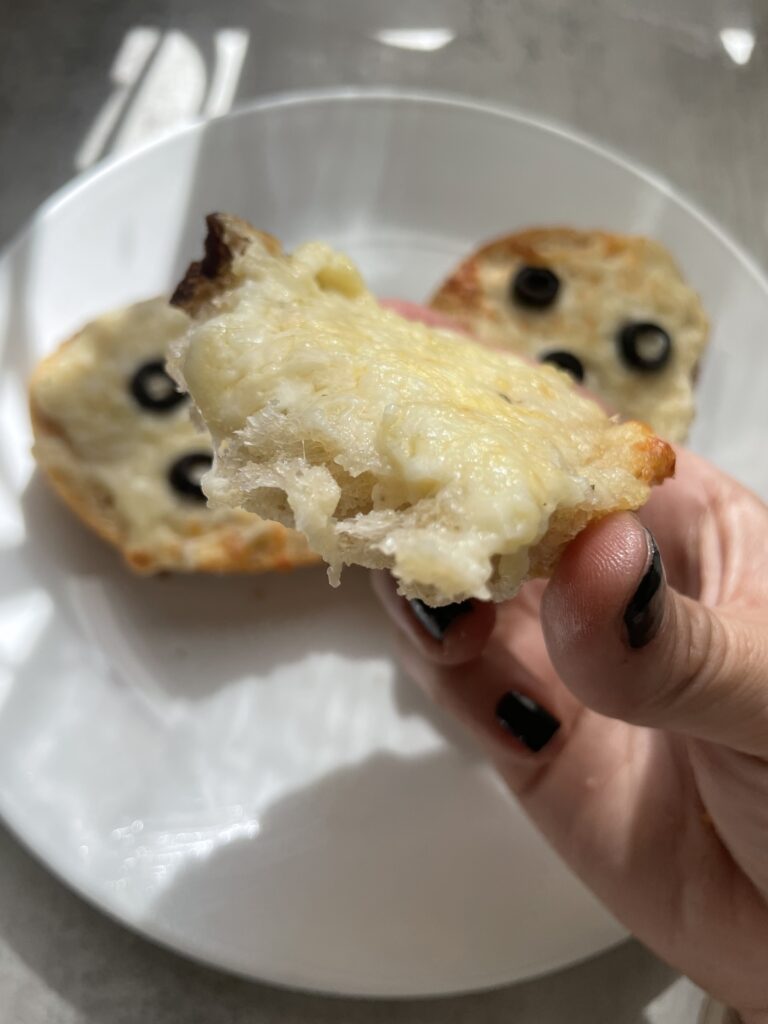
• Sprinkle the shredded cheese evenly over the top, followed by a layer of grated Parmesan cheese. The mix of cheeses will create a melty, golden-brown topping.
4. Make the Ghost Faces:
• Use black olive slices to create eyes and mouths on your cheesy ghosts. Make them as spooky or silly as you like!
5. Bake:
• Place your ghost-shaped bread slices on a baking sheet lined with parchment paper.
• Bake for about 8-10 minutes or until the cheese is bubbly and golden brown.
6. Serve and Enjoy:
• Once out of the oven, let the cheesy garlic bread ghosts cool slightly before serving. These make the perfect appetizer or side dish for a Halloween party!
FAQ:
Can I use regular bread instead of sourdough?
Yes! Bread loaf slices make a fantastic ghost shape, whether you use white, wheat, or French bread.
What other cheese options can I use?
Feel free to mix it up! Mozzarella, cheddar, or a combination of Monterey Jack and provolone would also be delicious.
Do I have to use olives for the faces?
Not at all! Pepperoni slices, cut-up bell peppers, or capers make great alternatives for the ghost faces.
Can I make these ahead of time?
Yes! Prepare the ghosts ahead of time and store them in the fridge. Just bake them when you’re ready to serve.
What if I don’t have a ghost-shaped cookie cutter?
If you’re using loaf bread, you don’t need one! But if you want different shapes, you can freehand them with a knife.
Can I add other toppings?
Definitely! Add red pepper flakes, parsley, or crispy bacon bits for extra flavor and fun!
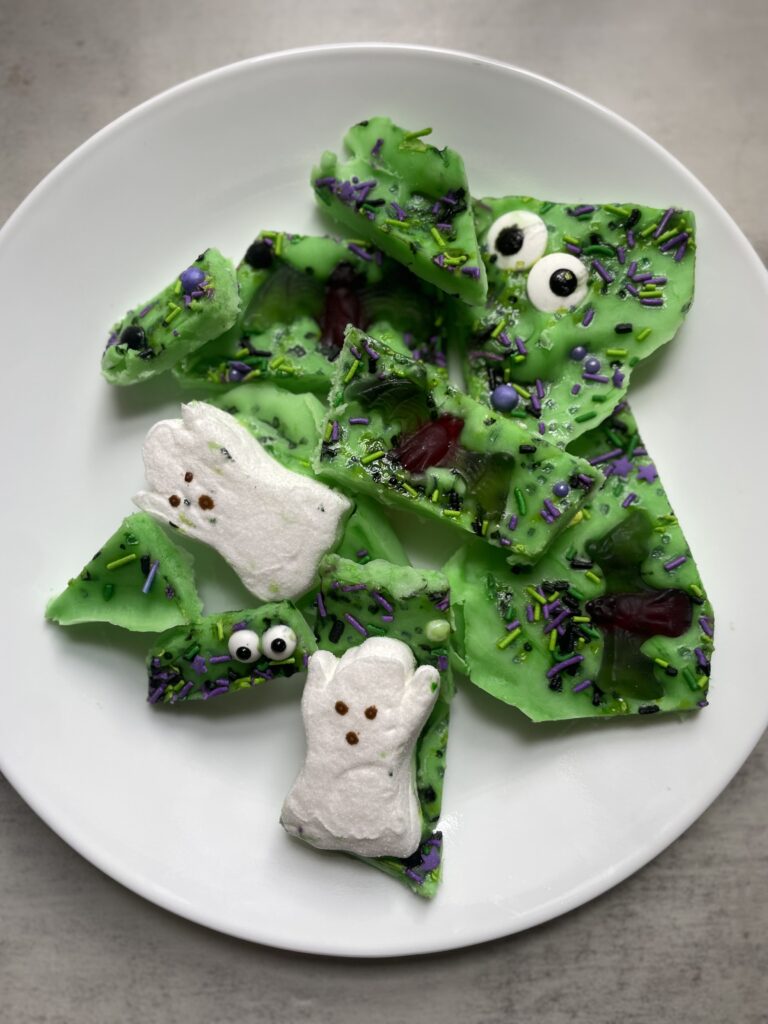
If you’re looking for a festive, fun, and delicious Halloween treat, this frozen yogurt bark is the perfect recipe! It’s easy to make, kid-friendly, and fully customizable with your favorite spooky toppings. I made mine Halloween-themed by coloring the yogurt green and decorating it with an assortment of creepy candies, gummies, and festive sprinkles.
Whether you’re throwing a Halloween party or just want to make a fun treat with the kids, this frozen yogurt bark will be a hit!
Ingredients:
• 2 cups plain or vanilla Greek yogurt (or any yogurt you prefer)
• Green food coloring (optional, to make the yogurt spooky)
• Honey or agave nectar (to sweeten, if desired)
• Halloween sprinkles
• Assorted Halloween candies:
• Gummy worms or spiders
• Peeps (ghosts, pumpkins, or any Halloween shapes)
• Candy eyeballs
• M&M’s (in Halloween colors)
• Mini chocolate chips
Additional Topping Ideas:
• Crushed Oreo cookies (for a dirt-like effect)
• Crushed graham crackers (for a sandy look)
• White chocolate drizzle (for a web-like effect)
• Edible glitter (for a magical touch)
• Cereal (like Fruity Pebbles for extra crunch and color)
Instructions:
1. Prepare the yogurt base:
• In a medium bowl, mix your Greek yogurt with honey or agave nectar to sweeten, if needed. Add green food coloring to the yogurt and stir until you reach your desired shade of spooky green.
2. Spread the yogurt:
• Line a baking sheet with parchment paper. Pour the green yogurt onto the sheet and spread it evenly into a thin layer, about ¼ inch thick.
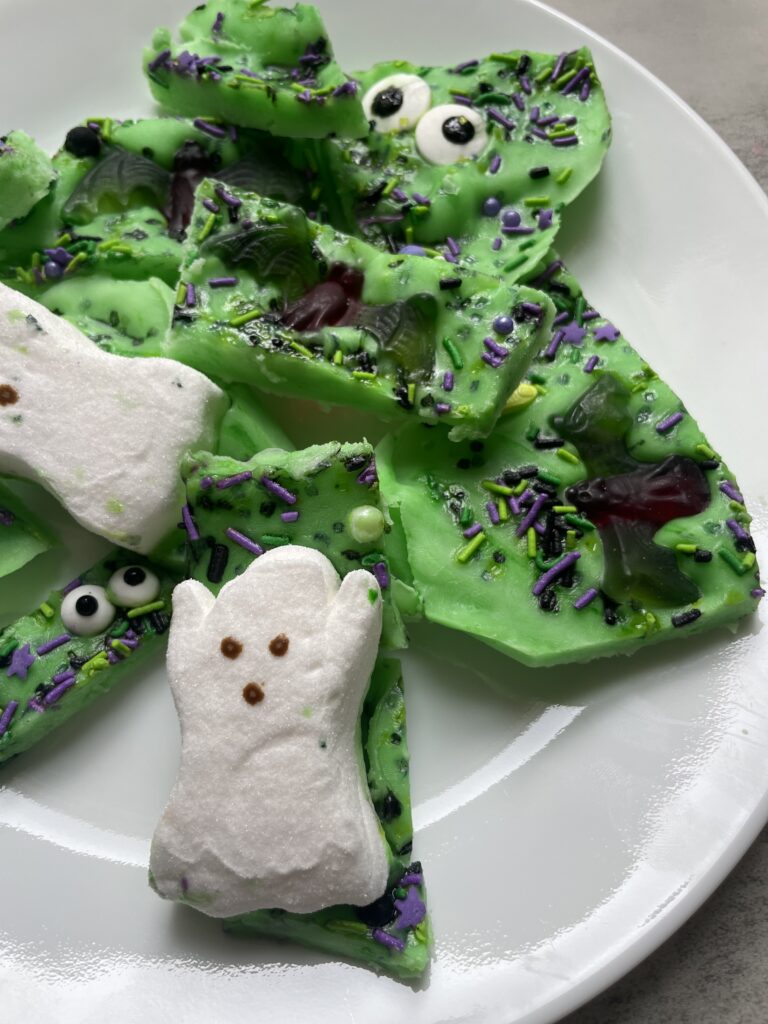
3. Add the spooky toppings:
• Now for the fun part! Decorate your yogurt with a mix of Halloween-themed toppings. Get creative! I used festive sprinkles, gummy worms, Peeps, and candy eyeballs. You can also sprinkle on mini chocolate chips, crushed cookies, or anything else that adds a spooky touch.
4. Freeze the yogurt bark:
• Place the baking sheet in the freezer for at least 3 hours or until the yogurt is completely frozen.
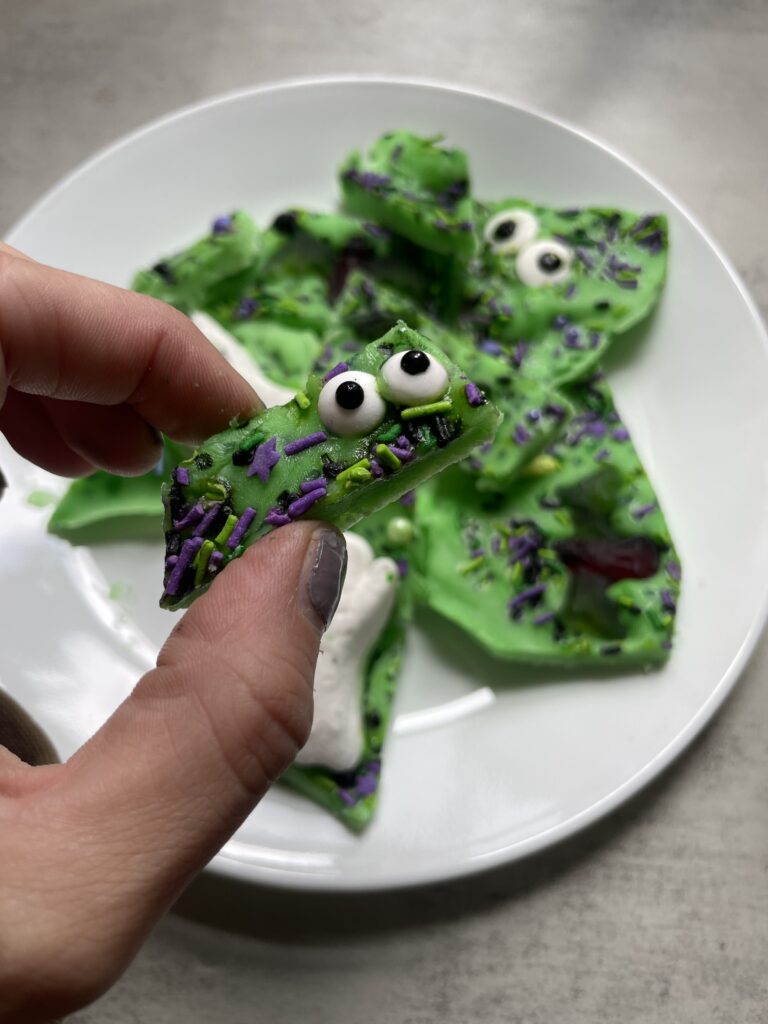
5. Break and serve:
• Once frozen, remove the yogurt bark from the freezer and break it into bite-sized pieces. Serve immediately, or store in an airtight container in the freezer for a quick grab-and-go treat.
Tips for Customization:
• You can use any yogurt flavor you like, such as strawberry or vanilla.
• Change up the colors! Try purple or orange food coloring to fit the Halloween theme.
• Experiment with different candies, or even add some healthier options like nuts or dried fruit to balance the sweetness.
This Halloween frozen yogurt bark is not only festive and fun but also a lighter treat you can enjoy guilt-free. Let your kids help decorate, and they’ll love seeing their creations come to life in the freezer. Happy Halloween and enjoy your spooky snack!
When life hands you a roadside find, turn it into something fun!
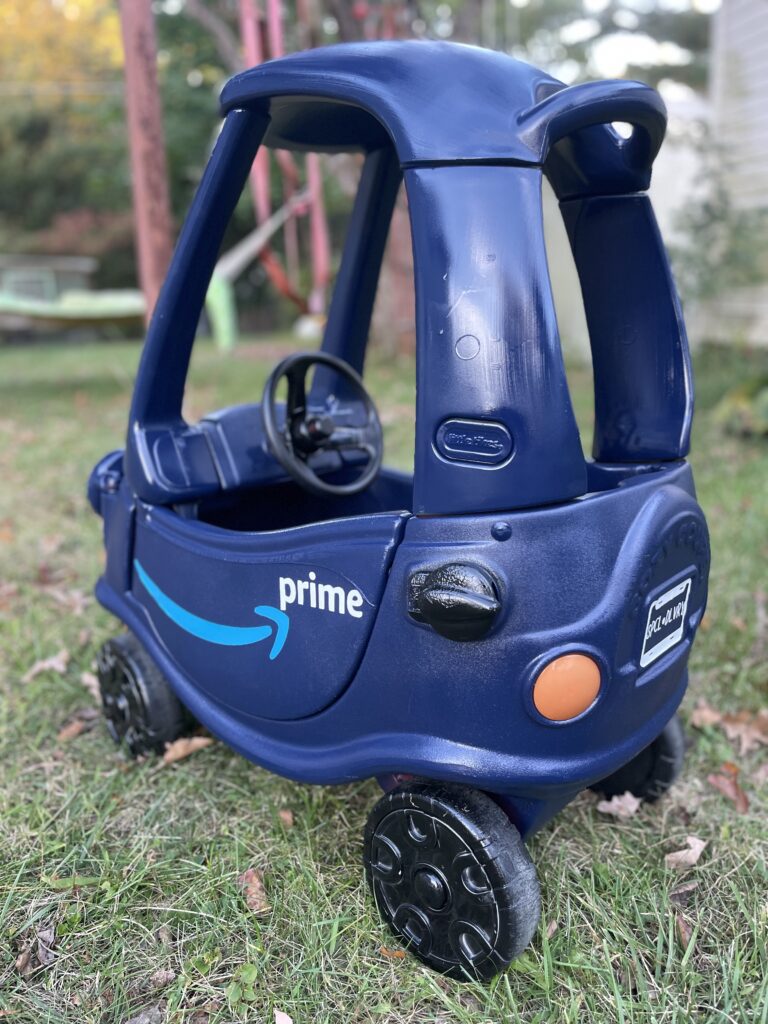
I recently came across a Little Tikes Cozy Coupe that was left on the side of the road, and I couldn’t resist taking it home for a makeover. My boys love playing with delivery trucks, and what better inspiration than an Amazon Prime delivery truck? With a little spray paint and my trusty Cricut machine, I turned this worn-out car into the coolest ride on the block.
Here’s how I did it:
Materials You’ll Need:
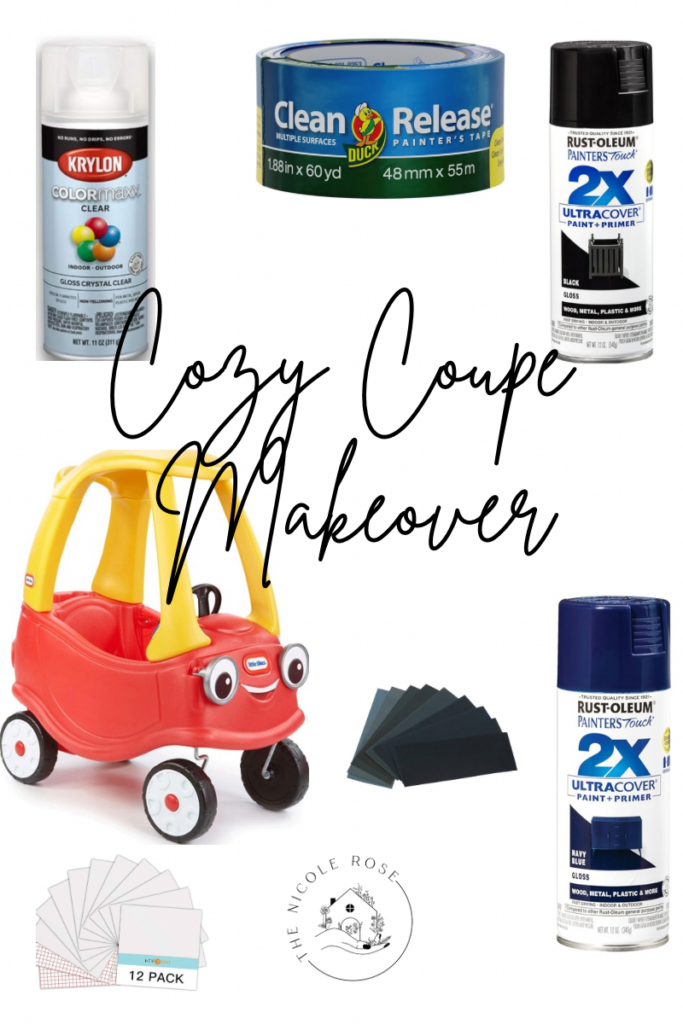
• Little Tikes Cozy Coupe (or any similar toy car)
• Spray paint (I used dark blue for the body and black for the accents)
• Cricut machine (optional but super helpful for creating decals)
• Vinyl for decals (I used light blue and white for the Amazon Prime logo and silver for headlights)
• Clear coat (optional for added durability)
• Painter’s tape/plastic bags (for masking areas you don’t want to paint)
• Screwdriver (for removing any parts you don’t want painted)
Step-by-Step Instructions:
1. Prep the Cozy Coupe
Before diving into the paint, I disassembled the Cozy Coupe to ensure a neat and clean paint job. Using a screwdriver, I removed the steering wheel, key, gas cap, and hub caps. I removed the stickers using Goo Gone and sanded down the whole car.
2. Spray Paint
I wanted to keep the Amazon Prime truck color scheme, so I chose dark blue for the body and black for the wheels and accents. After cleaning the car thoroughly, I covered the wheels with plastic bags. I spray-painted the entire body dark blue, then used black spray paint for the roof and wheels. I made sure to use multiple light coats for an even finish.
3. Create the Amazon Prime Logo
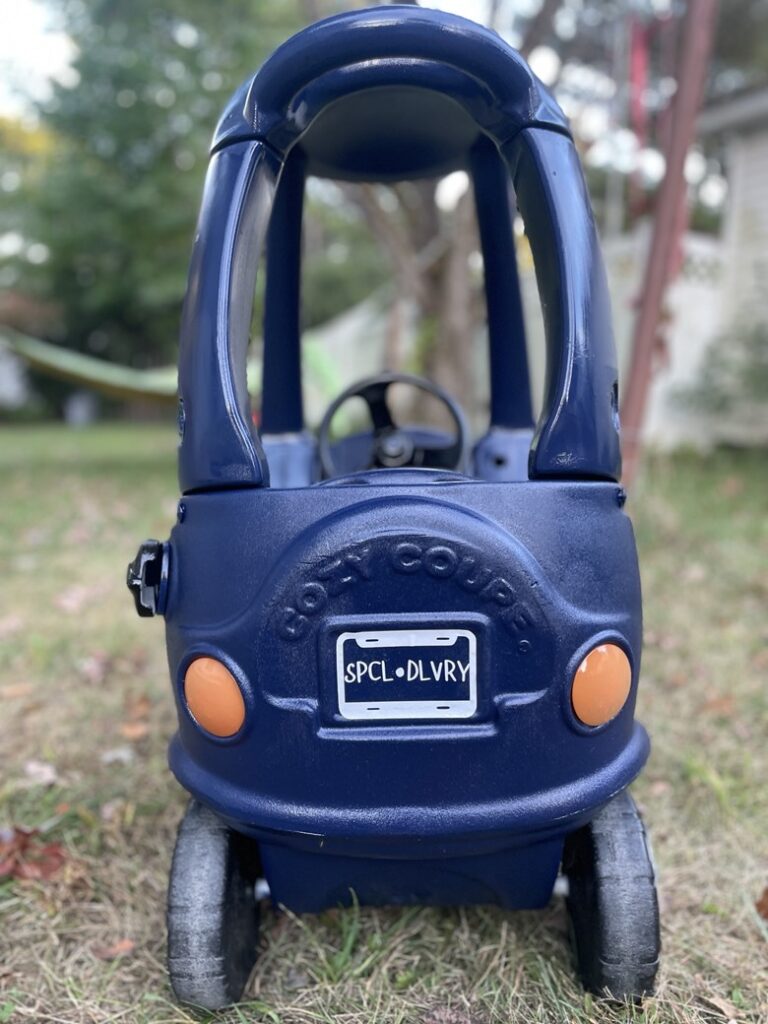
This is where my Cricut came in handy! I used my Cricut machine to create vinyl decals for the Amazon Prime logo and license plate. For the logo, I used light blue and white vinyl to match the classic Amazon Prime look. I also added a personalized license plate for a fun touch. I traced the headlights and cut out circles.
4. Apply the Decals
Once the paint was dry, I applied the vinyl decals to the truck’s sides, headlights, and the back for the license plate. The Cricut-made stickers made it super easy to get that professional look without much effort.
5. Finishing Touches
To ensure the paint job would last through all the outdoor adventures, I added a clear coat over the entire car. This step is optional but definitely helps keep the paint from chipping.
And voila! We now have a Little Tikes Cozy Coupe Amazon Prime delivery truck, and my boys couldn’t be more thrilled. It’s been a huge hit in our neighborhood, and it only took a little time and creativity to transform this roadside find into something special.
• When spray painting, always do it in a well-ventilated area and wear a mask.
• If you don’t have a Cricut, you can buy premade vinyl stickers online or even hand-paint your designs!
• Be sure to apply multiple thin coats of spray paint for the smoothest finish.
I hope this inspires you to get creative with your own Cozy Coupe makeovers! It’s such a fun and easy way to give new life to old toys and add a personal touch that your kids will love.
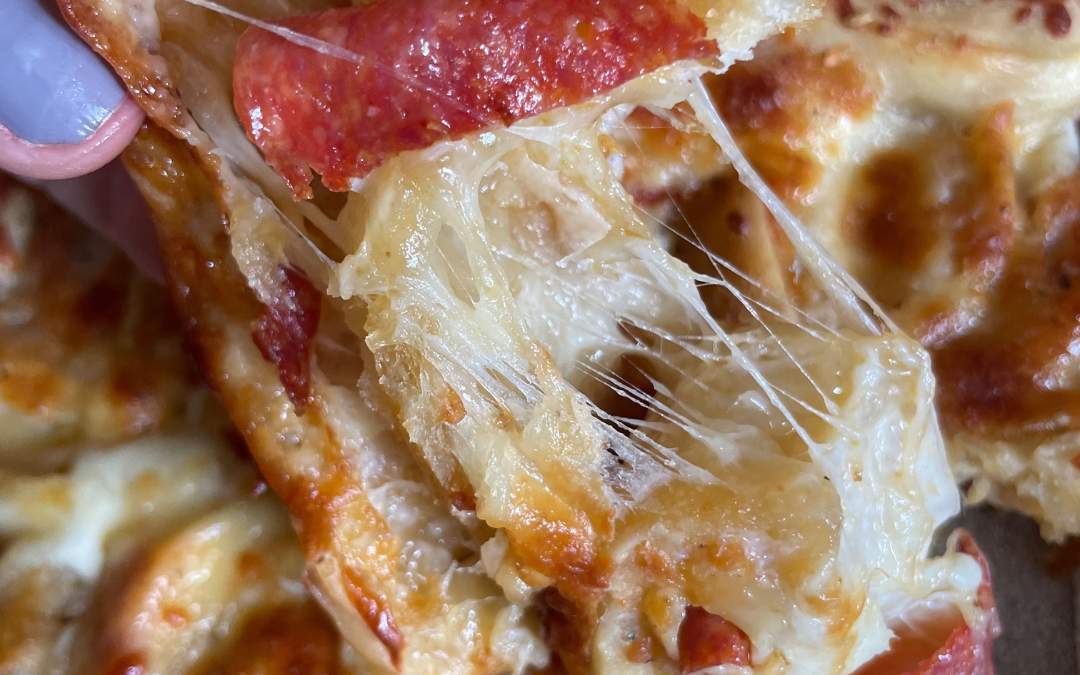
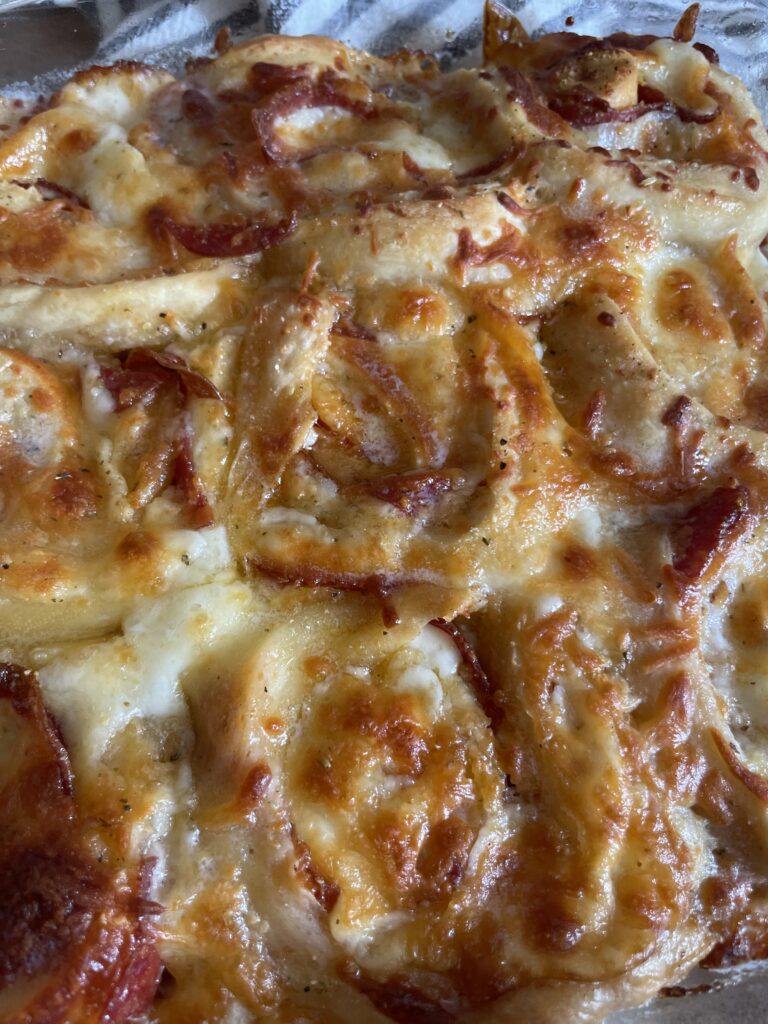
If you’re looking for a quick, crowd-pleasing snack or appetizer, these pepperoni pinwheels are the perfect solution! Packed with gooey mozzarella, flavorful provolone, and savory pepperoni, all wrapped in golden-brown dough, they’re irresistible. Whether you’re hosting a party, watching a game, or just need a snack, this recipe is sure to impress.
Why You’ll Love These Pepperoni Pinwheels
• Simple Ingredients: Made with ingredients you likely already have in your kitchen, these pinwheels come together quickly.
• Quick to Make: With pre-made dough, it’s easy to whip these up in under 30 minutes.
• Great for Sharing: Perfect for gatherings, game days, or just as a fun family snack.
Ingredients
Here’s what you’ll need to make a batch of these cheesy, buttery pepperoni pinwheels:
• 1 package of pizza dough (store-bought or homemade)
• 8 slices of mozzarella cheese
• 8 slices of provolone cheese
• 20–24 slices of pepperoni
• ¼ cup grated Parmesan cheese
• 2 tablespoons Italian seasoning
• 2 tablespoons melted butter
Instructions
1. Preheat the Oven: Set your oven to 375°F (190°C). While it heats, prepare your dough and filling.
2. Prepare the Dough: Roll out the pizza dough on a lightly floured surface. Aim for a rectangle shape, about 12×10 inches. This makes it easier to roll and ensures even layers of cheese and pepperoni.
3. Layer the Cheese and Pepperoni:
• First, lay the mozzarella slices evenly across the dough, leaving a small border around the edges.
• Then, layer the provolone slices on top of the mozzarella.
• Arrange the pepperoni slices over the provolone. It’s best to spread them out evenly, but feel free to add extra if you’re a pepperoni lover!
4. Roll It Up: Starting from one long edge of the rectangle, carefully roll the dough into a tight log. Pinch the seam to seal it and tuck in the ends.
5. Slice the Pinwheels: Using a sharp knife, cut the dough log into 1-inch thick slices. You should get about 10–12 pinwheels.
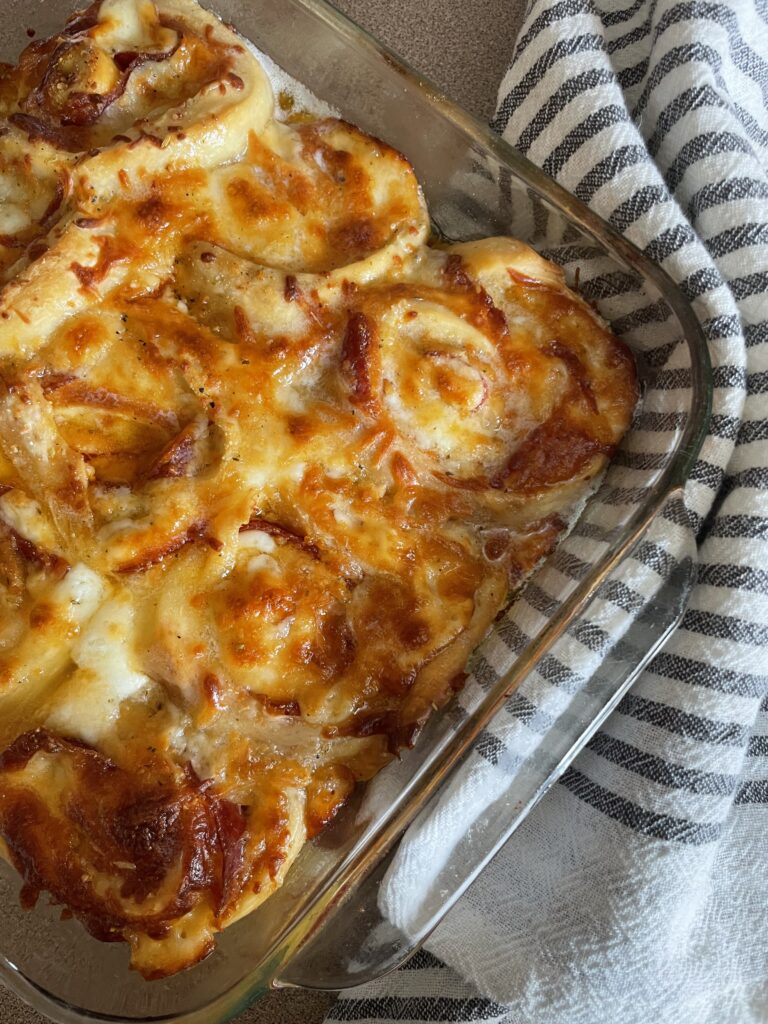
6. Arrange and Bake: Place the pinwheels on a parchment-lined baking sheet, leaving space between them. Brush each pinwheel with the melted butter and sprinkle with the grated Parmesan cheese and Italian seasoning.
7. Bake: Bake in the preheated oven for 12–15 minutes, or until the dough is golden brown and the cheese is melted and bubbly.
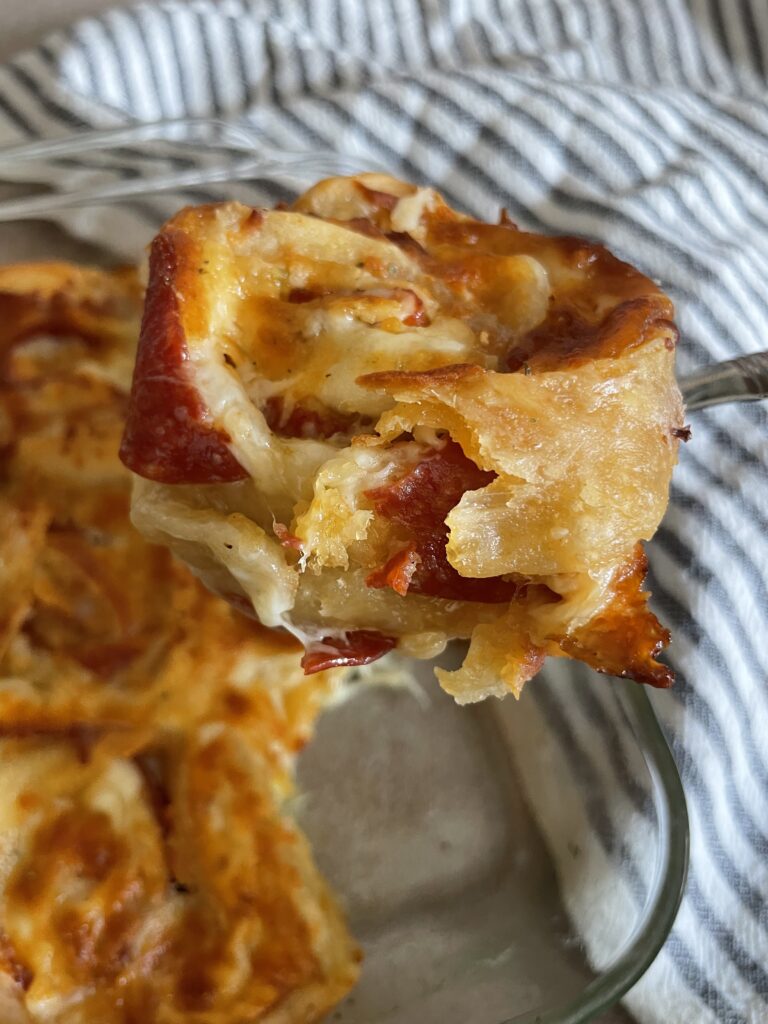
8. Serve: Let the pinwheels cool slightly before serving. They’re delicious on their own, but for an extra kick, serve them with marinara sauce for dipping!
Tips for Perfect Pinwheels
• Don’t Overfill: It’s tempting to load these up with cheese and pepperoni, but too much filling can make the dough hard to roll and slice.
• Make Ahead: You can assemble the pinwheels in advance and refrigerate the dough log. When you’re ready to bake, simply slice and pop them in the oven.
• Customize It: Feel free to add other ingredients, like chopped olives, sautéed mushrooms, or even a dash of hot sauce, to make these pinwheels your own.
Why This Recipe Works
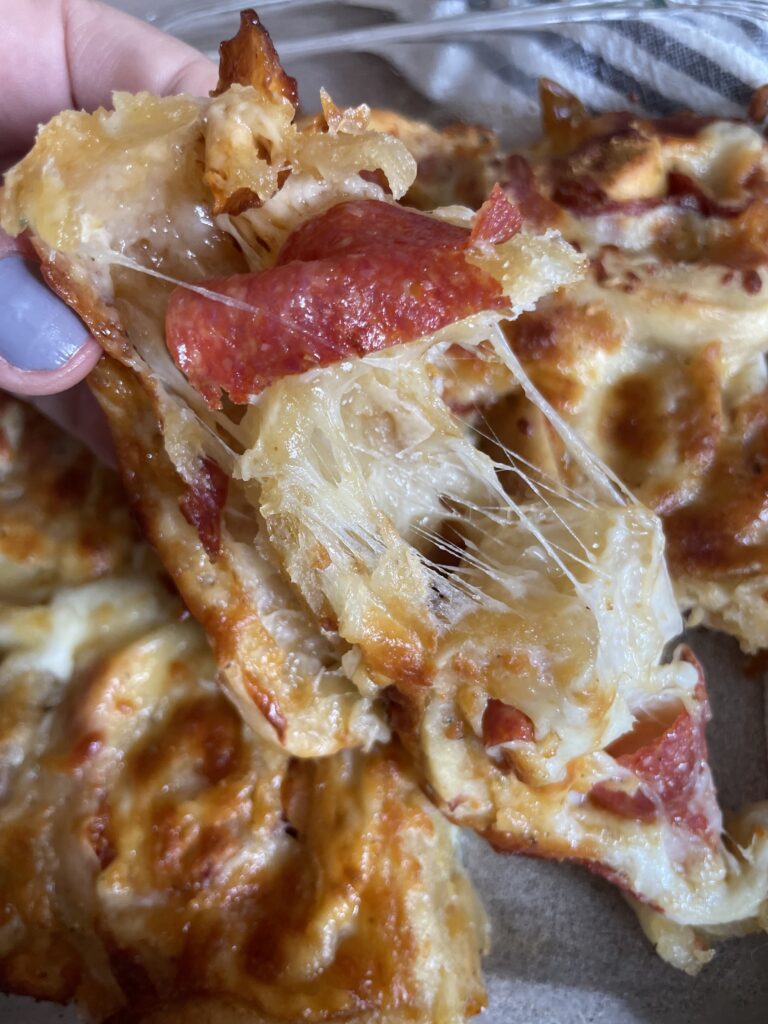
The combination of three cheeses—mozzarella, provolone, and Parmesan—creates the perfect balance of creamy, melty, and savory. The Italian seasoning mixed with butter adds a rich, aromatic finish, while the pepperoni gives each bite a satisfying meaty flavor. With a golden-brown, buttery crust, these pepperoni pinwheels are a treat everyone will enjoy.
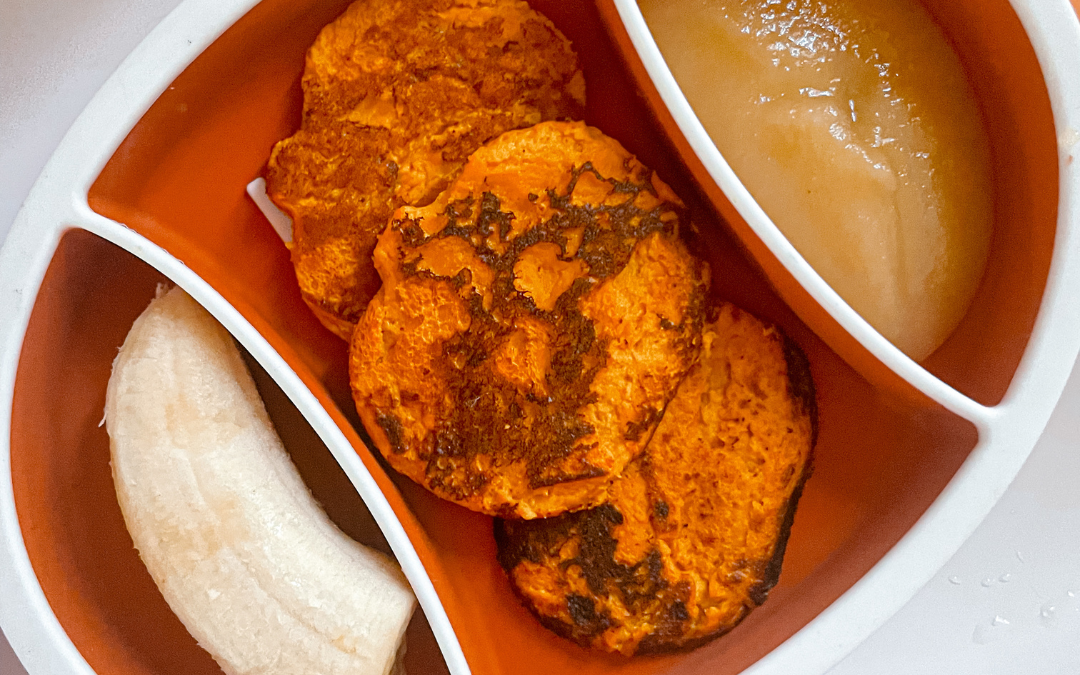
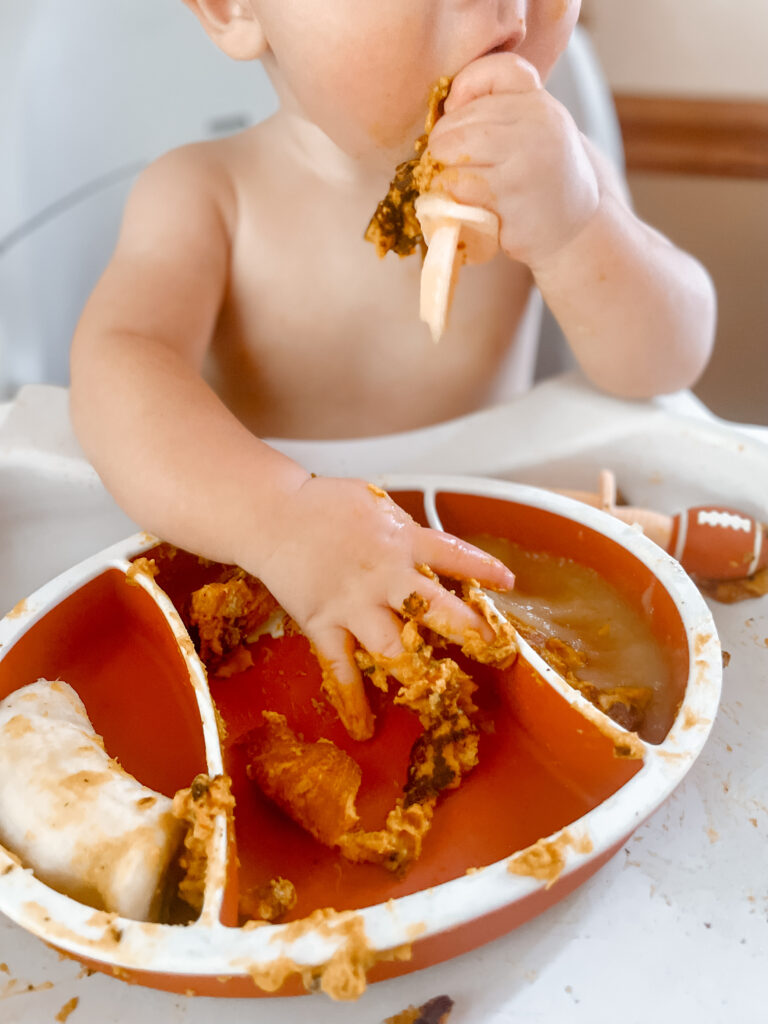
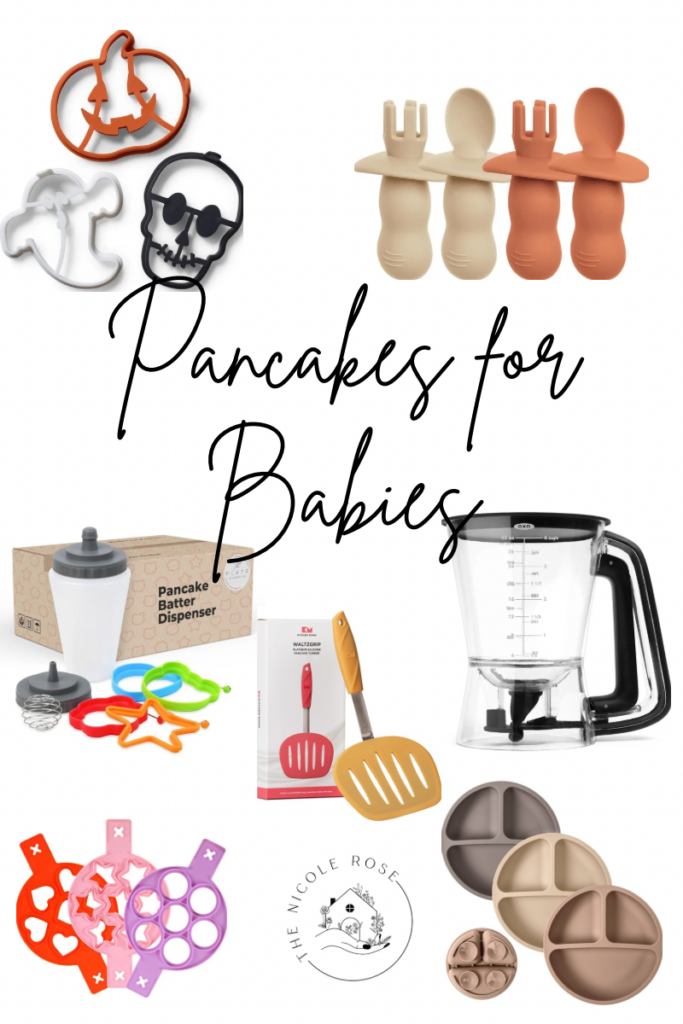
As the cool autumn breeze sweeps in, pumpkin-flavored treats fill the air, and there’s no reason why even your little one should miss out! If you’re looking for a simple and wholesome fall breakfast, these pumpkin pancakes made with baby cereal are the perfect seasonal meal for your baby. They’re easy to make, packed with nutrients, and soft enough for those tiny gums or newly budding teeth.
Why Pumpkin Pancakes?
Pumpkin is not only a fall favorite but also a nutrient powerhouse for babies. Rich in vitamins A and C, it helps support your baby’s vision and immune system. Plus, the mild sweetness of pumpkin makes it an instant hit with little taste buds. Combine that with the iron-rich goodness of baby cereal, and you’ve got yourself a complete, wholesome meal.
Ingredients
To make these baby-friendly pumpkin pancakes, you’ll need:
½ cup pumpkin puree (unsweetened)
½ cup baby cereal (rice, oat, or multigrain)
1 egg (for binding, or you can substitute with mashed banana for younger babies)
1 tablespoon unsweetened applesauce (for a touch of natural sweetness)
1-2 tablespoons of water or breast milk/formula (to adjust the consistency)
Instructions
Prepare the Batter: In a medium bowl, combine the pumpkin puree, baby cereal, egg (or banana), and applesauce. Stir until everything is well mixed. If the batter seems too thick, add water or breast milk/formula one tablespoon at a time until the batter is smooth but not too runny.
Add Spice (Optional): If your baby is already used to mild spices, sprinkle in a pinch of pumpkin pie spice for a dash of fall flavor. This step is entirely optional, but it adds a warm, aromatic touch to the pancakes.
Cook the Pancakes: Heat a non-stick pan or skillet over low-medium heat. If needed, lightly grease the pan with a bit of oil or butter. Spoon small amounts of batter onto the pan to create baby-sized pancakes (about 2-3 inches wide). Cook for 2-3 minutes on each side, or until golden brown and cooked through.
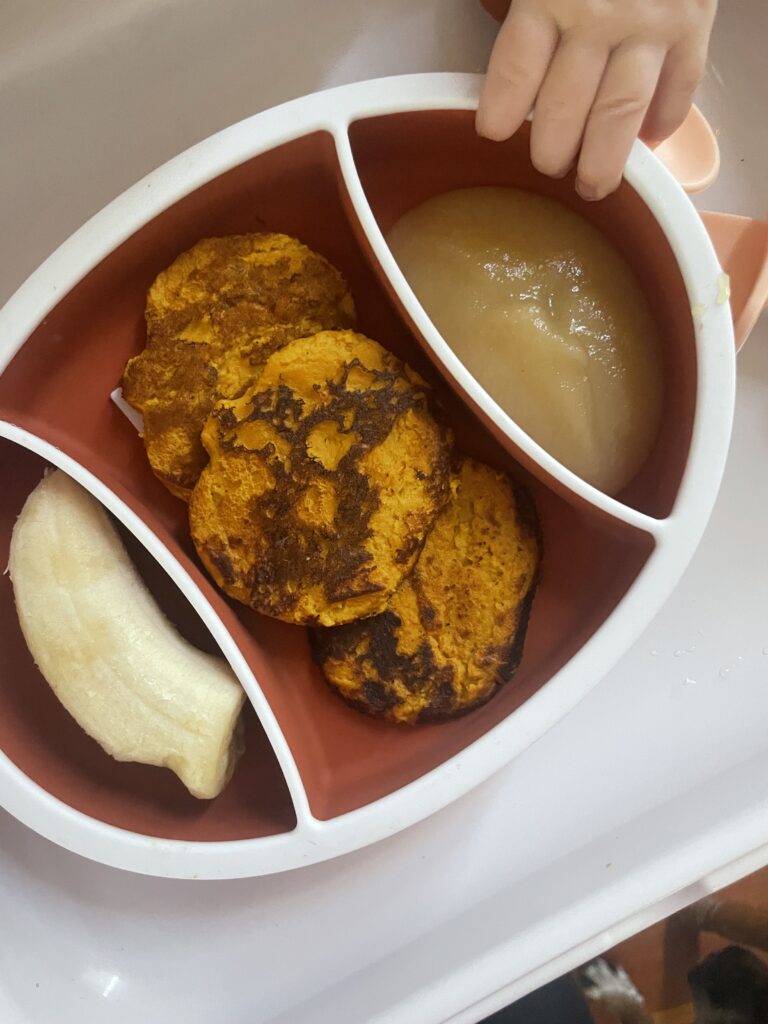
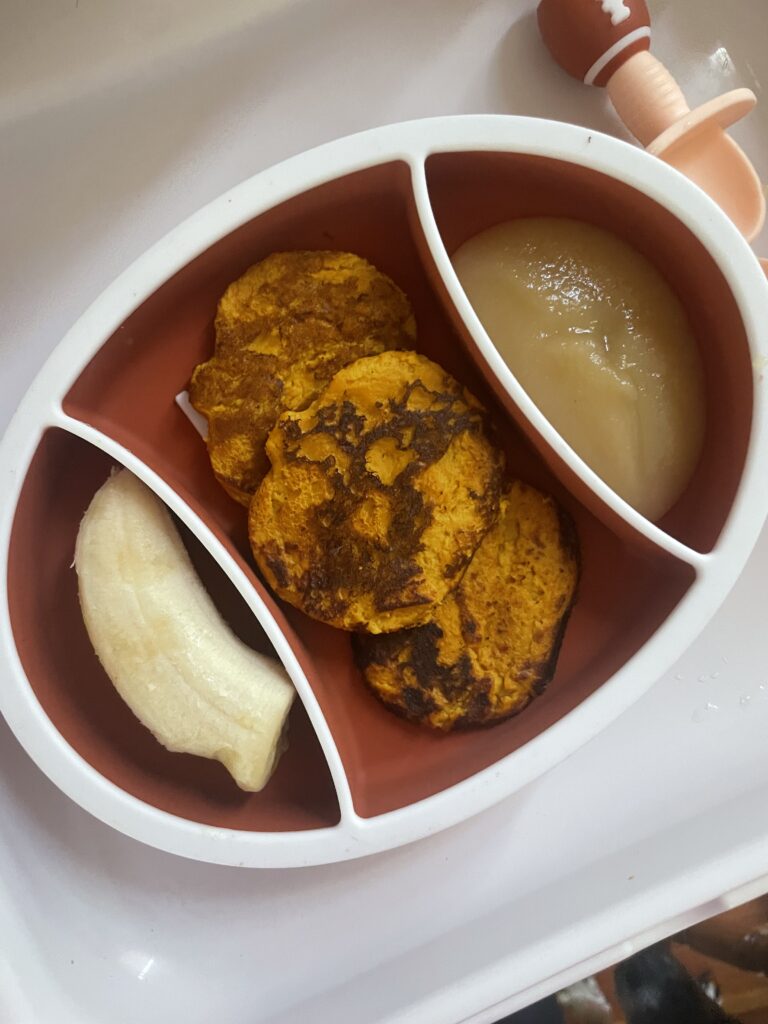
Cool and Serve: Allow the pancakes to cool slightly before serving them to your baby. You can serve them as finger foods, making them perfect for baby-led weaning, or break them into small bite-sized pieces.
Tips:
Freezing for Later: These pancakes freeze beautifully! Make a batch, let them cool, and store them in a freezer-safe bag. Just thaw or reheat them on busy mornings.
Sweetener-Free: These pancakes are naturally sweetened with pumpkin and applesauce, making them ideal for babies under 1 year old, who should avoid added sugars.
Egg-Free Option: If you prefer not to use egg, a mashed banana is a great binding agent that adds a bit of sweetness.
Why Use Baby Cereal?
Baby cereal is an excellent ingredient for pancakes because it’s already fortified with iron, which is essential for your baby’s development. It also provides a familiar texture for your little one, especially if they’re just starting solids.
Serving Suggestions
These pumpkin pancakes pair well with mashed fruit or yogurt as a dip, adding extra texture and fun to the meal. As your baby grows and becomes more comfortable with different foods, you can start experimenting with toppings like smashed berries or a drizzle of natural peanut butter (if your baby has already been introduced to peanuts).
If motherhood has you stressed and you feel like you’ve lost your creativity, I am here to help! Here you will find easy recipes, simple DIY’s, affordable styles, and what to read next. I believe we all have a creative side, some of us just need a little help to find it. I will help inspire you to have creative expression without standards.