What to Pack in Your C-Section Hospital Bag: A Comprehensive Guide
This post contains affiliate links
Preparing for the arrival of your baby is an exciting time, and part of that preparation includes packing your hospital bag. For mothers undergoing a cesarean section (C-section), it’s essential to pack items that will make your recovery comfortable and ensure you have everything you need during your hospital stay. Here’s a breakdown of what to pack, along with a few items you can leave at home because the hospital typically provides them.
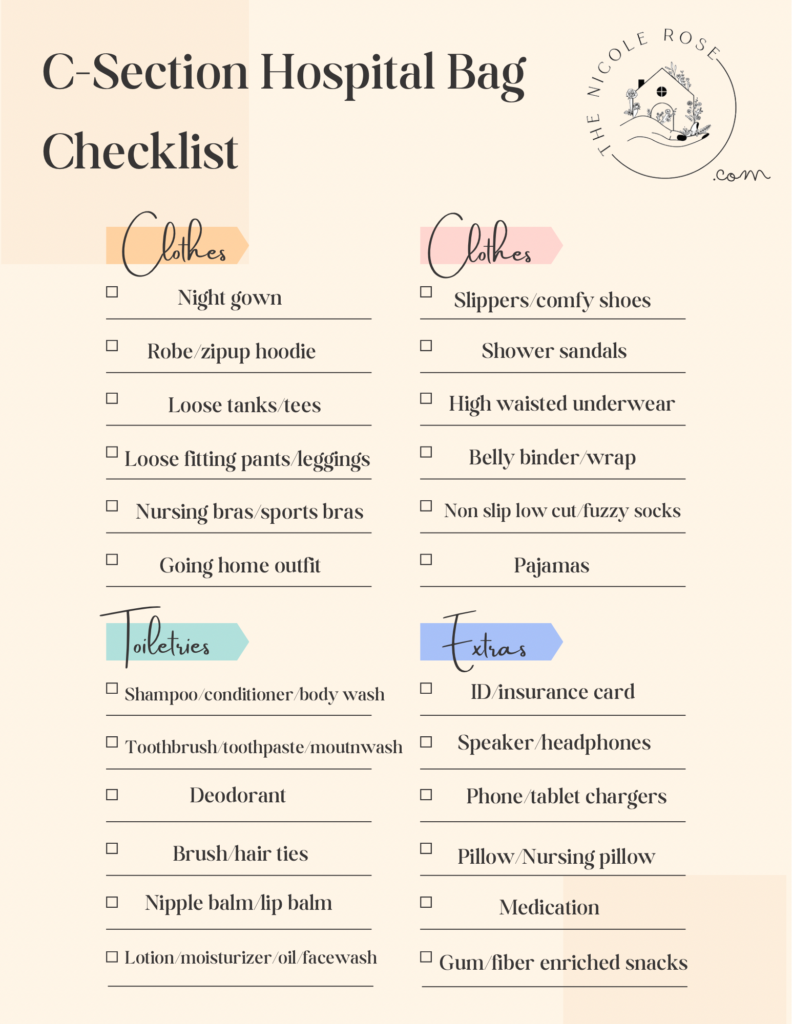
Clothing Essentials:
Nightgown: Opt for a comfortable, loose-fitting nightgown that allows easy access for breastfeeding and accommodates post-surgery comfort.
Robe or Zip-Up Hoodie: A lightweight robe or zip-up hoodie can provide warmth and coverage during walks around the hospital.
Loose Tanks and Tees: Pack a few loose tank tops and T-shirts for easy layering and comfort.
Loose-Fitting Pants: Choose soft, stretchy pants or leggings that won’t irritate your incision site.
Nursing Bras or Sports Bras: Nursing bras or sports bras provide support and easy access for breastfeeding.
Slippers and Comfy Shoes: Slip-on slippers and comfortable shoes are essential for walking around the hospital corridors.
Shower Sandals: Protect your feet from bacteria in the hospital shower with a pair of shower sandals.
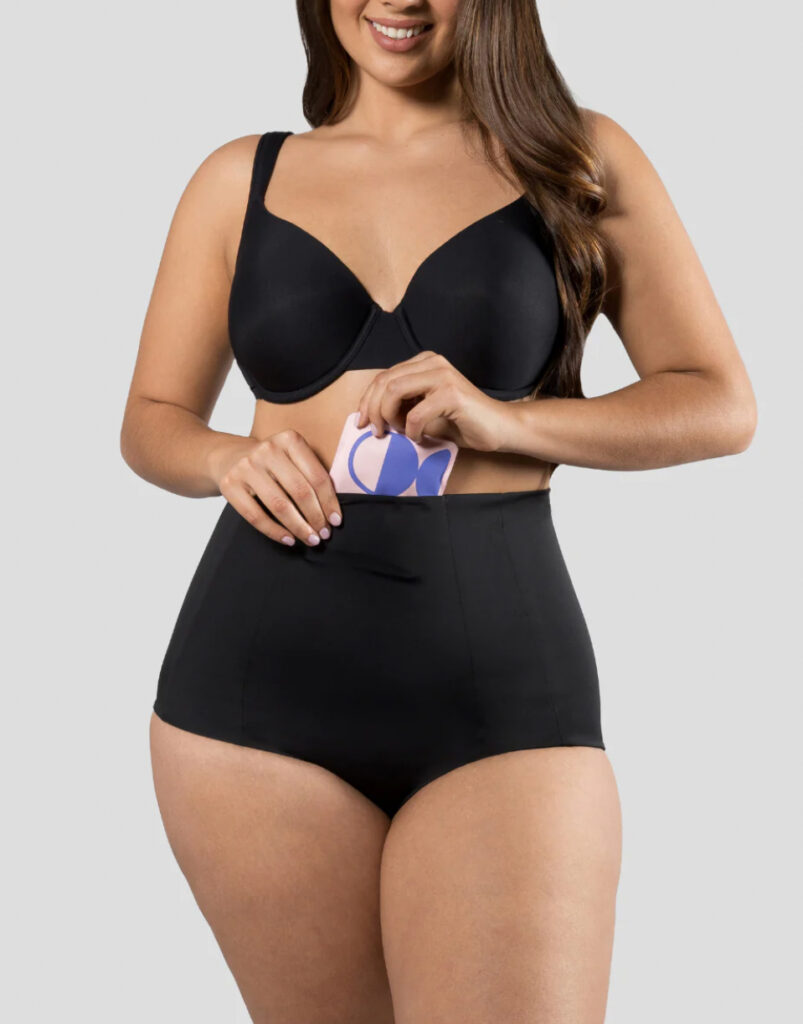
High-Waisted Underwear: High-waisted underwear provides gentle support and won’t irritate your incision area.
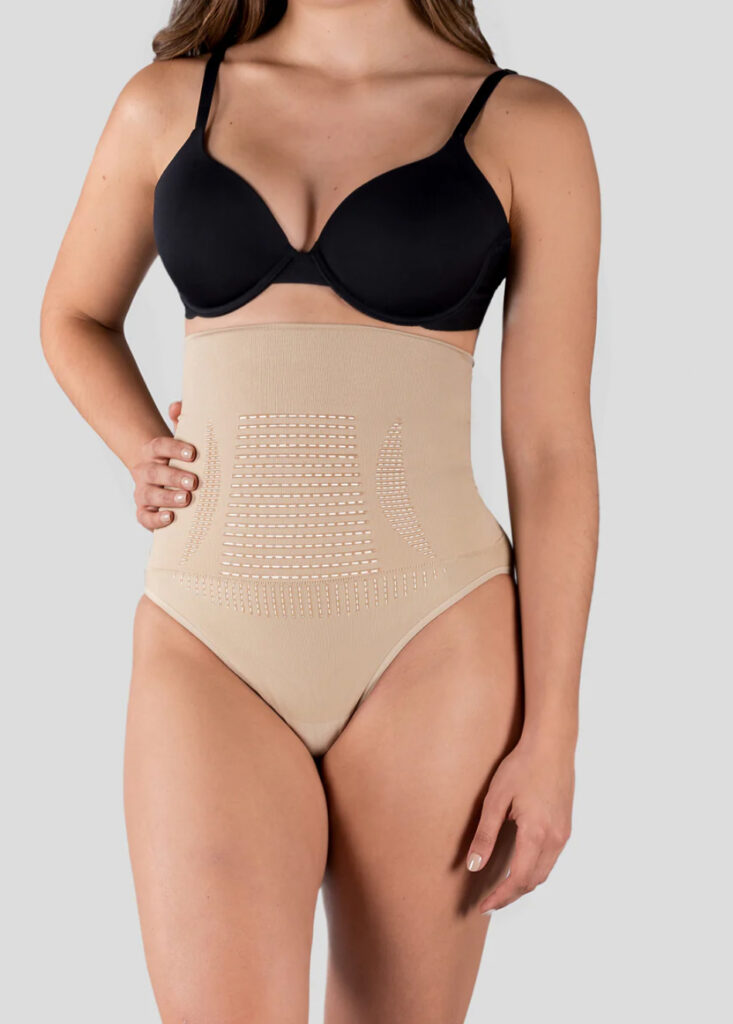
Belly Binder: A belly binder can offer support and compression to your abdominal muscles post-surgery.
Non-Slip Socks: Keep your feet warm and safe with non-slip socks, especially if you’ll be walking around the hospital.
Toiletries:
Shampoo and Conditioner: Maintain hygiene and refresh yourself with your preferred shampoo and conditioner.
Body Wash: Choose a gentle body wash to keep your skin clean and refreshed.
Deodorant: Stay fresh and confident with your favorite deodorant.
Hair Ties: Keep your hair out of the way during labor and recovery with hair ties or clips.
Brush: Pack a brush or comb to maintain your hair hygiene.
Nipple Balm: Soothe sore nipples with nipple balm to aid in breastfeeding.
Lip Balm: Hospitals can be dry environments, so keep your lips hydrated with lip balm.
Moisturizer: Hydrate your skin with a moisturizer to combat dryness.
Face Wash: Cleanse your face with your preferred face wash to freshen up during your stay.
Extras:
Chargers: Don’t forget chargers for your phone and other electronic devices.
ID and Insurance Cards: Bring your identification and insurance cards for hospital admission.
Speaker and Headphones: Listen to music or podcasts to relax during your hospital stay.
Pillow and Nursing Pillow: Bring your own pillow for added comfort, and a nursing pillow for breastfeeding support.
Medication: Pack any prescribed medications you may need during your hospital stay.
Gum: Freshen your breath and relieve dry mouth with gum or mints.
While it’s essential to pack your hospital bag thoughtfully, remember that the hospital will provide certain items to support your recovery and care for your newborn. These may include:
Hospital-Provided Items:
Pads and Mesh Underwear
Peri Bottle
Socks
Gowns and Basic Toiletries
Breast Pump (if needed)
Towels
Ice Packs
Don’t Forget:
Lastly, don’t forget to bring an extra bag to bring home all the hospital goodies they provide!
To make packing easier, I’ve included a free printable checklist that you can use to ensure you have everything you need for your C-section hospital stay. Happy packing, and best wishes for a smooth delivery and speedy recovery!
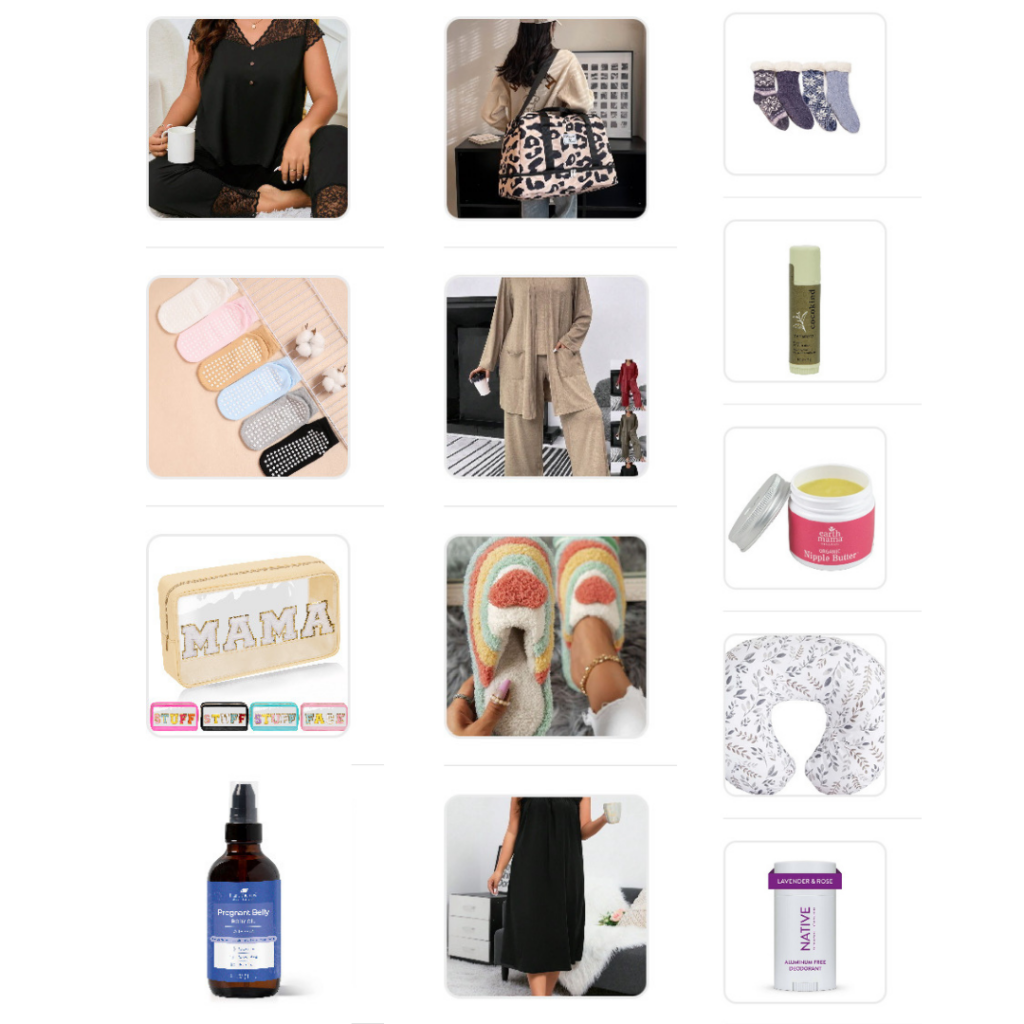
I bought my underwear and belly binders from Mistyphases
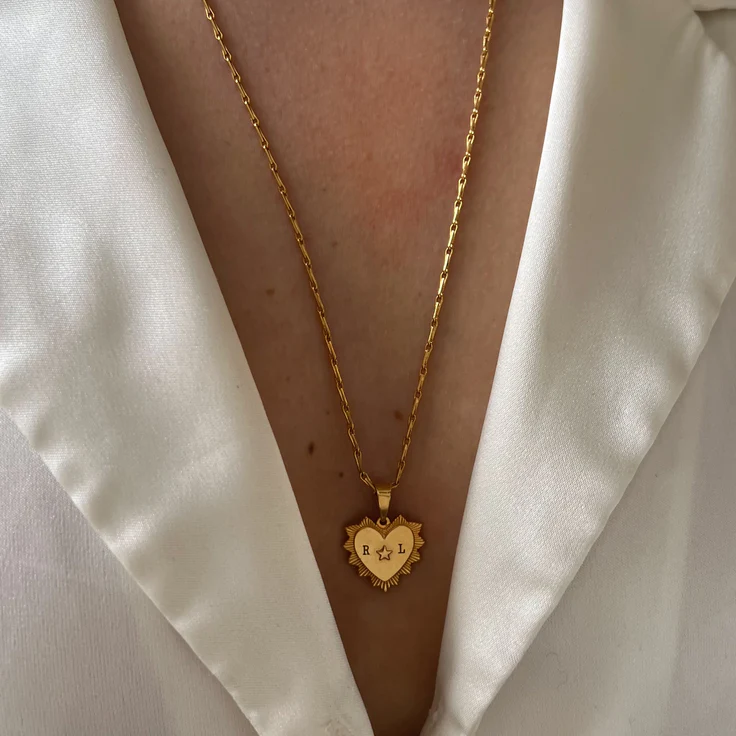
I treated myself to a new piece of jewelry that will include both of my boys initials. I plan to put it on as soon as little bambini is born. I found this beautiful statement piece from By Nouck
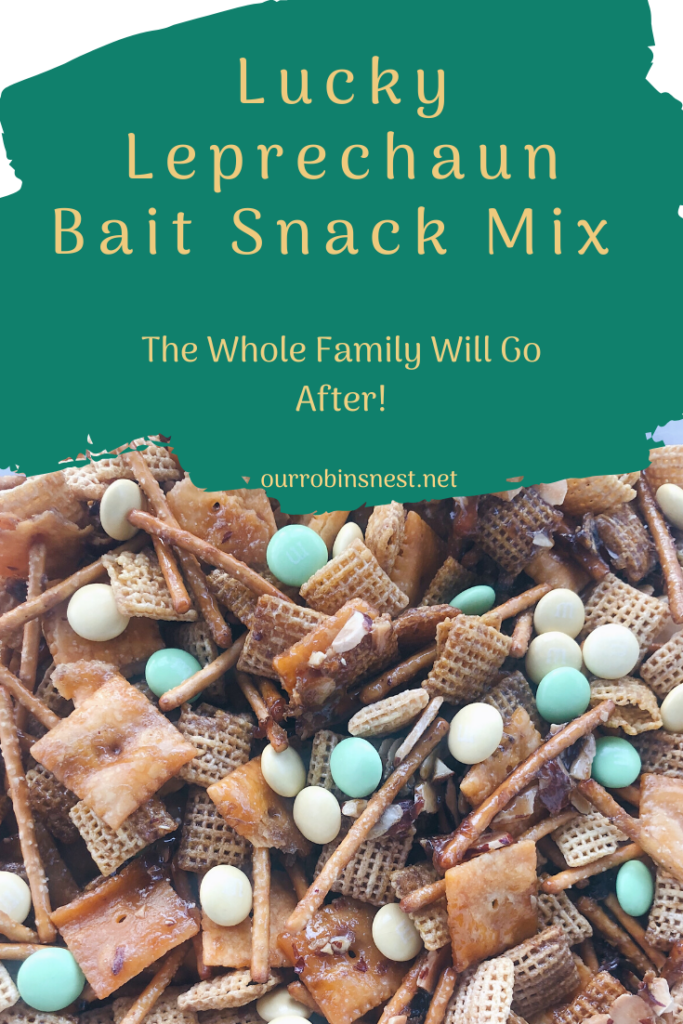
How to Make Shamrock Shaped Cinnamon Rolls: A Festive Twist on a Classic Treat
Get ready to add a touch of luck to your breakfast or brunch with these delightful shamrock shaped cinnamon rolls! Perfect for St. Patrick’s Day or any time you want to infuse a bit of whimsy into your baking routine, these cinnamon rolls are not only adorable but also incredibly easy to make. Using prepackaged cinnamon rolls makes this recipe a breeze, while a few simple steps transform them into festive shamrocks that will charm your taste buds. Let’s dive into the recipe!
Ingredients:
1 can of prepackaged cinnamon rolls (8-count)
Green food coloring
Green shimmer sprinkles (optional)
Instructions:
Preheat your oven to the temperature specified on the cinnamon roll package.
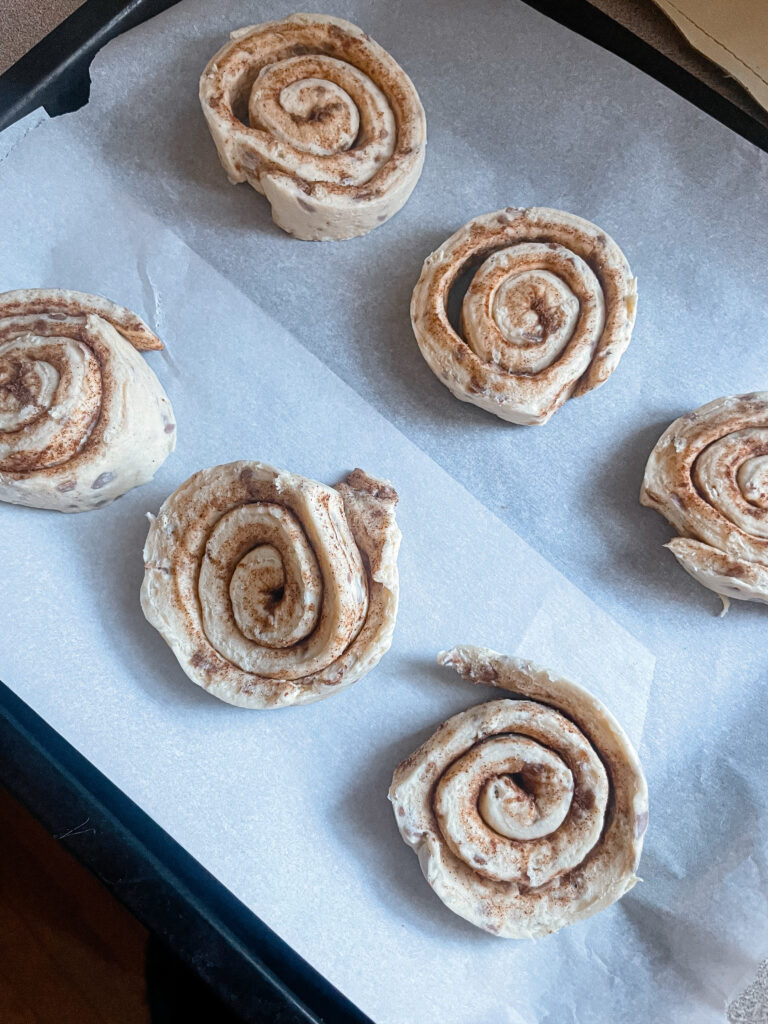
Open the can of cinnamon rolls and unroll each cinnamon roll one at a time. Use kitchen scissors to cut the cinnamon rolls into 2-3″ pieces.
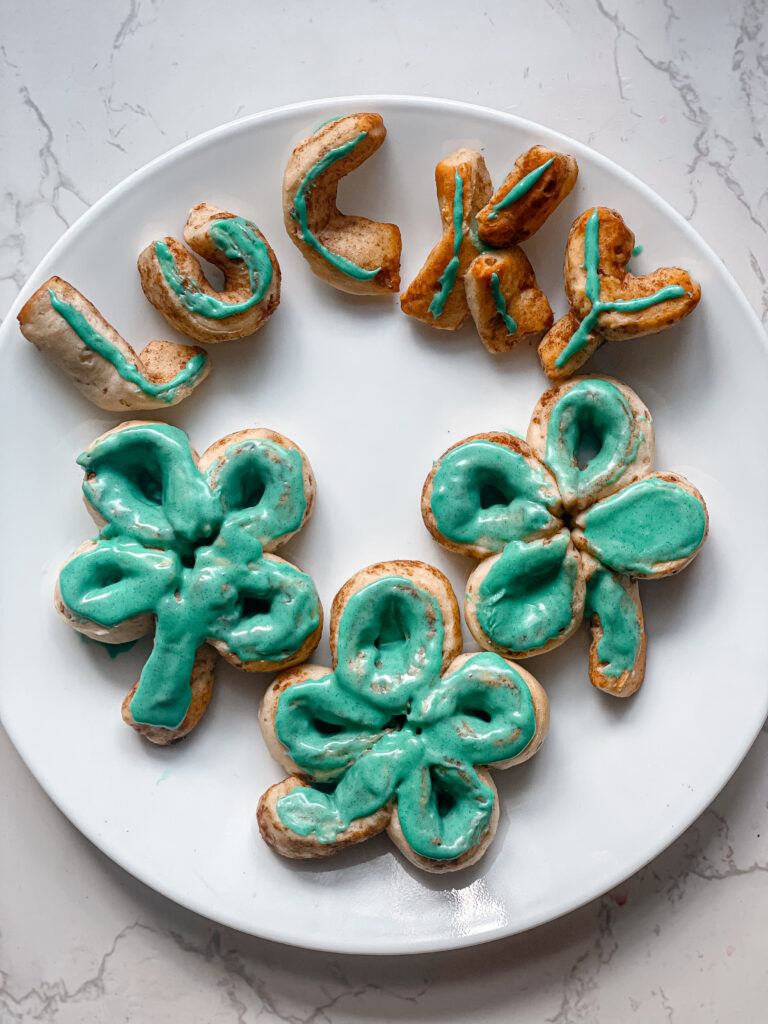
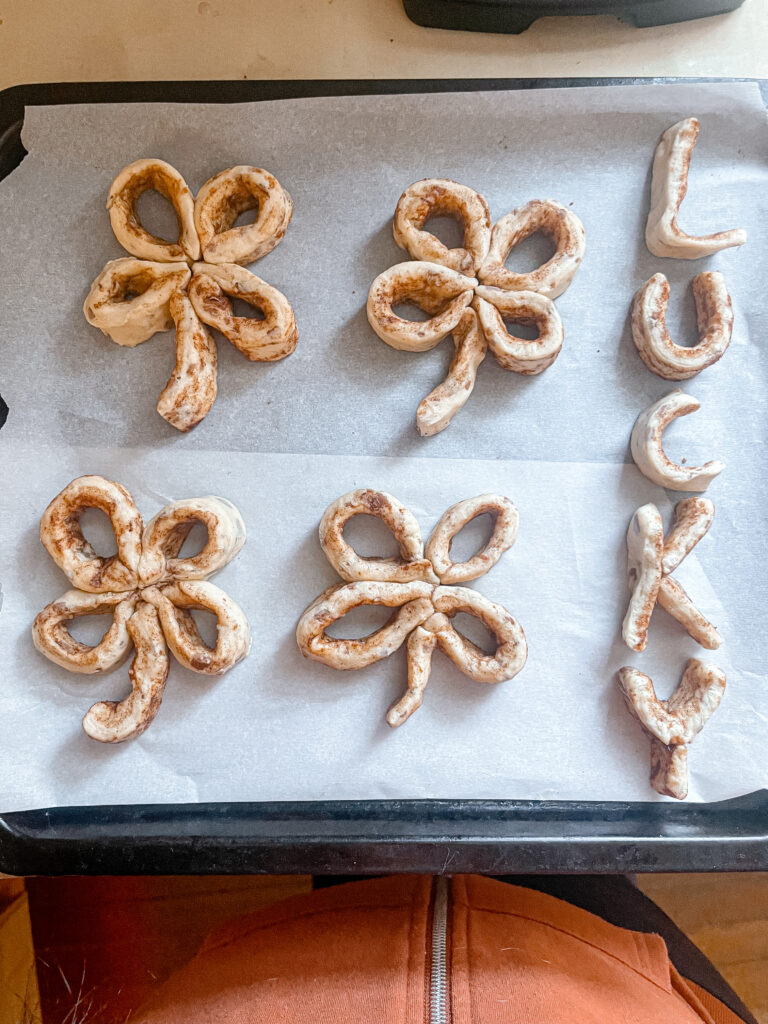
Gently fold each cut piece in half and arrange them in the shape of a shamrock on your baking sheet lined with parchment paper or lightly greased. Refer to the provided photos for guidance on shaping the shamrocks.
Once you’ve formed the shamrocks, use a small piece of dough to create a stem for each one. Simply roll a small portion of dough between your hands to form a thin rope-like shape, and attach it to the bottom of each shamrock.
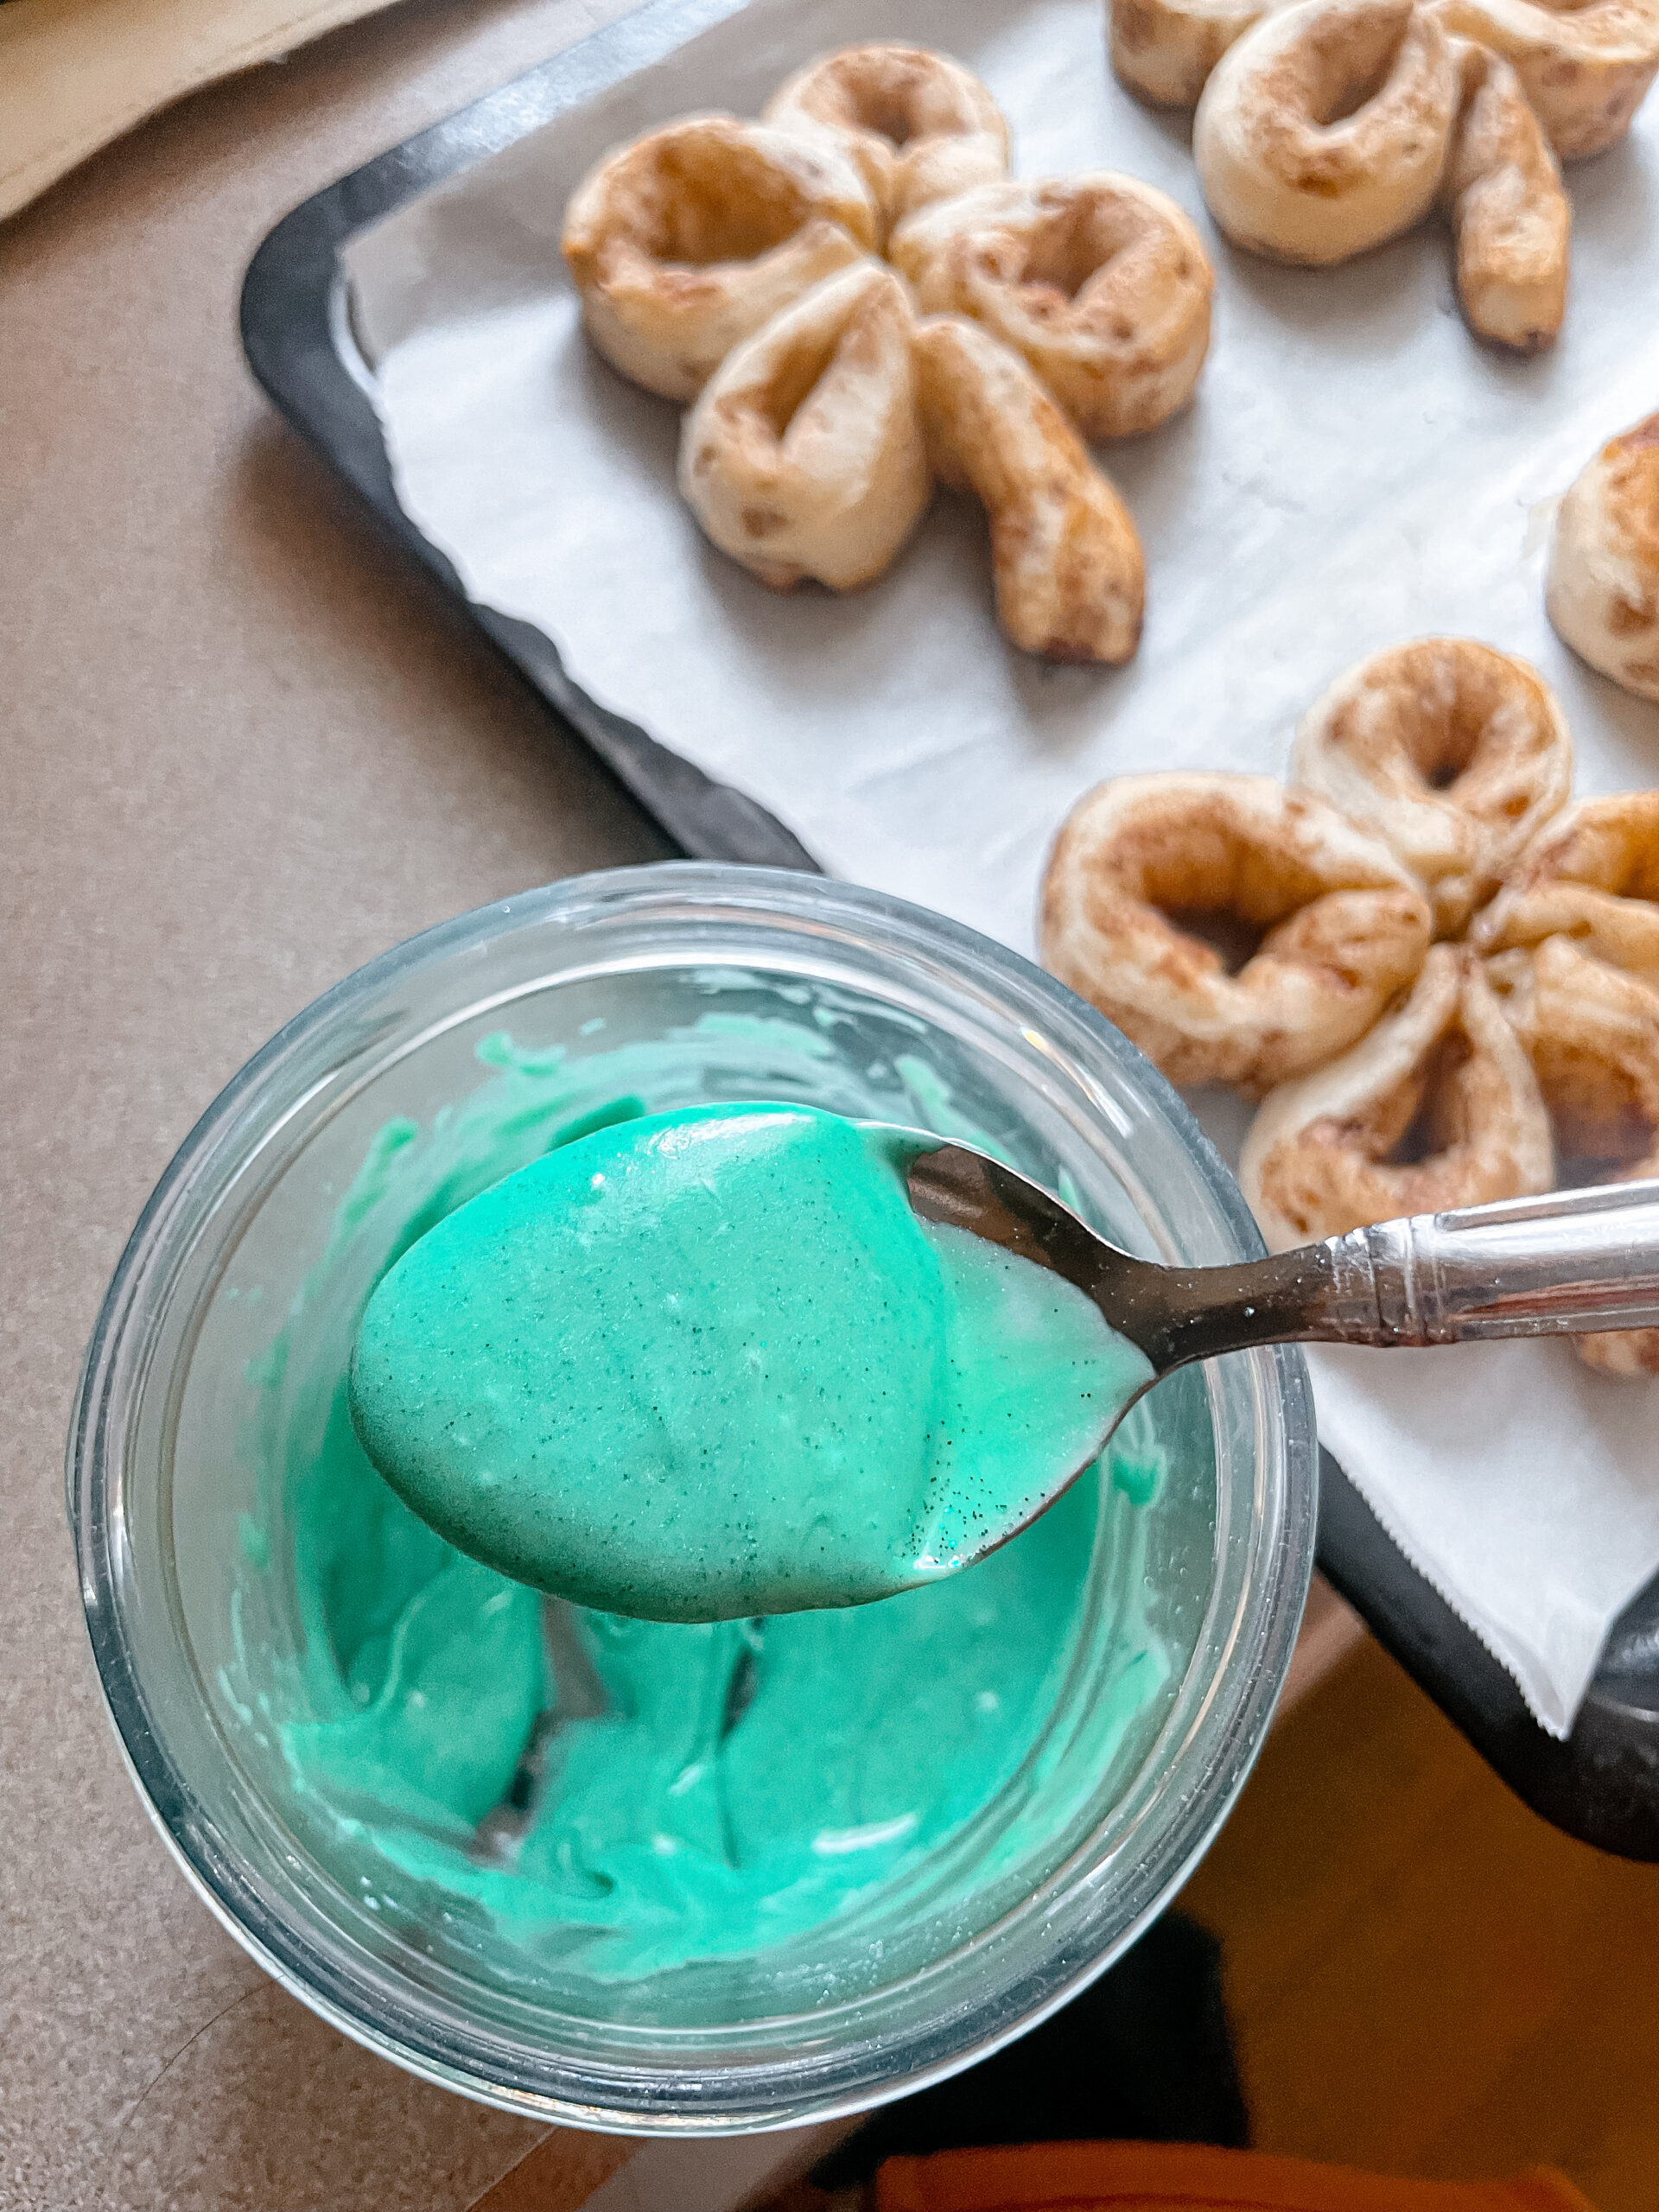
Bake the cinnamon rolls according to the instructions on the package, or until they are golden brown and cooked through.
While the cinnamon rolls are baking, prepare the icing by combining the provided icing packet with a few drops of green food coloring. Mix until the desired shade of green is achieved.
Once the cinnamon rolls are done baking, remove them from the oven and allow them to cool slightly on a wire rack.
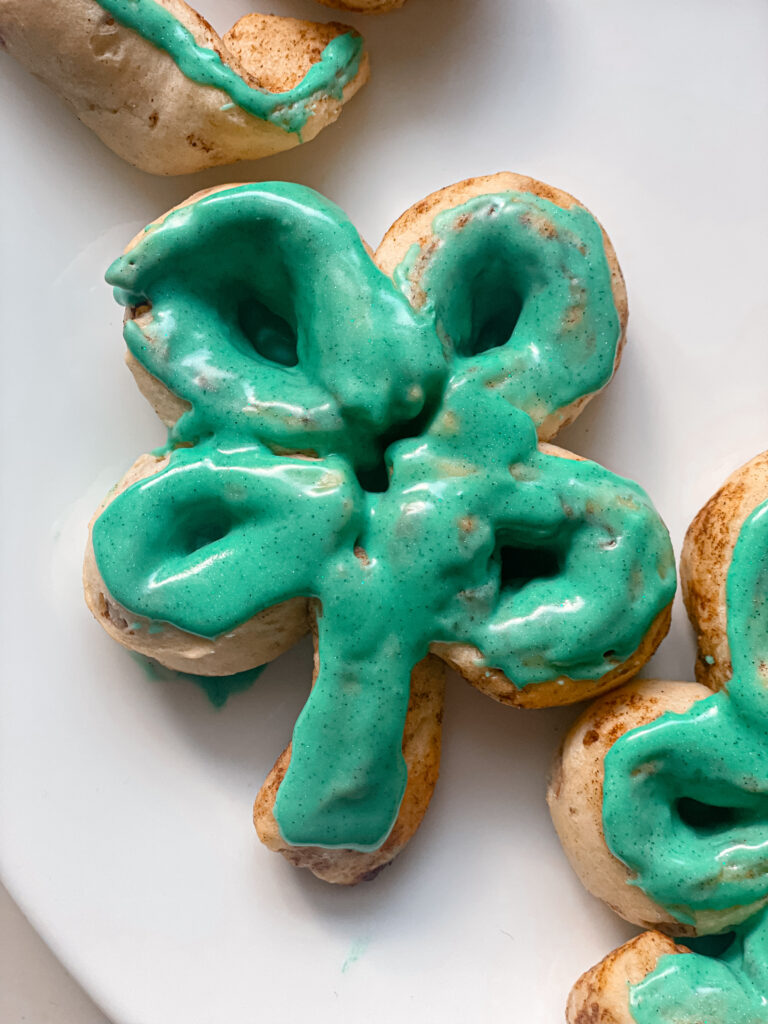
Drizzle the green icing over the warm cinnamon rolls, ensuring that each shamrock is evenly coated.
For an extra festive touch, sprinkle green shimmer sprinkles over the icing to add a hint of sparkle and shine.
Serve your shamrock shaped cinnamon rolls warm and enjoy the festive treat with your loved ones!
With just a few simple steps, you can create these charming shamrock shaped cinnamon rolls that are sure to delight everyone who tries them. Whether you’re celebrating St. Patrick’s Day or simply looking to add some fun to your breakfast routine, these cinnamon rolls are a delicious and festive choice. So go ahead, gather your ingredients, and get ready to bake up a bit of luck in the form of delicious cinnamon rolls!
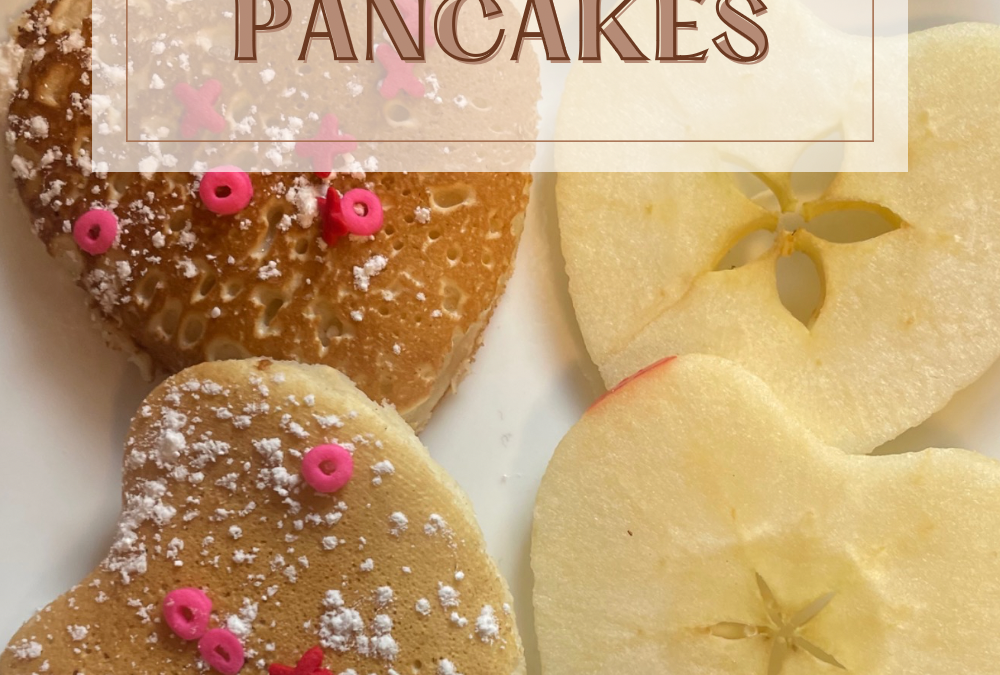
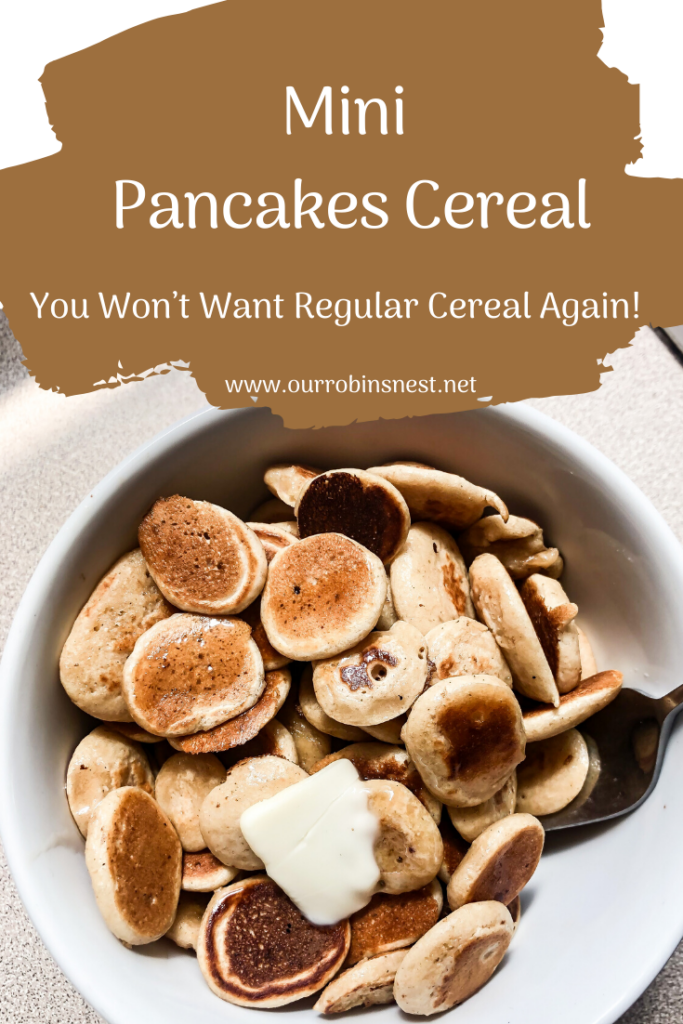
Heart-Shaped Apple Slice Pancakes: A Sweet Treat for Valentine’s Day
Valentine’s Day is around the corner, and what better way to celebrate than with a delightful breakfast treat? If you’re looking to impress your loved ones with a delicious and adorable dish, look no further than heart-shaped apple slice pancakes! This recipe combines the classic comfort of pancakes with the sweetness of apples, creating a perfect harmony of flavors and shapes that will surely make hearts flutter.
Ingredients:
1 cup all-purpose flour
1 tablespoon sugar
2 teaspoons baking powder
1/2 teaspoon salt
1 egg
3/4 cup milk
2 tablespoons unsalted butter, melted
1 apple, thinly sliced
Maple syrup and powdered sugar for serving
Instructions:
Prepare the pancake batter by mixing together the flour, sugar, baking powder, and salt in a large bowl.
In a separate bowl, beat the egg and then stir in the milk and melted butter until well combined.
Pour the wet ingredients into the dry ingredients and mix until just combined. Be careful not to overmix, as this can result in tough pancakes.
Heat a non-stick skillet or griddle over medium heat and lightly grease with butter or cooking spray.
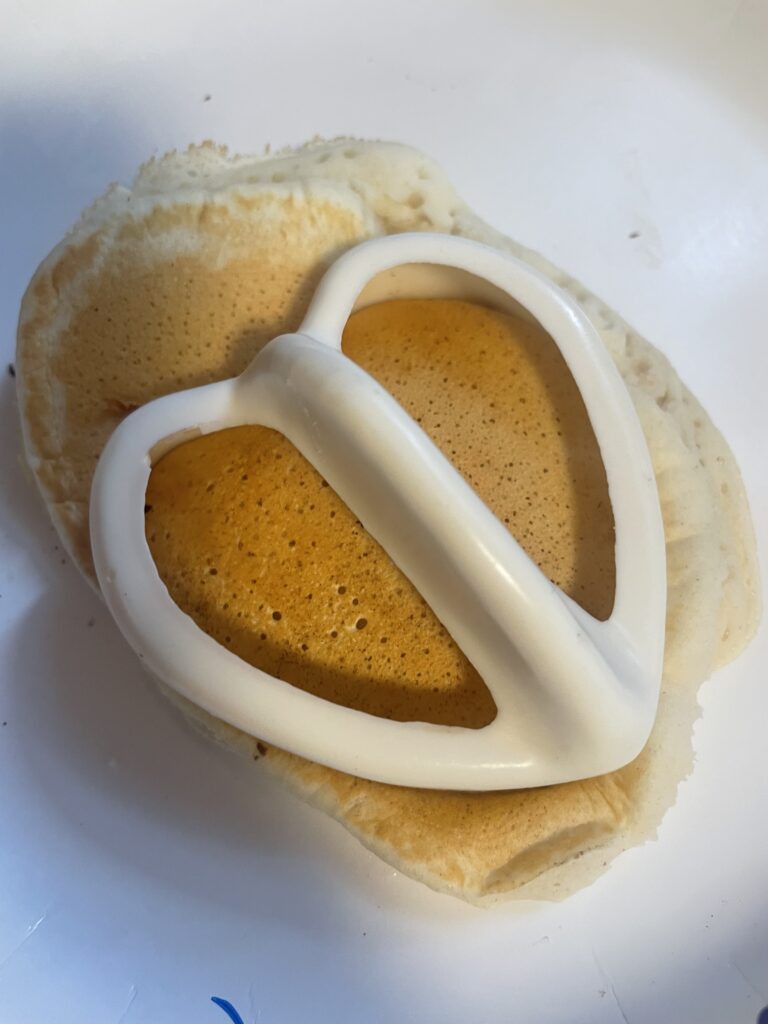
Place a heart-shaped cookie cutter onto the skillet and pour a small amount of batter into the center of the cutter.
Quickly place apple slices on top of the batter in the shape of a heart, pressing them gently into the batter.
Carefully remove the cookie cutter and cook the pancake until bubbles form on the surface, then flip and cook until golden brown on both sides.
Repeat with the remaining batter and apple slices, re-greasing the skillet as needed.
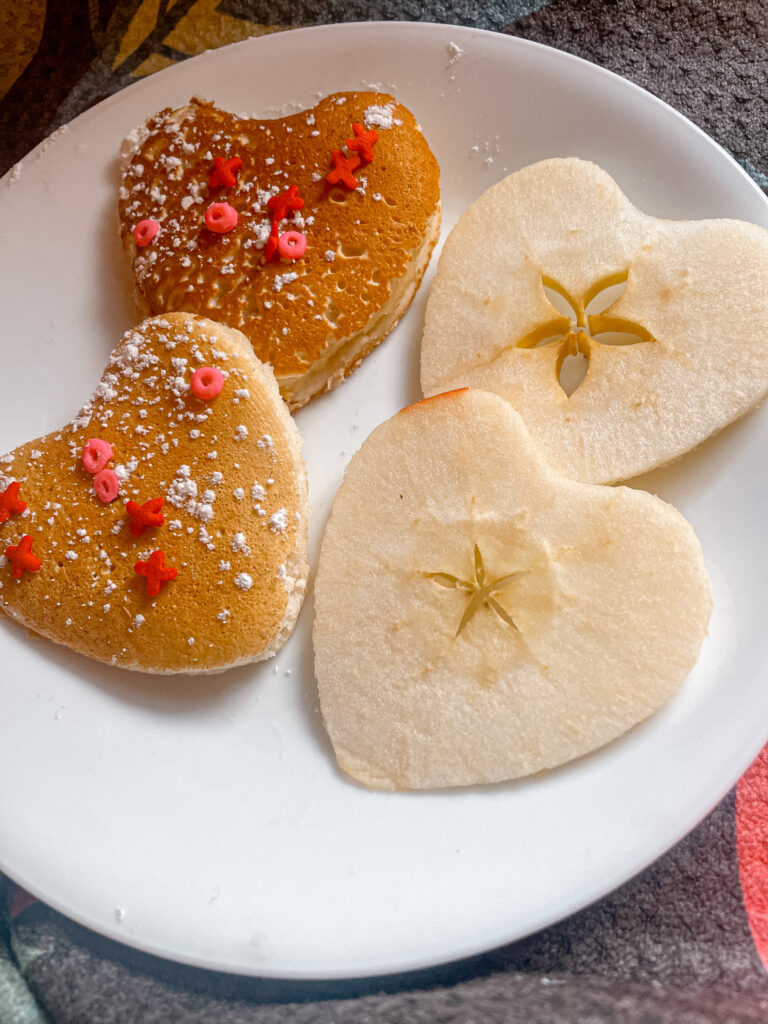
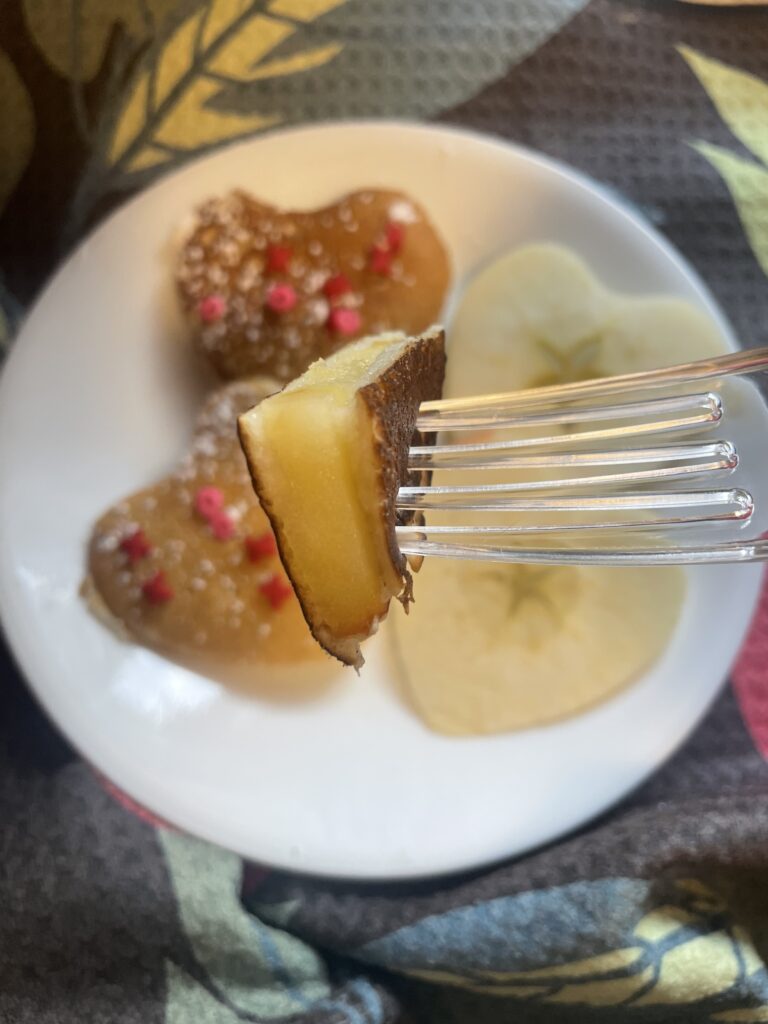
Serve the heart-shaped apple slice pancakes warm, drizzled with maple syrup and dusted with powdered sugar.
Enjoy these adorable and delicious pancakes with your loved ones on Valentine’s Day morning!
Tips for Success:
Use a firm apple variety like Granny Smith or Honeycrisp for the best results.
Make sure to slice the apples thinly to ensure they cook through evenly.
If you don’t have a heart-shaped cookie cutter, you can freehand the shapes using a spoon or ladle to pour the batter into heart shapes.
Keep the pancakes warm in a low oven while you cook the remaining batches.
Additional Note:
For those short on time or looking for an even easier option, you can absolutely use ready-made pancake mix for this recipe! Simply follow the instructions on the pancake mix package to prepare the batter, then proceed with steps 4 through 10 as outlined above. Using pre-made pancake mix not only saves time but also ensures consistent results, making this Valentine’s Day treat even more accessible for busy mornings or last-minute celebrations.
You can also make the pancakes round and then cut them with a heart shaped cookie cutter after they are cooked and cooled.
Enjoy!
These heart-shaped apple slice pancakes are the perfect way to start Valentine’s Day off on a sweet note. Whether you’re enjoying them with your significant other, your family, or even just by yourself, they’re sure to bring a smile to everyone’s face. So whip up a batch of these delightful pancakes and spread the love this Valentine’s Day!
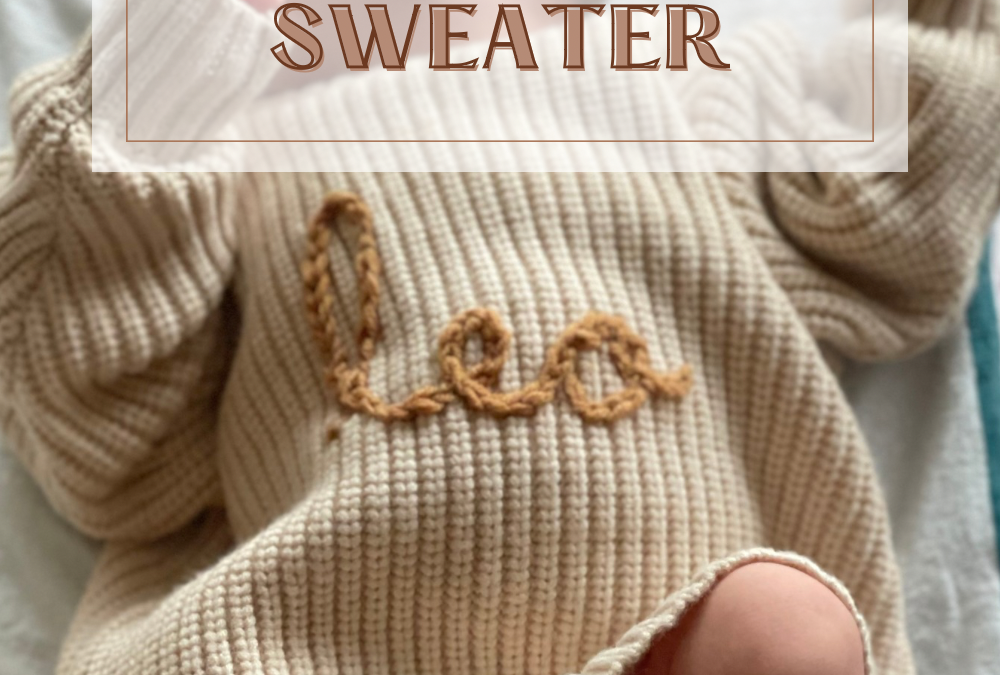
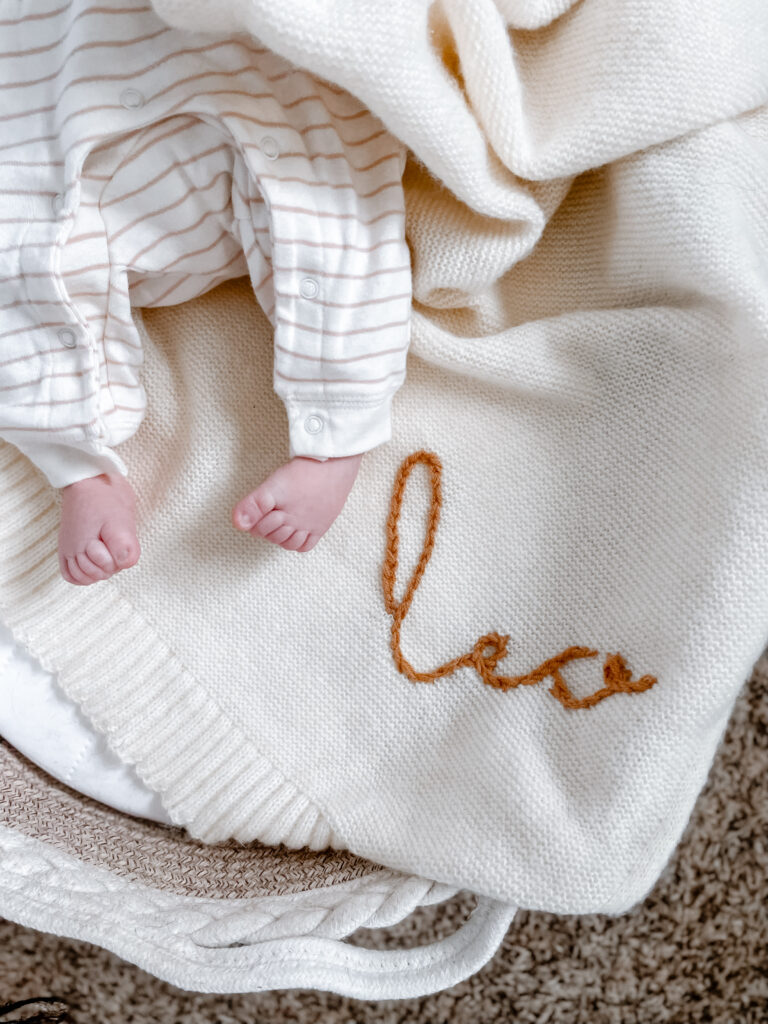
Crafted with Care: Yarn Embroidery for Your Little One’s Sweater
This post contains affiliate links.
There’s something incredibly special about adding a personal touch to your child’s clothing, and yarn embroidery offers a charming way to do just that. In this blog post, we’ll explore the art of yarn embroidery using a simple chain stitch to create a personalized masterpiece on your little one’s sweater. So, gather your supplies and let’s get crafting!
Materials Needed:
Sweater (knitted or fabric)
Yarn in your chosen color(s)
Yarn needle
Fabric marker or chalk
Scissors
Design inspiration (optional)
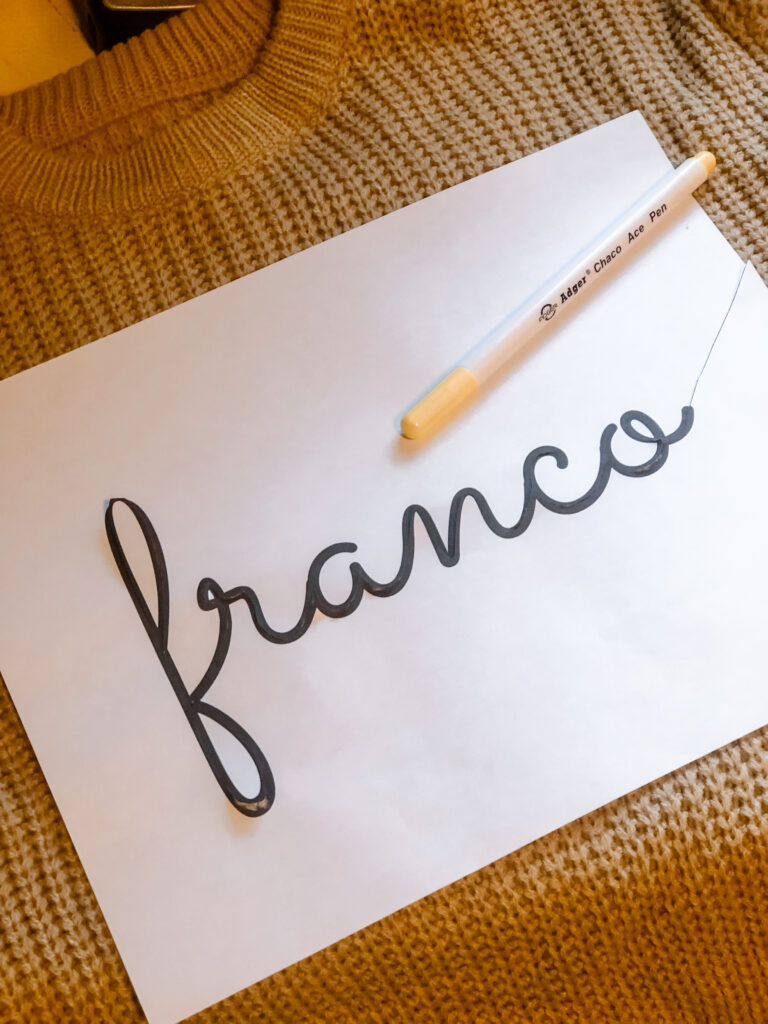
Step 1: Choose Your Design
Before you start embroidering, decide on the design for your child’s name. I used Canva to help find a font I wanted to use. Sketch the name lightly onto the sweater using a fabric marker or chalk. Ensure the placement and size of the name suit the sweater’s style and your preferences.
Step 2: Prepare Your Sweater
Lay the sweater flat on a smooth surface, ensuring it’s wrinkle-free and ready for embroidery. If you’re using a knit sweater, you may want to place an embroidery hoop under the area where you’ll be stitching to keep the fabric taut.
Step 3: Thread Your Needle
Cut a length of yarn and thread it through the eye of the tapestry needle. You can use a single strand of yarn for delicate lines or multiple strands for bolder stitches. Knot the end of the yarn securely.
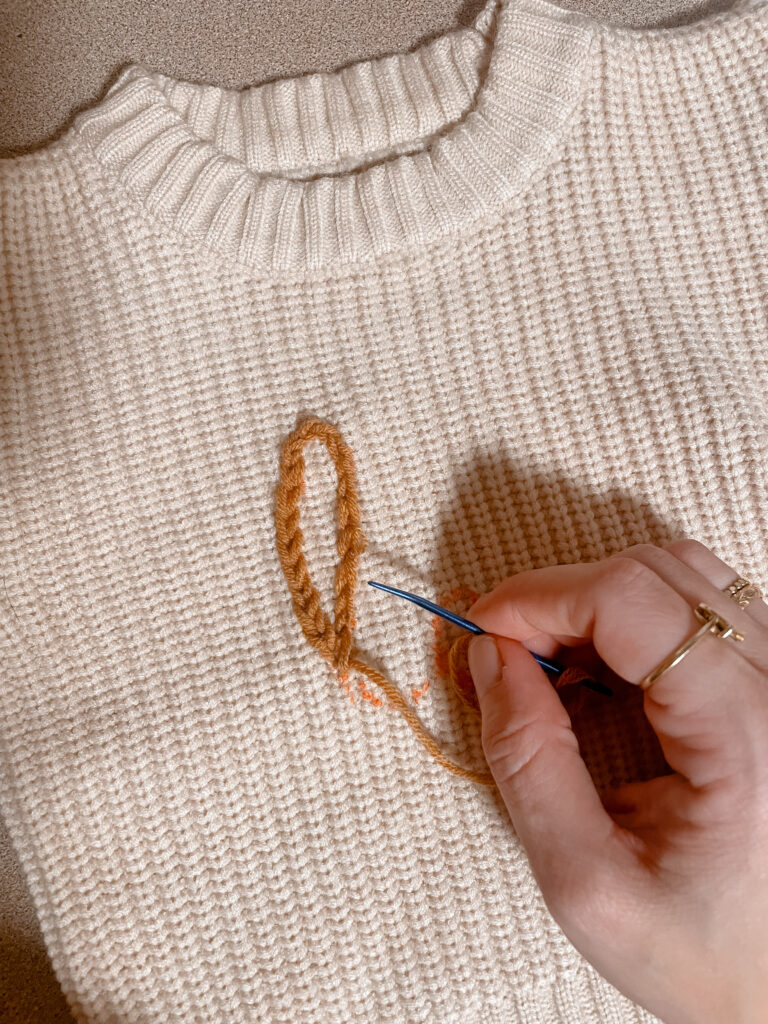
Step 4: Begin Stitching with Chain Stitch
Start stitching your child’s name using the chain stitch. To create a chain stitch:
Bring the needle up through the fabric at the starting point of the first letter.
Insert the needle back into the fabric, a short distance away from the starting point, forming a small loop.
Bring the needle back up through the fabric inside the loop, keeping the working yarn below the needle.
Pull the needle gently to tighten the loop, forming the first chain stitch.
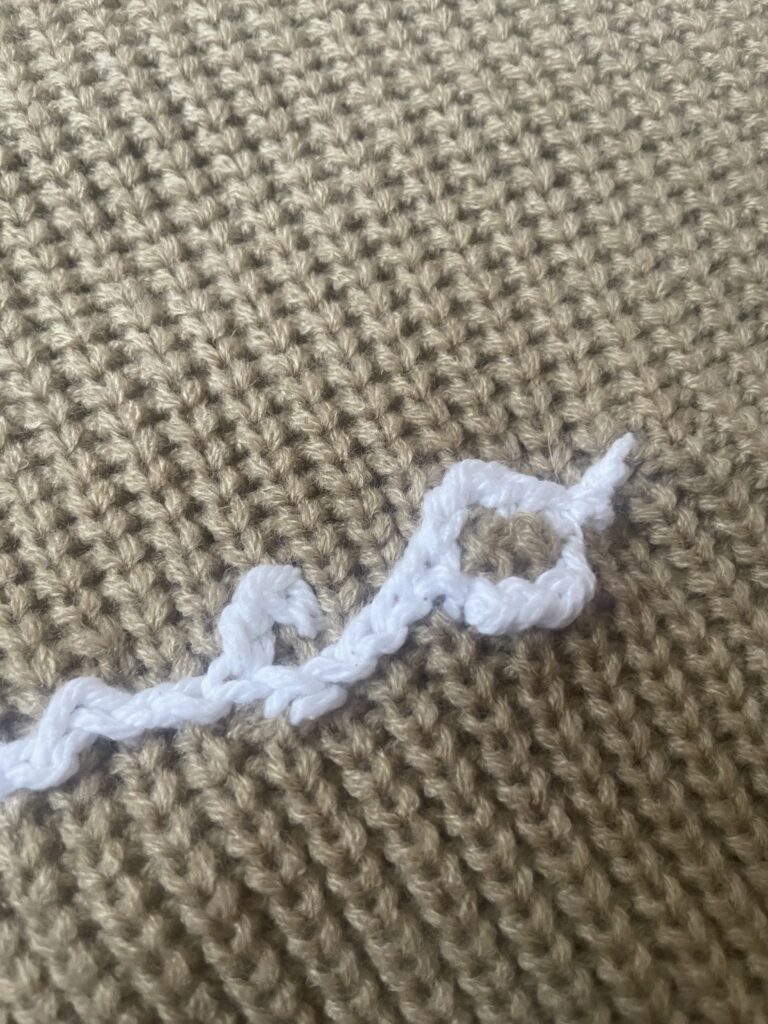
Continue this process, working along the outlines of each letter to form a continuous chain of stitches.
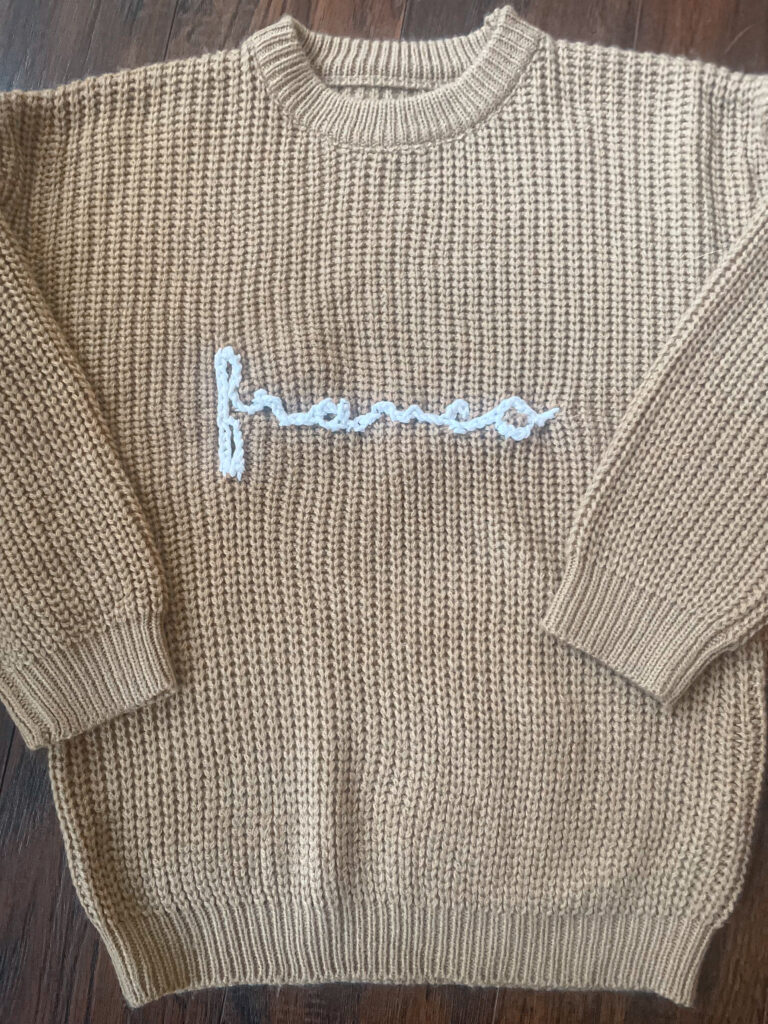
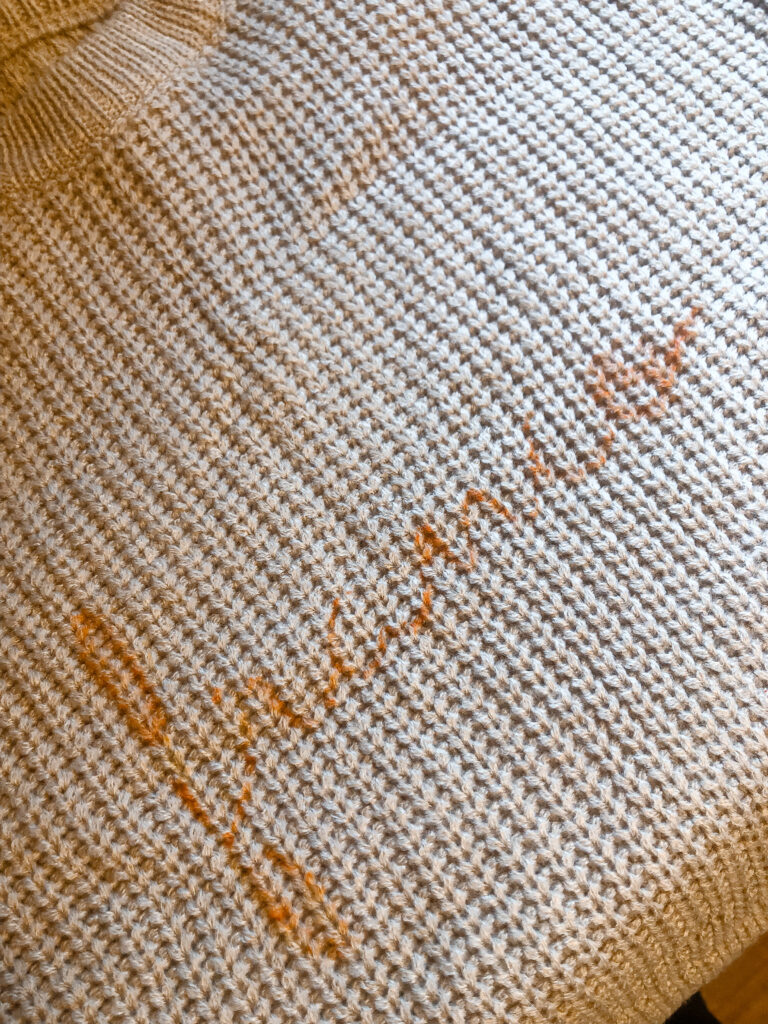
Step 5: Complete the Name
Continue stitching until you’ve embroidered the entire name. Take your time to maintain consistent stitch lengths and smooth curves.
Step 6: Finishing Touches
Once you’re satisfied with the embroidery, secure the loose ends of the yarn on the back of the sweater by weaving them through nearby stitches and tying knots. Trim any excess yarn carefully with scissors to tidy up the back of the embroidery.
Step 7: Care Instructions
To preserve your handiwork and to remove fabric marker, it’s essential to follow proper care instructions. Hand wash the sweater in cold water with mild detergent, avoiding scrubbing or wringing to protect the embroidery. Lay it flat to dry, reshaping if necessary.
Yarn embroidery is a delightful way to infuse your child’s sweater with love and personality. With just a few basic supplies and a bit of creativity, you can create a timeless keepsake that celebrates your child’s unique identity. So, embrace the art of yarn embroidery, and watch as your little one proudly wears their personalized masterpiece, crafted with care just for them. Happy stitching!
If motherhood has you stressed and you feel like you’ve lost your creativity, I am here to help! Here you will find easy recipes, simple DIY’s, affordable styles, and what to read next. I believe we all have a creative side, some of us just need a little help to find it. I will help inspire you to have creative expression without standards.