

Crafted with Care: Yarn Embroidery for Your Little One’s Sweater
This post contains affiliate links.
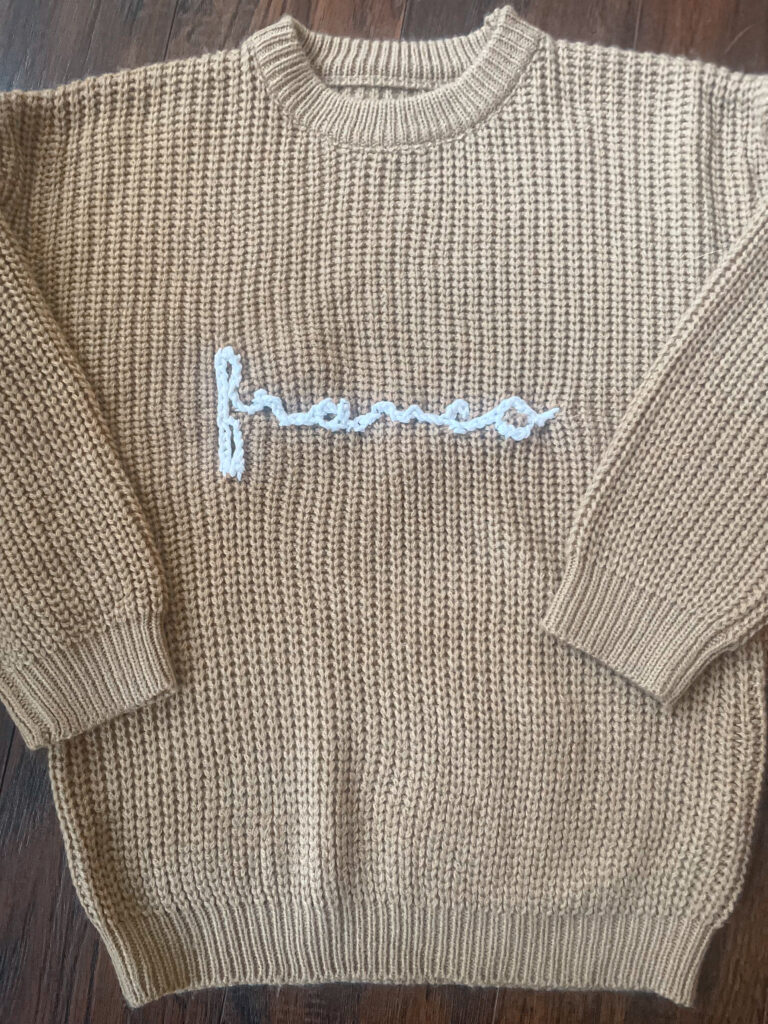
There’s something incredibly special about adding a personal touch to your child’s clothing, and yarn embroidery offers a charming way to do just that. In this blog post, we’ll explore the art of yarn embroidery using a simple chain stitch to create a personalized masterpiece on your little one’s sweater. So, gather your supplies and let’s get crafting!
Materials Needed:
- Sweater (knitted or fabric)
- Yarn in your chosen color(s)
- Yarn needle
- Fabric marker or chalk
- Scissors
- Design inspiration (optional)
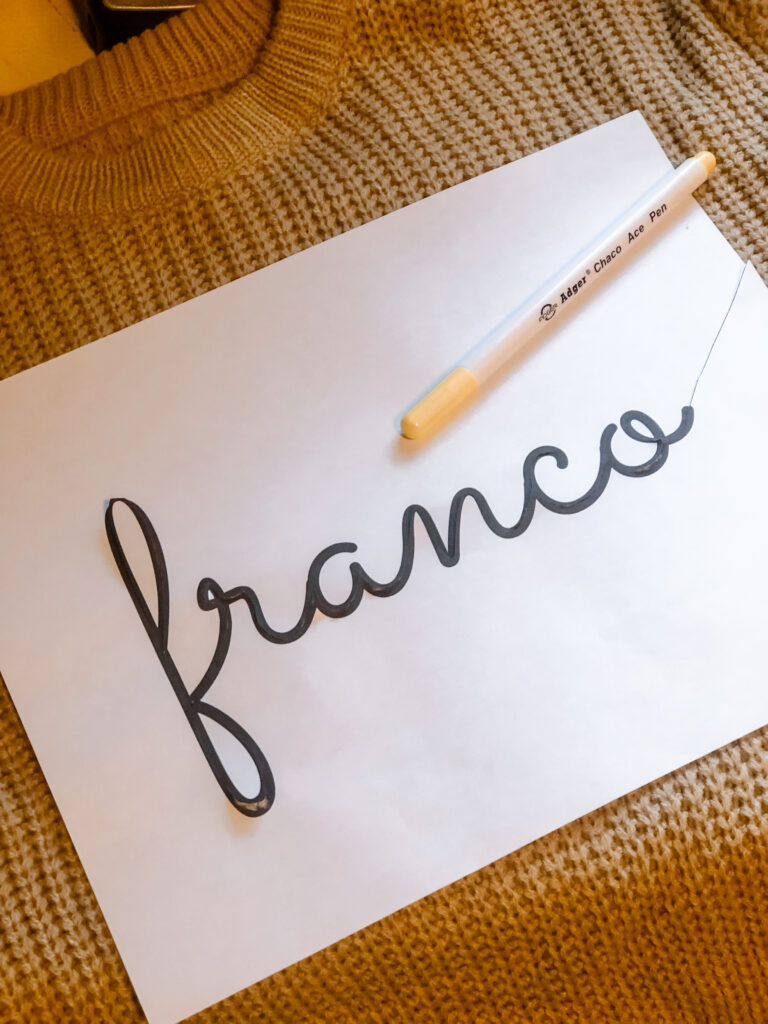
Step 1: Choose Your Design
Before you start embroidering, decide on the design for your child’s name. I used Canva to help find a font I wanted to use. Sketch the name lightly onto the sweater using a fabric marker or chalk. Ensure the placement and size of the name suit the sweater’s style and your preferences.
Step 2: Prepare Your Sweater
Lay the sweater flat on a smooth surface, ensuring it’s wrinkle-free and ready for embroidery. If you’re using a knit sweater, you may want to place an embroidery hoop under the area where you’ll be stitching to keep the fabric taut.
Step 3: Thread Your Needle
Cut a length of yarn and thread it through the eye of the tapestry needle. You can use a single strand of yarn for delicate lines or multiple strands for bolder stitches. Knot the end of the yarn securely.
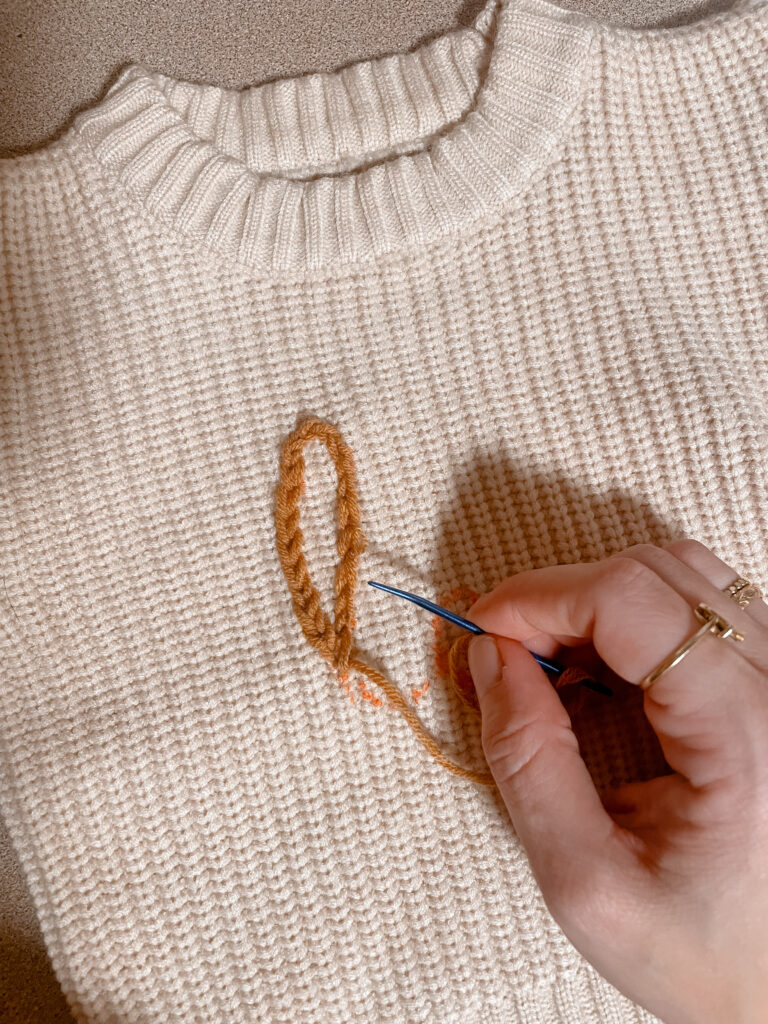
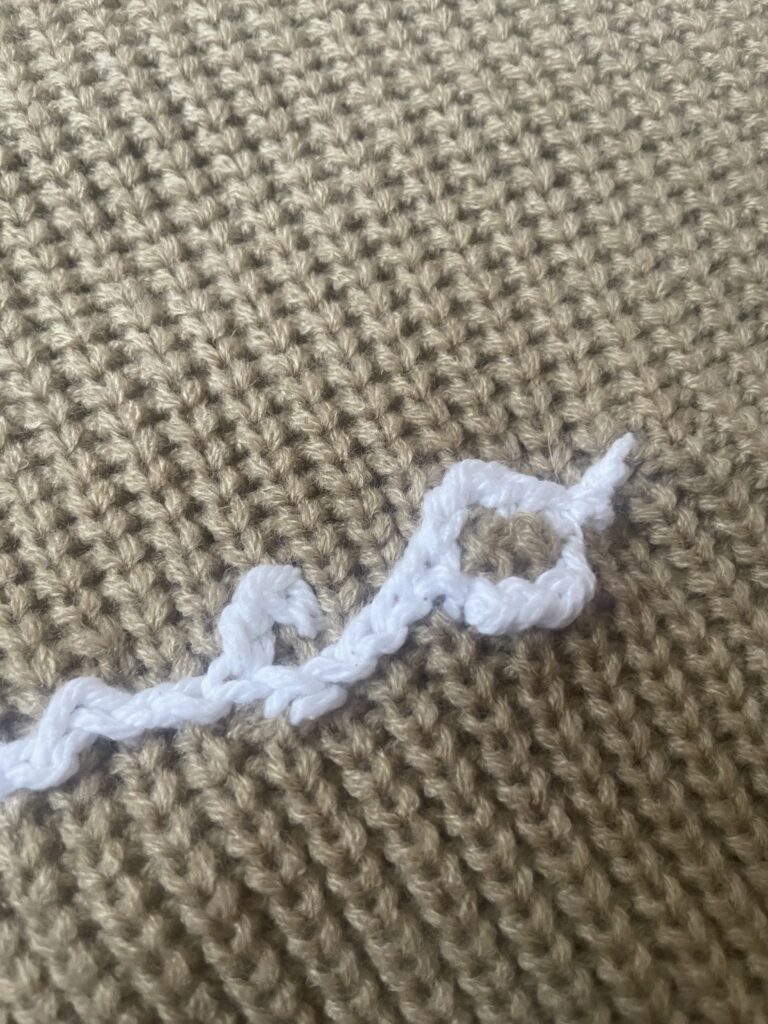
Step 4: Begin Stitching with Chain Stitch
Start stitching your child’s name using the chain stitch. To create a chain stitch:
- Bring the needle up through the fabric at the starting point of the first letter.
- Insert the needle back into the fabric, a short distance away from the starting point, forming a small loop.
- Bring the needle back up through the fabric inside the loop, keeping the working yarn below the needle.
- Pull the needle gently to tighten the loop, forming the first chain stitch.
- Continue this process, working along the outlines of each letter to form a continuous chain of stitches.
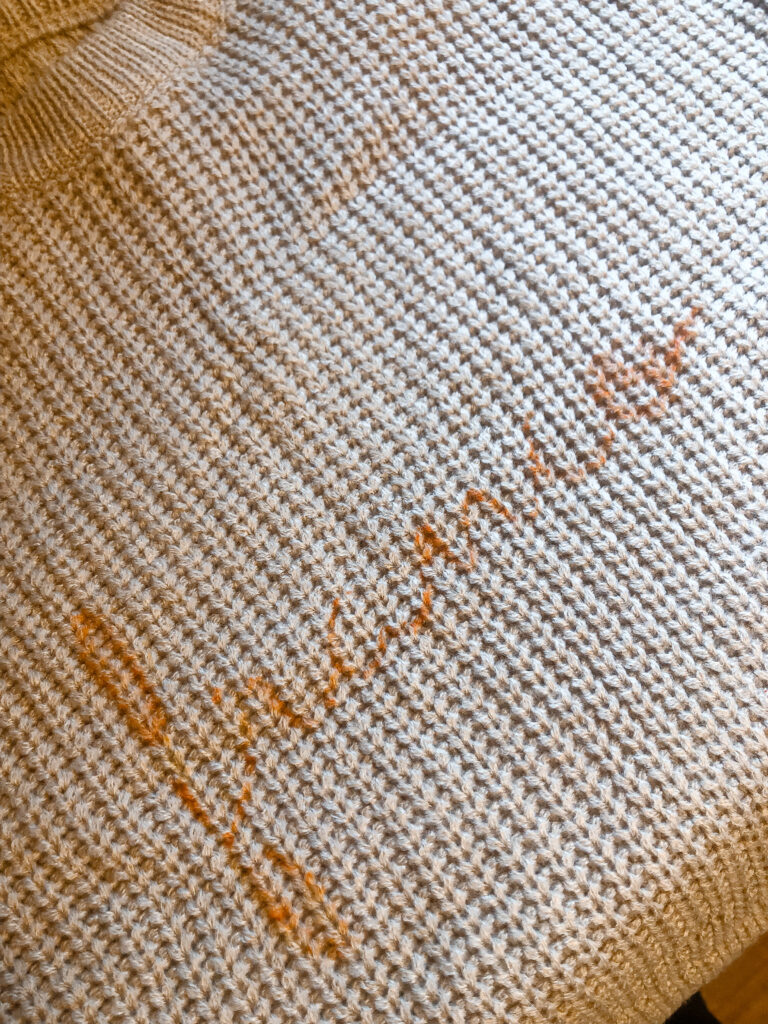
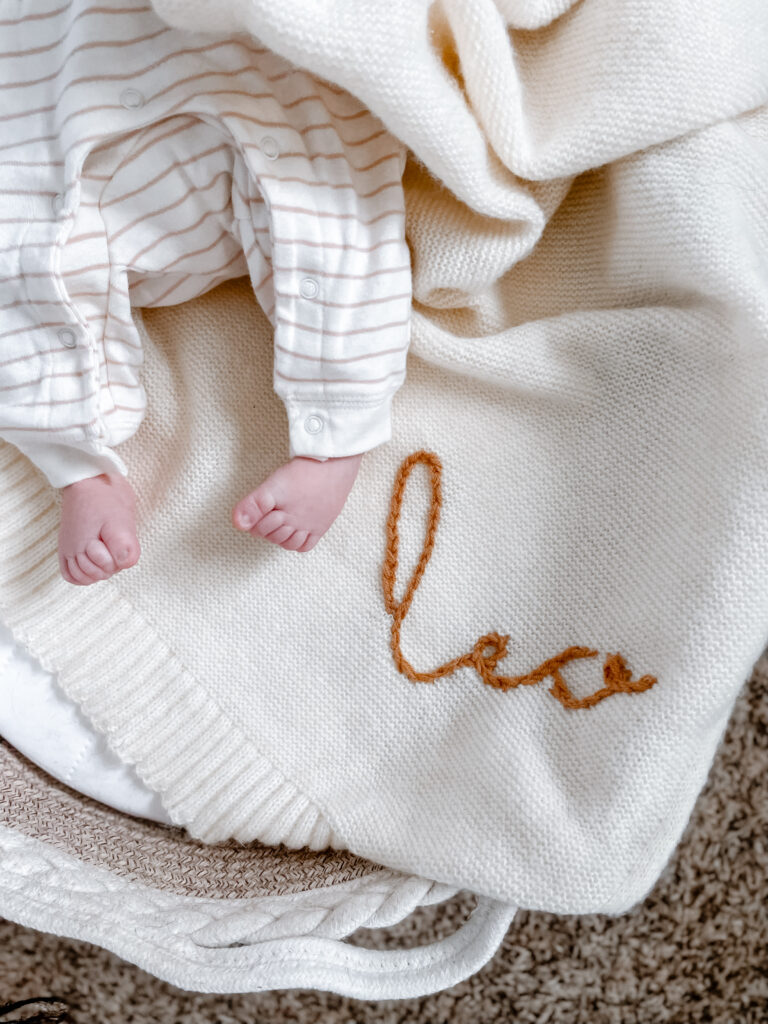
Step 5: Complete the Name
Continue stitching until you’ve embroidered the entire name. Take your time to maintain consistent stitch lengths and smooth curves.
Step 6: Finishing Touches
Once you’re satisfied with the embroidery, secure the loose ends of the yarn on the back of the sweater by weaving them through nearby stitches and tying knots. Trim any excess yarn carefully with scissors to tidy up the back of the embroidery.
Step 7: Care Instructions
To preserve your handiwork and to remove fabric marker, it’s essential to follow proper care instructions. Hand wash the sweater in cold water with mild detergent, avoiding scrubbing or wringing to protect the embroidery. Lay it flat to dry, reshaping if necessary.
Yarn embroidery is a delightful way to infuse your child’s sweater with love and personality. With just a few basic supplies and a bit of creativity, you can create a timeless keepsake that celebrates your child’s unique identity. So, embrace the art of yarn embroidery, and watch as your little one proudly wears their personalized masterpiece, crafted with care just for them. Happy stitching!
Shop Materials Here
You May Also Like

0 Comments