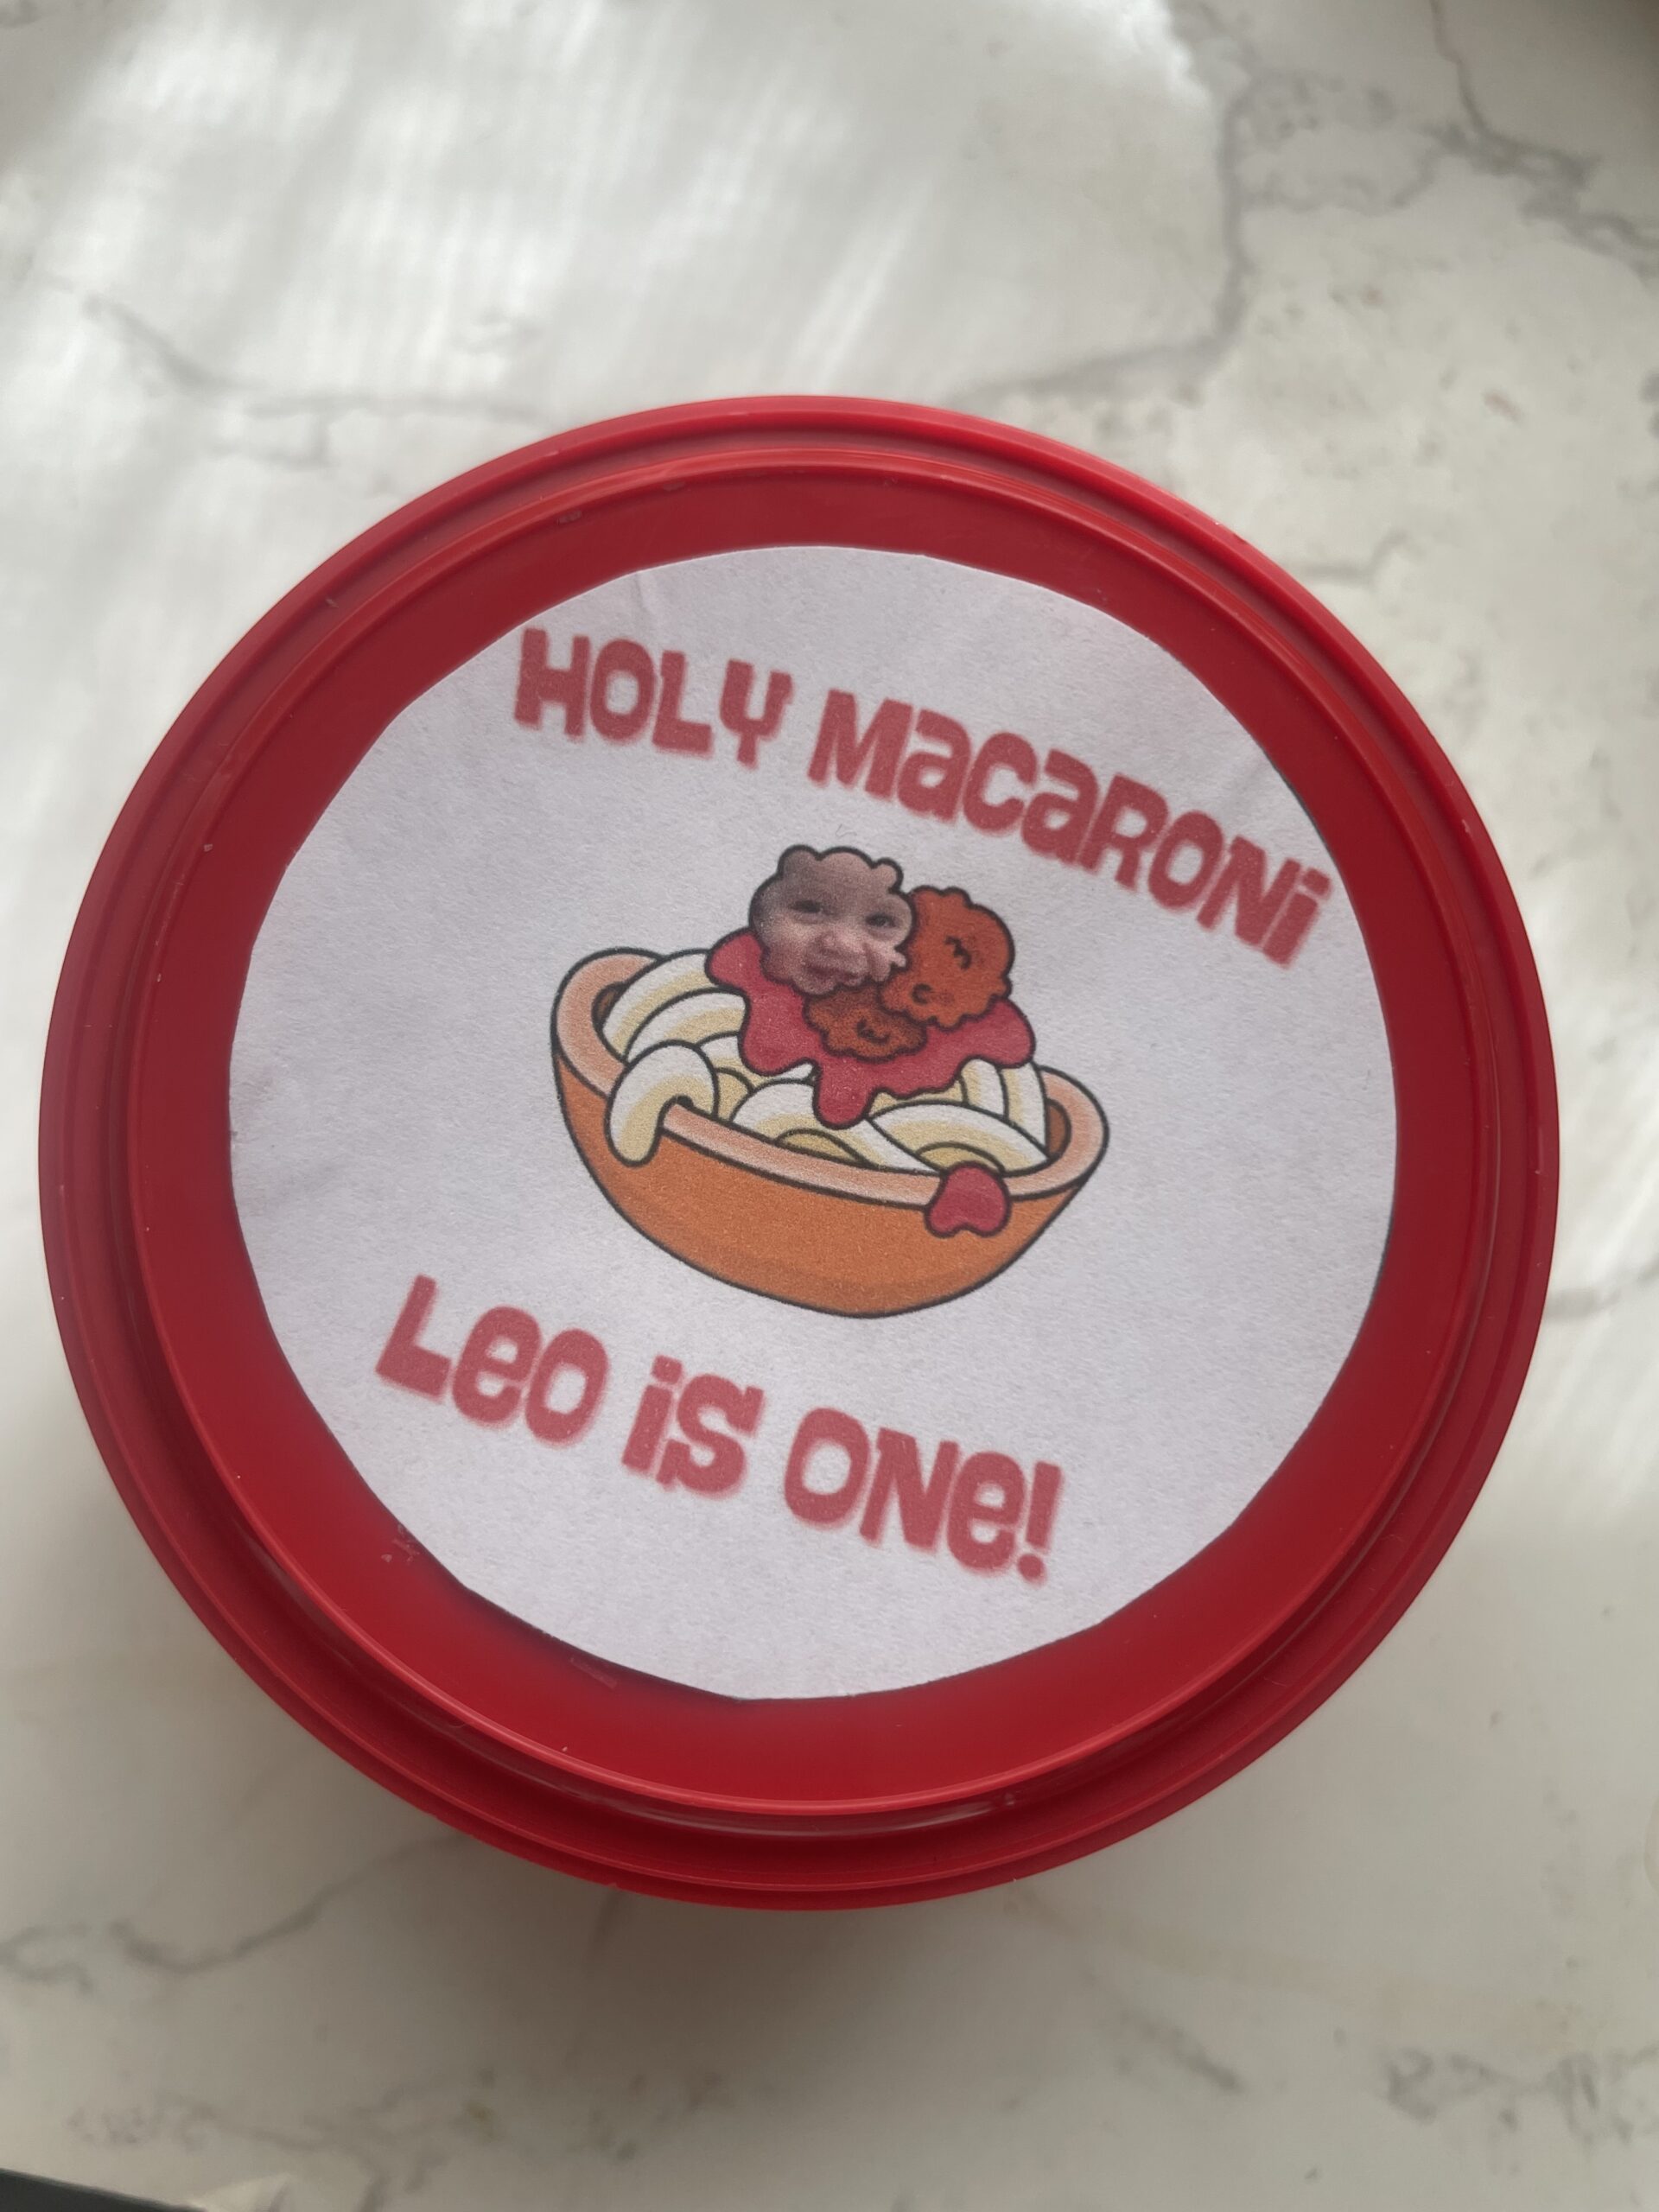
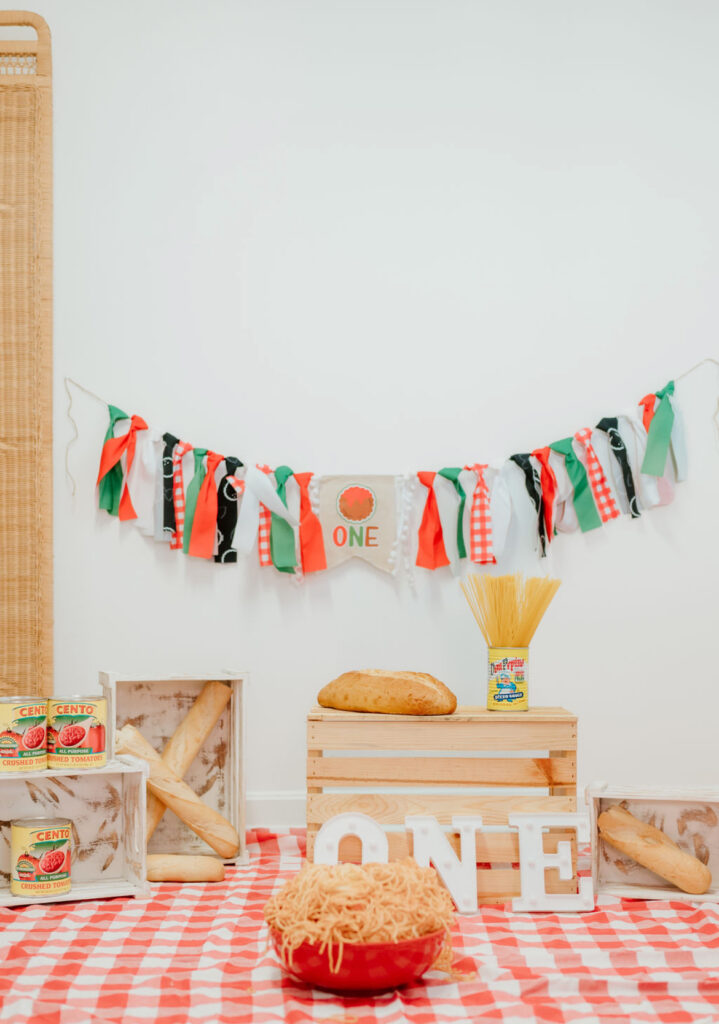
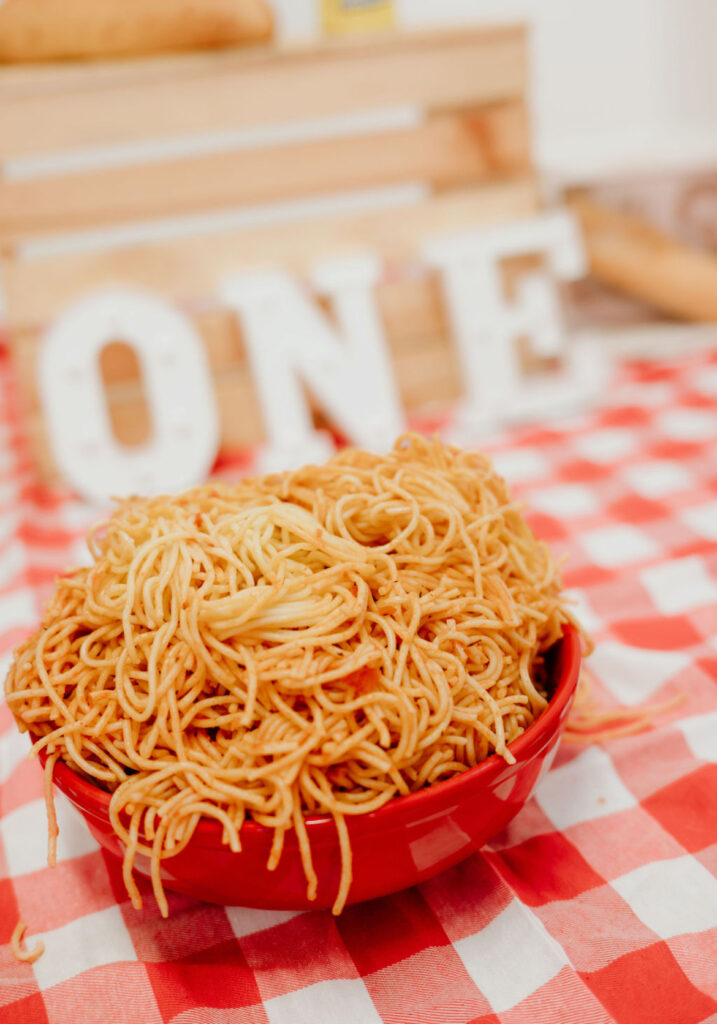
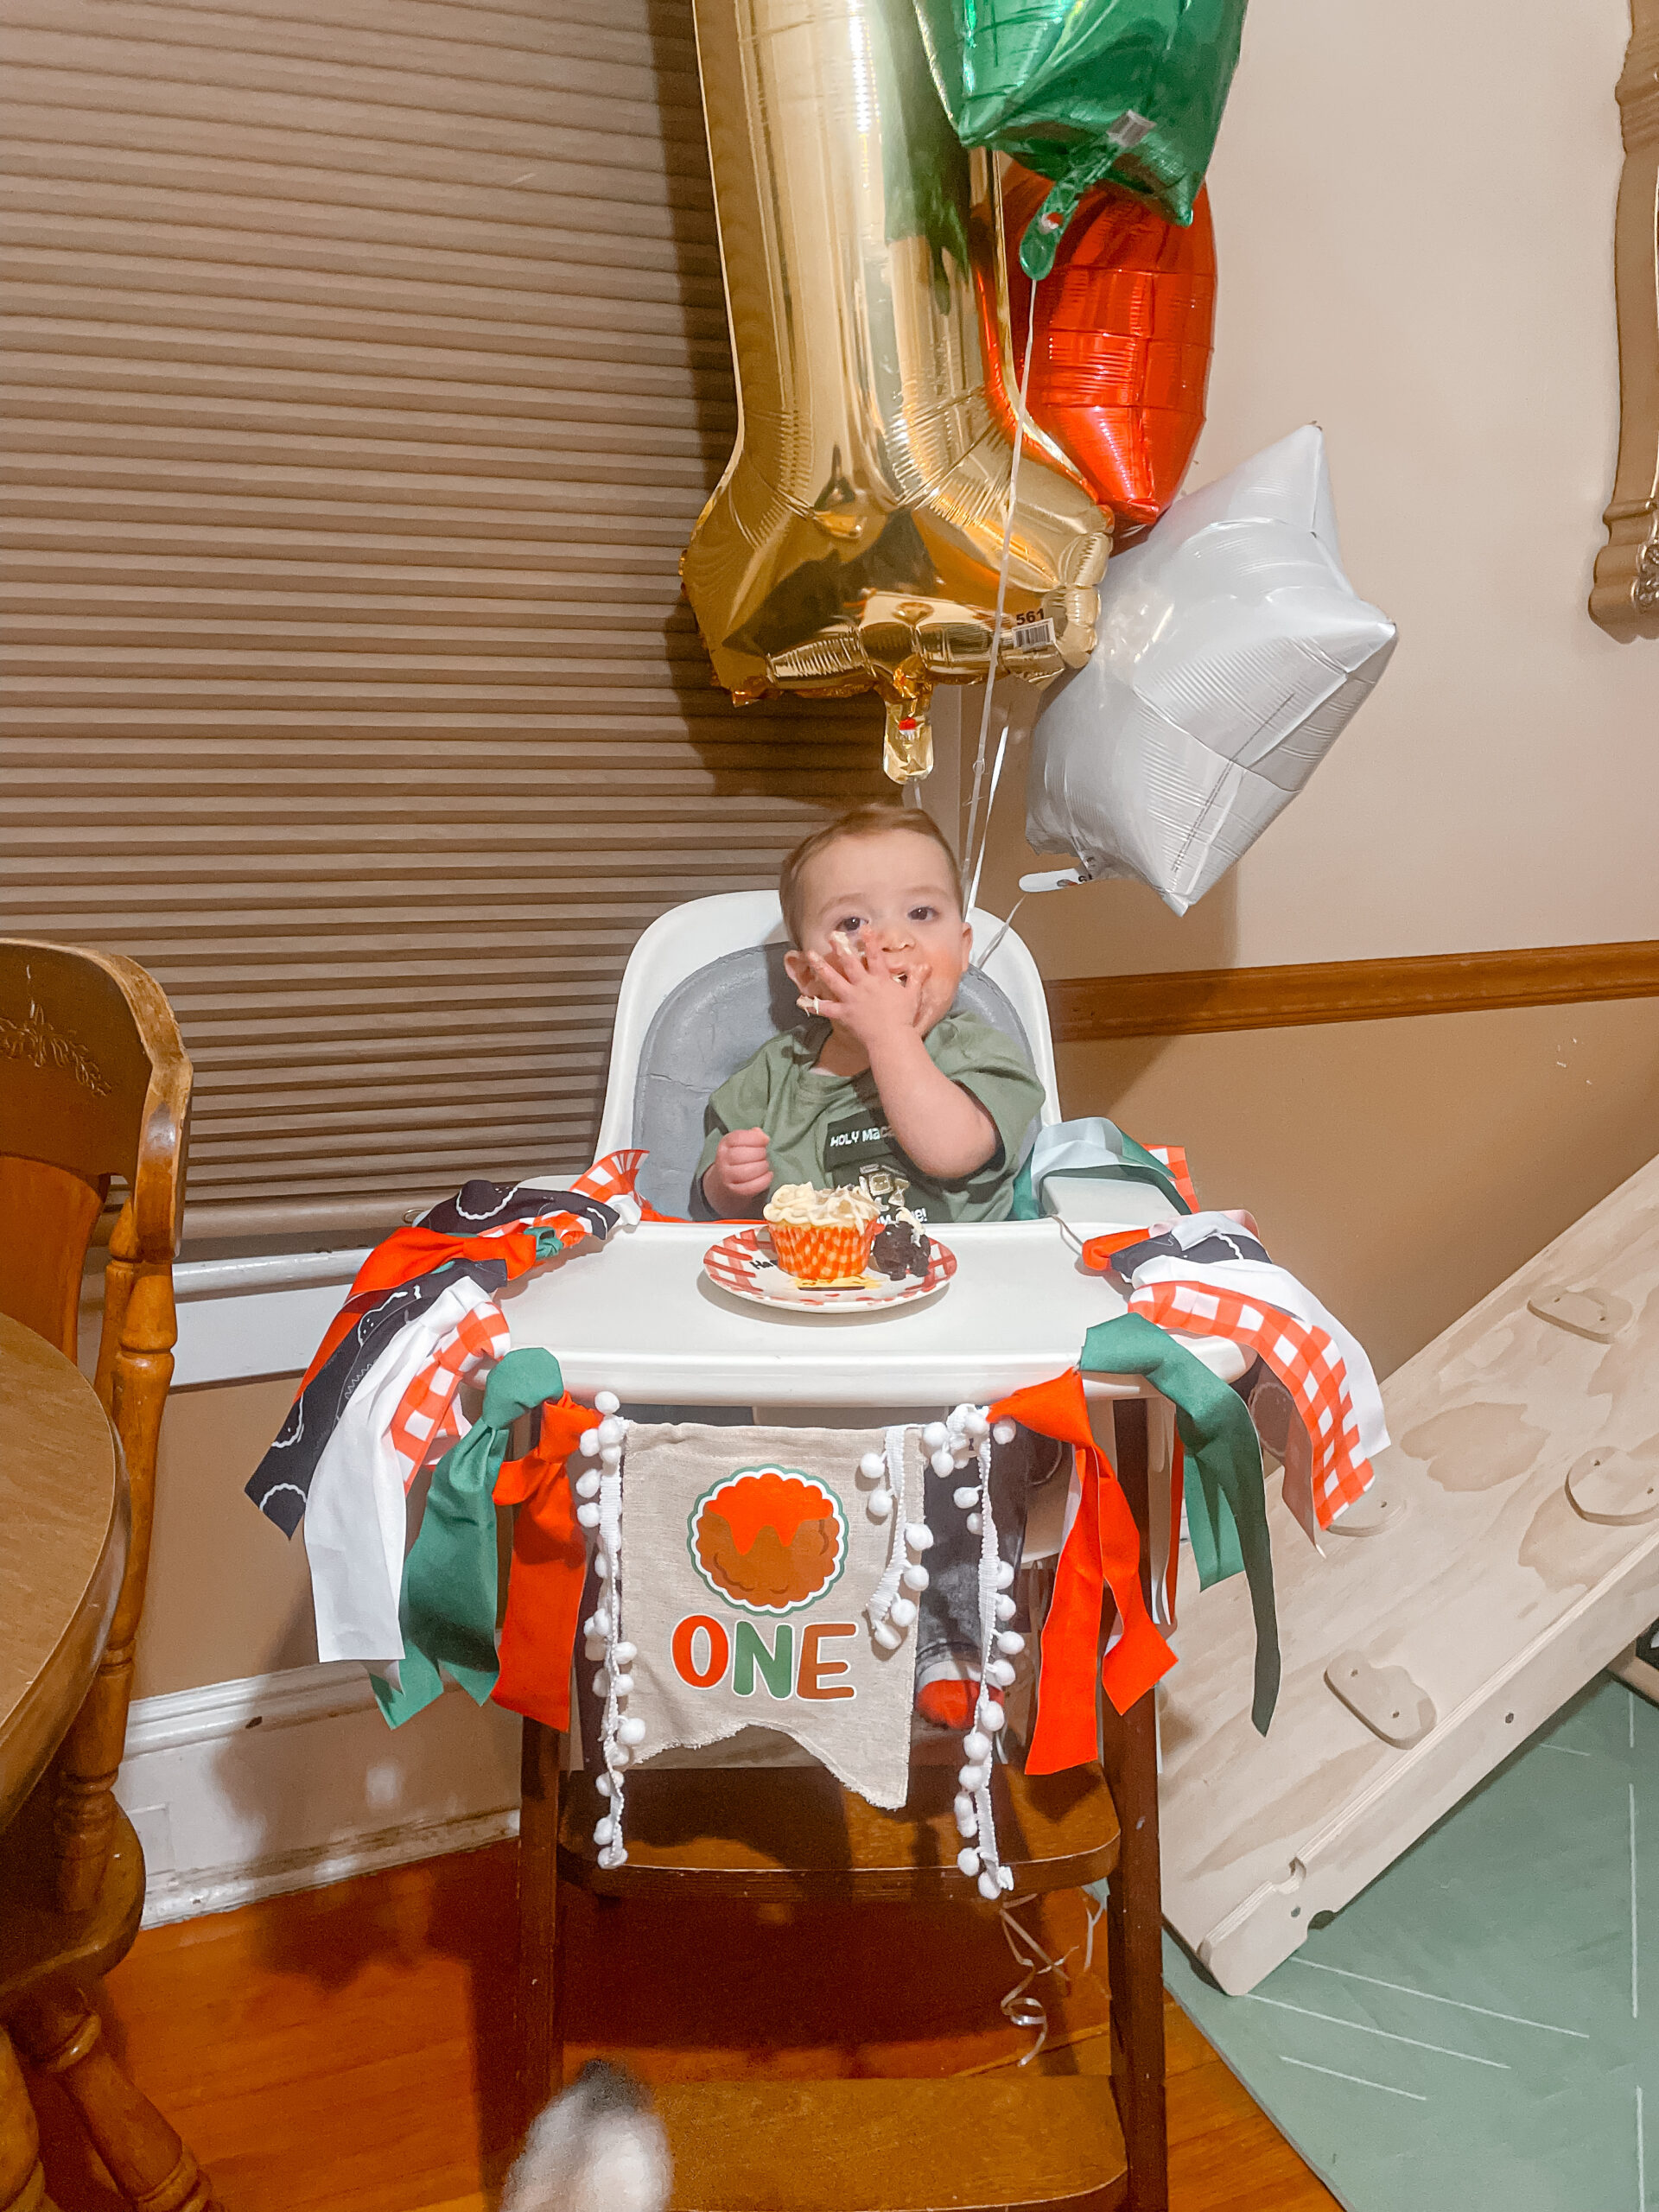
When it came time to celebrate Leo’s first birthday, I knew I wanted something unique, fun, and—of course—delicious. That’s how the Holy Macaroni First Birthday theme was born! From playful pasta-inspired treats to adorable custom decor, this party was full of creative details that made it extra special.
The Menu: Pasta-Inspired Treats
What’s a Holy Macaroni party without some seriously fun food? Instead of serving actual pasta (though that would be adorable too!), I put a sweet spin on classic Italian dishes:
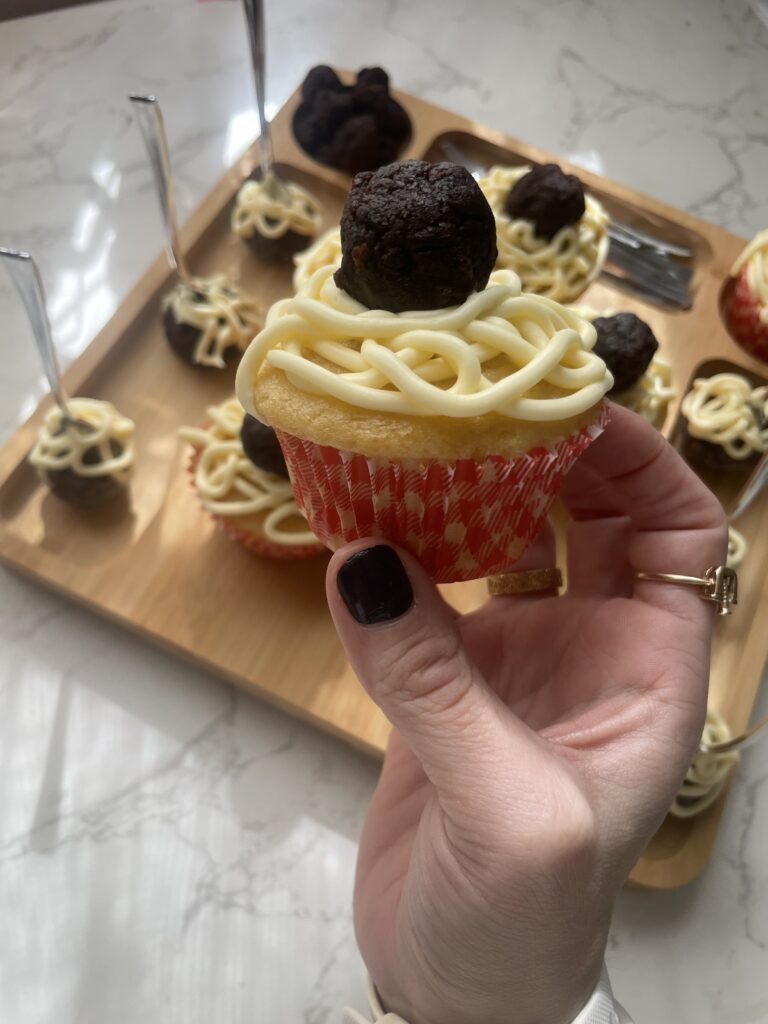
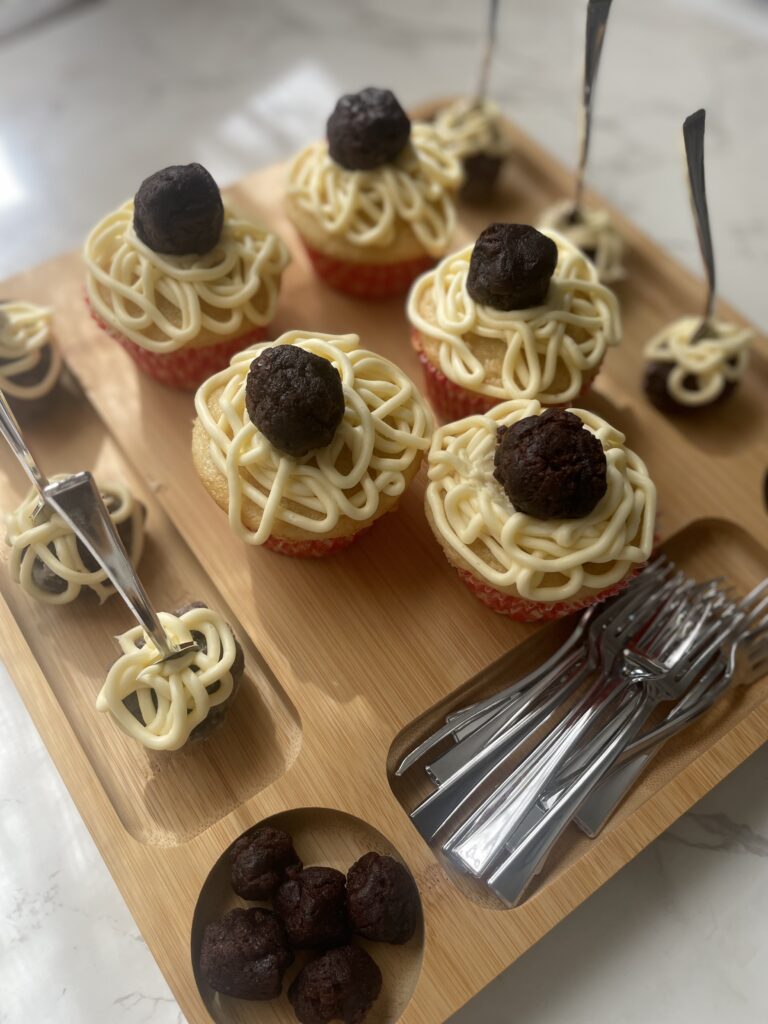
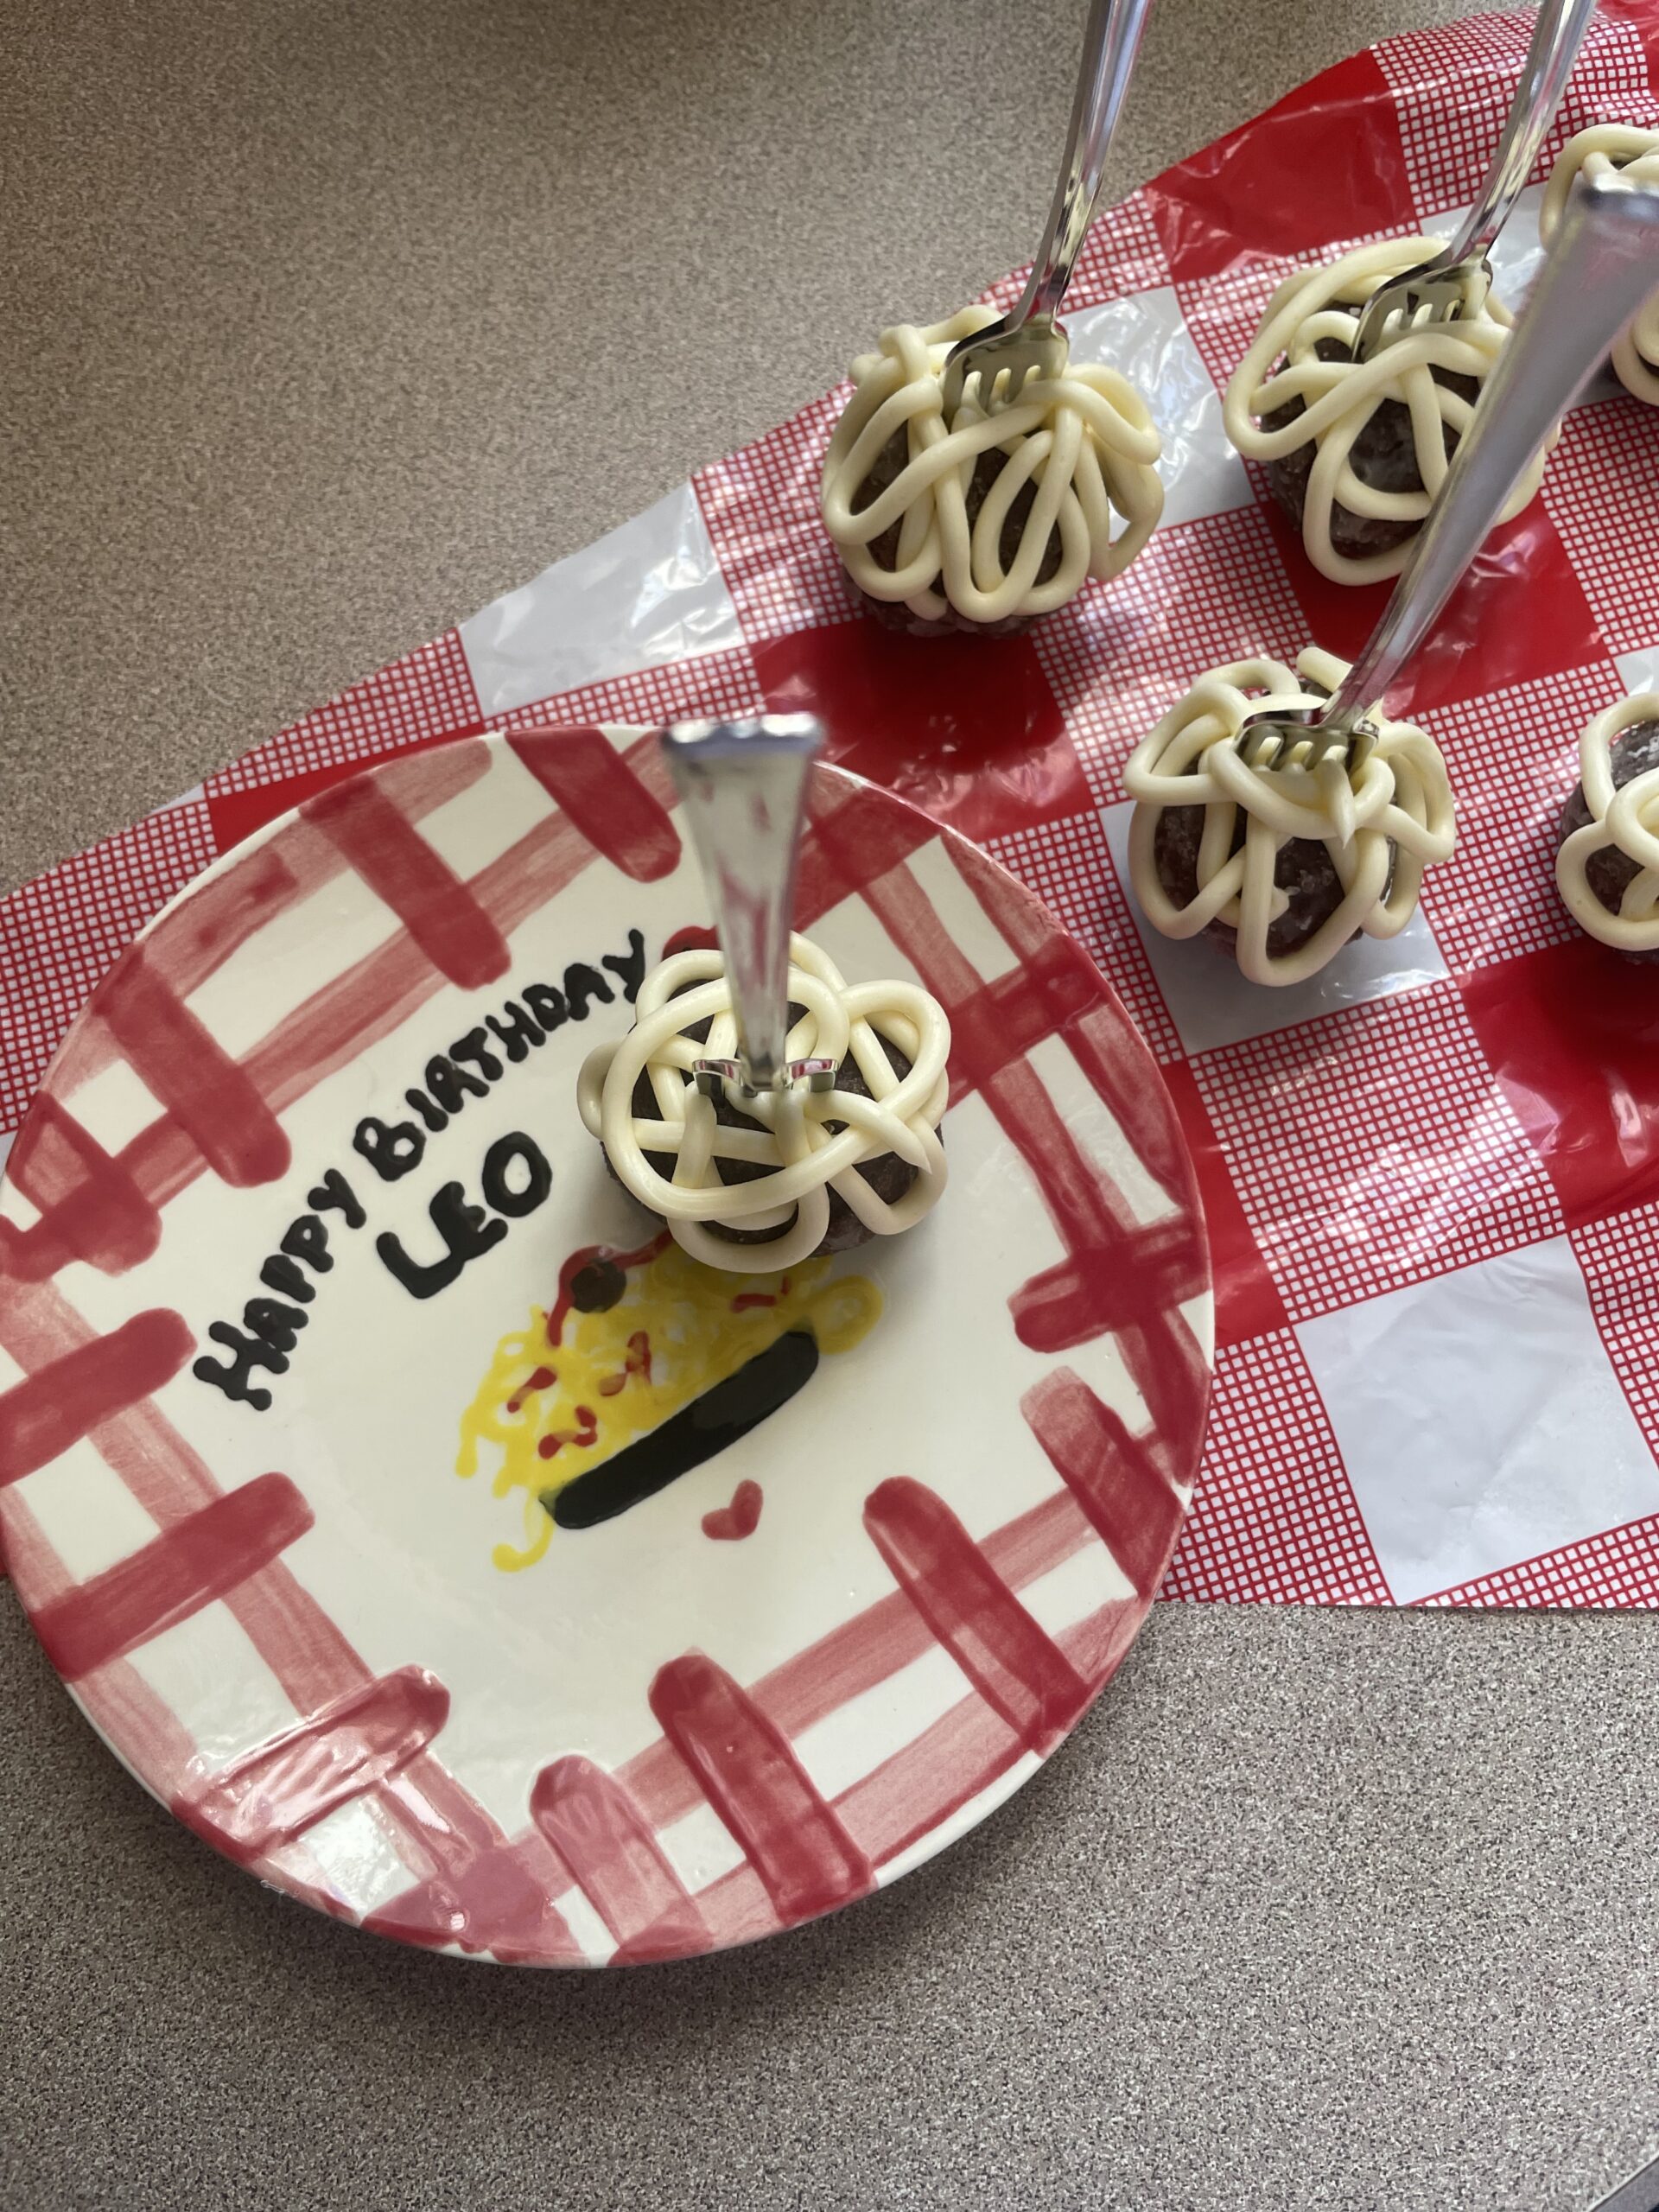
• Spaghetti & Meatball Cupcakes – These were a showstopper! I piped buttercream “spaghetti” onto cupcakes, topped them with a chocolate brownie “meatball,” and drizzled strawberry syrup on top to resemble marinara. You can also sprinkle white chocolate “Parmesan” to make them them look extra realistic!
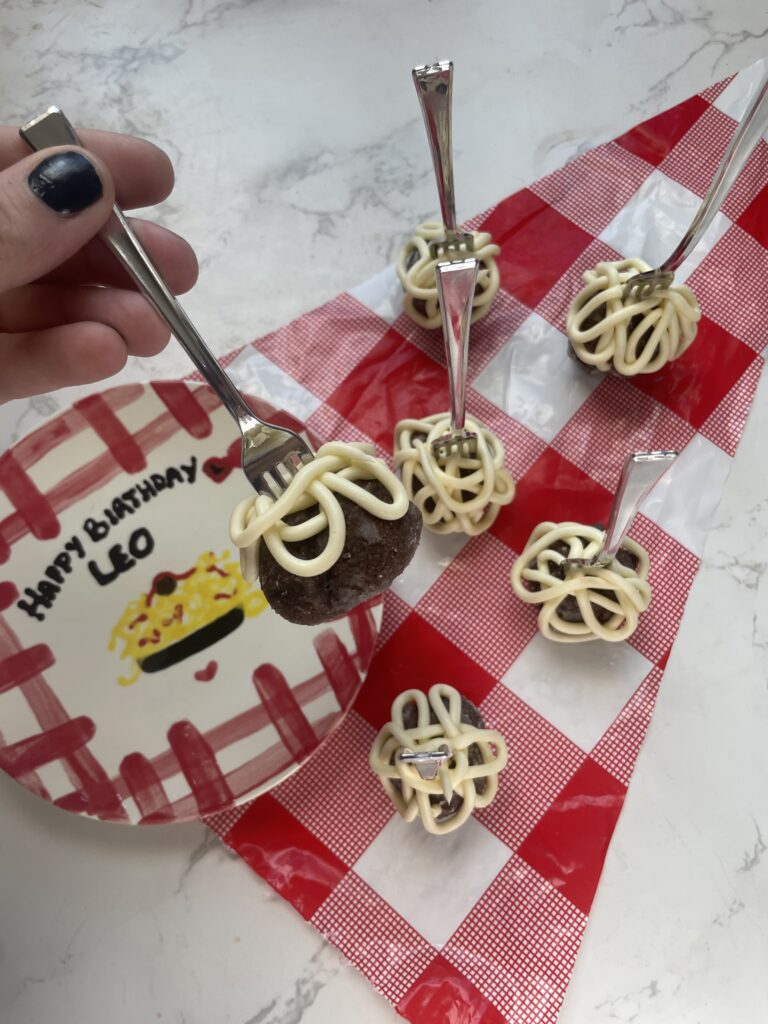
• Meatball Donut Holes – I took chocolate donut holes, and piped vanilla icing to mimic spaghetti. Each one was served with a tiny fork for extra cuteness! Shop all supplies here!
The Details: Custom Decor & Favors
No themed party is complete without thoughtful details!
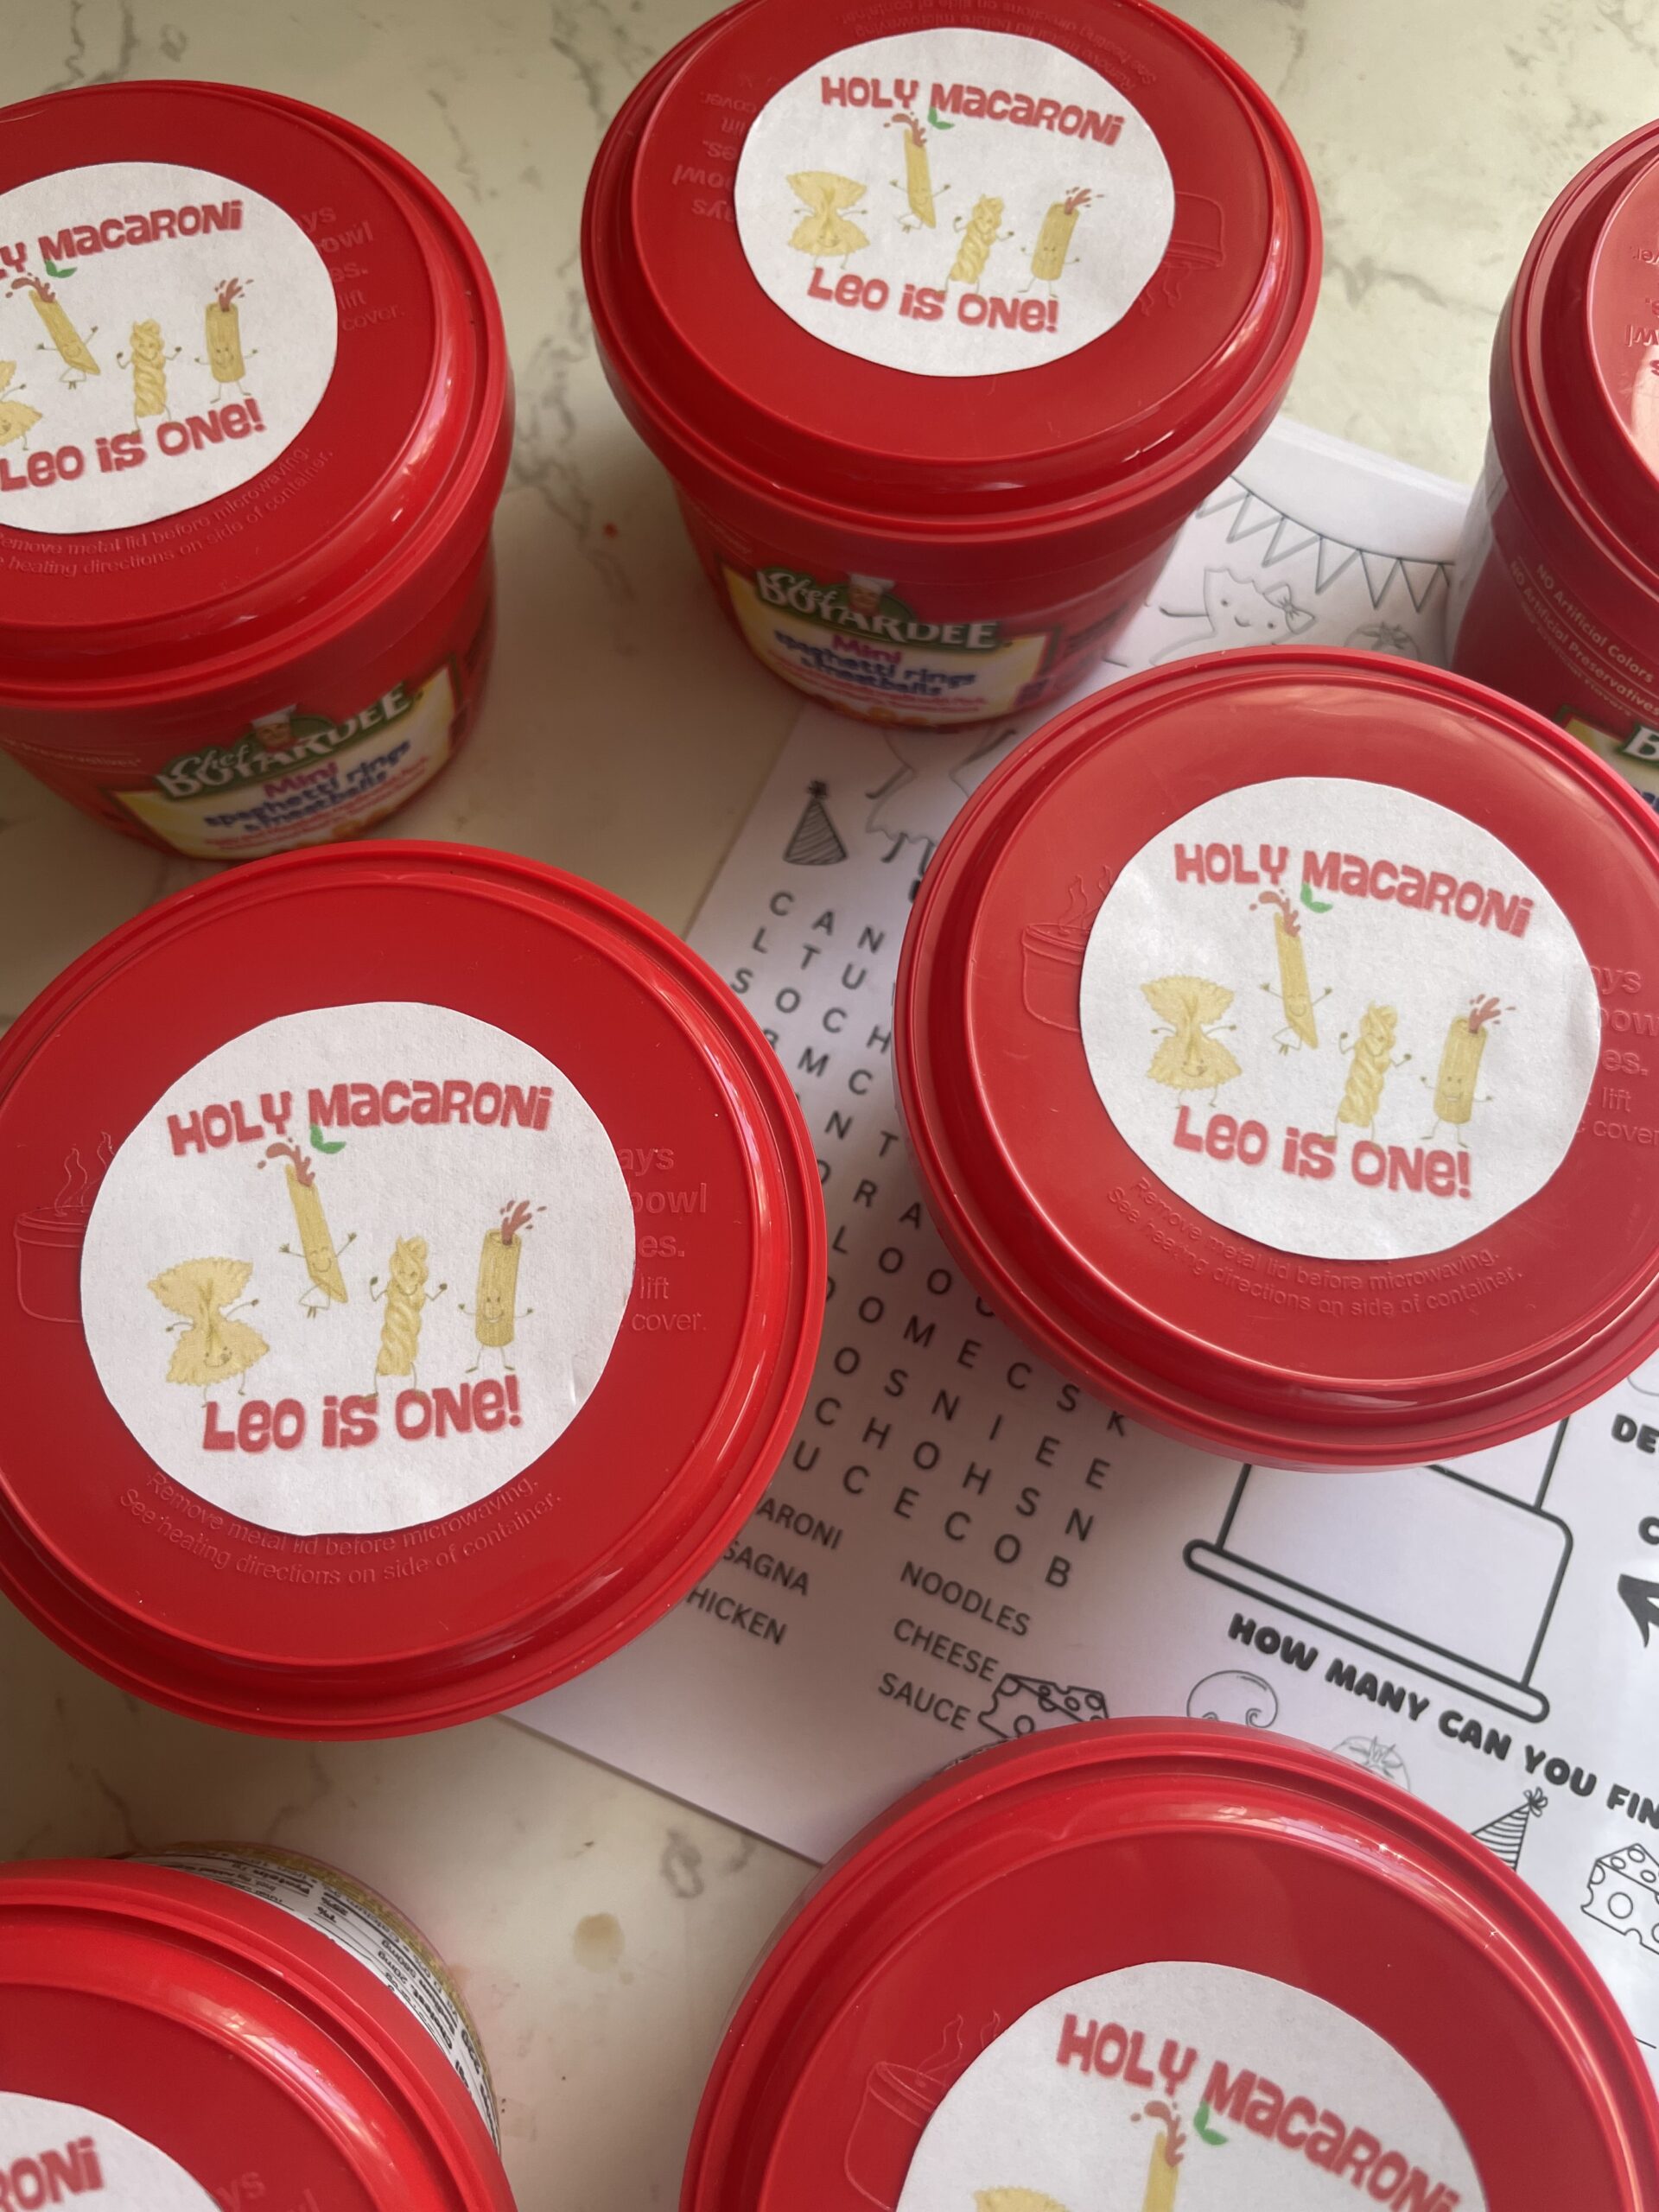
• Custom Placemat – I had a fun printable placemat made by PenPrateStudios that tied the theme together perfectly. It was a fun and functional addition to the tablescape!
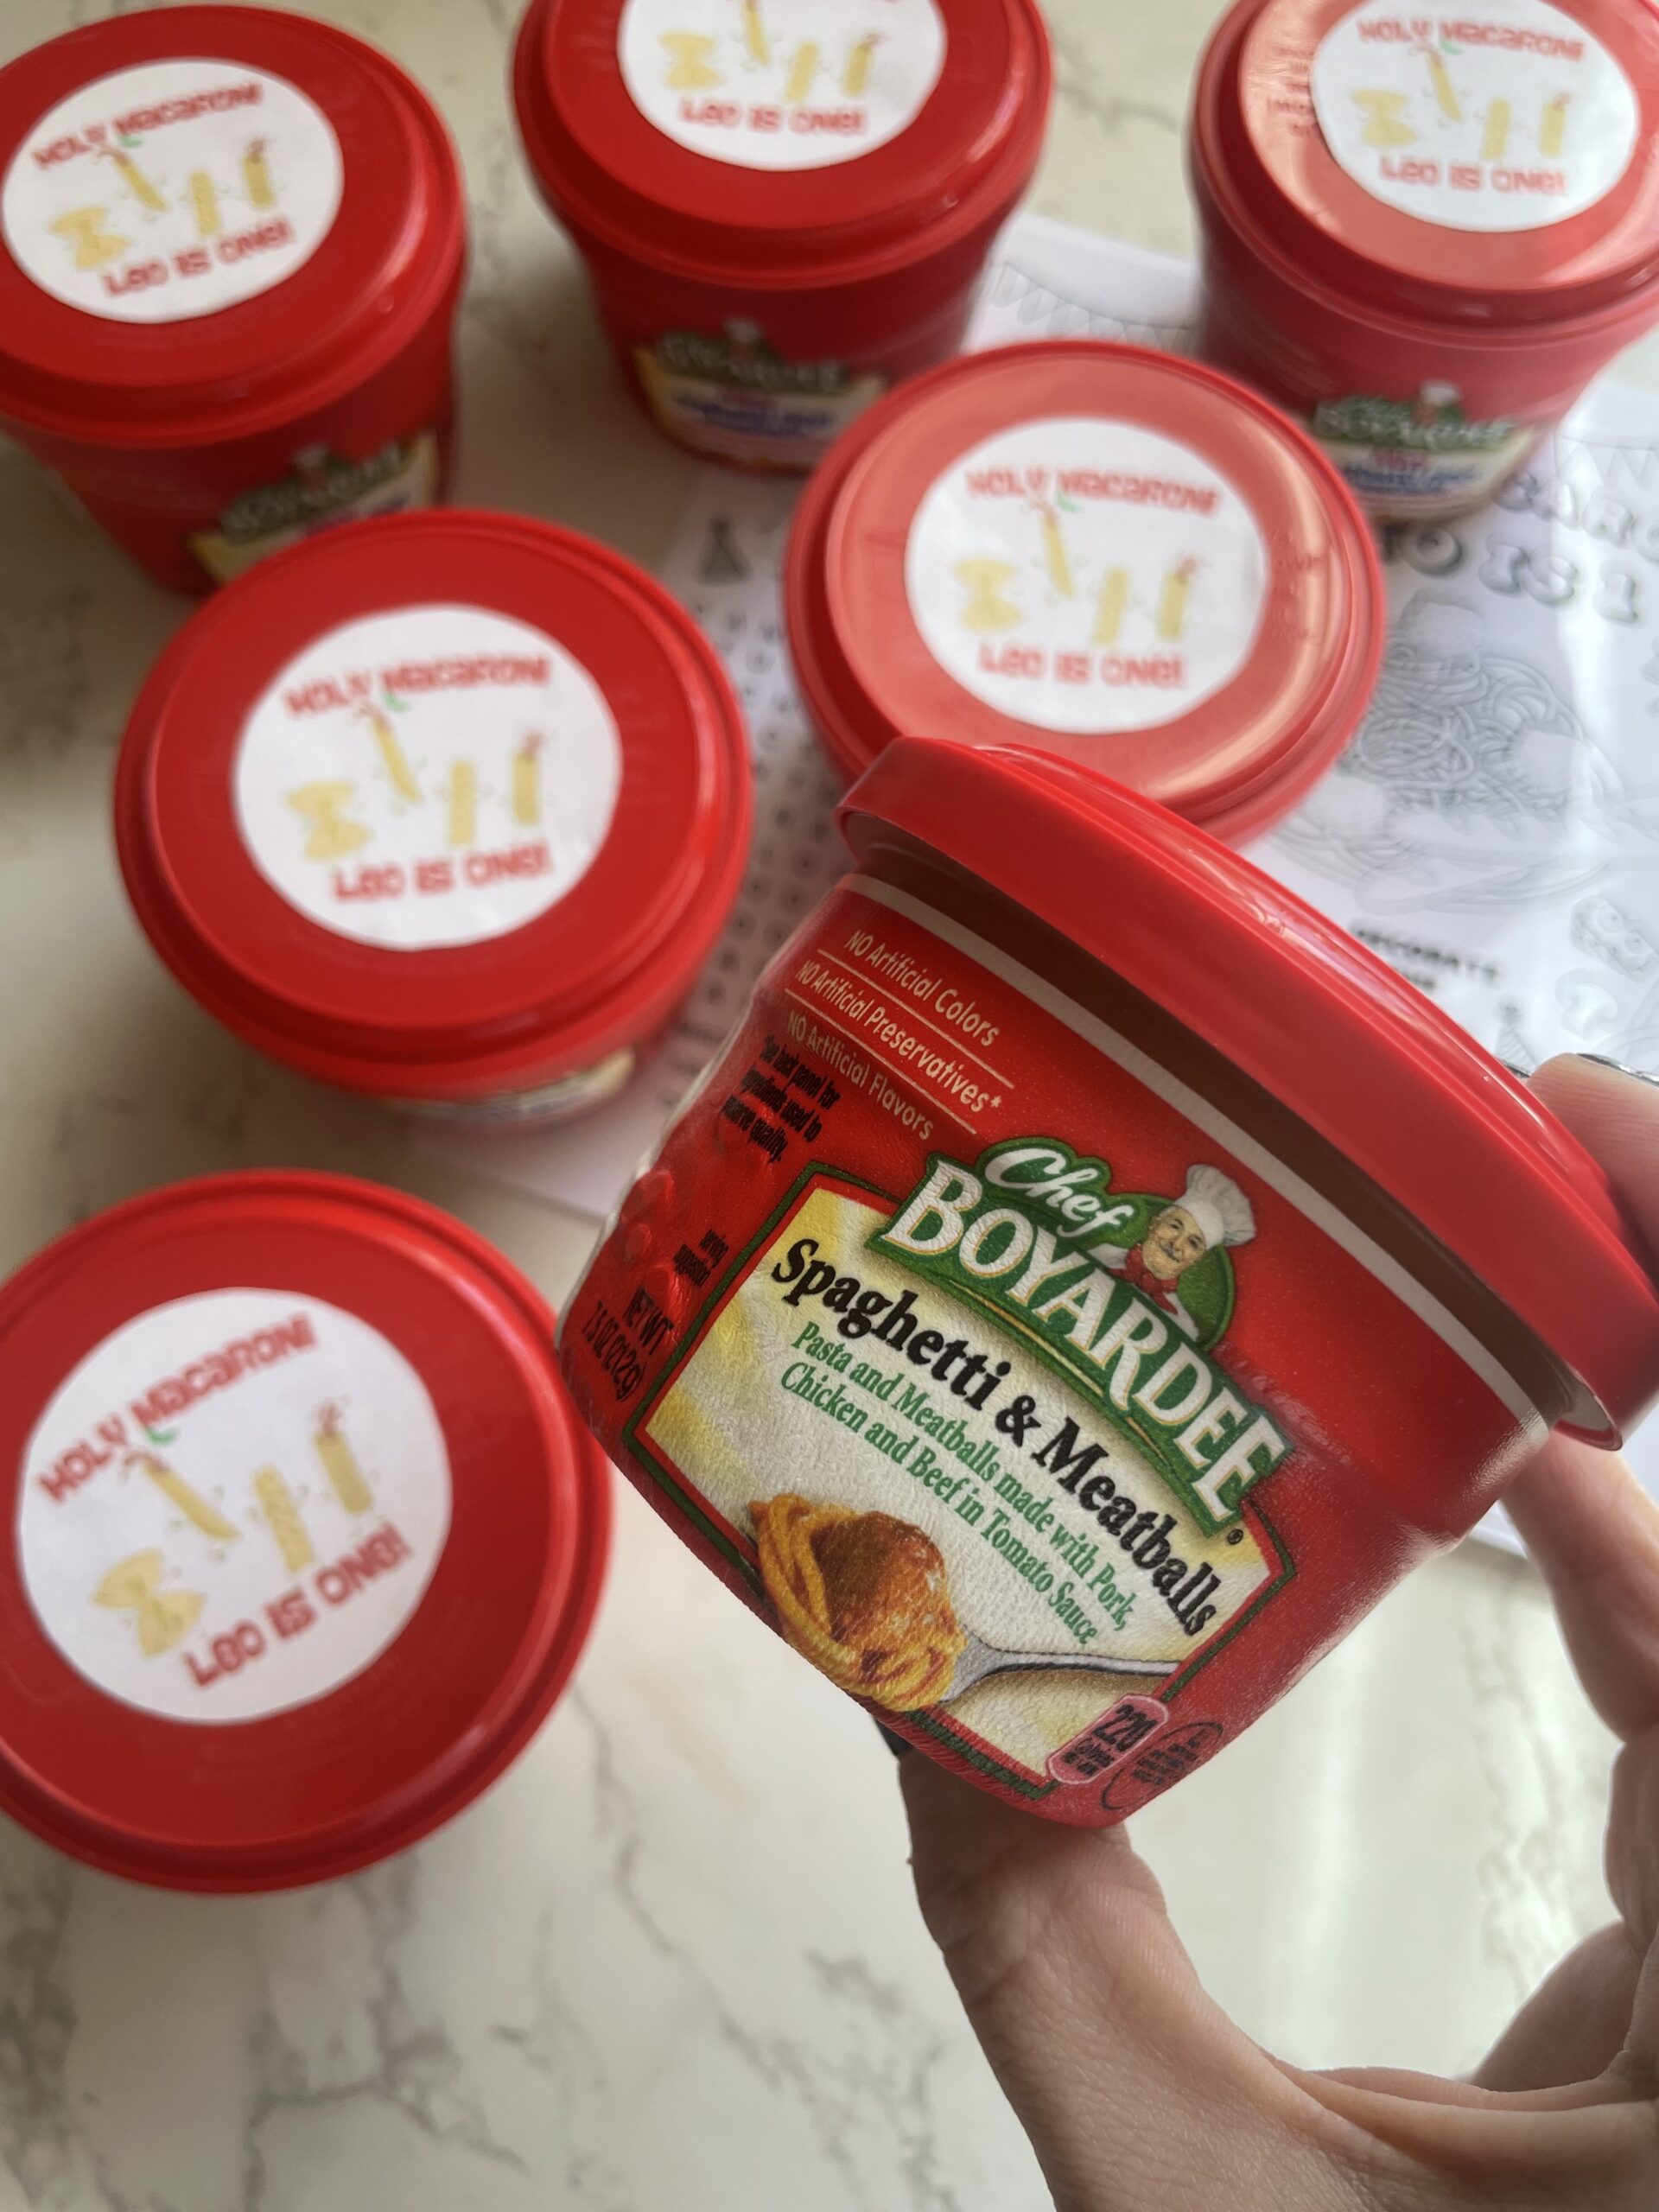
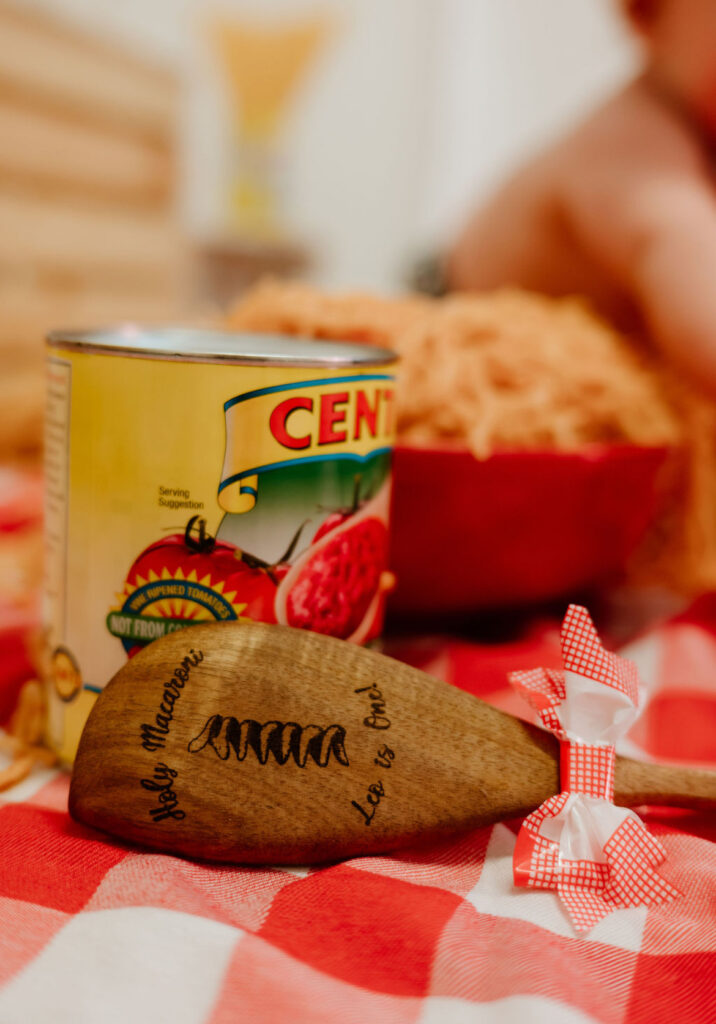
• Chef Boyardee Party Favors – Keeping with the pasta theme, I put together the cutest favors using mini Chef Boyardee cans. They were an adorable (and on-theme) way to send guests home with a little something special.
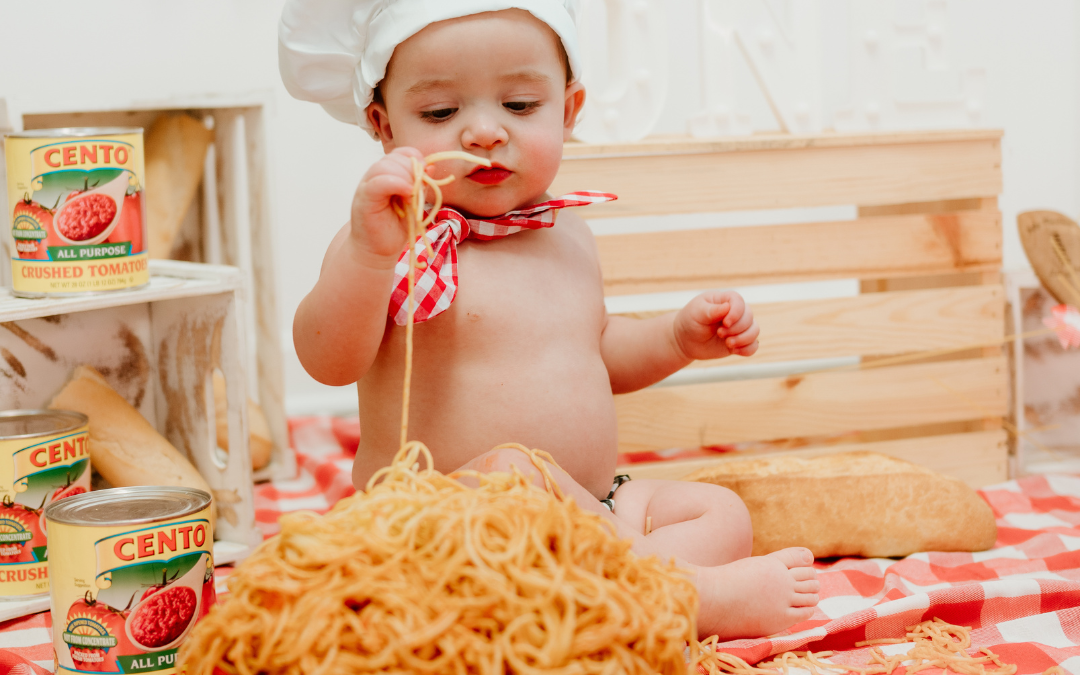
Pasta Smash: A Fun Twist on the Cake Smash!
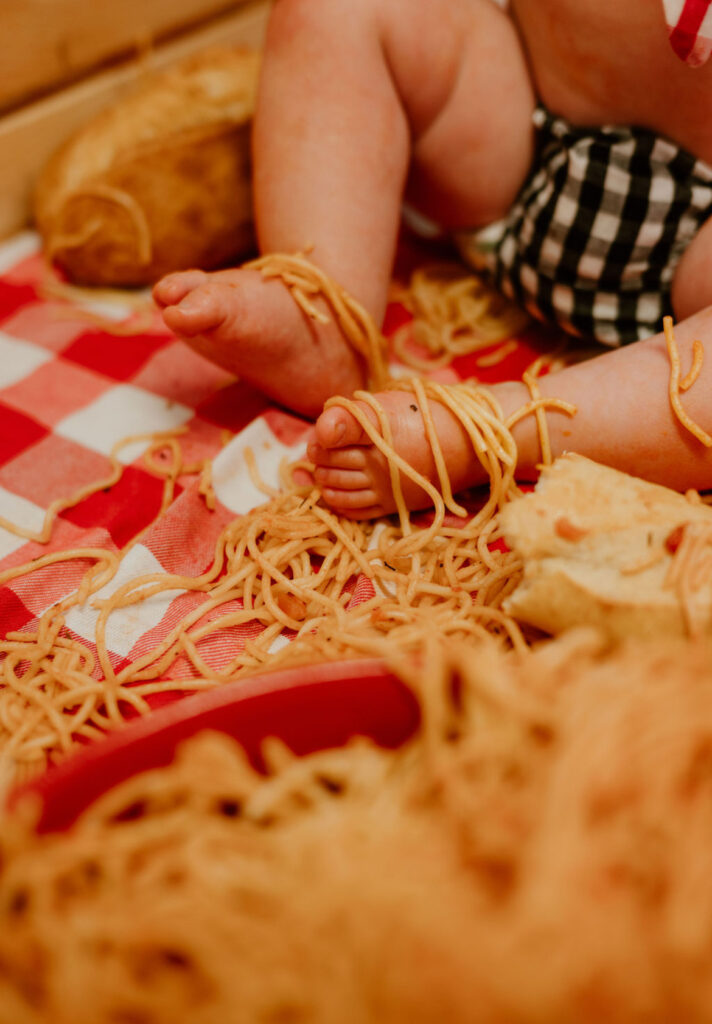
Instead of the traditional cake smash, we went full pasta mode with a pasta smash! Watching my little one dive into a plate of spaghetti (captured beautifully by Modern Motherhood Photography) was pure joy. The messy, squishy, noodle-filled fun made for the most adorable photos and a memory we’ll never forget!
To make it even more special, I created a custom first birthday wooden spoon just for the smash. I grabbed a wooden spoon from Dollar Tree and used my LaserPecker to engrave his name on it—such a cute keepsake!
• Hand-Painted Birthday Plate – I also painted a ceramic plate for Leo that he can use for his birthday cake every year. It’s a special keepsake that will be part of our family celebrations for years to come!
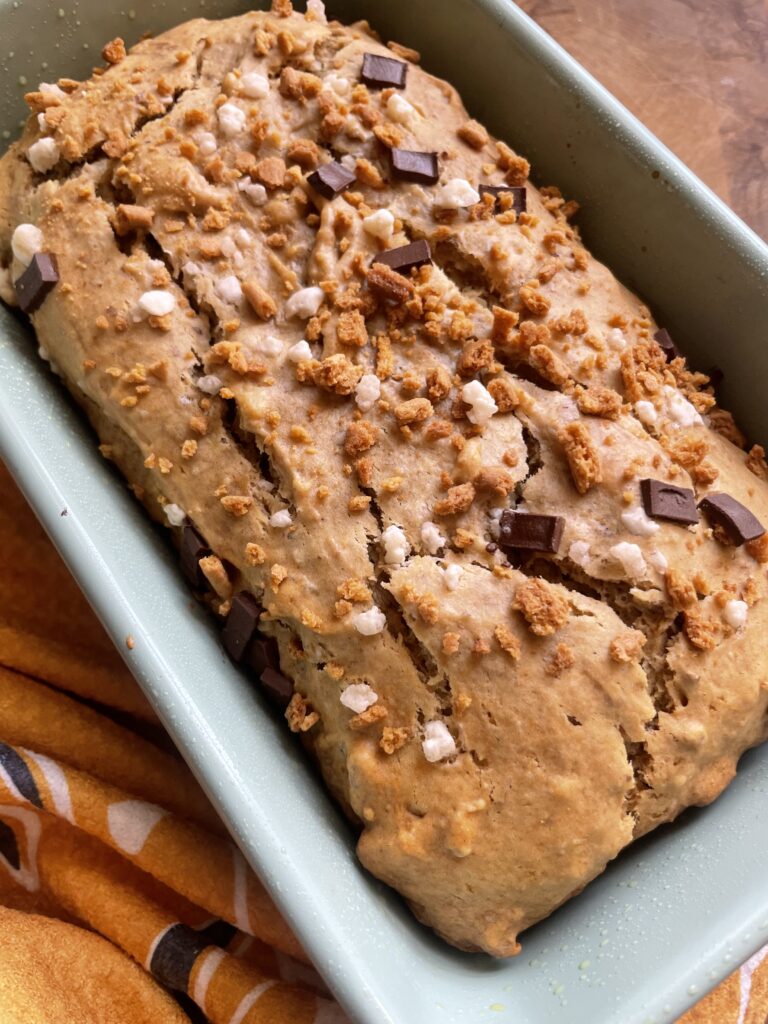
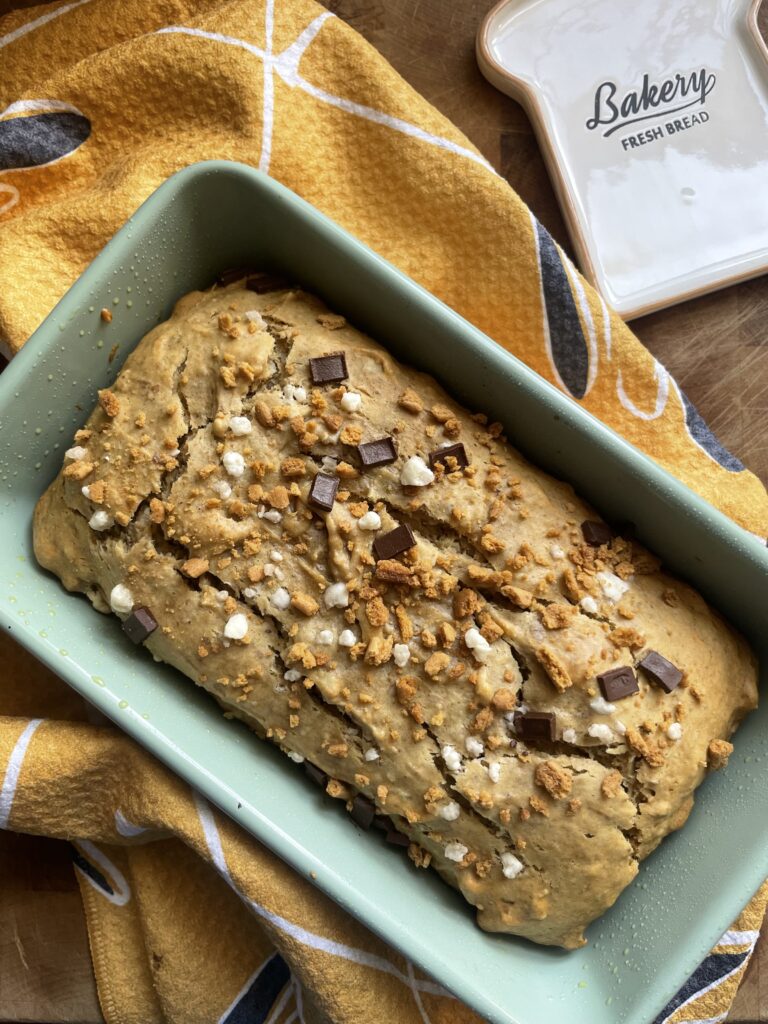
If you’re looking for a deliciously moist banana bread with a fun, chocolatey twist, this S’mores Banana Bread is the perfect recipe for you. Made with Chobani’s S’mores Flip Greek yogurt, this loaf gets an irresistible boost of flavor from creamy yogurt, crunchy walnuts, and the classic s’mores toppings—graham crackers, chocolate, and marshmallows—sprinkled on top.
S’mores Banana Bread Recipe
Ingredients:
• 2 cups all-purpose flour
• 1 teaspoon baking soda
• 1/4 teaspoon salt
• 1 cup sugar
• 1/2 cup vegetable oil
• 2 tablespoons milk
• 2-3 ripe bananas, mashed very well
• 1/2 cup chopped walnuts
• 1 container Chobani S’mores Flip yogurt (save the toppings for later!)
Instructions:
1. Preheat & Prep:
Preheat your oven to 350°F (175°C). Grease a 9×5-inch loaf pan or line it with parchment paper.
2. Mix the Dry Ingredients:
In a medium bowl, whisk together the flour, baking soda, and salt. Set aside.
3. Combine the Wet Ingredients:
In a large bowl, whisk together the sugar, vegetable oil, milk, and mashed bananas until smooth. Stir in the Chobani S’mores Flip yogurt (excluding the toppings).
4. Incorporate the Dry Ingredients:
Gradually fold the dry ingredients into the wet mixture, stirring until just combined. Do not overmix.
5. Add the Walnuts:
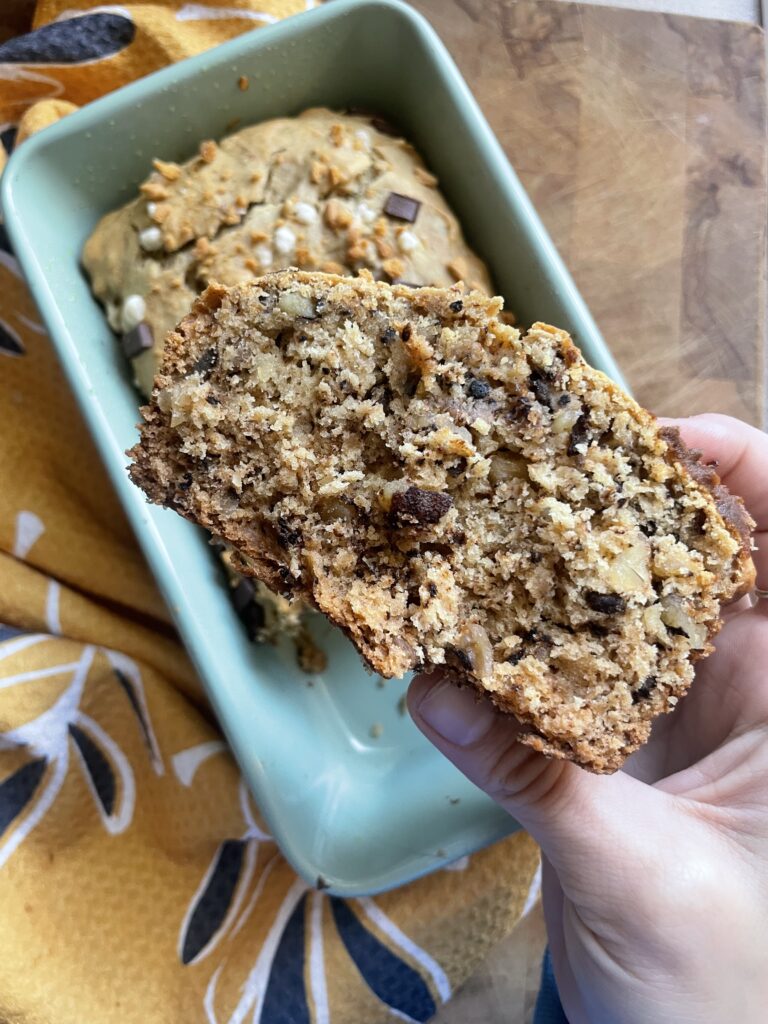
Gently fold in the chopped walnuts for extra crunch.
6. Pour & Top:
Pour the batter into the prepared loaf pan. Sprinkle the reserved graham crackers, chocolate, and marshmallow toppings from the Chobani S’mores Flip yogurt evenly over the top of the batter.
7. Bake:
Bake for 50-60 minutes, or until a toothpick inserted in the center comes out clean.
8. Cool & Enjoy:
Allow the banana bread to cool in the pan for about 10 minutes, then transfer it to a wire rack to cool completely. Slice and enjoy warm or at room temperature!
Serving & Storage Tips
• Best Served Warm: The chocolate will be melty, and the graham crackers will have a perfect crunch!
• Storage: Store in an airtight container at room temperature for up to 3 days or in the refrigerator for up to a week.
• Freezing Option: Slice and freeze individually for an easy grab-and-go treat later.
This S’mores Banana Bread is the perfect mix of comforting banana flavor, nutty crunch, and sweet s’mores nostalgia. Try it out and let me know how you like it!
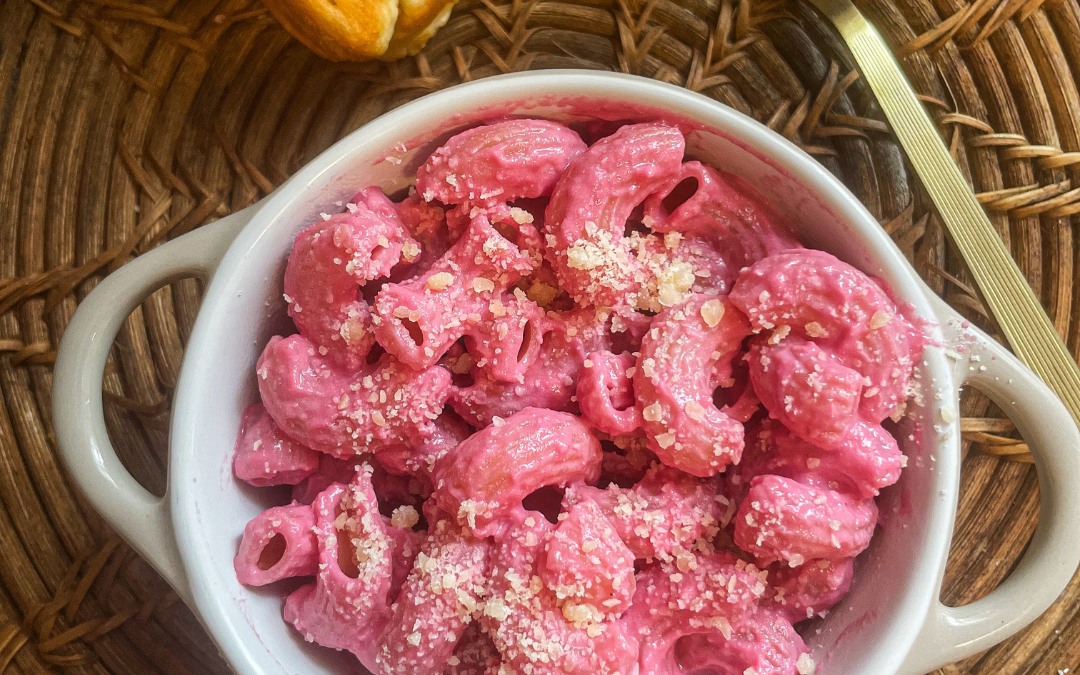
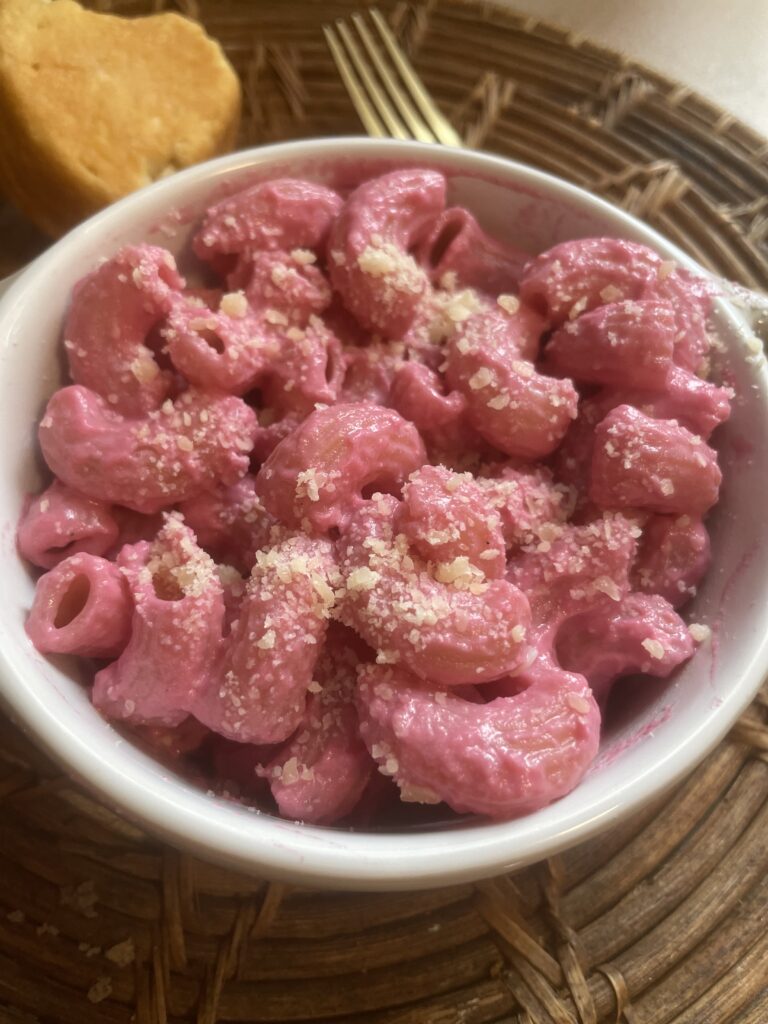
Looking for a festive and wholesome Valentine’s Day meal that’s both nutritious and fun? This pink beet pasta is the perfect dish for you and your little one. The vibrant color comes from beets, blended into a creamy sauce that’s both delicious and packed with nutrients. Paired with Carbe Diem pasta, which is high in protein and fiber but low in carbs and calories, this dish is a great way to enjoy a comforting meal without the guilt.
Why You’ll Love This Recipe
• Naturally Pink: No artificial colors here—just wholesome beets.
• Nutritious & Satisfying: The combination of Carbe Diem pasta, ricotta, and Parmesan makes this dish high in protein and fiber.
• Kid-Approved: The fun color and creamy texture make it appealing to little ones.
• Quick & Easy: With just a few ingredients, you can whip this up in no time.
1. Boil the pasta according to the package instructions. Drain and set aside.
2. Sauté the aromatics: In a pan, melt the butter over medium heat. Add the minced garlic and diced onion, cooking until fragrant. Stir in the canned beets and cook for a few minutes until well coated.
3. Blend the sauce: Transfer the beet mixture to a blender or food processor. Add ricotta, Parmesan, lemon juice, salt, and pepper. Blend until smooth and creamy.
4. Combine: Pour the beet sauce over the cooked pasta and toss until fully coated.
5. Serve with heart-shaped rolls: For a cute Valentine’s Day touch, bake biscuit dough in a heart-shaped pan until golden brown.
FAQ
1. Can I use fresh beets instead of canned?
Yes! Roast or boil fresh beets until tender, then blend them into the sauce. Roasting brings out a sweeter, more concentrated flavor.
2. What can I use instead of ricotta cheese?
If you don’t have ricotta, you can substitute it with cottage cheese, cream cheese, or even Greek yogurt for a tangier, protein-rich alternative.
3. Can I make this dish dairy-free?
Absolutely! Swap out the ricotta and Parmesan for dairy-free alternatives or use blended cashews for a creamy, plant-based sauce.
4. Will my kids like the taste of beets?
Beets have a naturally sweet, earthy flavor, which blends well with the creamy cheese and pasta. If your little one is new to beets, start with a smaller amount and adjust to taste.
5. How do I store leftovers?
Store any leftover pasta in an airtight container in the fridge for up to 3 days. Reheat with a splash of milk or broth to keep the sauce creamy.
6. Can I freeze the beet sauce?
Yes! Freeze the sauce separately in an airtight container for up to 3 months. Thaw in the fridge overnight and reheat before tossing with fresh pasta.
7. What other pasta shapes work well with this sauce?
While I used Carbe Diem elbow pasta, you can also try penne, fusilli, or even spaghetti. Any shape that holds sauce well will work!
8. What can I serve with pink beet pasta?
This dish pairs perfectly with heart-shaped rolls, a simple side salad, or roasted vegetables.
9. How can I make this meal more filling?
Add grilled chicken, shrimp, or chickpeas for extra protein. You can also mix in sautéed spinach or kale for added greens.
10. Can I make this in advance?
Yes! You can prepare the beet sauce ahead of time and store it in the fridge for up to 3 days. When ready to serve, simply reheat and toss with freshly cooked pasta.
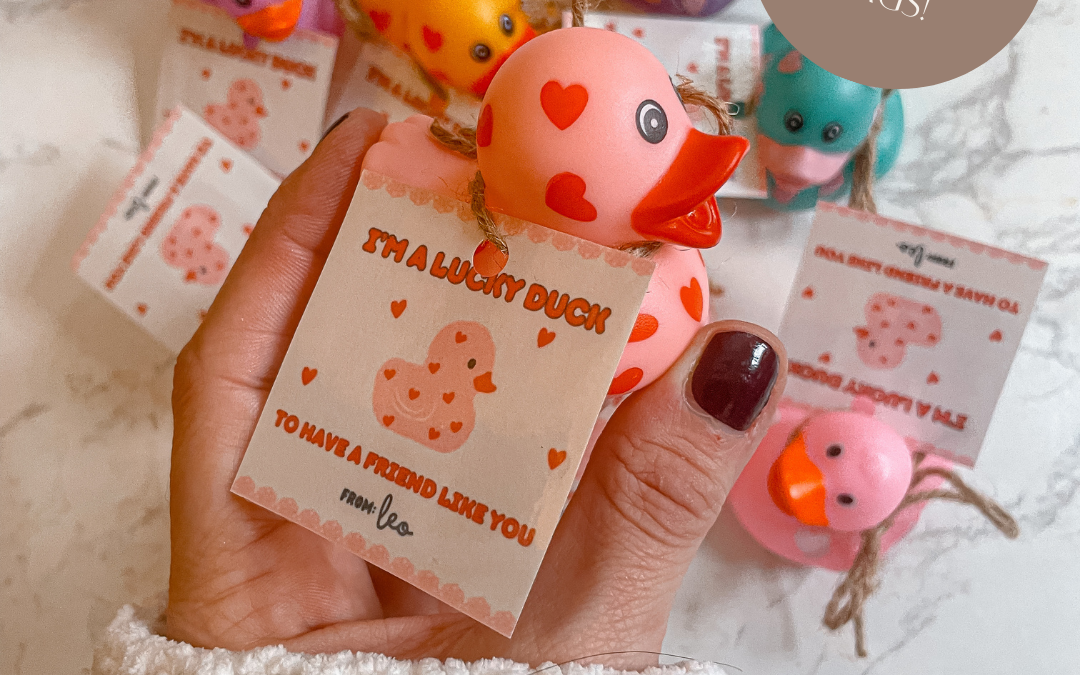
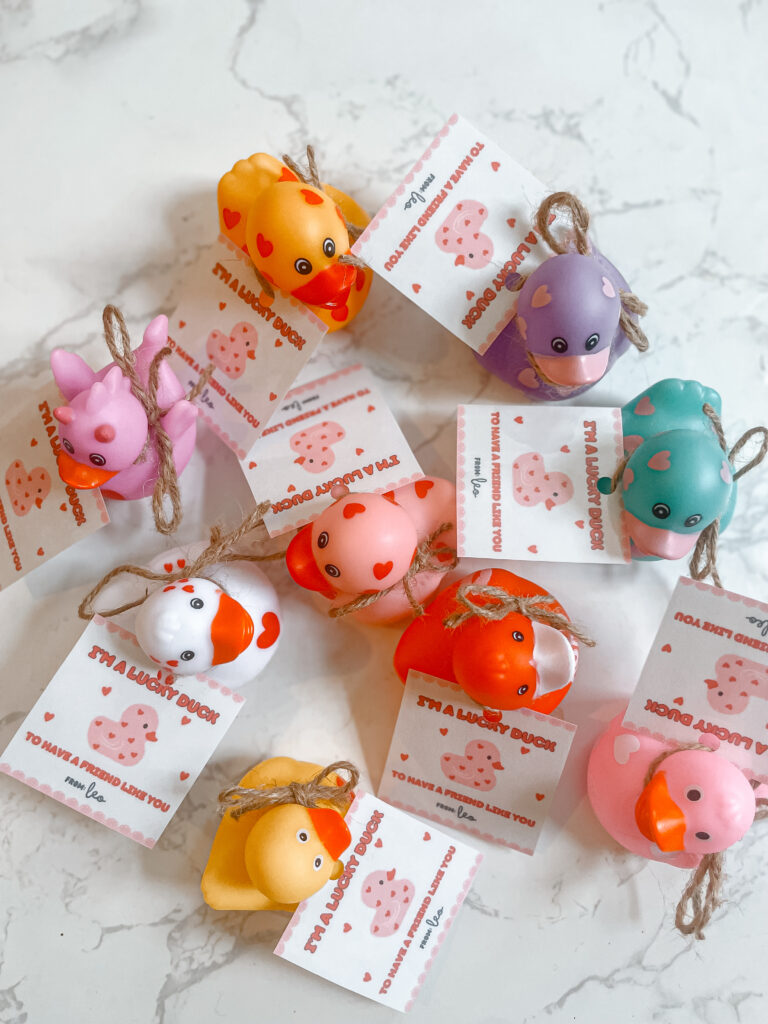
Valentine’s Day is right around the corner, and if you’re looking for a creative, non-candy idea for your little one’s daycare or preschool class, mini rubber duckies might just be the perfect fit! These adorable little toys bring smiles to kids’ faces without the sugar rush, making them a fun and practical alternative to traditional Valentine’s treats.
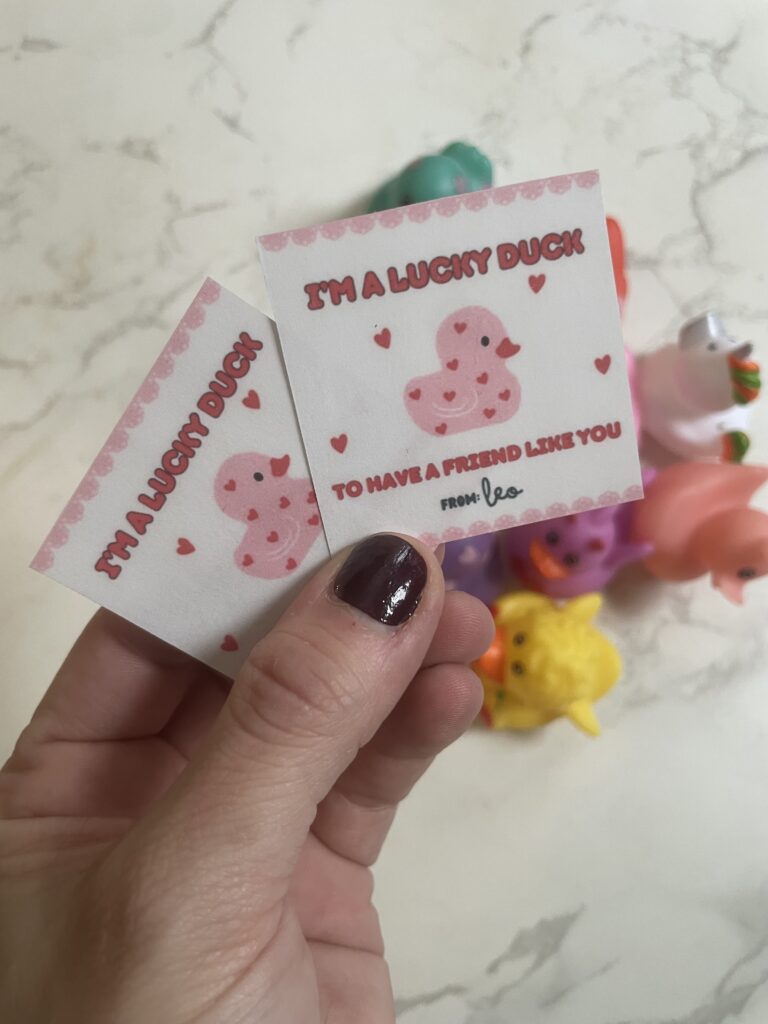
To make things even easier, I’ve created a free printable tag that pairs perfectly with the duckies! It’s simple to put together and adds a thoughtful touch to this already delightful Valentine.
Why Mini Rubber Duckies Make Perfect Valentines
If you’re tired of the usual cards and candy, mini rubber duckies are a refreshing change. Here’s why they’re a great choice for young children:
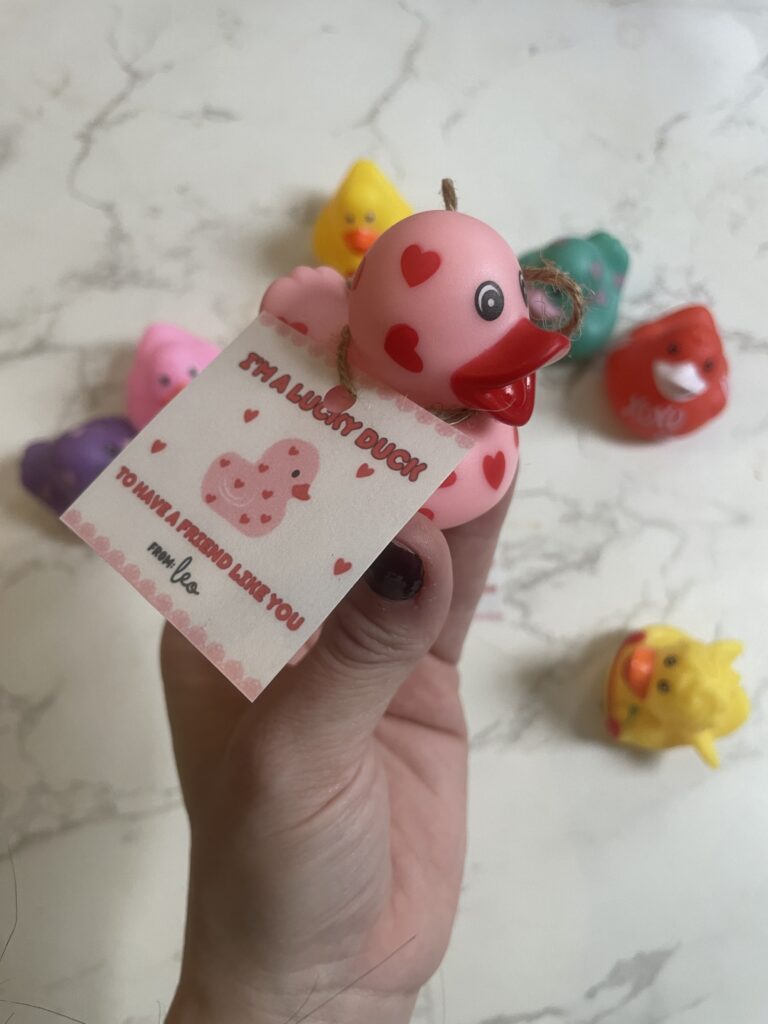
• Safe and Playful for Little Ones: Perfectly sized for little hands, these rubber duckies are great for kids of all ages, especially toddlers and preschoolers. No choking hazards, no mess—just good, clean fun!
• A Fun Alternative to Candy: With so many treats handed out on Valentine’s Day, it’s nice to have a non-edible option that parents will appreciate too. Plus, it’s allergy-friendly!
• Customizable with Printable Tags: The free tag makes it easy to add a festive Valentine’s message and turns a simple toy into a charming little gift.
How to Assemble Your Mini Rubber Ducky Valentines
Creating these Valentines is quick and easy! Here’s what you’ll need:
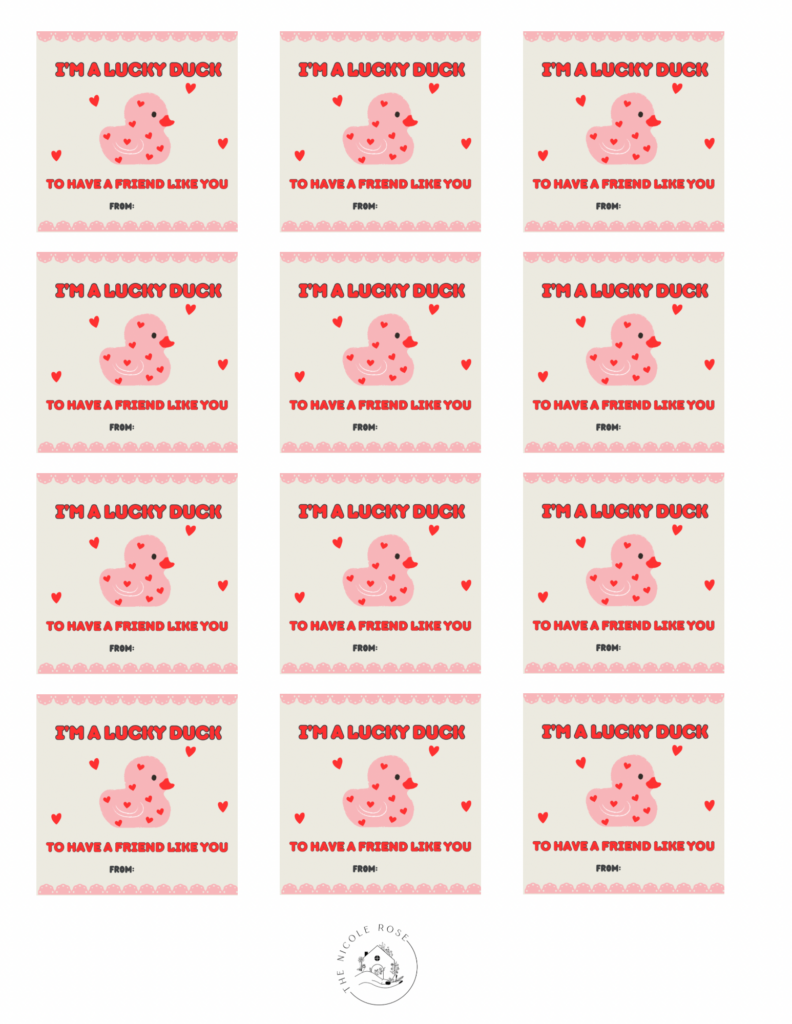
• Printable Valentine’s Day tags (download below!)
• Ribbon, twine, or small clear treat bags (optional)
• Scissors and a hole punch
Optional: Laminator to make tags thick and sturdy
Steps
1. Print the Tags: Download the free printable (link below) and print them on cardstock for a sturdy, professional look.
2. Cut Out the Tags: Use scissors or a paper trimmer to neatly cut out each tag.
3. Attach to the Duckies: Use a hole punch to make a hole in each tag. Then, either tie the tags to the ducks with ribbon/twine or place the ducks in small treat bags with the tag inside.
4. Optional Step: Add a personal touch by writing your child’s name on the tag!
And that’s it! These Valentines are easy to assemble and don’t require any special crafting skills—perfect for busy parents.
Download Your Free Printable Tags
To make your mini rubber ducky Valentines even more special, I’ve created a free printable tag that says, “You’re Just Ducky, Valentine!” These tags add a sweet finishing touch and make your gifts classroom-ready.
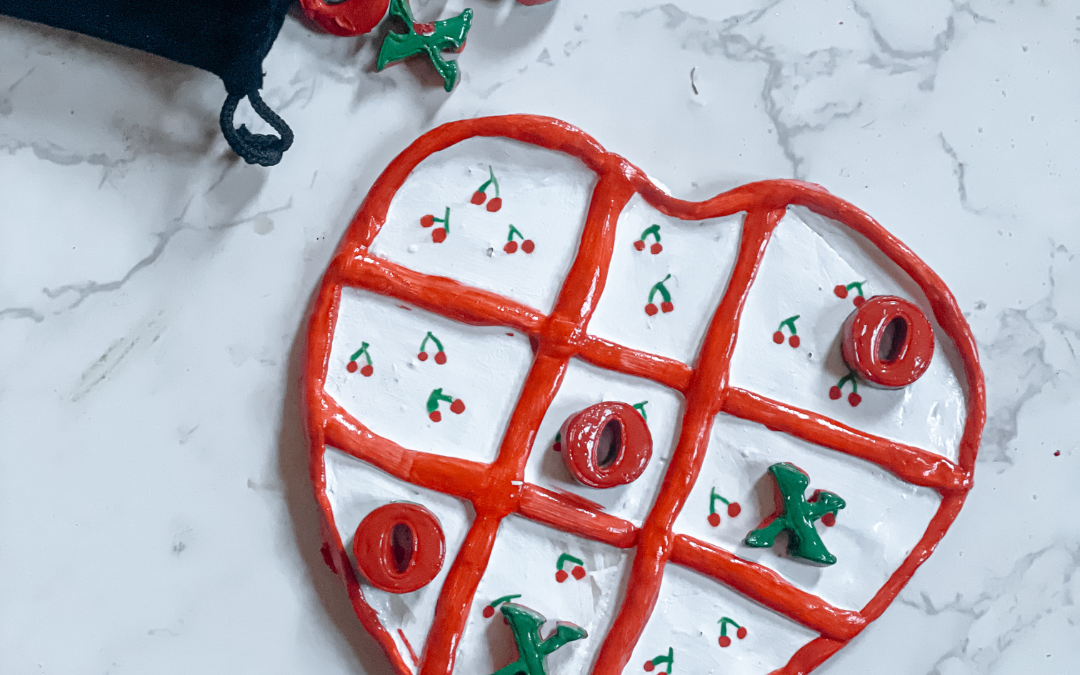
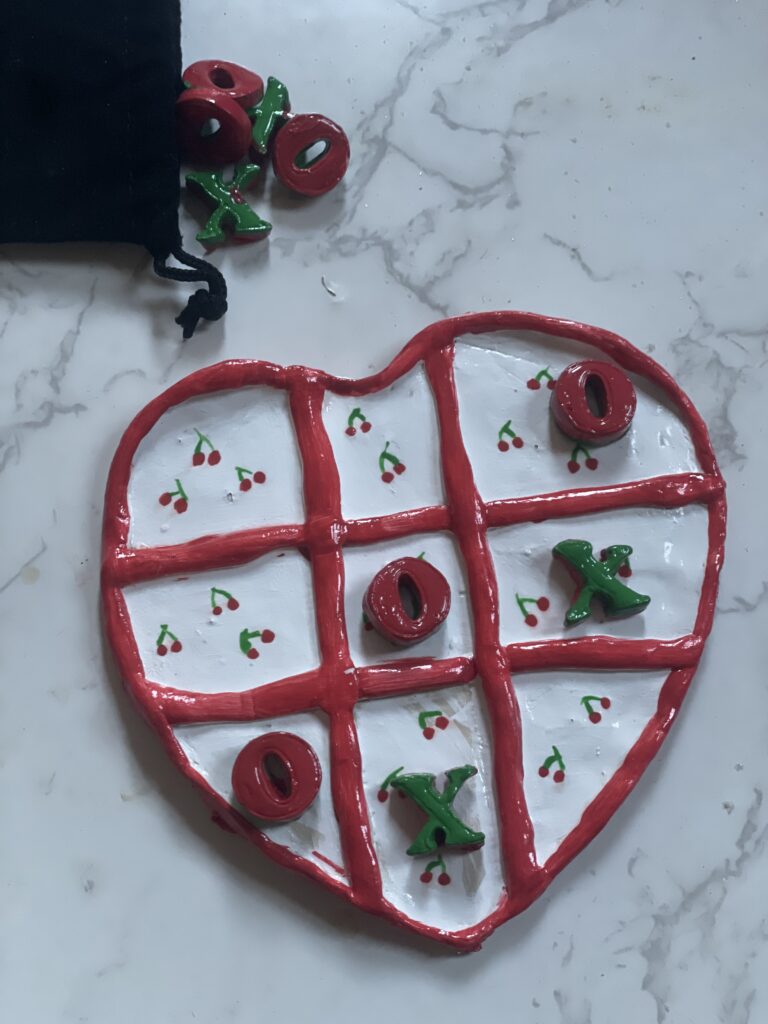
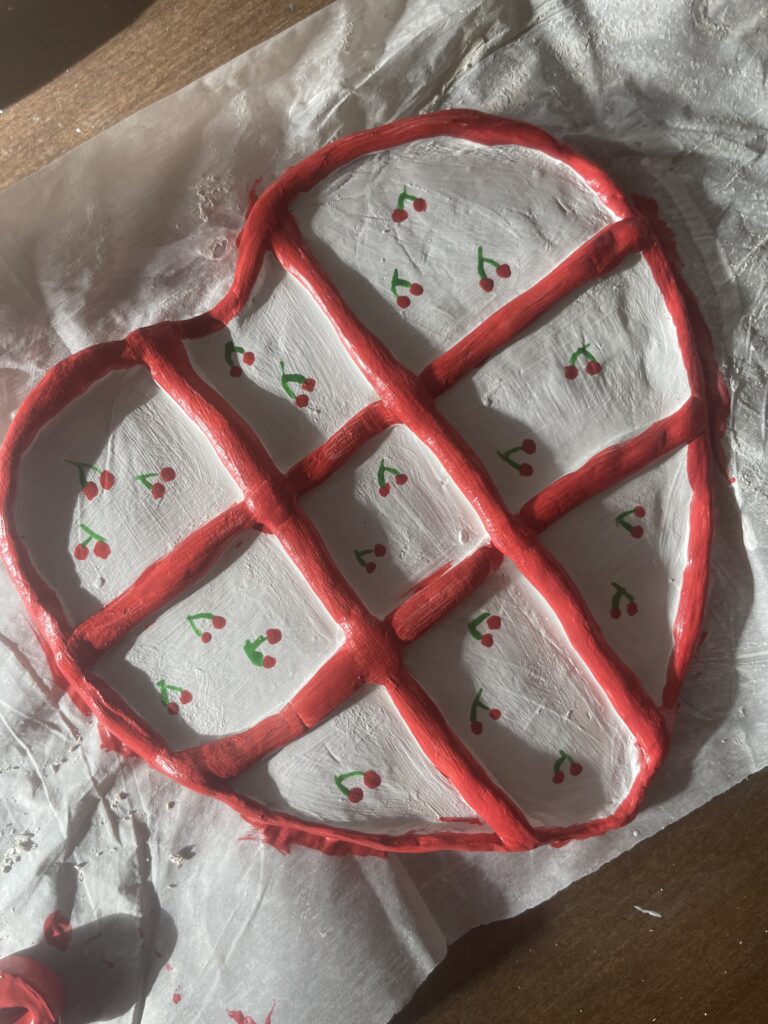
Valentine’s Day is the perfect time to create heartfelt crafts that add a touch of love to your home or serve as unique gifts. This DIY air-dry clay tic-tac-toe board is a simple yet charming project that combines creativity and functionality.
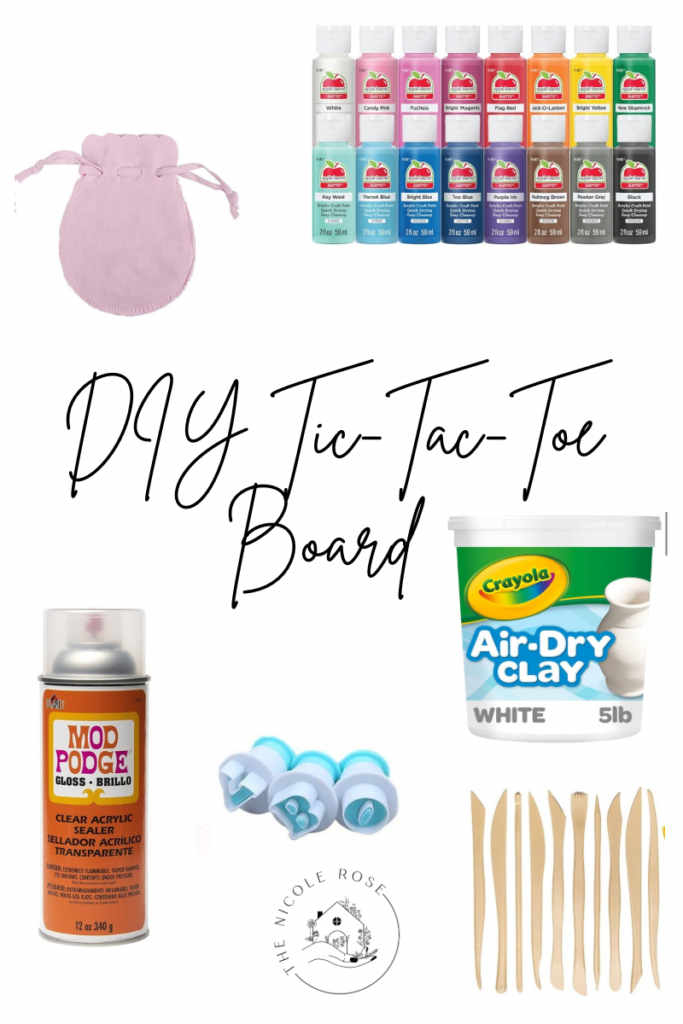
Materials You’ll Need:
• Air-dry clay (white or your preferred base color)
• Rolling pin
• Craft knife or clay cutter
• Acrylic paint (in Valentine’s Day colors like red, pink, and white)
• Paintbrushes
• Ruler
• Small heart-shaped cutter (optional)
• Sandpaper (fine grit, for smoothing edges)
• Sealer or varnish (optional, for durability)
Instructions:
1. Prepare the Clay
Start by kneading a chunk of air-dry clay to make it soft and pliable. Roll it out evenly with a rolling pin to about ¼-inch thickness. This will form the base of your tic-tac-toe board.
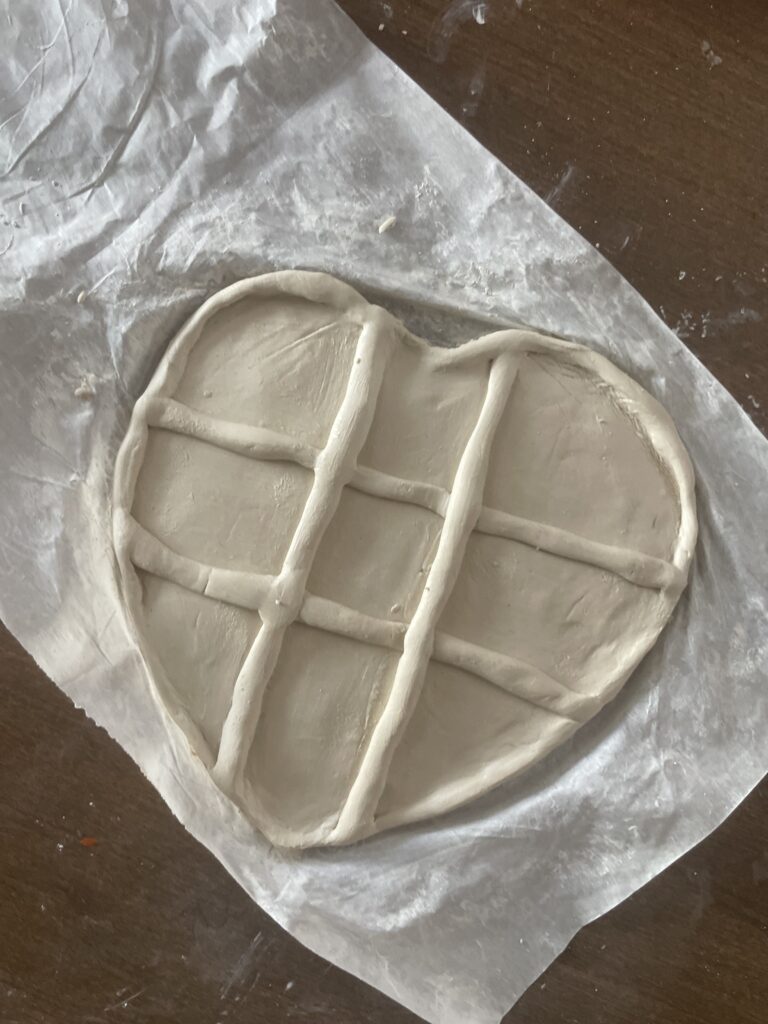
2. Shape the Board
Using a ruler and craft knife, cut out a square (approximately 6×6 inches or adjust as desired). Smooth out the edges with your fingers or sandpaper to ensure they’re even and clean.
3. Create the Grid
Lightly mark a 3×3 grid on the clay using the ruler and a craft knife or toothpick. Press gently to create lines without cutting through the clay. Roll thin pieces of clay and add to the dish, blending to make sure they stick together.
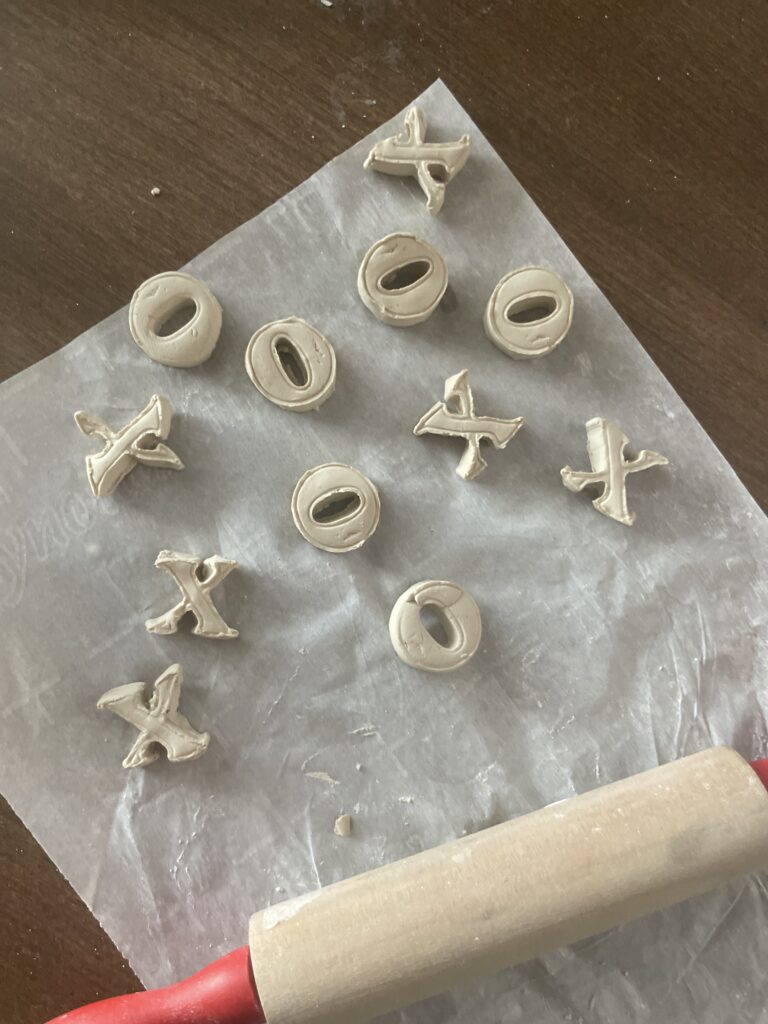
4. Make the Playing Pieces
Roll out additional clay and use a small heart-shaped cutter to create five “X” pieces and five “O” pieces. If you don’t have a cutter, you can shape the pieces by hand or use a knife for simple shapes. Smooth the edges of each piece.
5. Let the Clay Dry
Place all clay pieces on a flat surface and let them air dry for 24-48 hours. Be sure to flip the pieces occasionally to ensure even drying.
6. Paint Your Design
Once the clay is fully dry, it’s time to add some color! Paint the board in your desired base color—white or pastel pink works beautifully for Valentine’s Day. Use contrasting colors for the grid lines. Paint the Xs and Os in complementary shades like red and pink. I made mine with cherries.
7. Seal for Durability
If you want your tic-tac-toe board to last longer, apply a coat of sealer or varnish to the board and pieces once the paint is dry.
8. Assemble and Play!
Arrange the grid lines on the board and place your painted Xs and Os in a small bowl or bag for easy storage. Your Valentine’s Day tic-tac-toe set is now ready to use!
Creative Tips:
• Add personal touches by customizing the colors or painting tiny designs like polka dots or stripes on the playing pieces.
• Use glitter paint for extra sparkle!
• Pair the tic-tac-toe board with a small pouch for storage, decorated with hearts or love-themed patterns.
If motherhood has you stressed and you feel like you’ve lost your creativity, I am here to help! Here you will find easy recipes, simple DIY’s, affordable styles, and what to read next. I believe we all have a creative side, some of us just need a little help to find it. I will help inspire you to have creative expression without standards.