I’m on a strawberry kick, but what’s a better fruit to be loving during summer?
A few blog posts back, I shared how to a make Strawberry Dalgona Drink and since I couldn’t get enough, I decided to make these delicious and creamy popsicles.
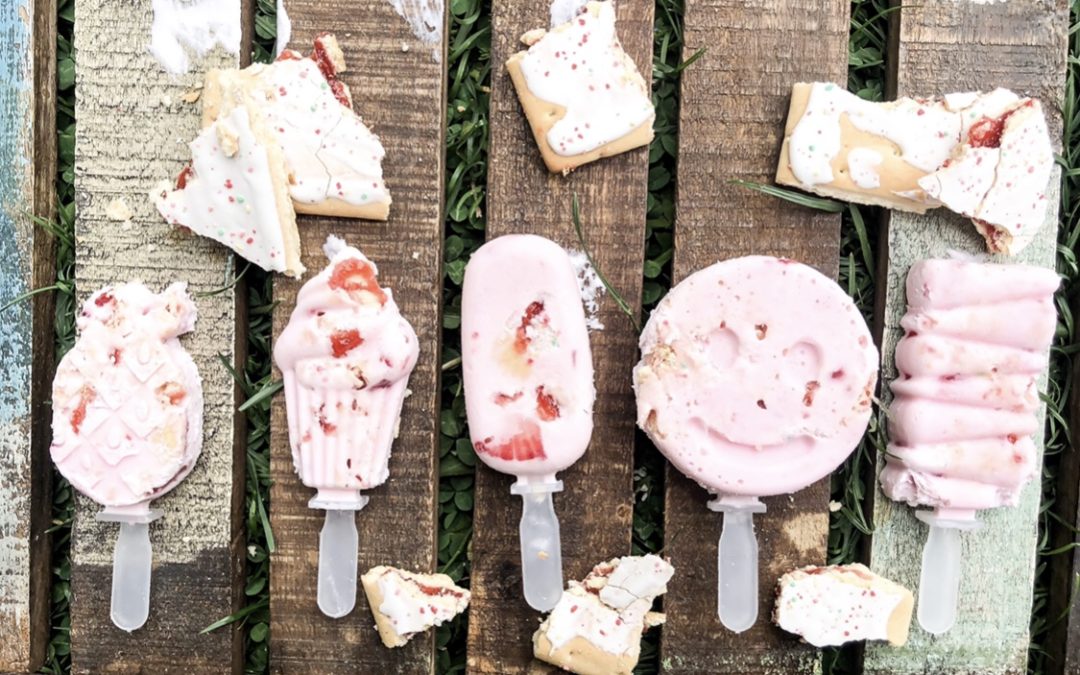
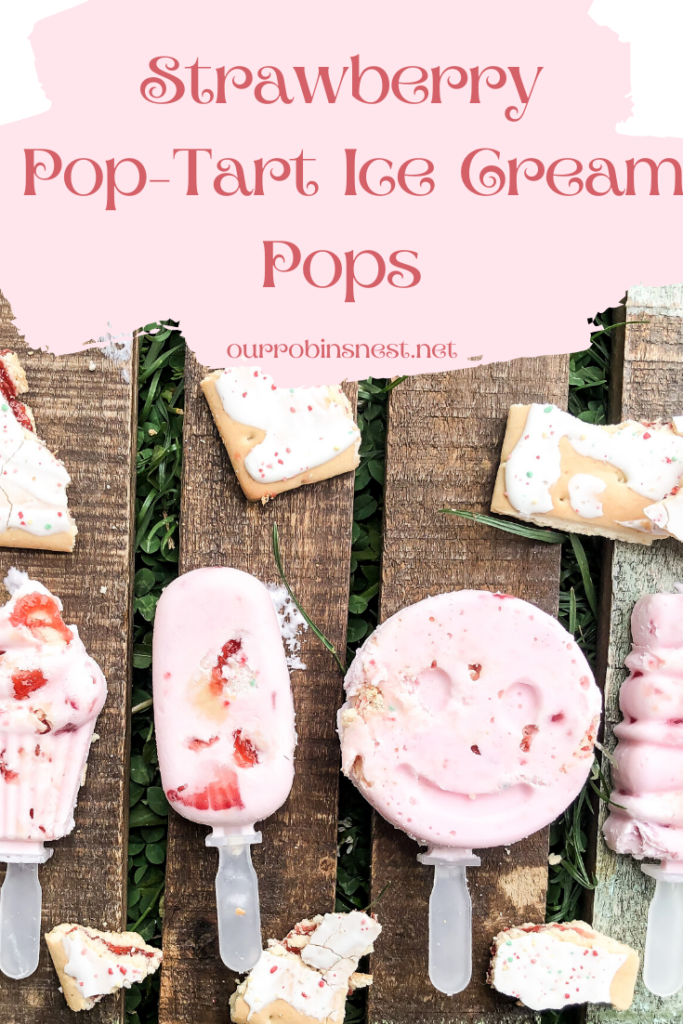
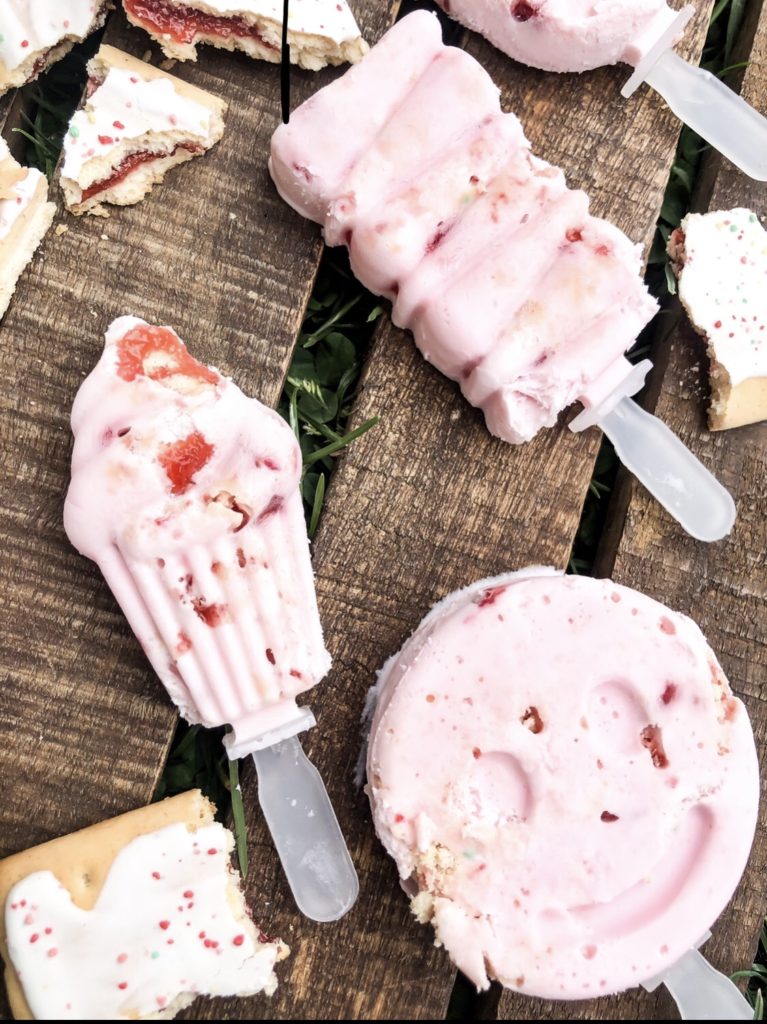
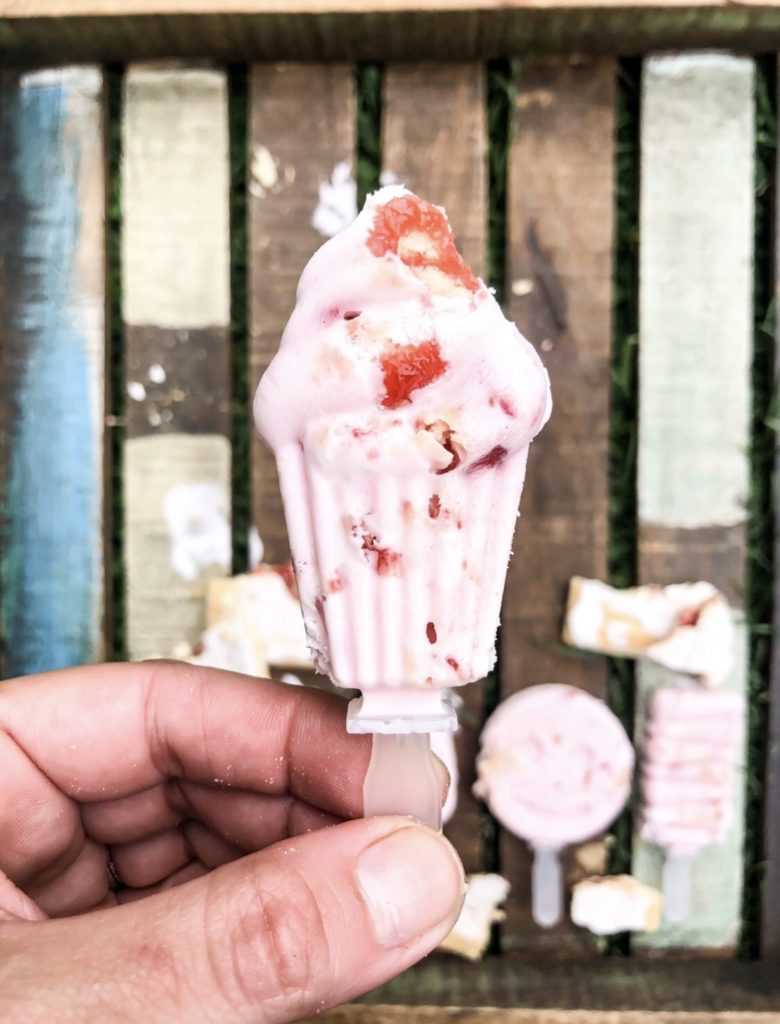
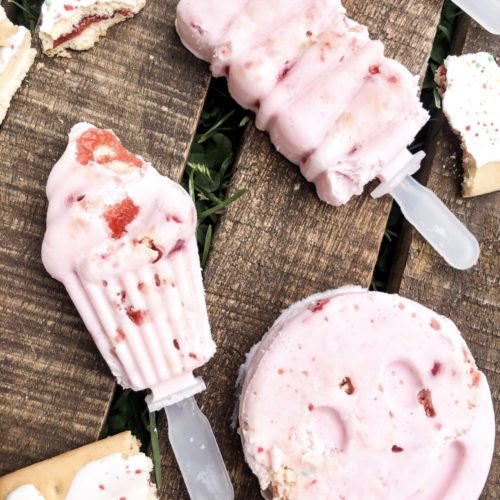
What happens when you mix your favorite breakfast and your favorite dessert together? Pop-tart ice cream!
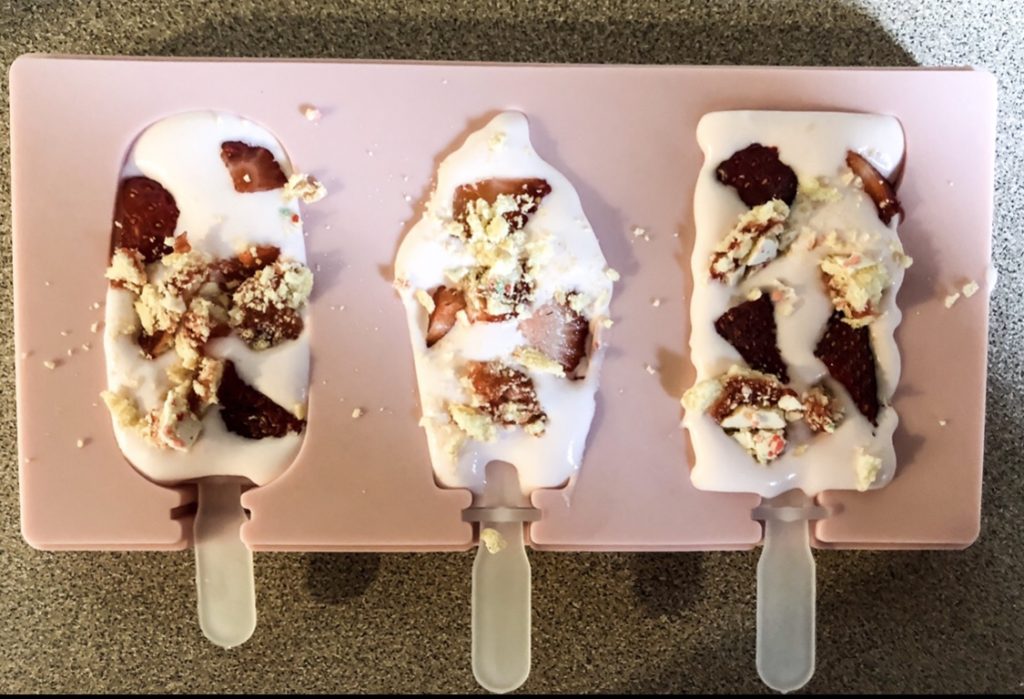
When you make this easy recipe, you can store it in a container and scoop it out like traditional ice cream, or you can make fun popsicles like I did!
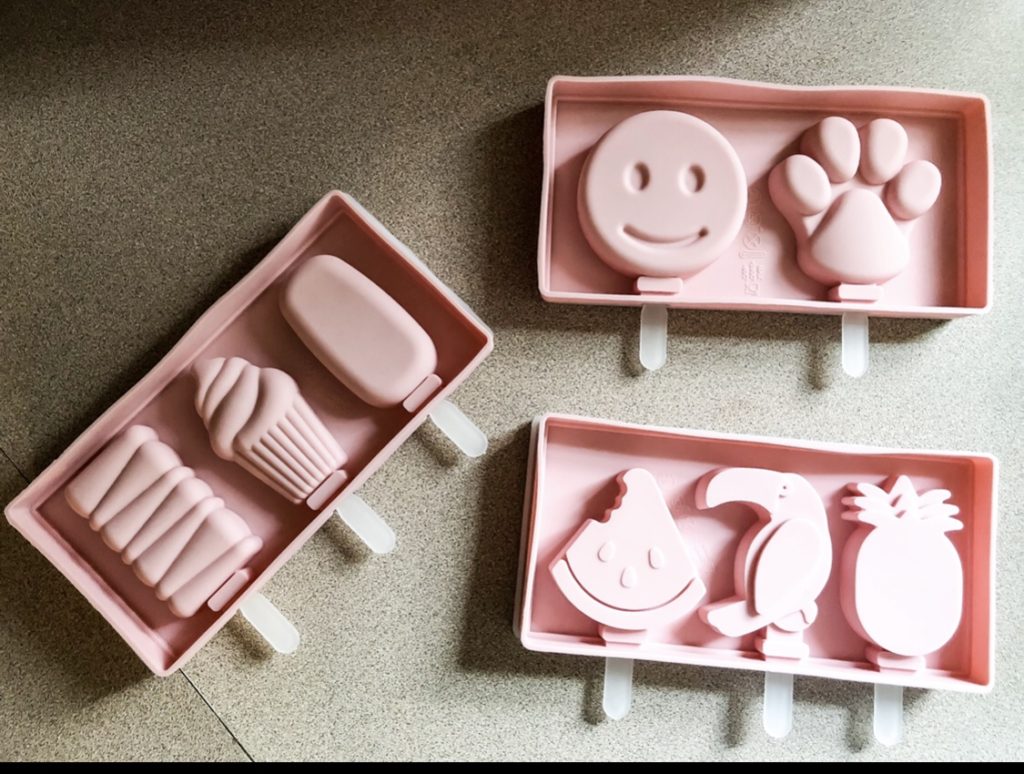
These popsicle molds are adorable and the perfect size for little ones hands.
Since my Strawberry Dalgona drink was a hit, I decided to make something else using the same recipe.
It is back to school and chaos is back in our house. Although Franco is in the same preschool class he is getting some new classmates and lets face it- every morning with Franco is hectic. Dan is starting back for the second year at his elementary school doing social work and getting him ready for back to school routine has been the hardest! We all had a great summer, but it is now back to reality!
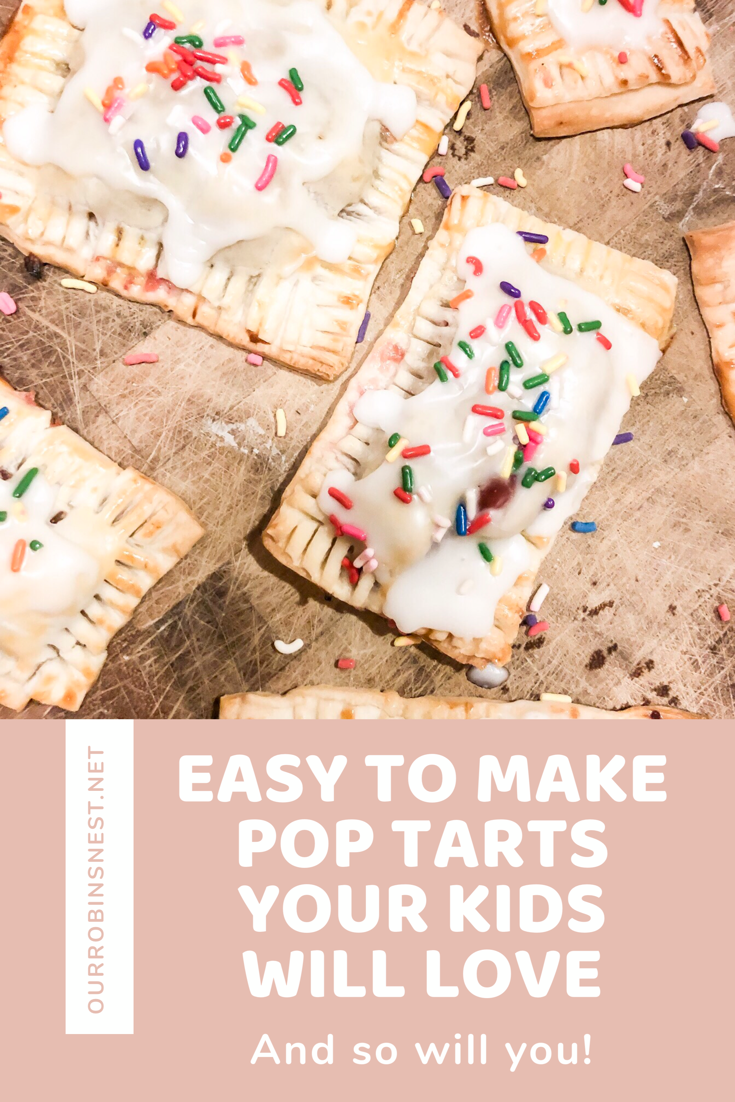
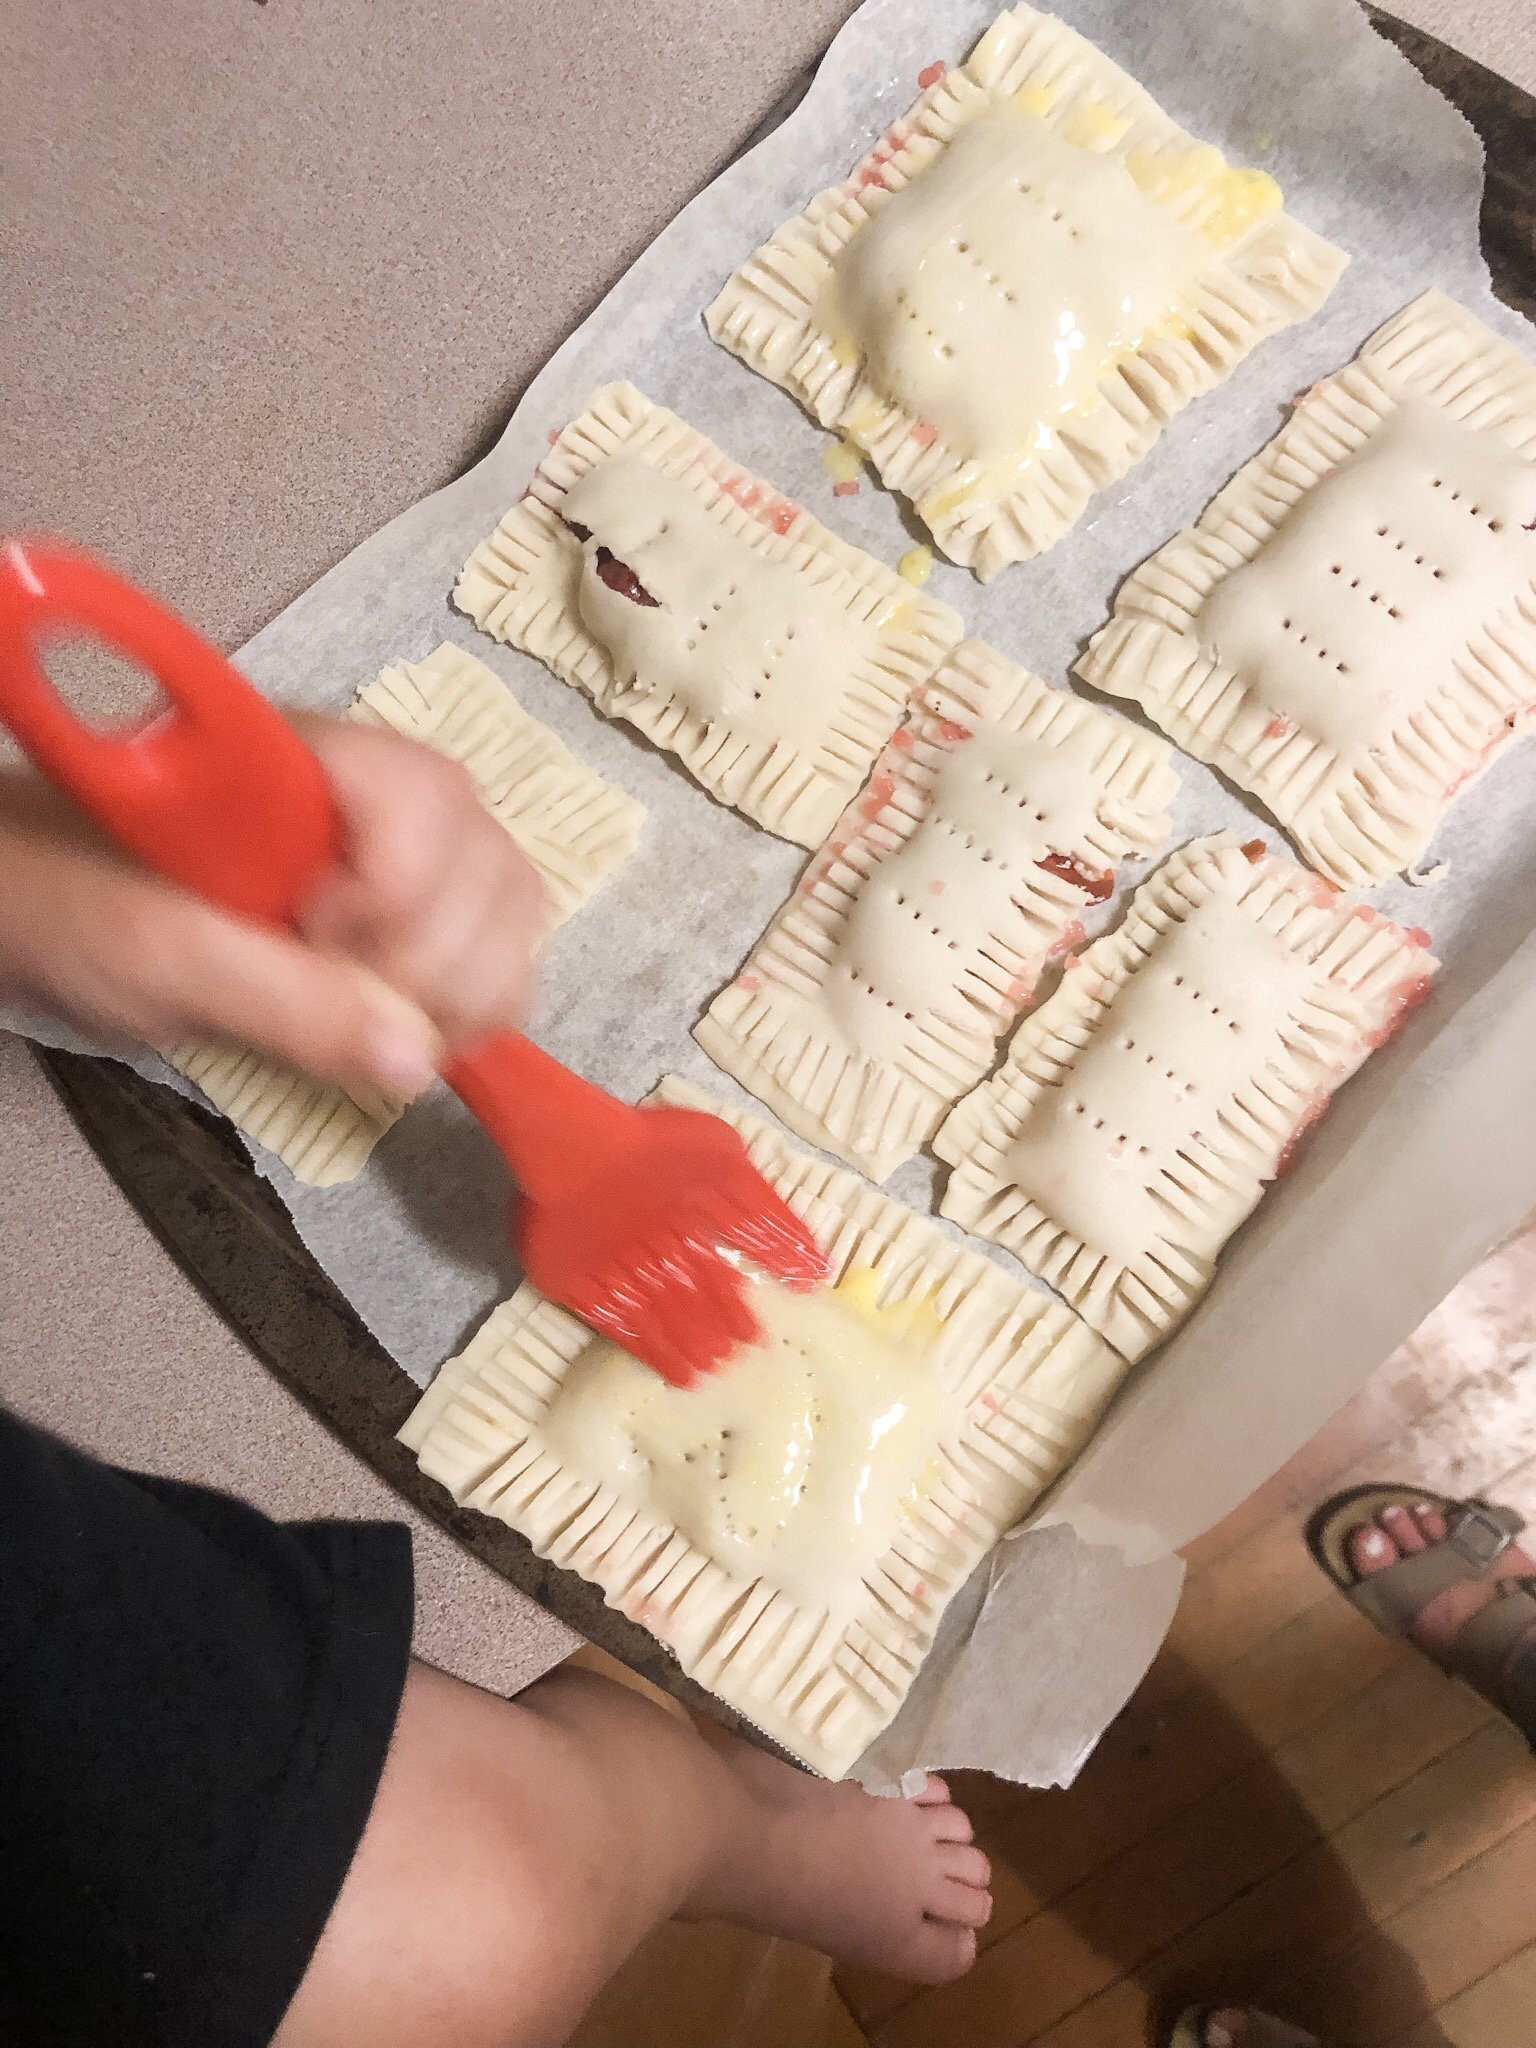
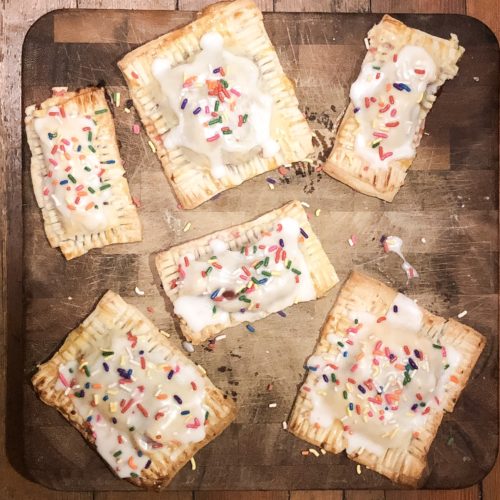
One thing we all enjoy when we get home from work and school is sitting on the porch together with a snack and drink. This year I made Pop Tarts and not only did Franco love them, but so did Dan! A few blog posts back I shared my easy cherry pie filling so this is one of the ways I used this delicious filling!
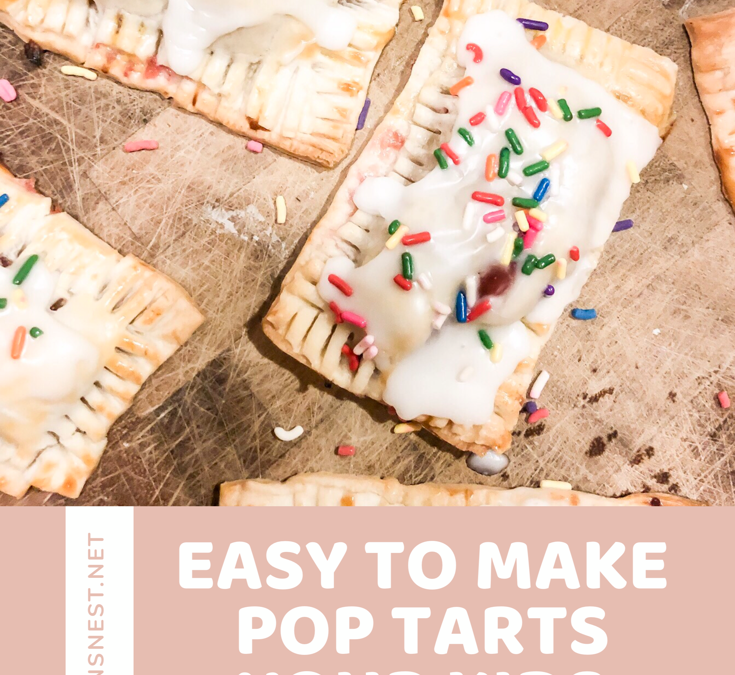
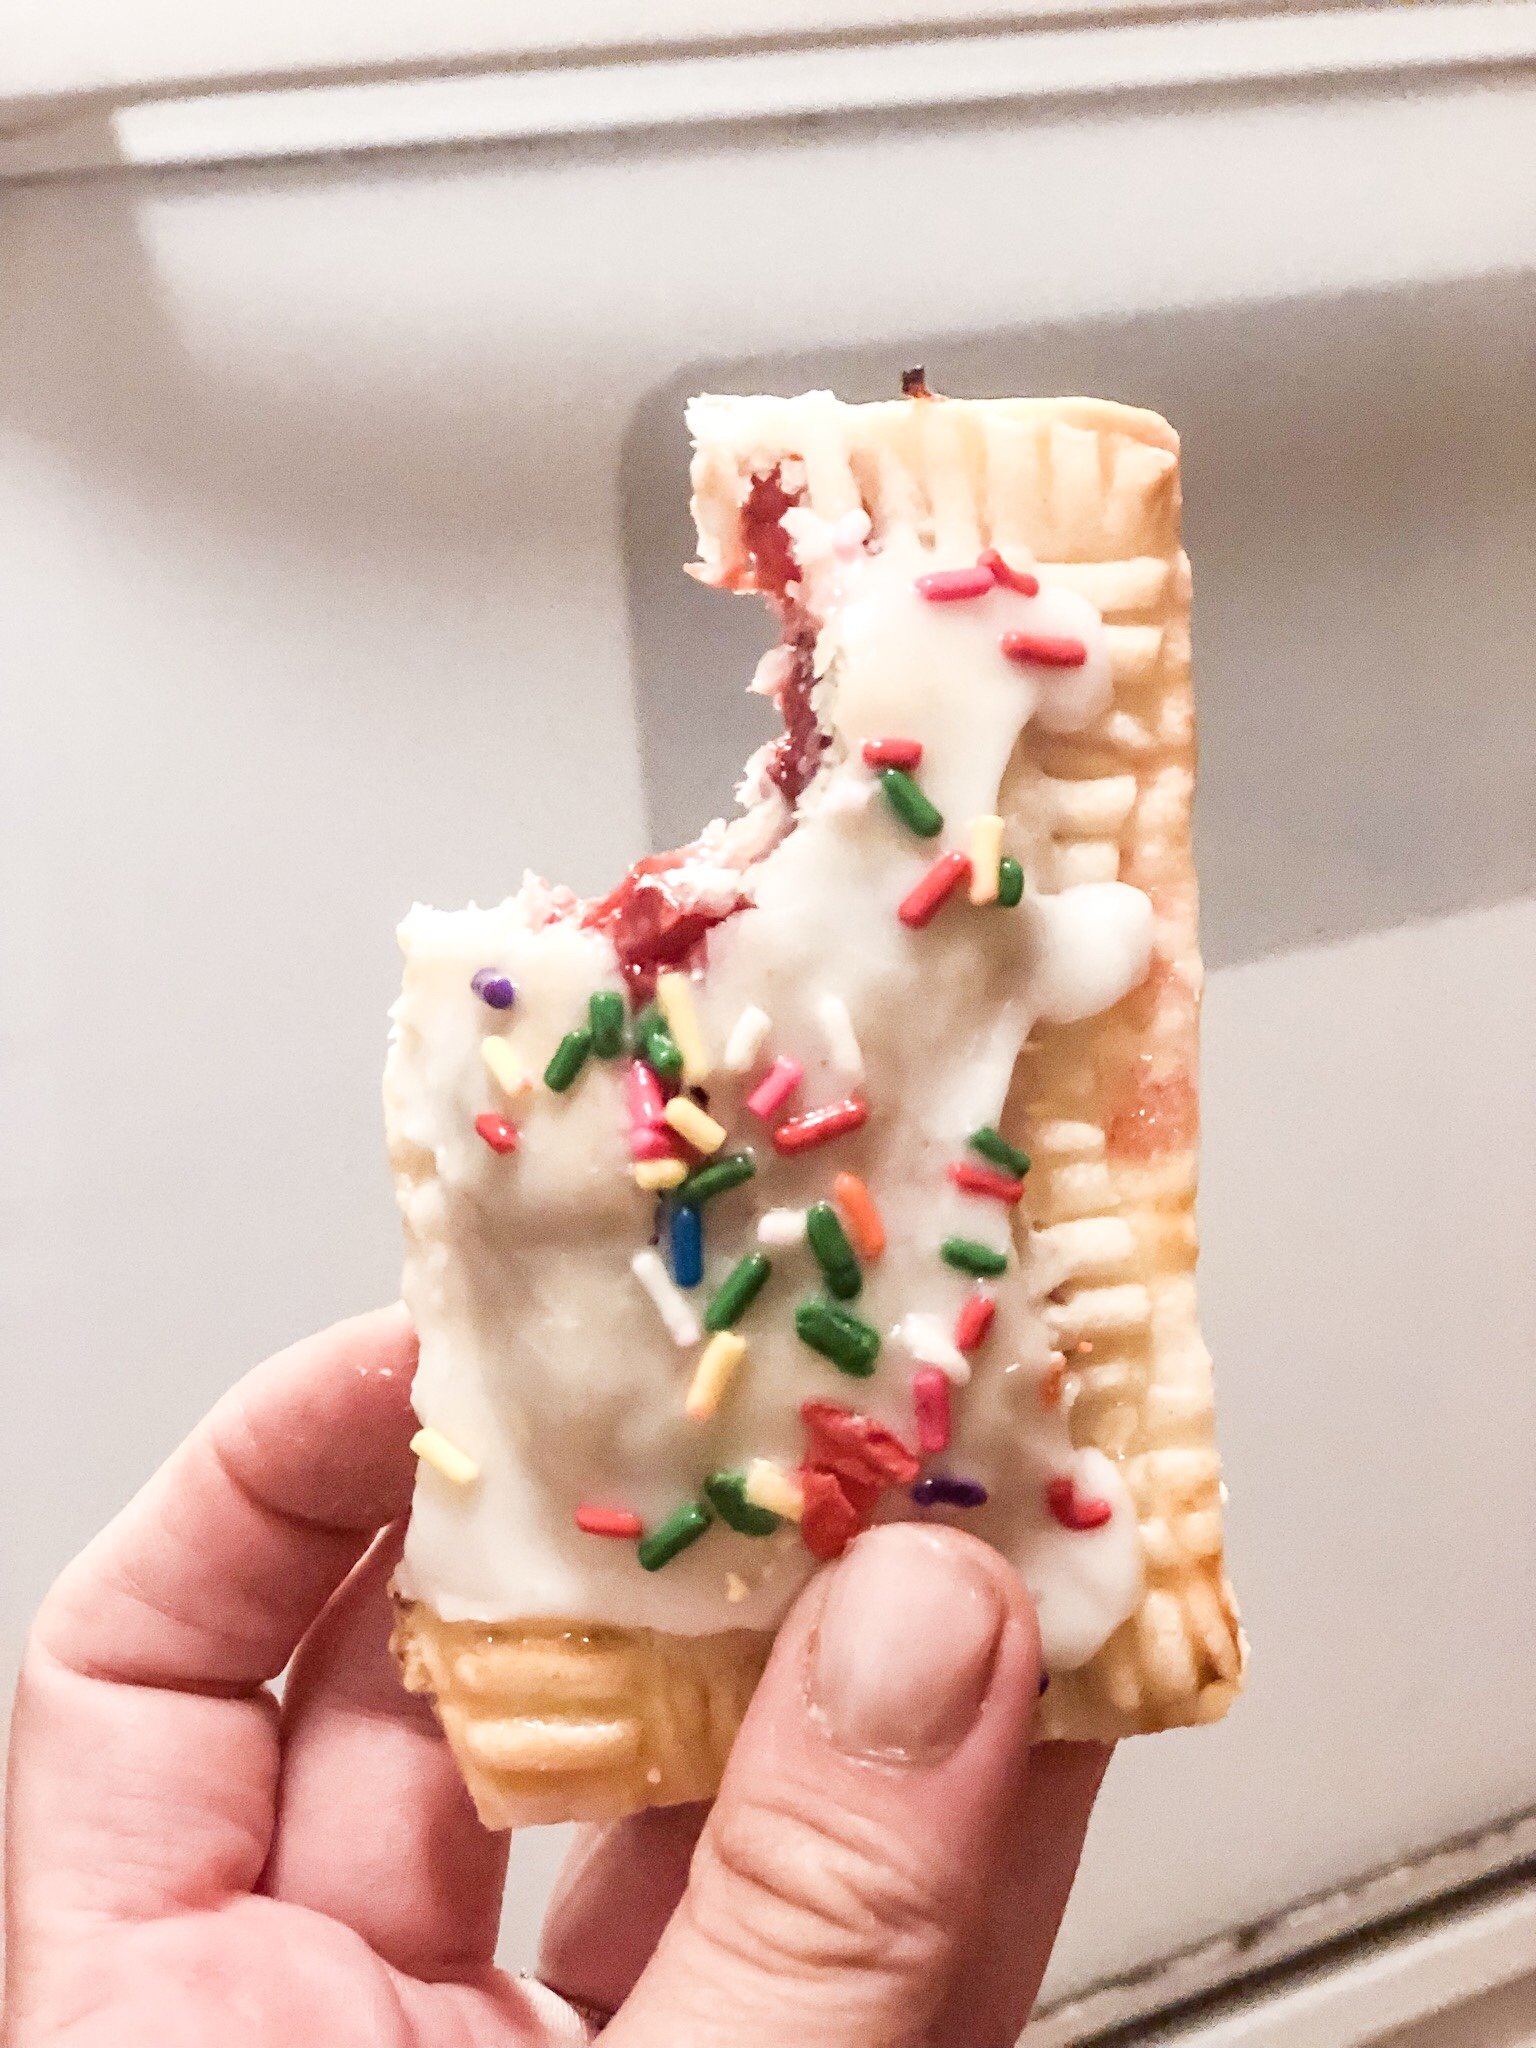
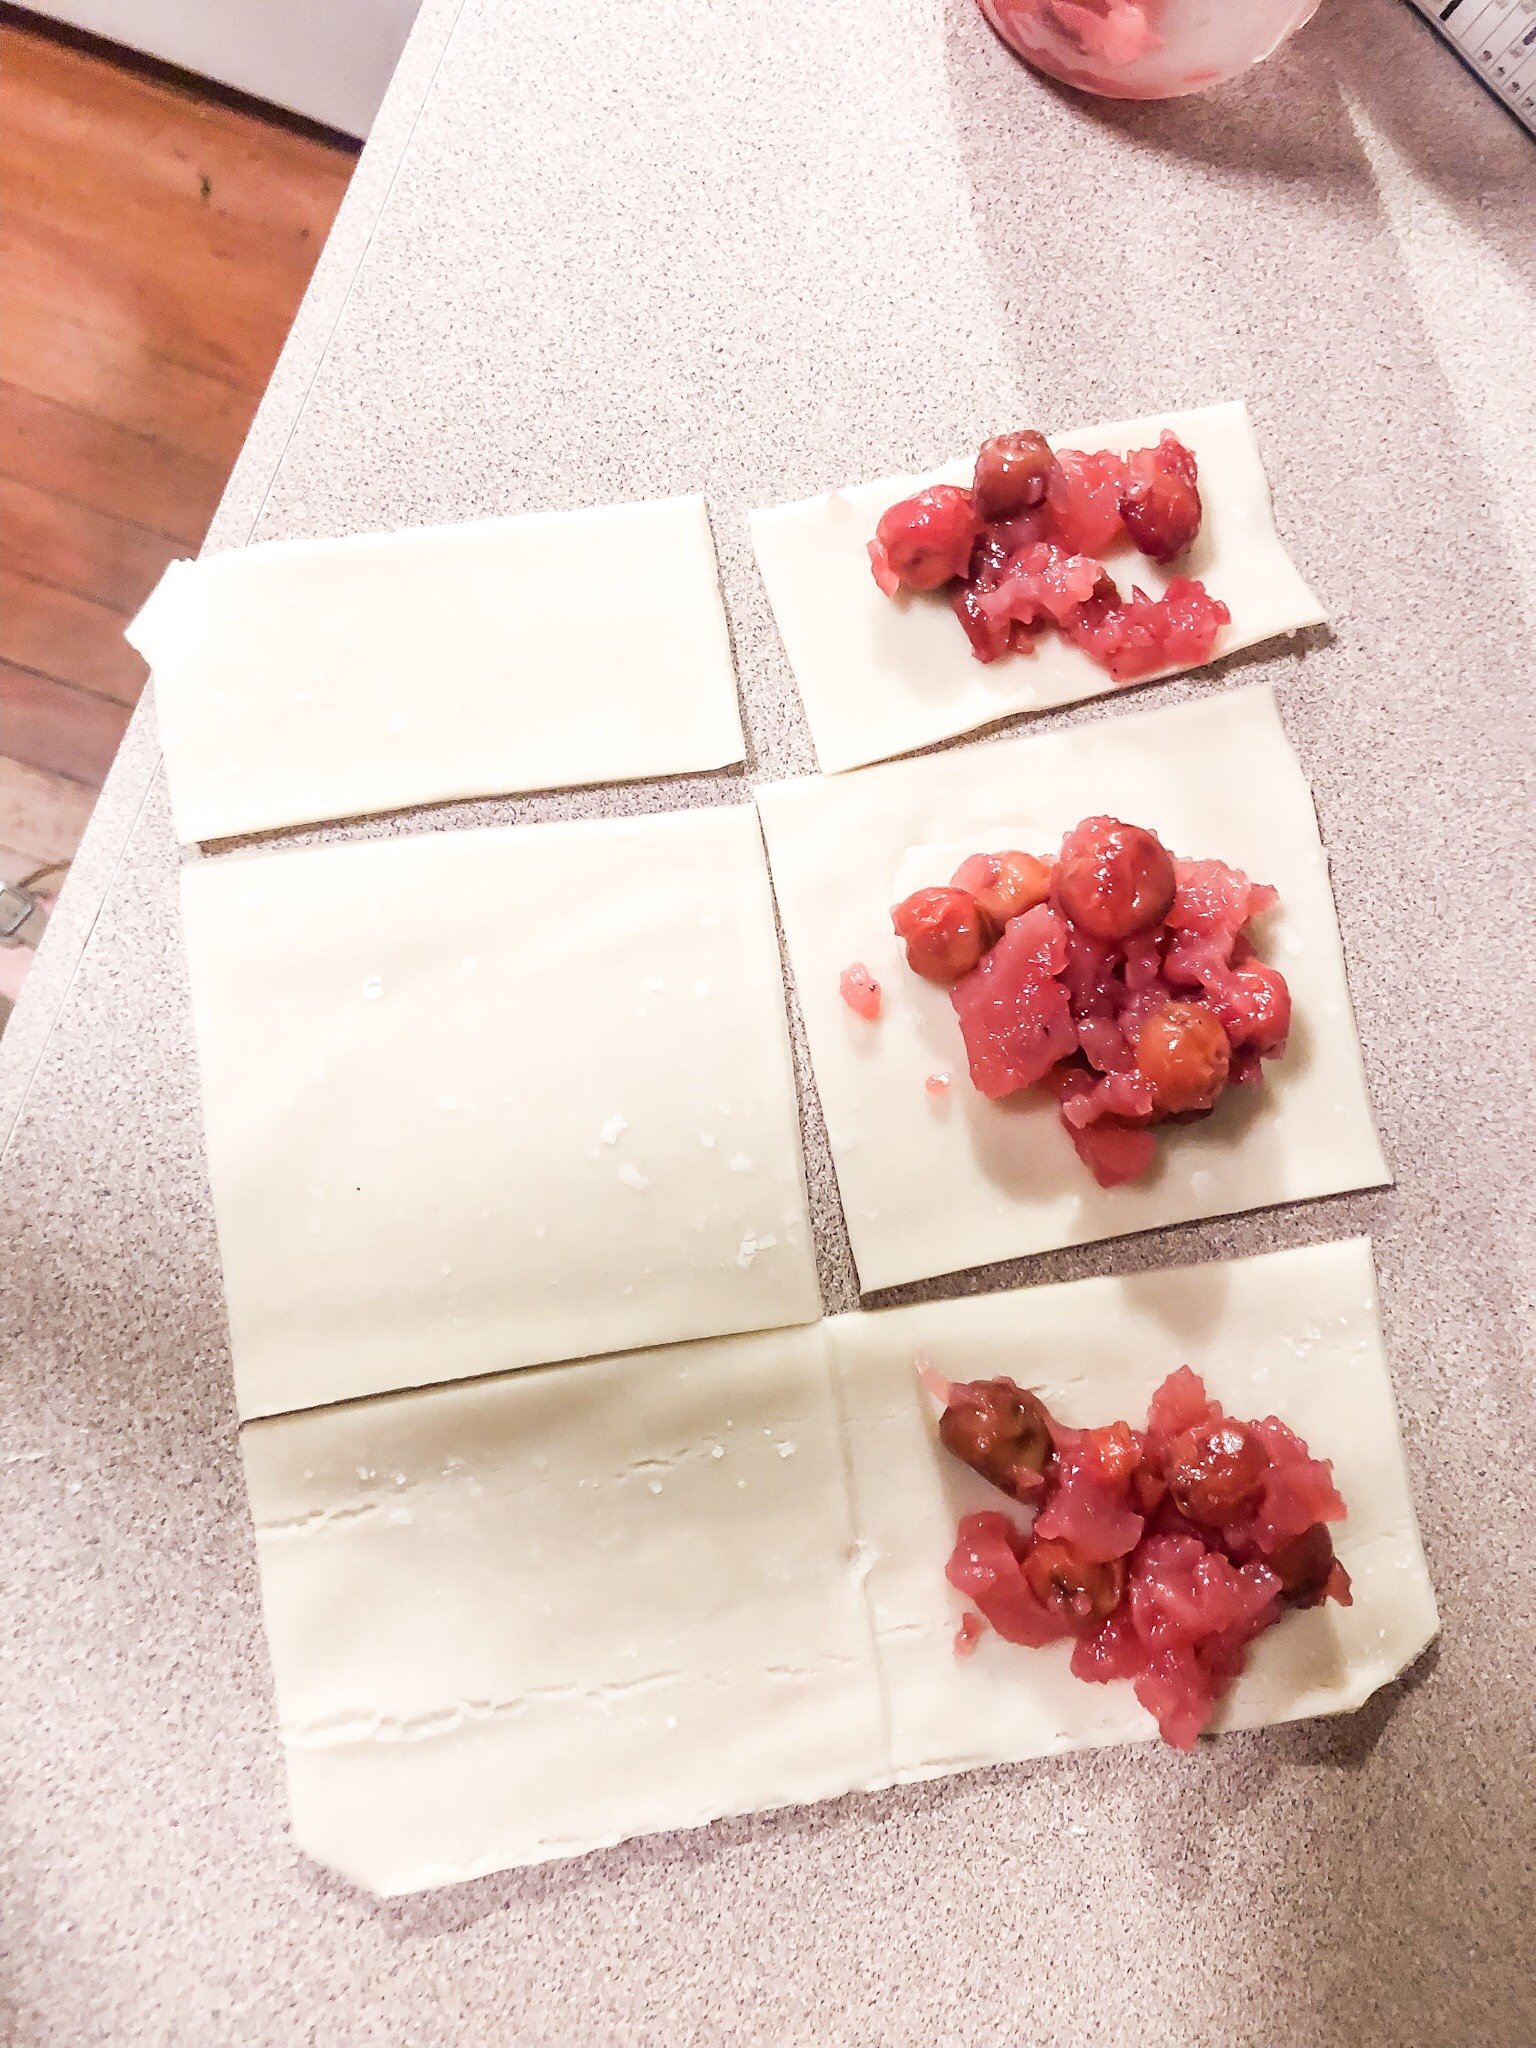
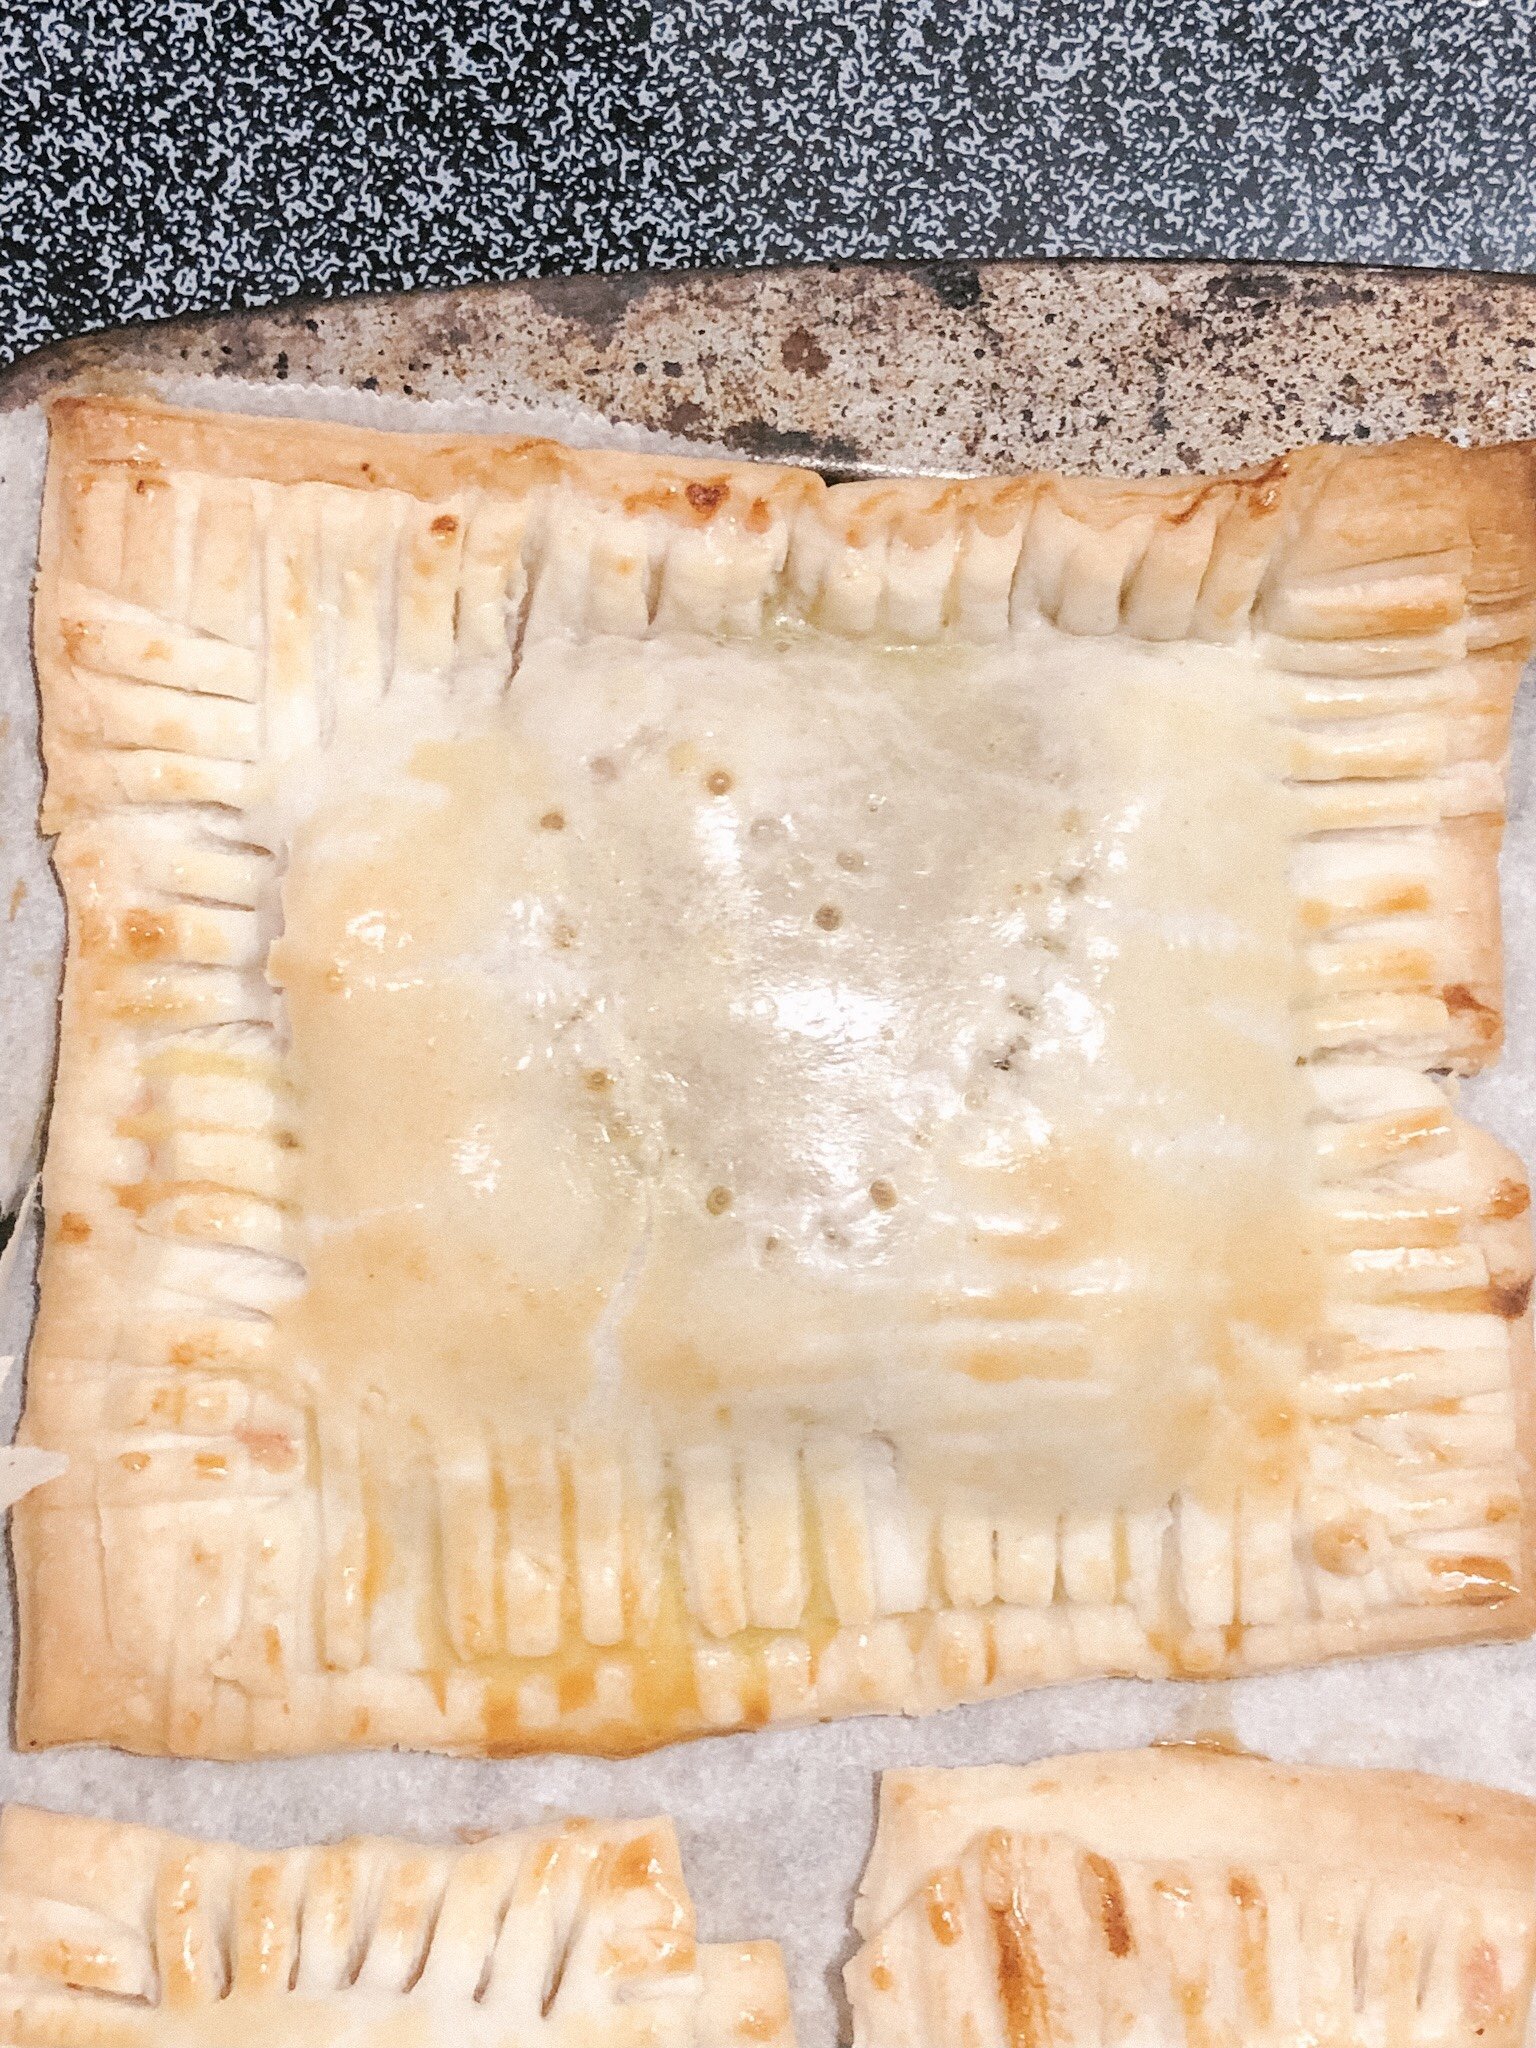
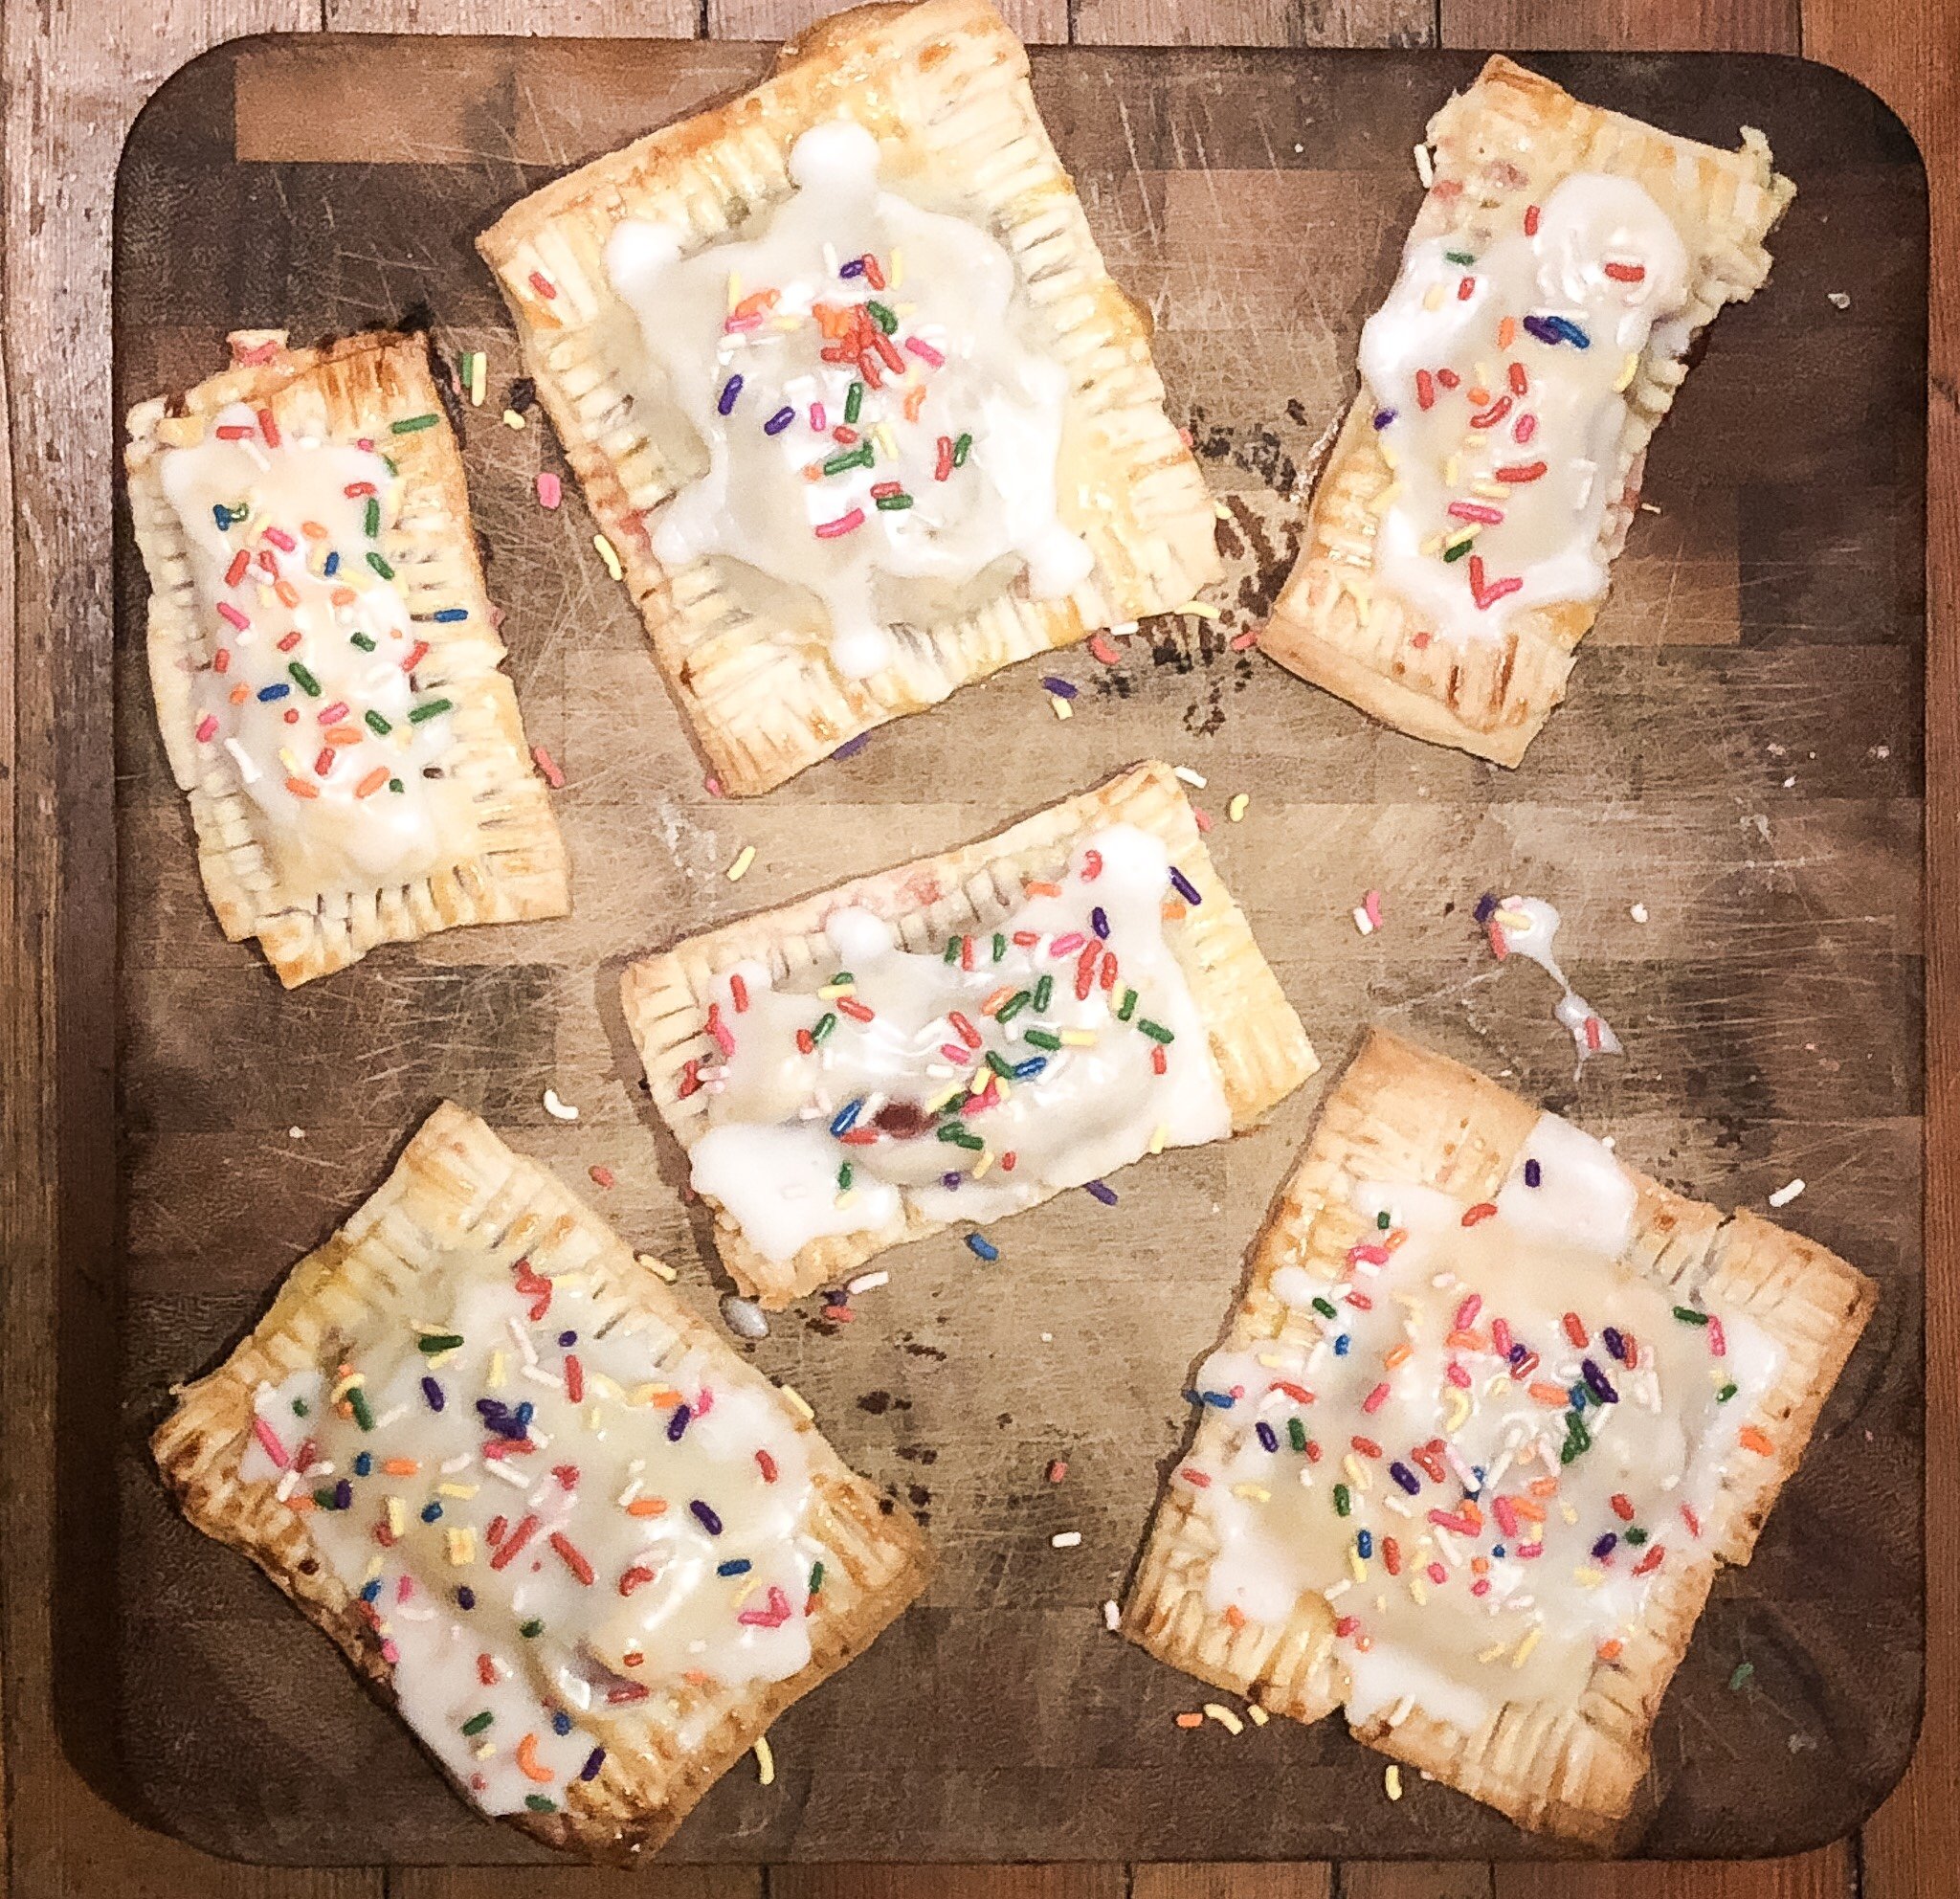
Roll our pie crust and cut into small rectangles using a pizza cutter or a knife. Each pop tart needs two sides.Spoon the cherry filling or preserves onto half of the pastry. Be sure not over fill do it does not over spill while baking. Egg wash and poke the top of the pastry with a fork a few times.Bake at 400 degrees F* for about 25 minutes or until golden brown.Mix sugar, vanilla extract and water together until thick and spoon over the pastry. Finish with sprinkles.
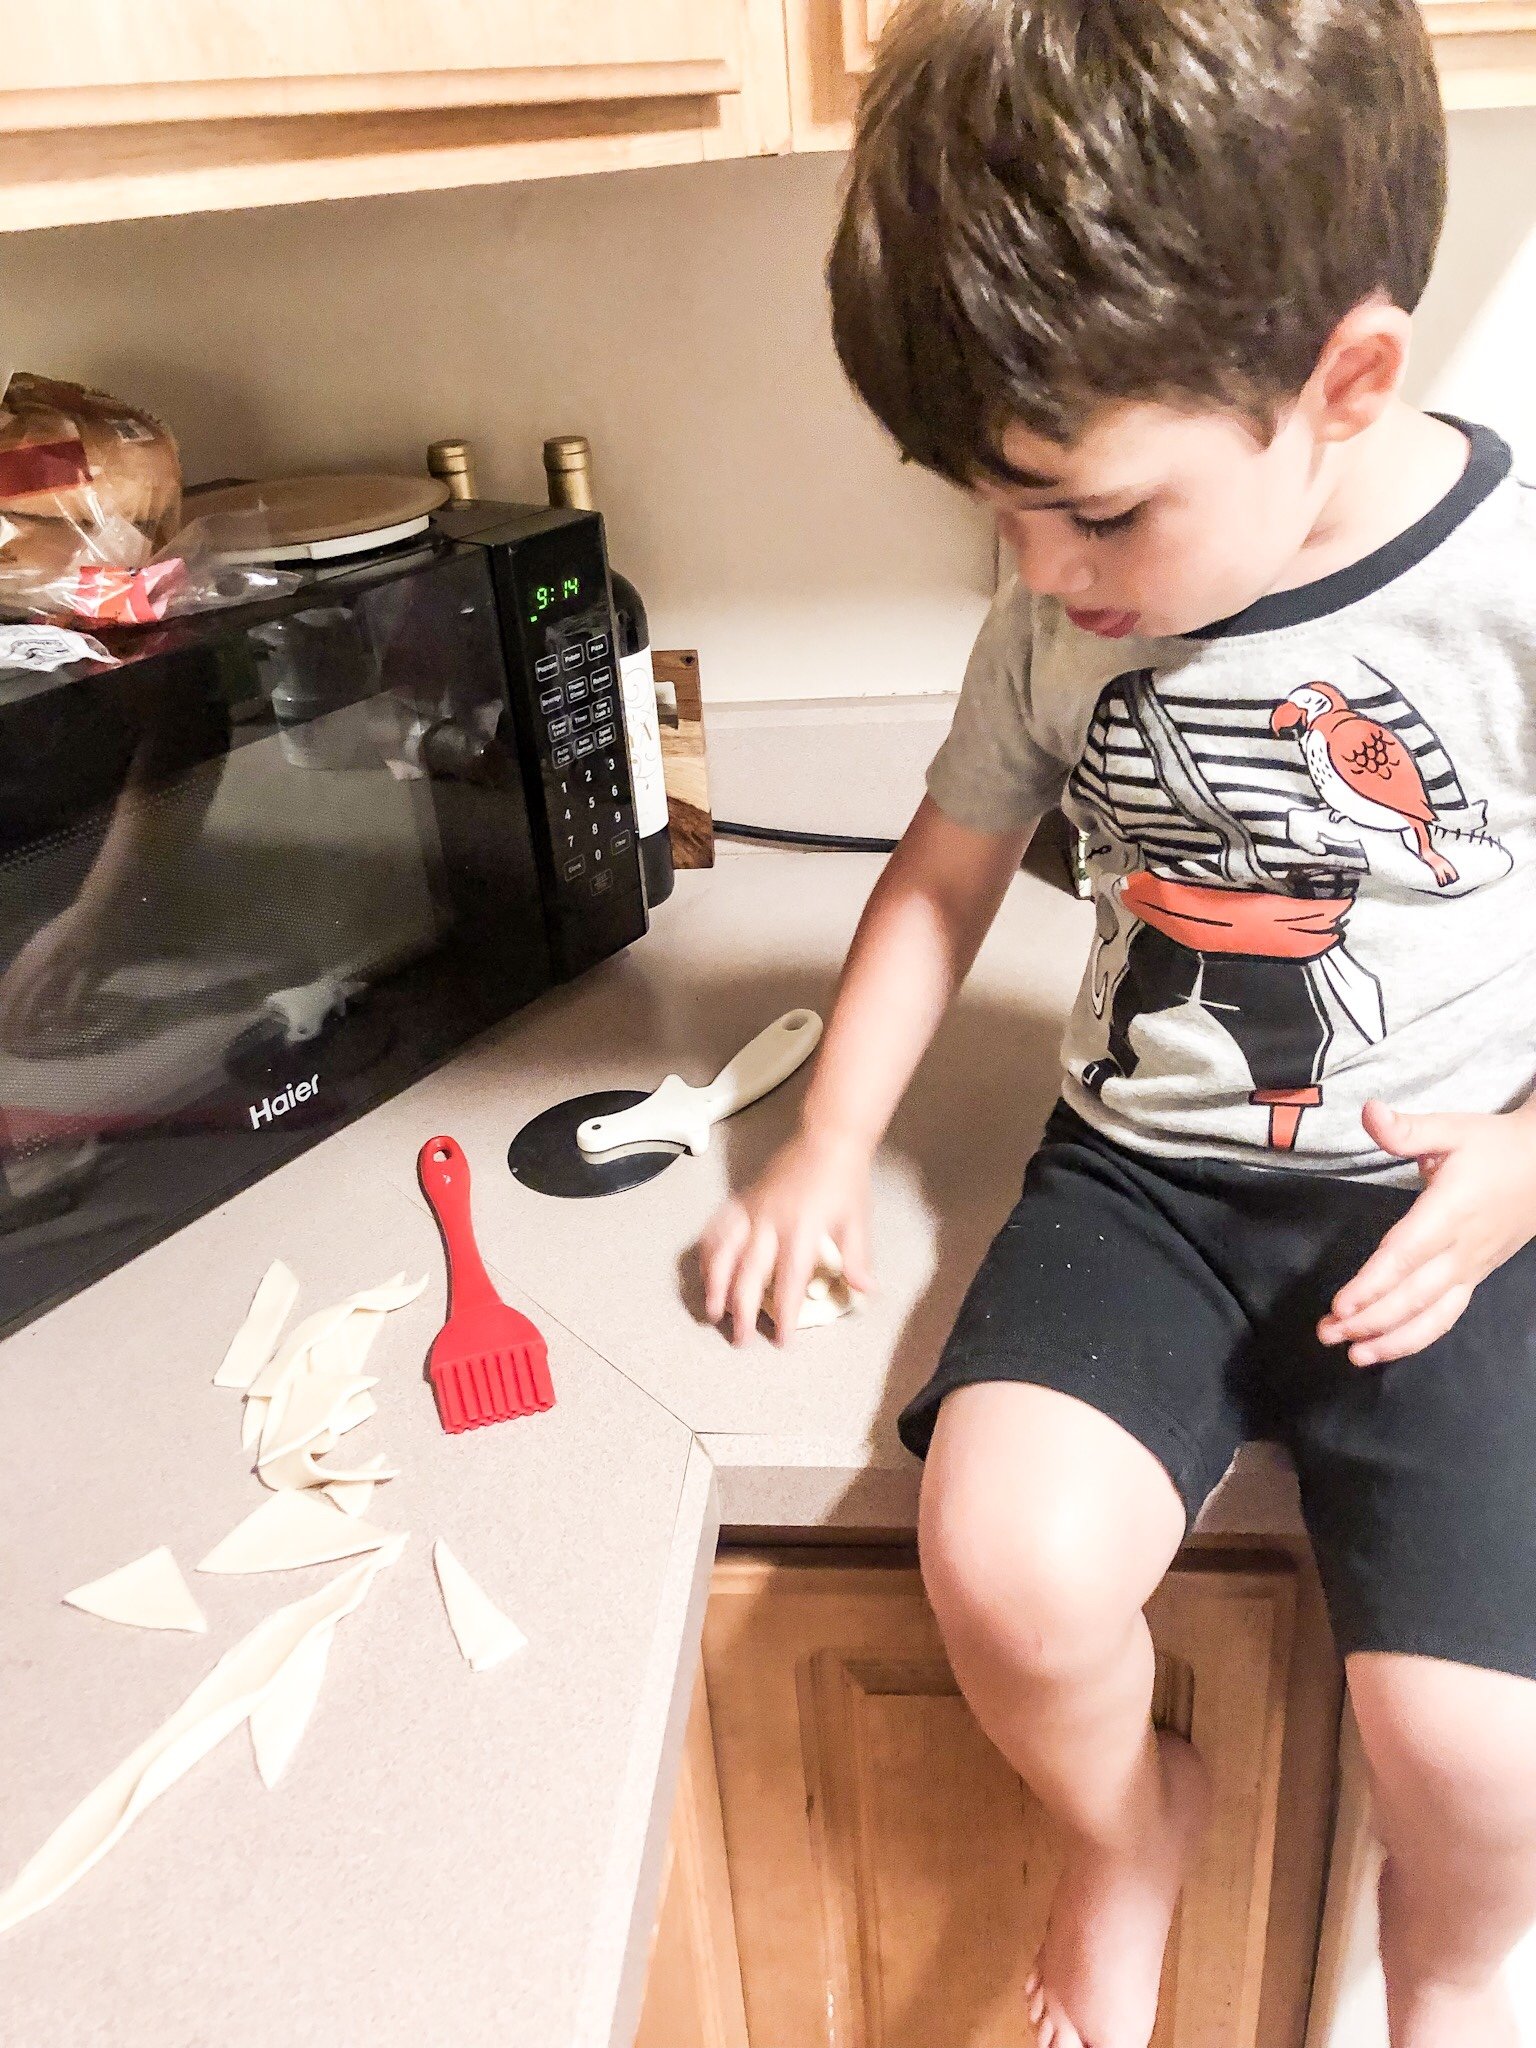
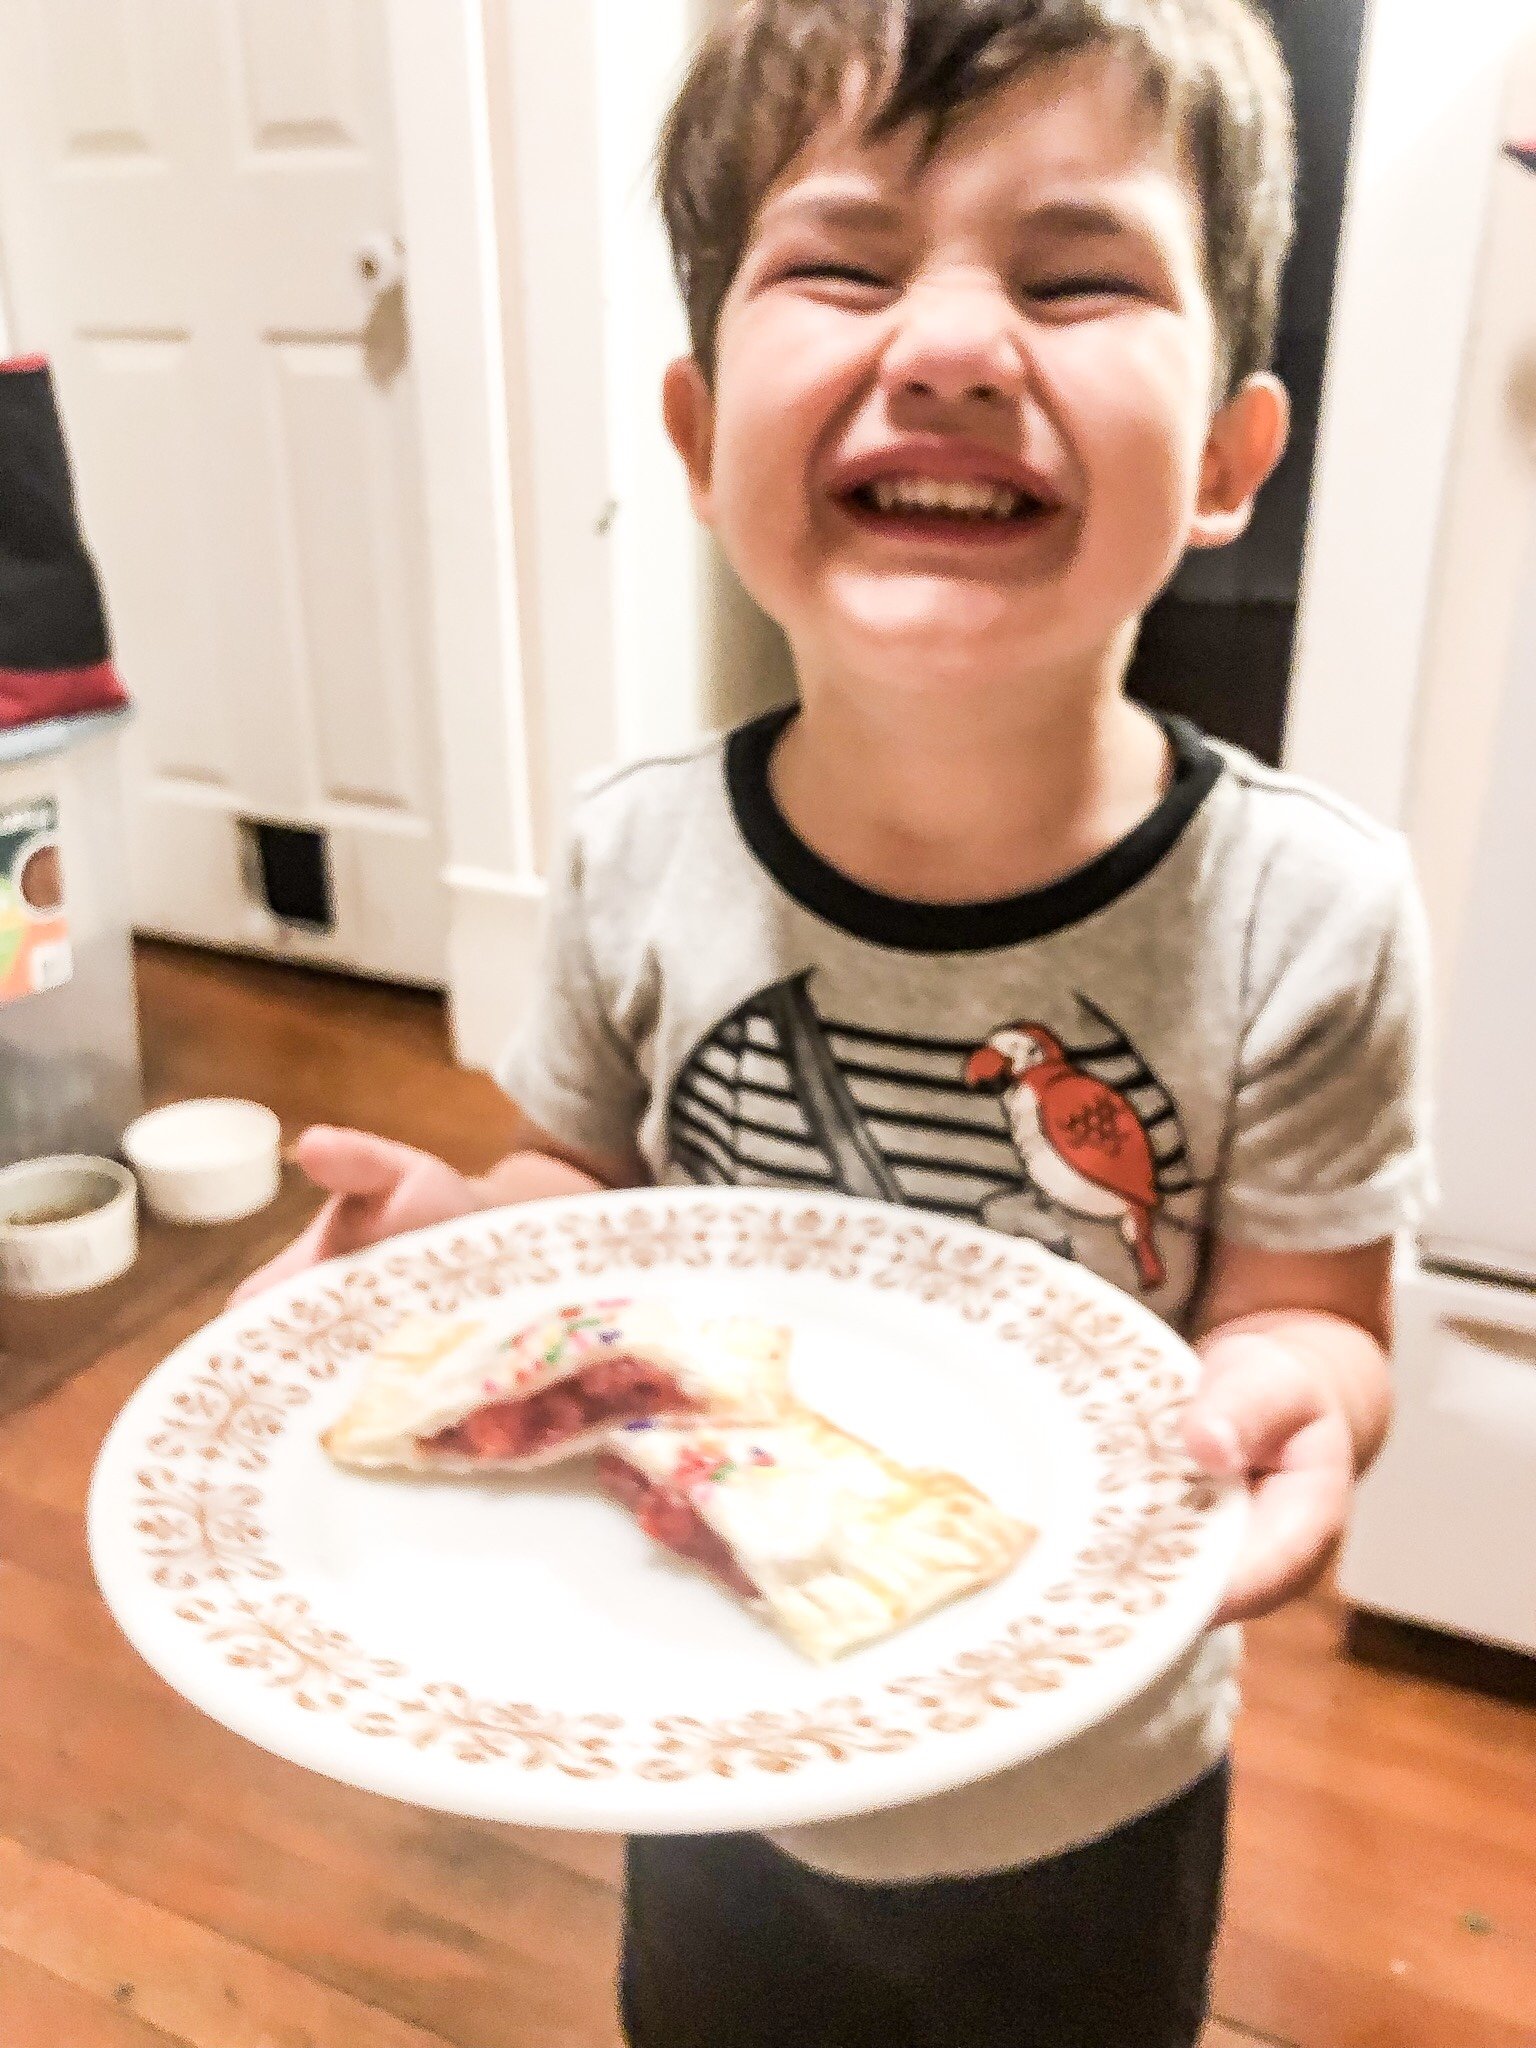
Have fun and experiment with different fillings, poking holes with the fork or food coloring for the icing. Franco had a lot of fun baking these with me as well! Try them with your little ones and I promise you they will not last long.
Easy Pop Tart Recipe
Easy Pop Tart Recipe Your Kids Will Love and So Will You!
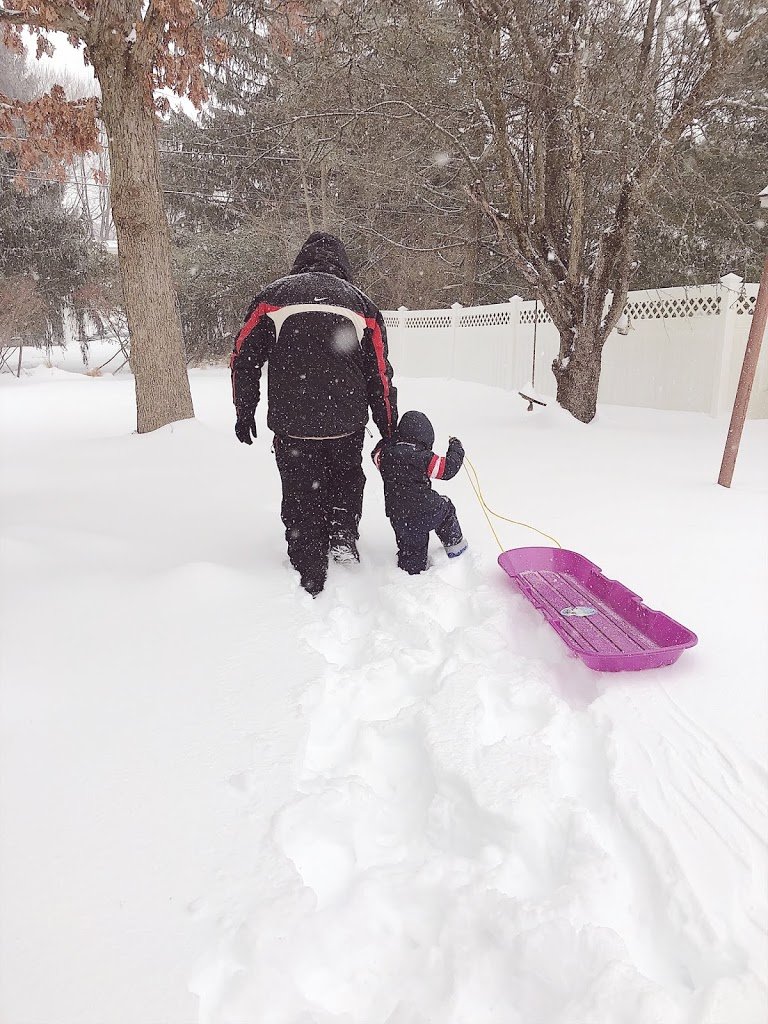
This past weekend was our first big snowstorm of the year and boy did we get hit hard! Not only did we get almost 2 feet of snow but it was also -7° outside! Now if this were to happen during the month of December I’d say bring it, but for some reason when the holidays are over I don’t have the same enthusiasm. Deep down I am secretly wishing it for to be October again and start all the fun holidays over. Now don’t get me wrong, I enjoy Summer but not how I enjoy all the smells and flavors of Fall and the Holiday Season.
When we found out a storm was coming I told myself this was going to happen whether I like it or not, so I might as well make the best of it. I went to Dollar Tree and stocked up on cheap activities for Franco (puzzles, play do, balloons, doodler) and went to the grocery store to get the essentials- ingredients to make pizza and dessert ?.
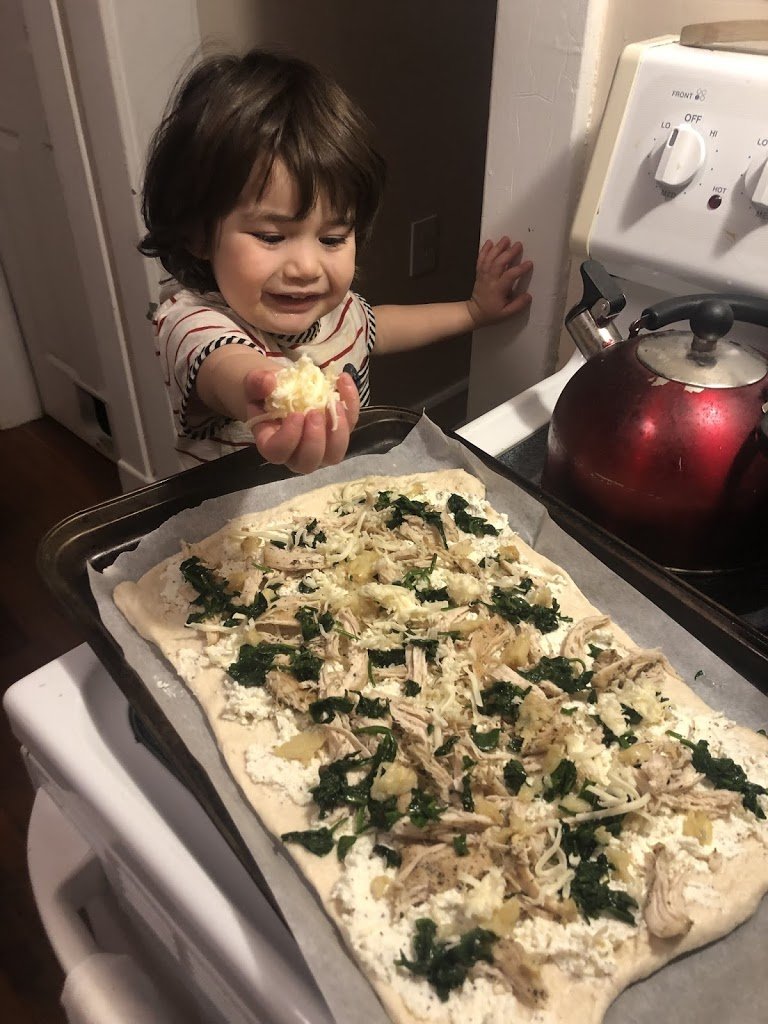
Saturday night Franco helped me make this delicious pizza from Damn Delicious It was the perfect treat to eat while we watched the snow fall.
Having Franco help with the little things such as sprinkling cheese is considered a BIG help from him!
INGREDIENTS:
3 tablespoons olive oil, divided
8 ounces boneless, skinless chicken breasts
Kosher salt and freshly ground black pepper, to taste
Kosher salt and freshly ground black pepper, to taste
DIRECTIONS:
Preheat oven to 400 degrees F.
Cut head of garlic, about 1/4-inch, to expose tops of garlic cloves. Place garlic head, cut side up, in a sheet of foil. Drizzle with olive oil; season with salt and pepper, to taste. Fold up all 4 sides of the foil and cover tightly.
Place into oven and roast until cloves are golden brown and tender, about 35-40 minutes. Let cool before squeezing cloves from skin; reserve and mince 8 garlic cloves.*
Preheat oven to 450 degrees F. Lightly coat a baking sheet or pizza pan with olive oil.
Heat 2 tablespoons olive oil in a large skillet over medium high heat. Season chicken with salt and pepper, to taste. Add chicken to the skillet and cook, flipping once, until cooked through, about 3-4 minutes per side. Let cool before dicing into bite-size pieces.
Heat remaining 1 tablespoon olive oil in the skillet. Stir in spinach until wilted, about 2-3 minutes; season with red pepper flakes, salt and pepper. Set aside.
In a small bowl, whisk together ricotta cheese, thyme, oregano, basil and reserved garlic cloves; season with salt and pepper, to taste.
Working on a surface that has been sprinkled with cornmeal, roll out the pizza into a 12-inch-diameter round. Transfer to prepared baking sheet or pizza pan.
Top with mozzarella, dollops of ricotta mixture, chicken and spinach.
Place into oven and bake for 15-20 minutes, or until the crust is golden brown and the cheeses have melted.
Serve immediately.
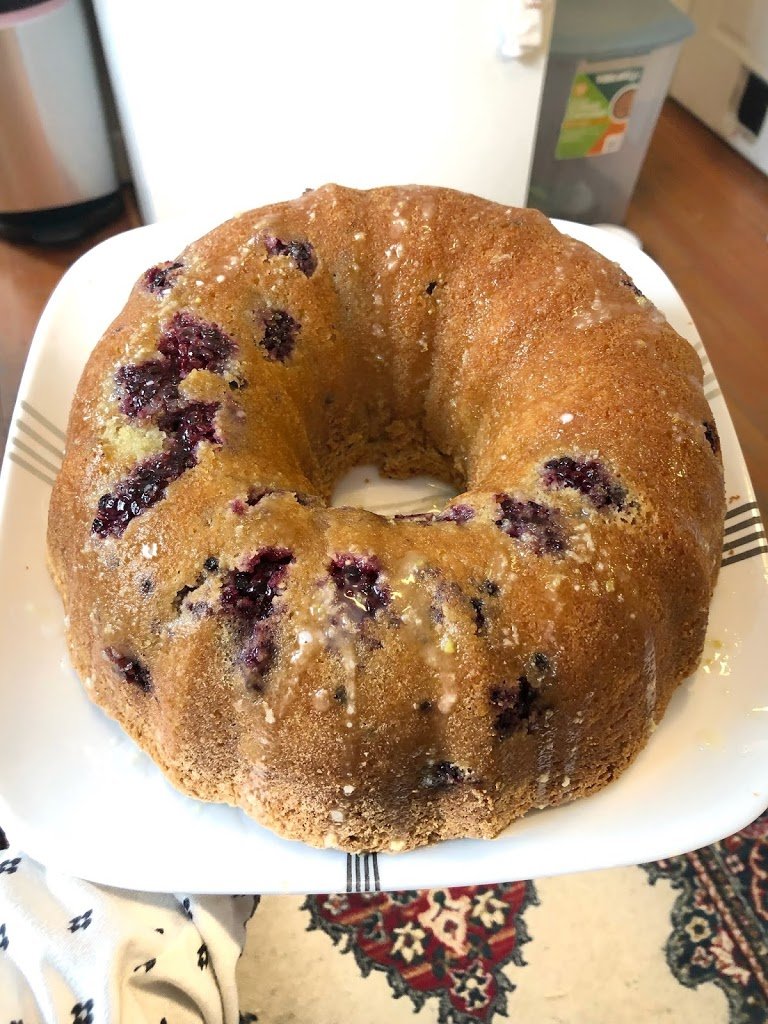
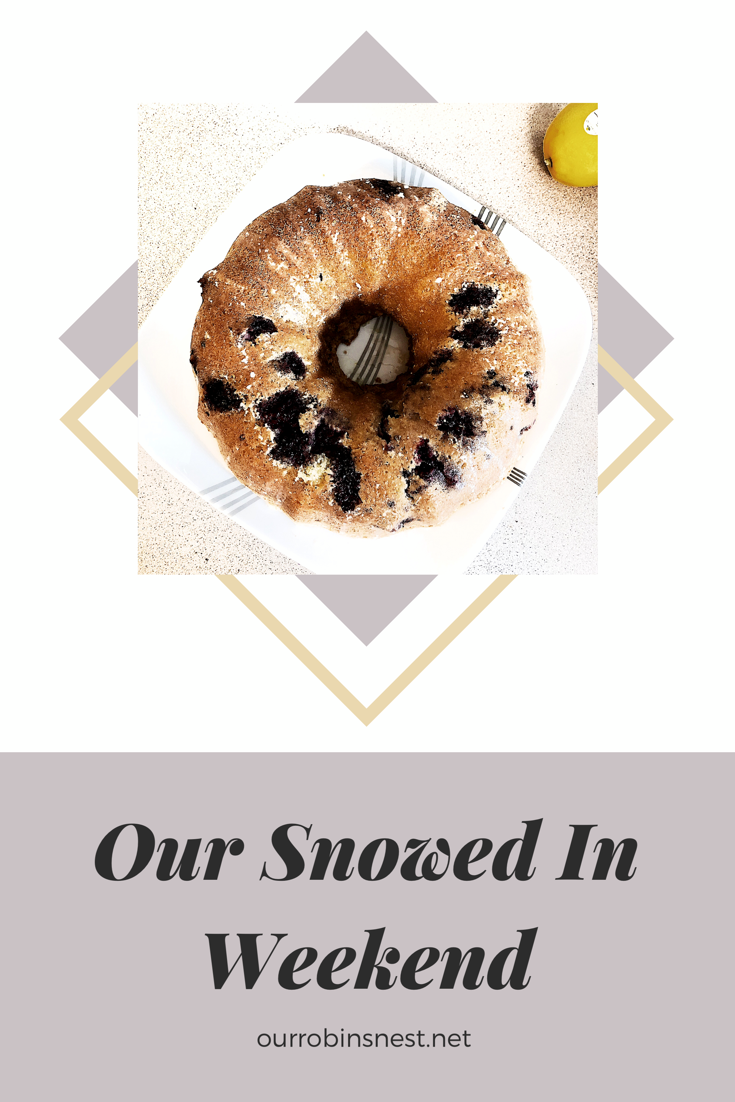
When we finished shoveling and got Franco to take his nap, I warmed up the house with this delicious lemon blackberry quick loaf. The citrus and fruity flavors sure made me think of warmth and sunshine, it burst with flavor!
I made a simple loaf look fancy by baking it in a fluted tube pan.
I got the recipe from The Idea Roombut I switched it up and used blackberries instead of raspberries. This certainly brought some sunshine to our cloudy snowy weekend!
INGREDIENTS:
1 cup unsalted butter
2 1/4 cups sugar
4 eggs
2 1/2 cups flour
1/2 tsp. salt
1/2 tsp. baking powder
1/2 tsp. baking soda
1 cup sour cream
1 tsp. vanilla
Grated zest of 2 lemons
2 cups raspberries, fresh ( I used fresh blackberries)
For the Lemon Glaze (optional):
1 1/4 cups confectioner’s sugar
1/4 cup lemon juice
1/2 tsp. vanilla
1 tsp. lemon zest
DIRECTIONS:
Sift dry ingredients together in a bowl and set aside.
In another bowl, combine grated zest, vanilla extract and sour cream.
In a mixing bowl, cream together the butter and sugar until light and fluffy. Add the eggs one at a time, scraping down the mixing bowl well after each addition and mix until blended. Add dry and wet ingredients alternately to butter-sugar-egg mixture until uniformly incorporated- do not overmix. Gently fold in raspberries as not to squash them.
Grease and flour a bundt cake pan or 2 bread loaf pans. Pour batter into pan. Bake in a preheated 350 degrees oven for approximately 50 minutes (be sure to lower the baking time if you are making things smaller). The cake is done when a toothpick or skewer inserted in the center comes out clean. Allow to cool before glazing.
For the glaze (optional): Mix all ingredients until smooth. Pour over top of cake and serve. For a thicker glaze use less lemon juice.
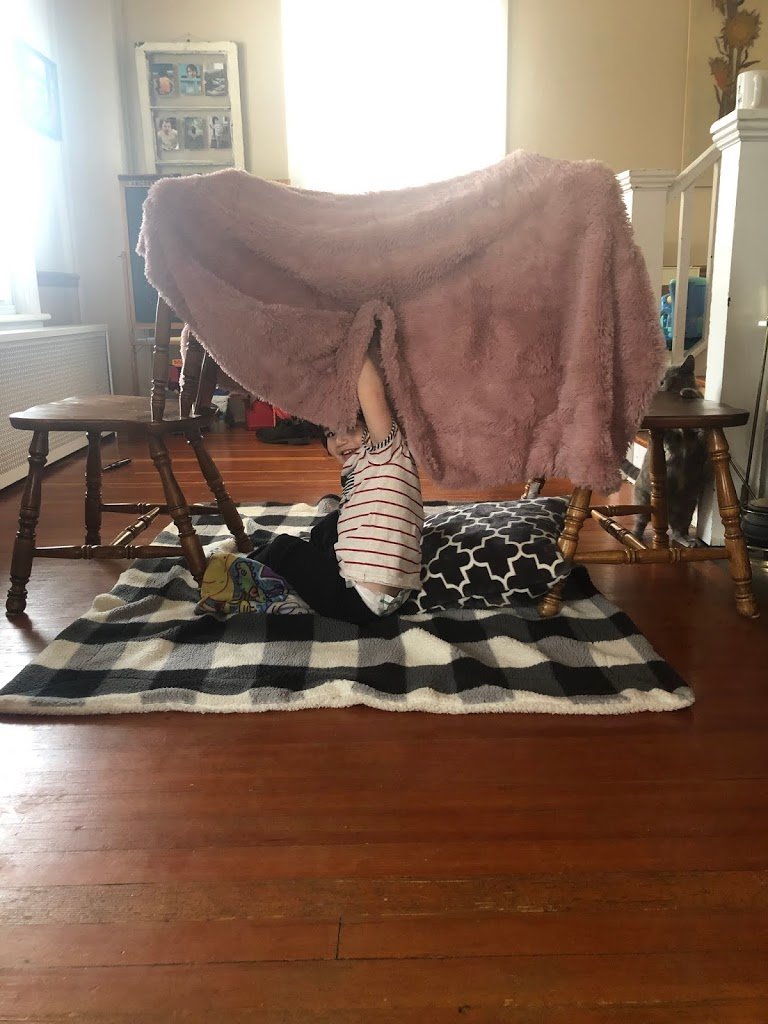
Fort’s are a must when you are snowed in! Franco spent a lot of his time in here!
Overall it was a fantastic weekend and sad that it’s over. We spent a lot of time playing, eating and napping, the ultimate trifecta! I actually may be looking forward to our next snow fall!
Enjoy your snow day!
Welcome!
If motherhood has you stressed and you feel like you’ve lost your creativity, I am here to help! Here you will find easy recipes, simple DIY’s, affordable styles, and what to read next. I believe we all have a creative side, some of us just need a little help to find it. I will help inspire you to have creative expression without standards.


 This past weekend was our first big snowstorm of the year and boy did we get hit hard! Not only did we get almost 2 feet of snow but it was also -7° outside! Now if this were to happen during the month of December I’d say bring it, but for some reason when the holidays are over I don’t have the same enthusiasm. Deep down I am secretly wishing it for to be October again and start all the fun holidays over. Now don’t get me wrong, I enjoy Summer but not how I enjoy all the smells and flavors of Fall and the Holiday Season.