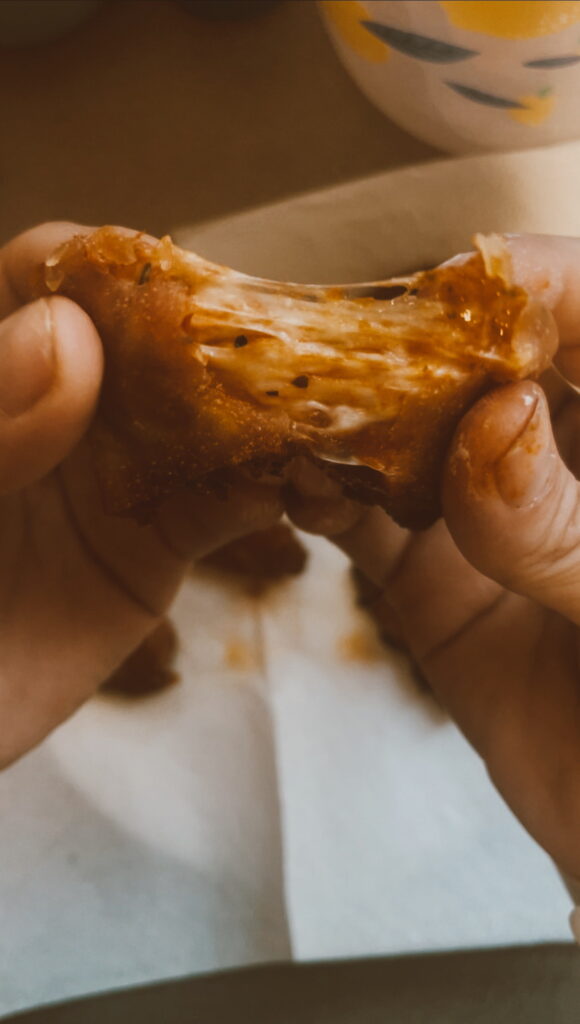
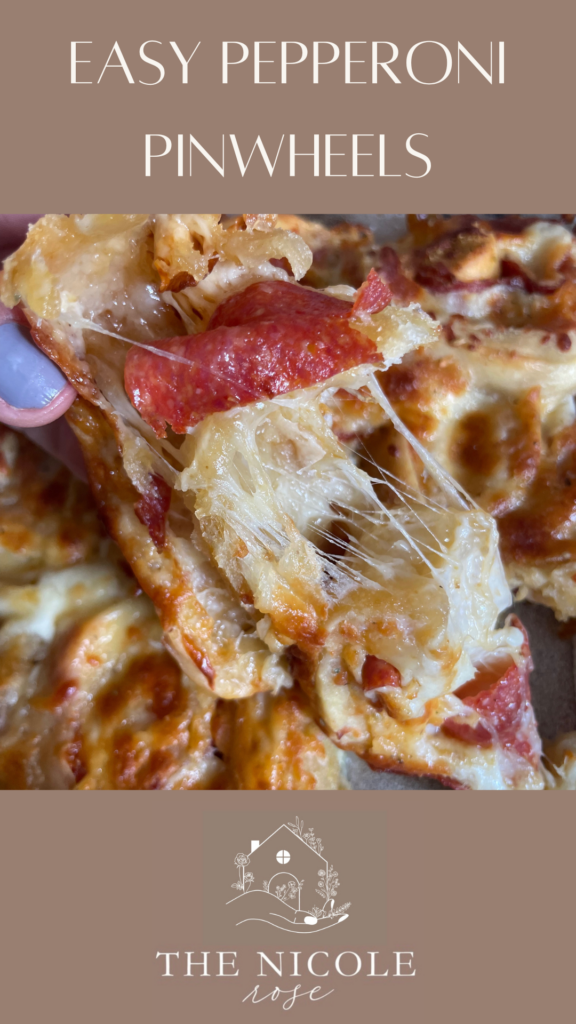
You know what’s better than pizza? Pizza you can eat by the handful. These homemade pizza rolls are everything you love about pizza—ooey-gooey cheese, savory sauce, crispy crust—but wrapped up in golden-brown bite-sized goodness.
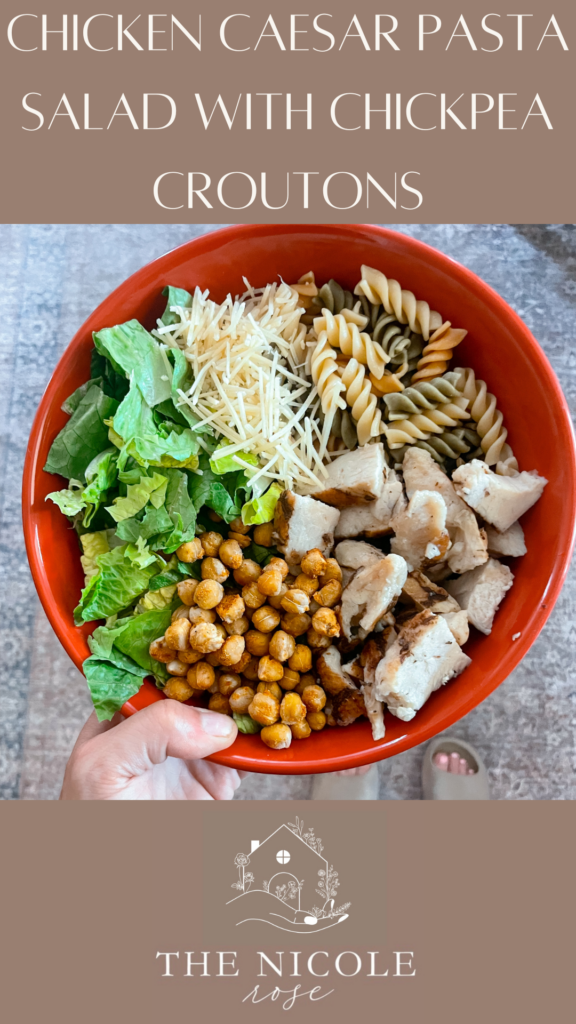
And because I can’t help but stir the pot (or in this case, the salad bowl), I swapped out croutons in my Caesar salad and threw these babies in instead. The result? Crave-level chaos in the best way.
Ingredients:
Wonton wrappers (find them in the refrigerated section near tofu!)
Shredded mozzarella
Pepperoni, mini or chopped (or whatever toppings your heart desires)
Pizza sauce or marinara
Avocado oil for pan-frying
Optional: Italian seasoning, garlic powder, or grated Parmesan
Instructions:
Place a wonton wrapper on a flat surface.
Add a small spoonful of pizza sauce, a pinch of cheese, and your topping.
Wet the edges with a little water, then fold into a triangle or rectangle—whatever shape speaks to your soul—and seal tightly.
Heat a little oil in a pan over medium heat. Fry the rolls for 1–2 minutes per side, or until golden brown and crispy.
Optional but recommended: Toss them in the air fryer at 375°F for 3–4 minutes to really crisp them up.
Let them cool slightly (molten cheese is no joke), then serve!
The Salad Hack You Didn’t Know You Needed
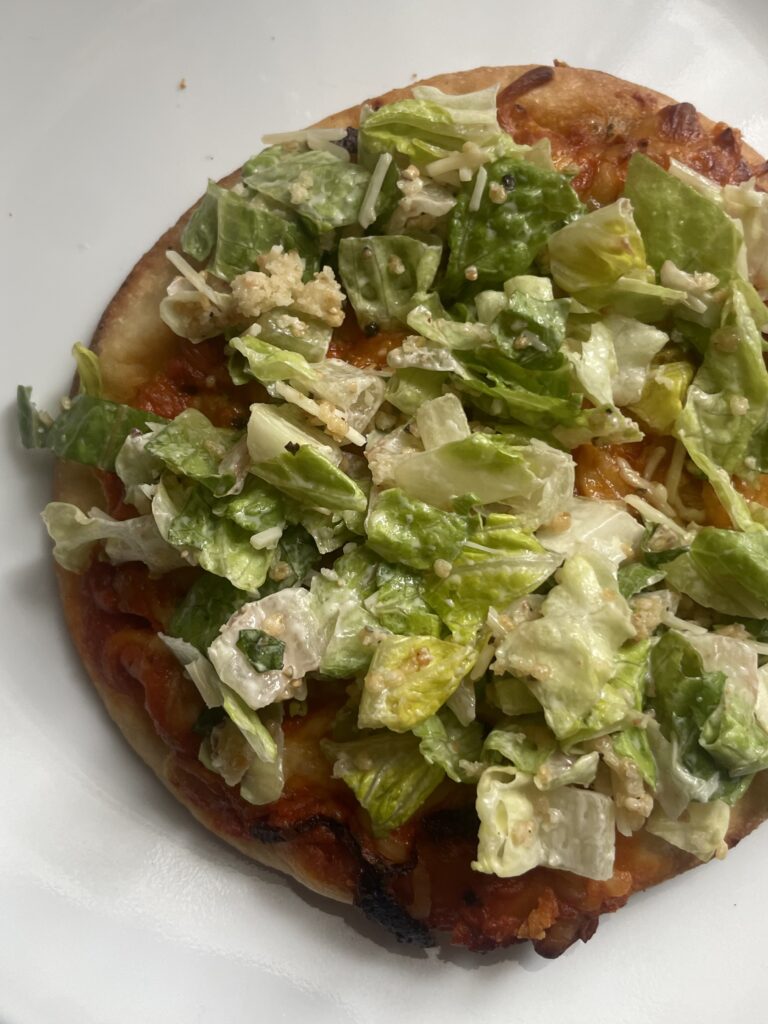
So you’ve got a batch of crispy pizza rolls. You could eat them by the handful (valid), but why not get a little wild? Toss them into a Caesar salad in place of croutons.
The result? Creamy meets crispy. Cold lettuce meets hot cheesy bites. It’s a salad/dinner/snack hybrid that’s totally unexpected and totally addictive.
Why I’m Obsessed:
Wonton wrappers are lighter than dough = more crunch, less fuss.
They’re fast to fry and freezer-friendly.
Your Caesar salad will never be boring again.
This is the kind of recipe that makes your kids cheer, your friends ask for the secret, and your salad go viral on Instagram (okay maybe not viral, but like… worthy).
Make It a Moment:
Perfect for after-school snacks
Fun dinner twist for picky eaters
Crowd-pleasing appetizer for parties
A way to make Caesar salad exciting again
Pizza Roll FAQ
Can I make these pizza rolls ahead of time?
Yes! Assemble them ahead and store them in the fridge for up to 24 hours before baking. Or freeze them (uncooked or cooked) for a quick snack later—just reheat in the oven or air fryer until warmed through.
Can I use store-bought dough instead?
Totally! Store-bought pizza dough works great if you’re short on time. You can usually find it in the refrigerated section near the deli or bakery.
How do I reheat leftover pizza rolls?
Pop them in the air fryer at 350°F for 3–4 minutes or in the oven at 375°F for about 5–7 minutes to crisp them up again. The microwave works too, but you’ll lose that delicious crunch.
What other fillings can I use?
Get creative! Try cooked sausage, sautéed mushrooms, olives, or a little ricotta for a stuffed-pizza vibe. Just avoid overfilling or they’ll be hard to seal.
Can kids help make these?
Yes! Rolling out dough and filling pizza rolls is a super fun activity for little hands. Just supervise during the sealing and baking steps.
Why put pizza rolls in a Caesar salad?
Why not? The combo of warm, cheesy bites with cool, crisp lettuce and tangy dressing is unexpectedly amazing. It’s a great way to shake up a classic!
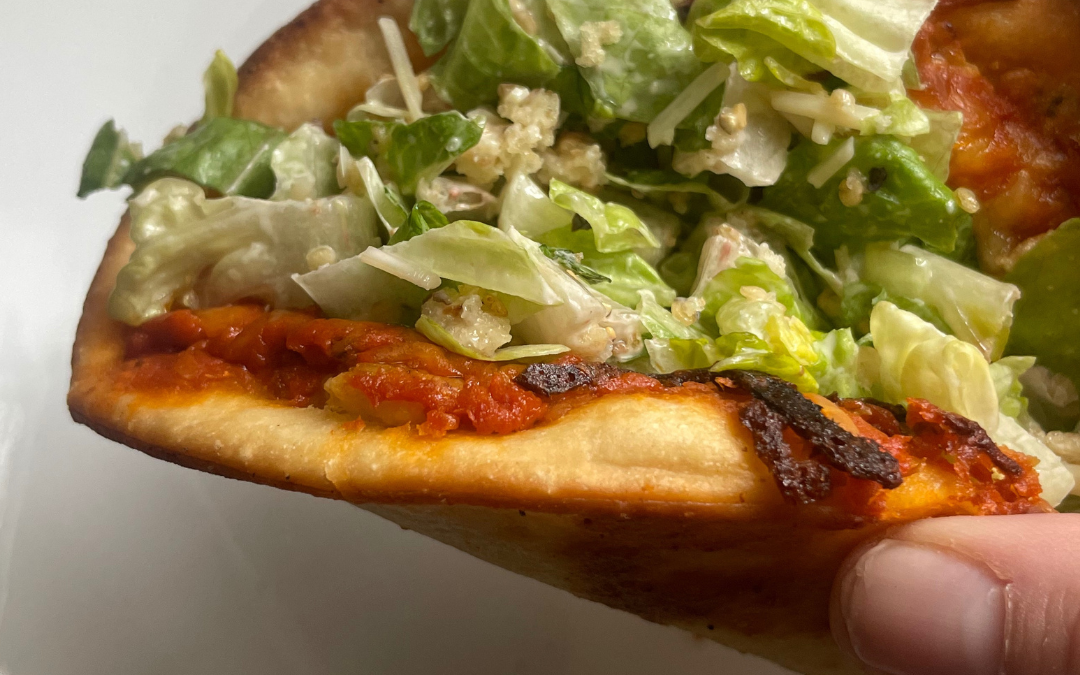
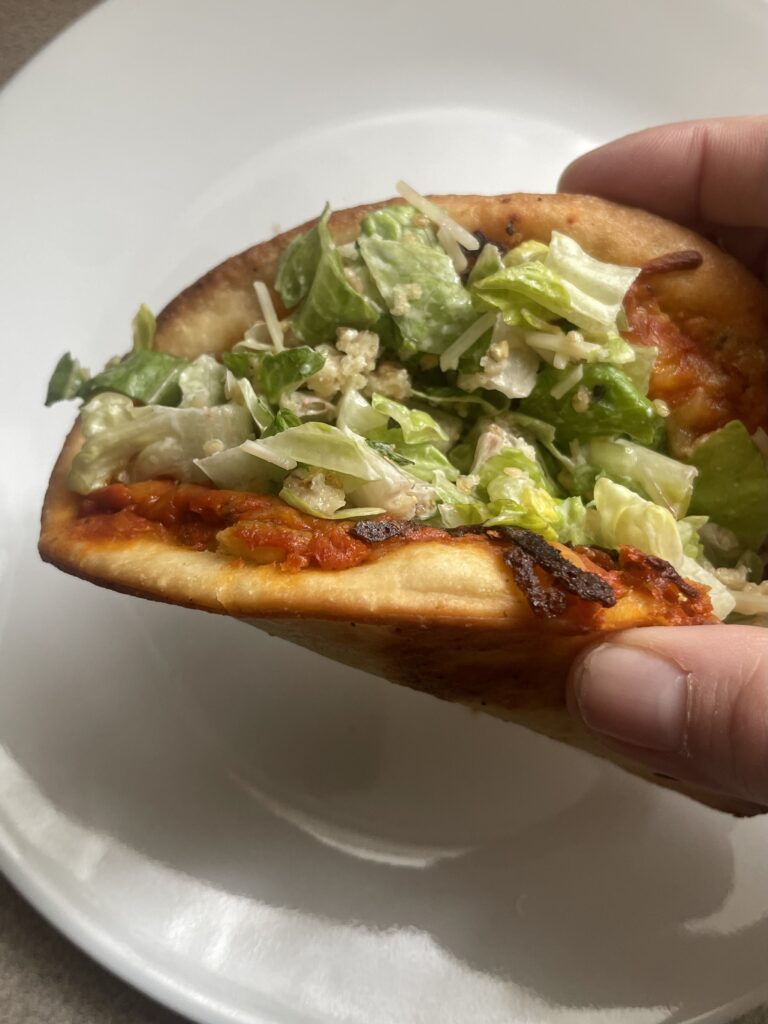
These chicken parm smash tacos bring the best of Italian-American comfort food into a handheld delight. The combo of crispy chicken, melty cheese, tangy tomato sauce, and cool Caesar salad is next-level good. Add some pasta and call it dinner done right
If you’ve ever wished chicken parmesan and tacos could join forces, this recipe is your dream come true. These Chicken Parm Smash Tacos are loaded with flavor, easy to whip up, and topped with a crisp Caesar salad for a tangy, crunchy finish. Nestled into warm pita bread and optionally served with pasta, this dish is pure comfort with a fun twist.
Ingredients:
For the Chicken Patties:
• 1 lb ground chicken
• 1 tsp garlic powder
• 1 tsp Italian seasoning
• 1/2 cup bread crumbs
• 1/4 cup grated Parmesan cheese
• Olive oil (for cooking)
For Assembly:
• 1 cup tomato sauce (marinara works great)
• 1 cup shredded mozzarella cheese
• 4–6 small pita breads (or however many your mixture yields)
• 1 Caesar salad kit (with dressing and croutons)
Optional Add-On:
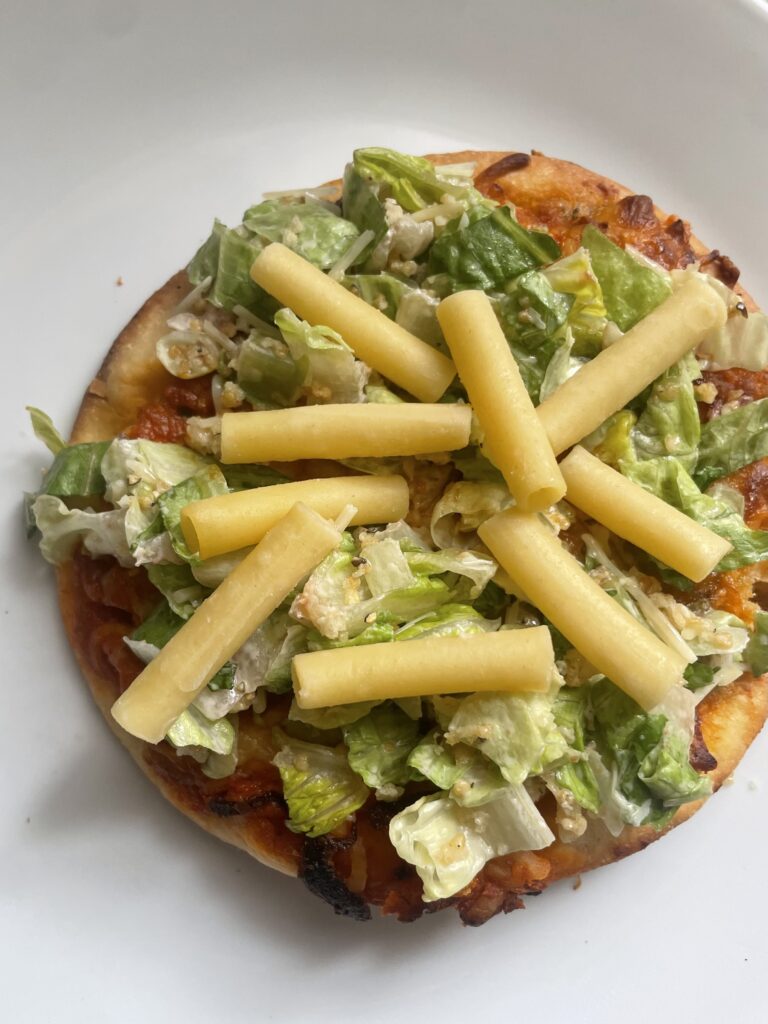
• Cooked pasta of your choice (penne or spaghetti works great) tossed in a little olive oil or extra tomato sauce
Instructions:
1. Make the Chicken Smash Patties:
In a mixing bowl, combine ground chicken, garlic powder, Italian seasoning, bread crumbs, and Parmesan cheese. Mix until just combined—don’t overwork it.
Divide into 4–6 equal portions and form loose meatballs.
2. Smash + Cook:
Heat a bit of olive oil in a skillet over medium heat. Place a pita bread in the pan, then set a meatball in the center. Use a spatula (or the bottom of a small plate) to press down and smash the meatball flat onto the pita. Cook for 3–4 minutes until browned, then flip.
3. Sauce + Cheese:
Spoon tomato sauce on top of the cooked chicken side, then sprinkle with shredded mozzarella. Cover the skillet for a minute or two until the cheese melts and the chicken finishes cooking.
4. Caesar Crunch:
While the tacos cook, toss your Caesar salad kit together (dressing, lettuce, and croutons). Feel free to crush the croutons for a taco-friendly texture.
5. Assemble + Serve:
Top each taco with a generous scoop of Caesar salad and a final sprinkle of Parmesan. Serve warm, optionally alongside a bowl of pasta for those extra-hungry nights.
Tips + Variations:
• Swap pita for naan or tortillas if that’s what you have on hand.
• Spice it up with a pinch of red pepper flakes in the chicken mix.
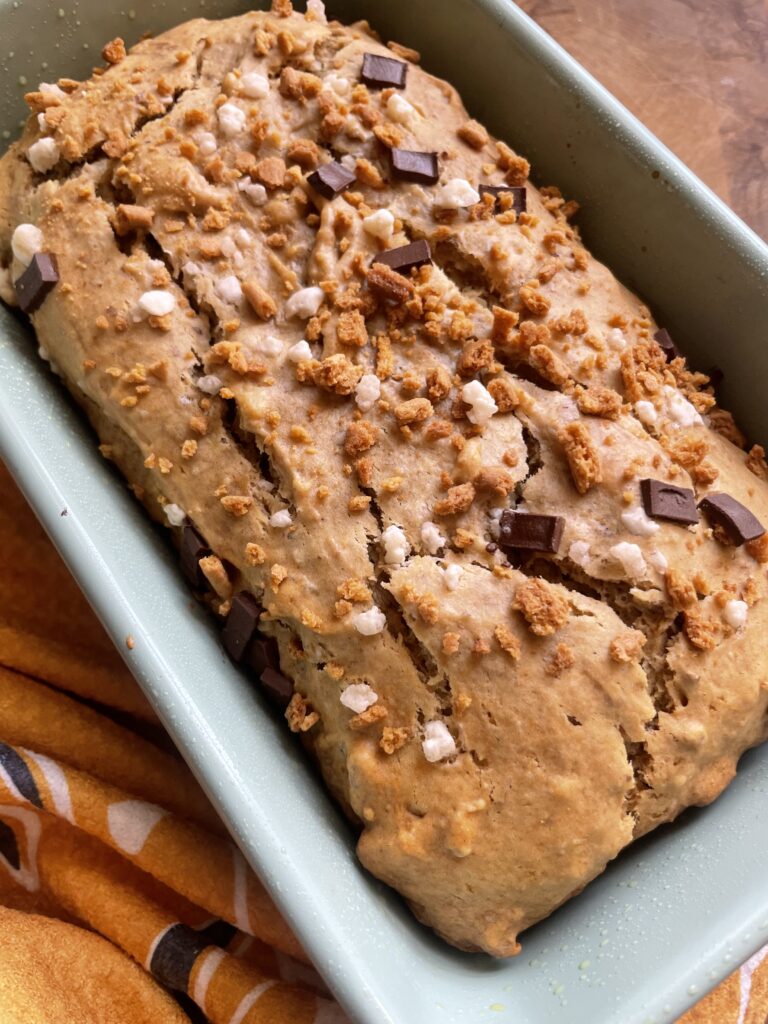
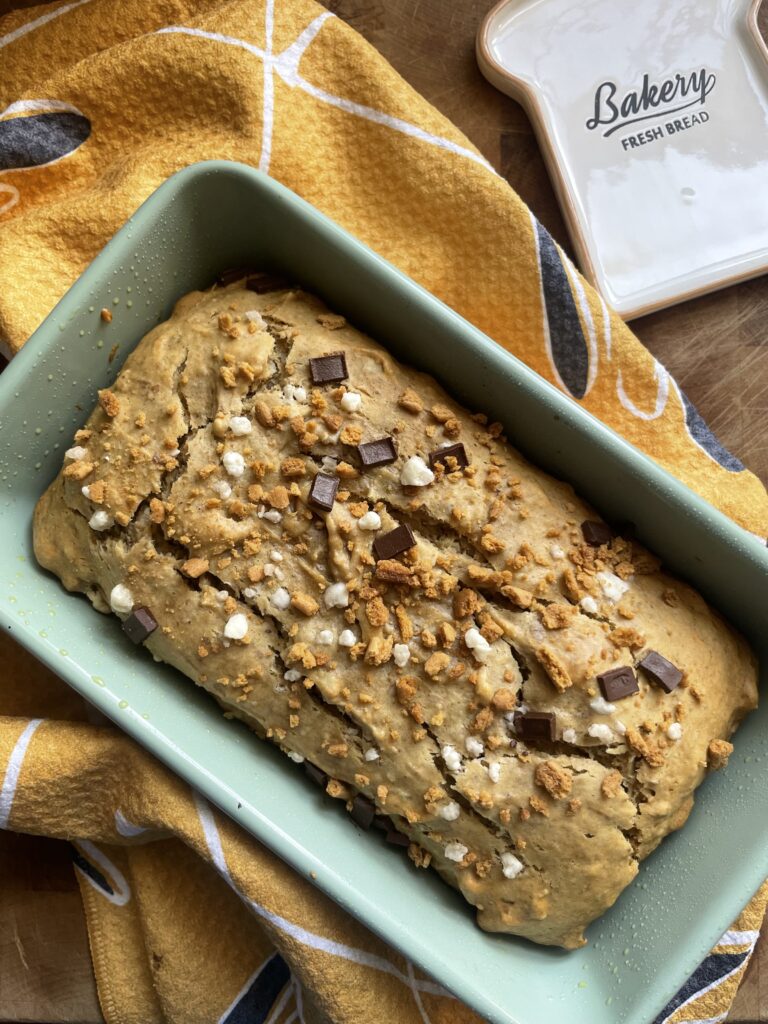
If you’re looking for a deliciously moist banana bread with a fun, chocolatey twist, this S’mores Banana Bread is the perfect recipe for you. Made with Chobani’s S’mores Flip Greek yogurt, this loaf gets an irresistible boost of flavor from creamy yogurt, crunchy walnuts, and the classic s’mores toppings—graham crackers, chocolate, and marshmallows—sprinkled on top.
S’mores Banana Bread Recipe
Ingredients:
• 2 cups all-purpose flour
• 1 teaspoon baking soda
• 1/4 teaspoon salt
• 1 cup sugar
• 1/2 cup vegetable oil
• 2 tablespoons milk
• 2-3 ripe bananas, mashed very well
• 1/2 cup chopped walnuts
• 1 container Chobani S’mores Flip yogurt (save the toppings for later!)
Instructions:
1. Preheat & Prep:
Preheat your oven to 350°F (175°C). Grease a 9×5-inch loaf pan or line it with parchment paper.
2. Mix the Dry Ingredients:
In a medium bowl, whisk together the flour, baking soda, and salt. Set aside.
3. Combine the Wet Ingredients:
In a large bowl, whisk together the sugar, vegetable oil, milk, and mashed bananas until smooth. Stir in the Chobani S’mores Flip yogurt (excluding the toppings).
4. Incorporate the Dry Ingredients:
Gradually fold the dry ingredients into the wet mixture, stirring until just combined. Do not overmix.
5. Add the Walnuts:
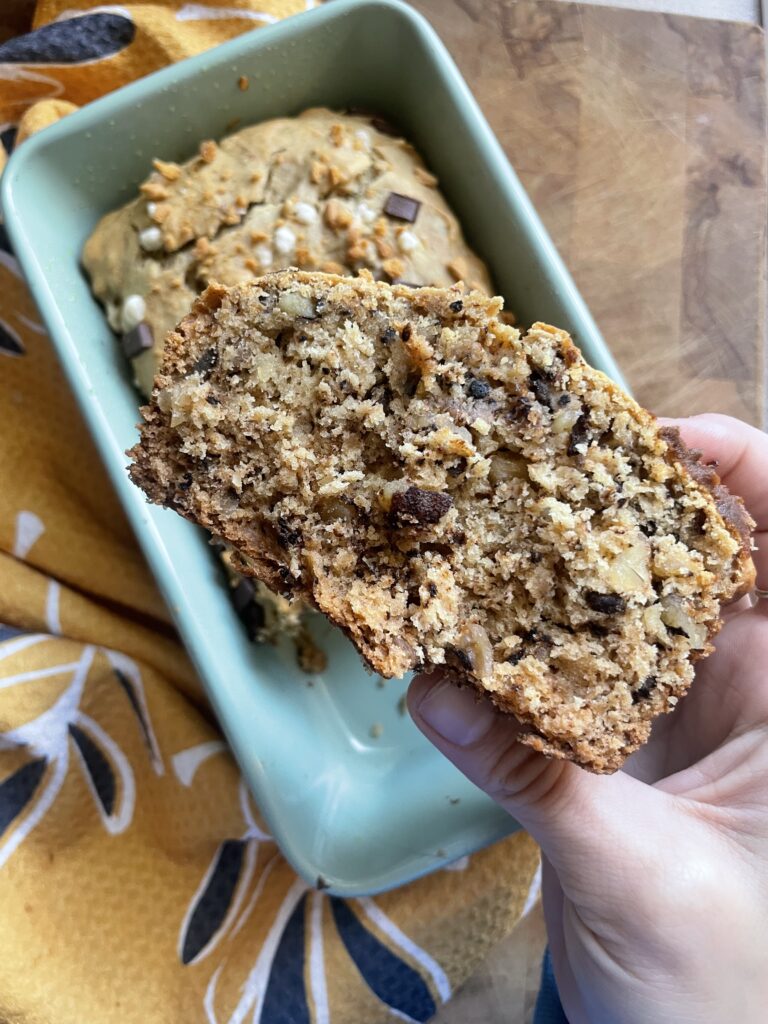
Gently fold in the chopped walnuts for extra crunch.
6. Pour & Top:
Pour the batter into the prepared loaf pan. Sprinkle the reserved graham crackers, chocolate, and marshmallow toppings from the Chobani S’mores Flip yogurt evenly over the top of the batter.
7. Bake:
Bake for 50-60 minutes, or until a toothpick inserted in the center comes out clean.
8. Cool & Enjoy:
Allow the banana bread to cool in the pan for about 10 minutes, then transfer it to a wire rack to cool completely. Slice and enjoy warm or at room temperature!
Serving & Storage Tips
• Best Served Warm: The chocolate will be melty, and the graham crackers will have a perfect crunch!
• Storage: Store in an airtight container at room temperature for up to 3 days or in the refrigerator for up to a week.
• Freezing Option: Slice and freeze individually for an easy grab-and-go treat later.
This S’mores Banana Bread is the perfect mix of comforting banana flavor, nutty crunch, and sweet s’mores nostalgia. Try it out and let me know how you like it!
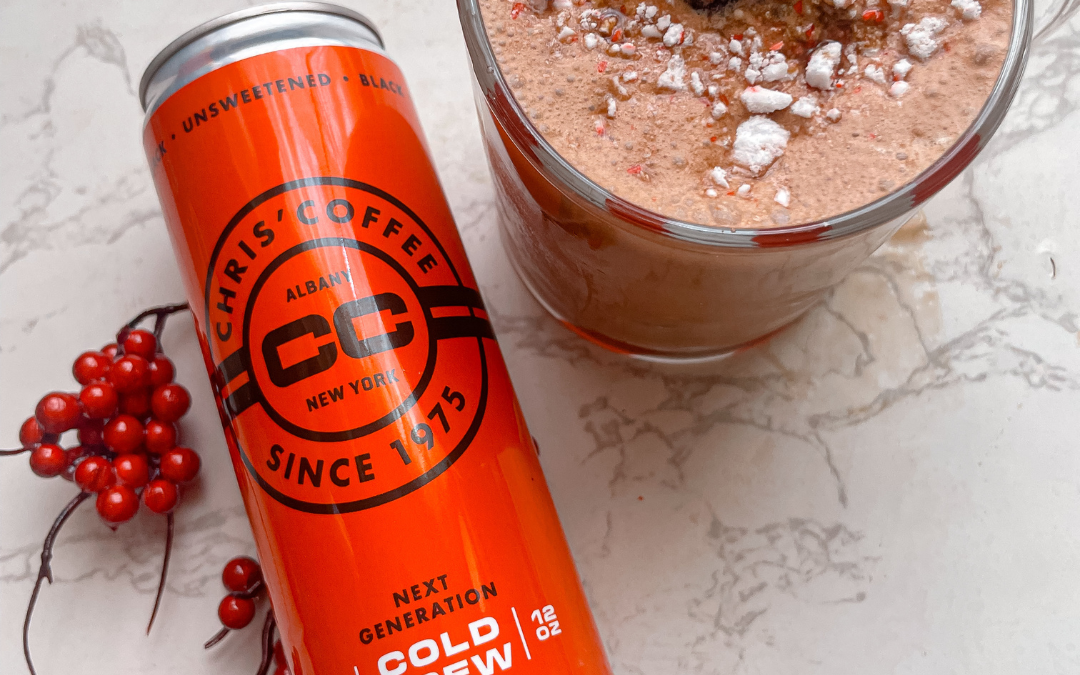
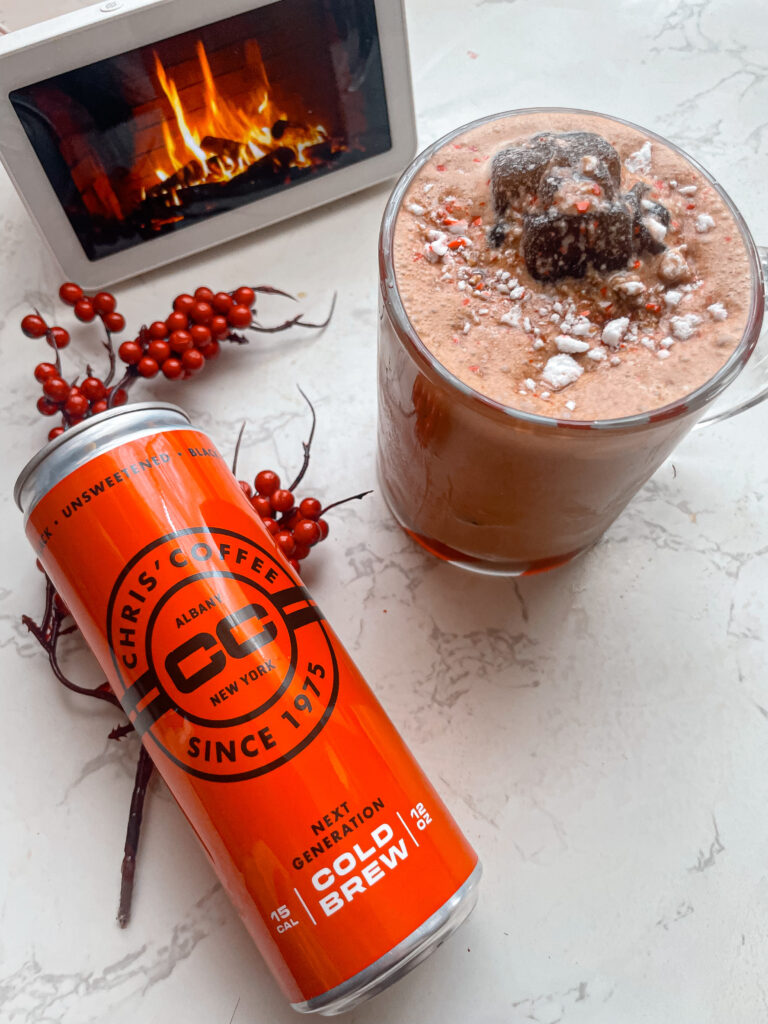
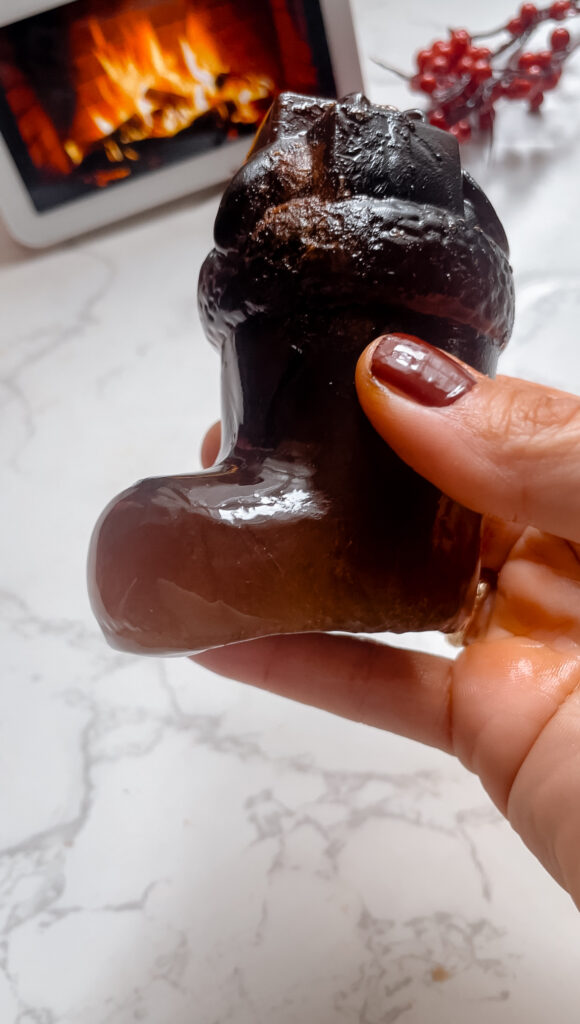
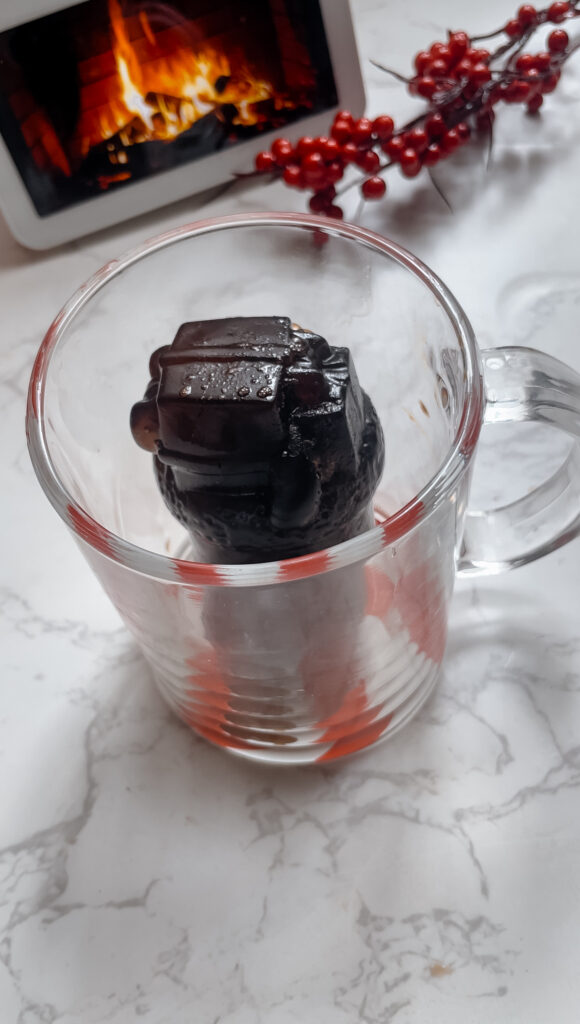
The holidays are here, and what better way to celebrate than with a festive and flavorful peppermint mocha cold foam cold brew? This peppermint mocha cold foam cold brew features the smooth, rich flavor of Chris’s Coffee as the base, complemented by holiday-inspired ingredients.
This is a sponsored post.
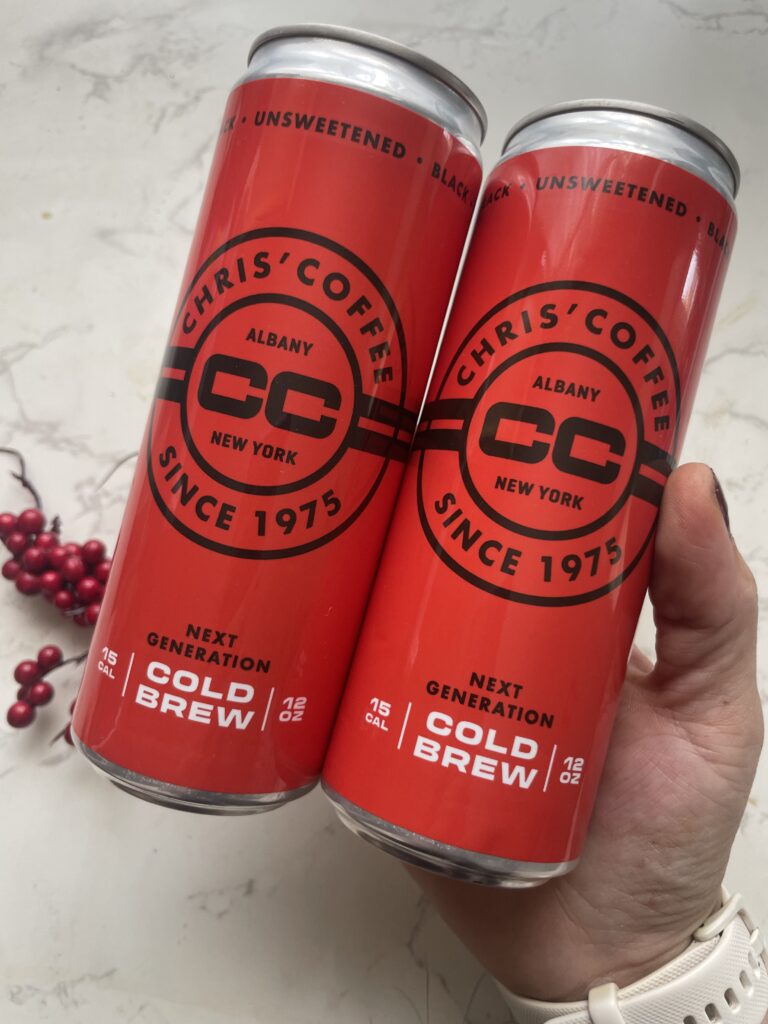
Why Chris’s Coffee Is the Perfect Choice
Chris’s Coffee is known worldwide for its exceptional quality and signature blends, making it a standout option for any coffee lover. As a leading importer of Italian-made home espresso machines, Chris’s Coffee also provides a wide range of products to enhance your at-home brewing experience. The unique, bold taste of their cold brew makes this peppermint mocha recipe truly shine.
2. Sweeten Your Coffee: Add 1 tablespoon of peppermint simple syrup to the cold brew and stir until combined. The peppermint syrup infuses the drink with a refreshing and festive flavor that pairs beautifully with the coffee.
3. Make the Peppermint Mocha Cold Foam: In a small mixing container, combine ¼ cup of heavy cream, 1 tablespoon of chocolate syrup, and ¼ teaspoon of peppermint extract. Use a handheld milk frother to whip the mixture until it becomes light and fluffy. This rich cold foam adds a decadent layer of flavor to the drink.
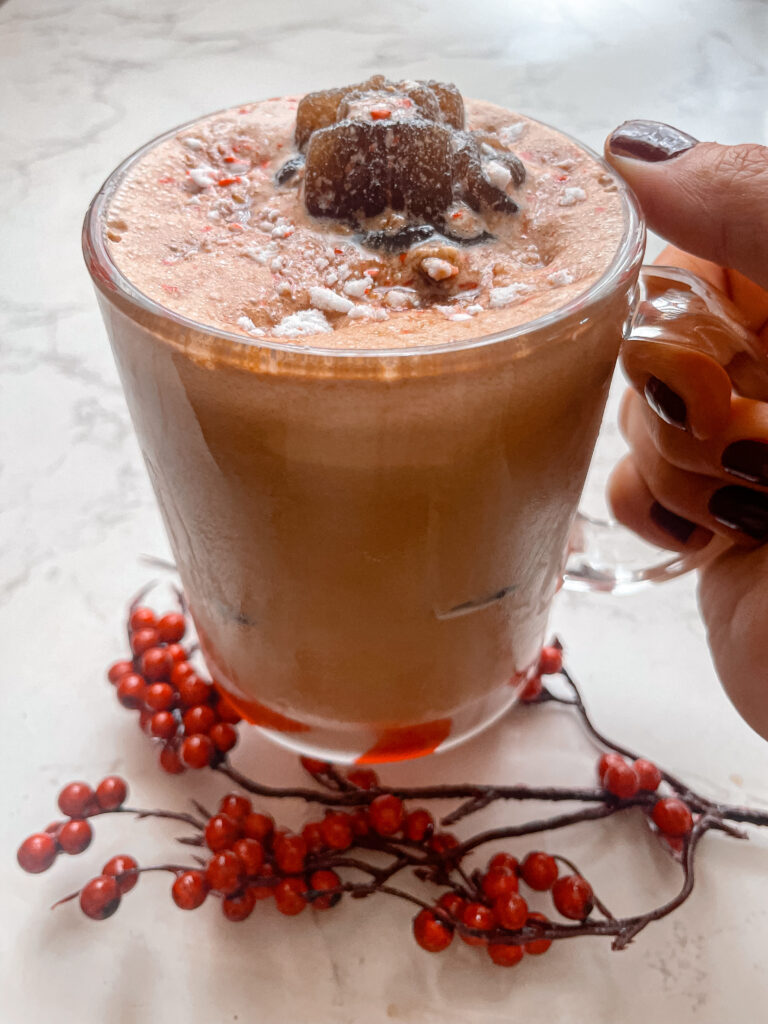
4. Assemble the Drink: Gently spoon the peppermint mocha cold foam over the top of the cold brew. The creamy foam floats beautifully and infuses the drink with chocolate and peppermint goodness.
5. Add a Festive Garnish: Sprinkle crushed candy cane over the cold foam for a final holiday touch. The red and white candy cane pieces add a pop of color and a satisfying peppermint crunch.
Why This Recipe Stands Out
The combination of Chris’s Coffee and festive ingredients makes this drink a standout holiday treat. The bold, smooth cold brew pair perfectly with the creamy chocolate and refreshing peppermint. The drink is indulgent yet refreshing, perfect for celebrating the holiday season.
Enjoy the Holiday Spirit with Chris’s Coffee
This peppermint mocha cold foam cold brew is a simple way to bring holiday cheer into your everyday coffee routine. Using Chris’s Coffee ensures a rich and flavorful experience, making this recipe a must-try for any coffee lover.
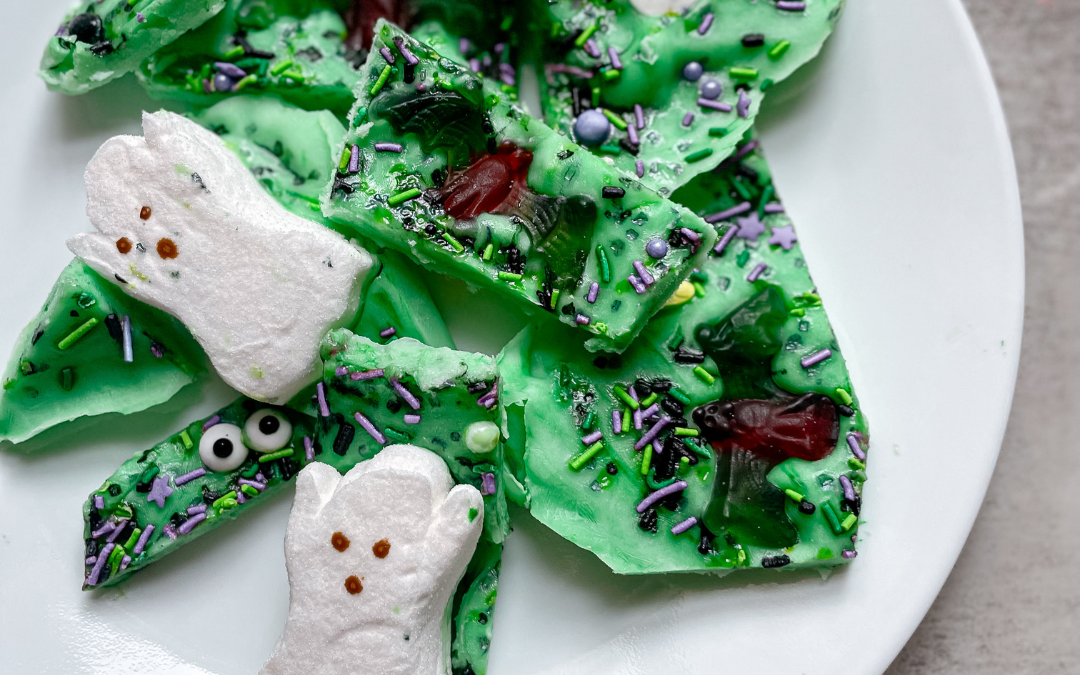
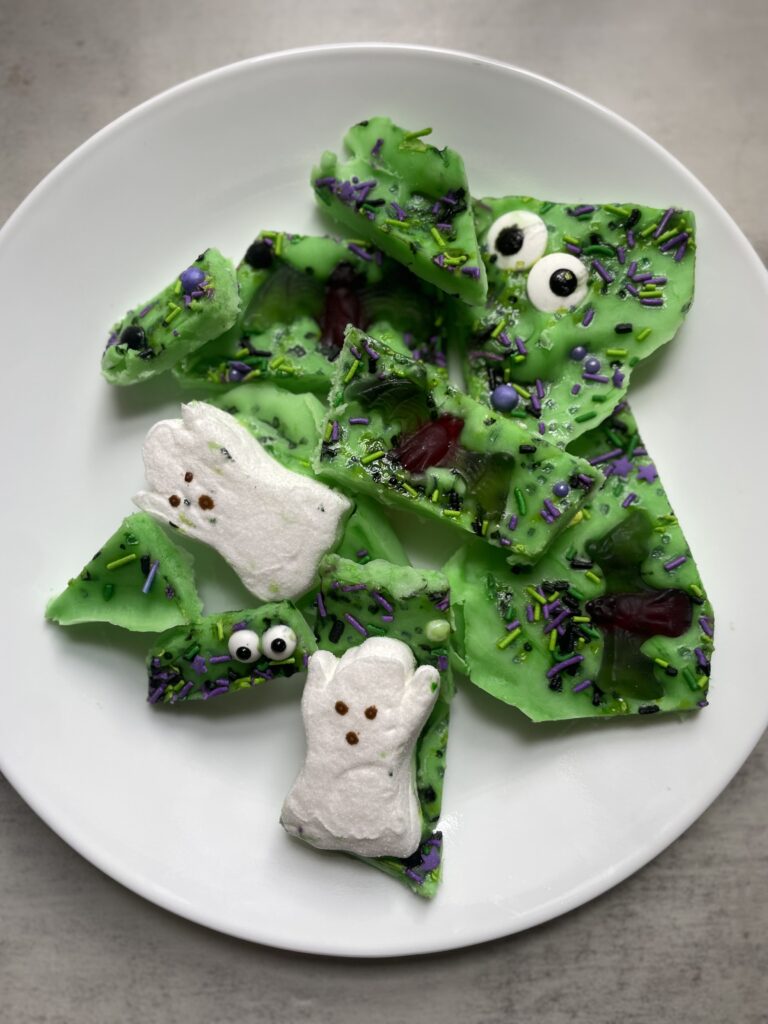
If you’re looking for a festive, fun, and delicious Halloween treat, this frozen yogurt bark is the perfect recipe! It’s easy to make, kid-friendly, and fully customizable with your favorite spooky toppings. I made mine Halloween-themed by coloring the yogurt green and decorating it with an assortment of creepy candies, gummies, and festive sprinkles.
Whether you’re throwing a Halloween party or just want to make a fun treat with the kids, this frozen yogurt bark will be a hit!
Ingredients:
• 2 cups plain or vanilla Greek yogurt (or any yogurt you prefer)
• Green food coloring (optional, to make the yogurt spooky)
• Honey or agave nectar (to sweeten, if desired)
• Halloween sprinkles
• Assorted Halloween candies:
• Gummy worms or spiders
• Peeps (ghosts, pumpkins, or any Halloween shapes)
• Candy eyeballs
• M&M’s (in Halloween colors)
• Mini chocolate chips
Additional Topping Ideas:
• Crushed Oreo cookies (for a dirt-like effect)
• Crushed graham crackers (for a sandy look)
• White chocolate drizzle (for a web-like effect)
• Edible glitter (for a magical touch)
• Cereal (like Fruity Pebbles for extra crunch and color)
Instructions:
1. Prepare the yogurt base:
• In a medium bowl, mix your Greek yogurt with honey or agave nectar to sweeten, if needed. Add green food coloring to the yogurt and stir until you reach your desired shade of spooky green.
2. Spread the yogurt:
• Line a baking sheet with parchment paper. Pour the green yogurt onto the sheet and spread it evenly into a thin layer, about ¼ inch thick.
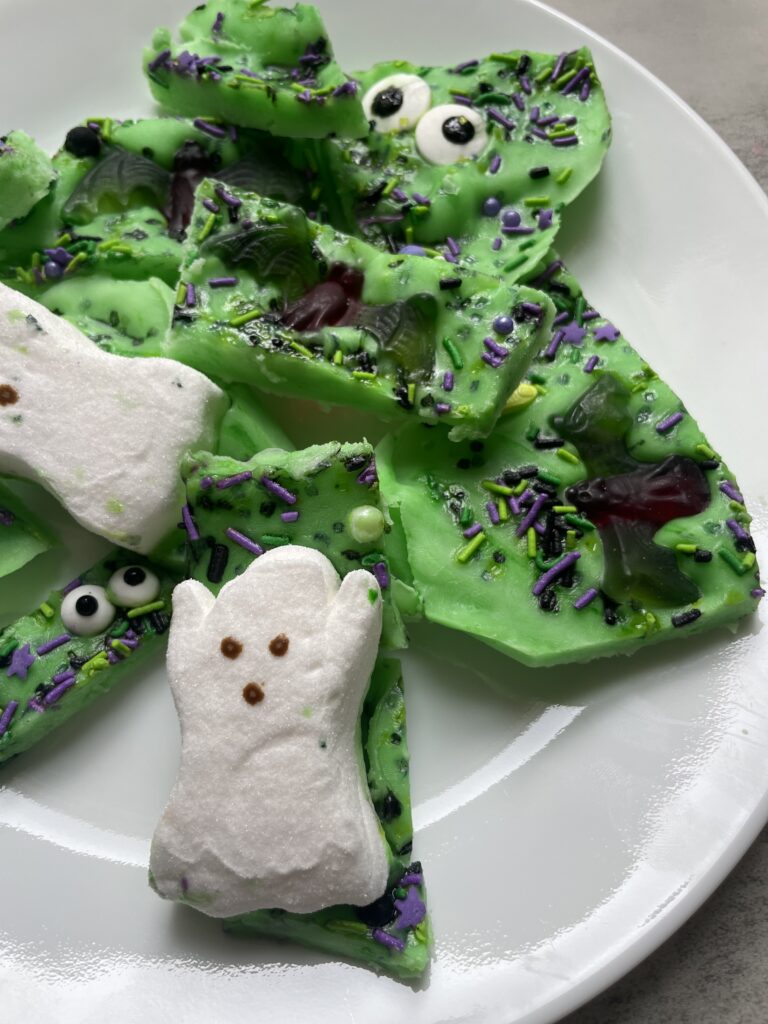
3. Add the spooky toppings:
• Now for the fun part! Decorate your yogurt with a mix of Halloween-themed toppings. Get creative! I used festive sprinkles, gummy worms, Peeps, and candy eyeballs. You can also sprinkle on mini chocolate chips, crushed cookies, or anything else that adds a spooky touch.
4. Freeze the yogurt bark:
• Place the baking sheet in the freezer for at least 3 hours or until the yogurt is completely frozen.
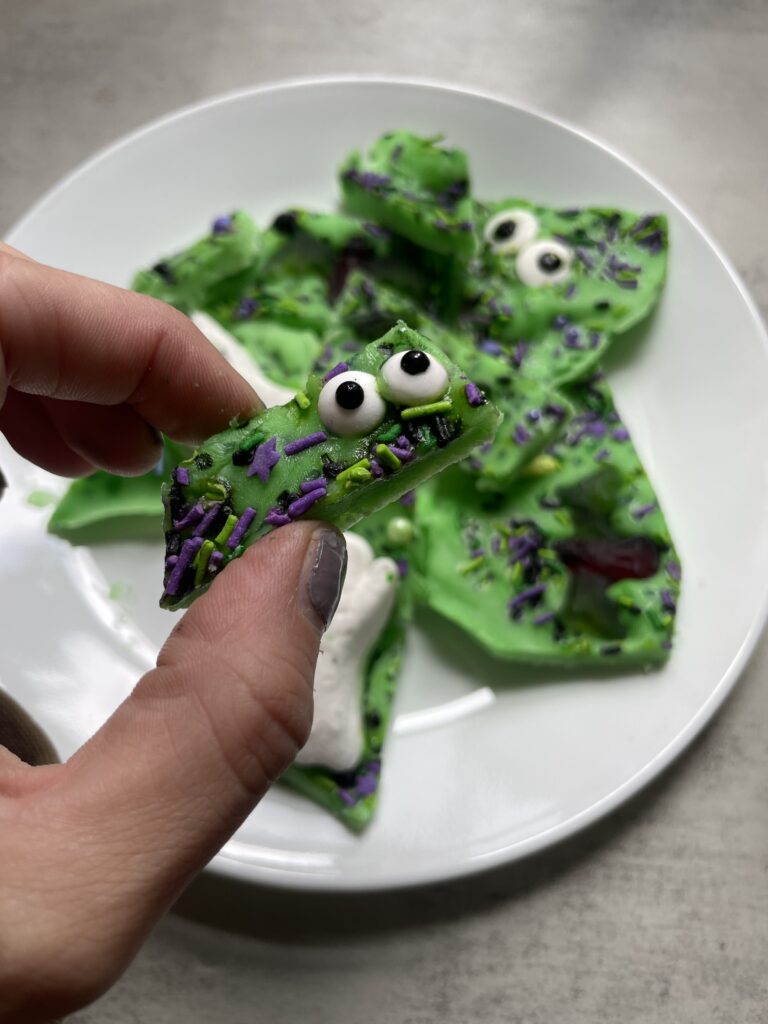
5. Break and serve:
• Once frozen, remove the yogurt bark from the freezer and break it into bite-sized pieces. Serve immediately, or store in an airtight container in the freezer for a quick grab-and-go treat.
Tips for Customization:
• You can use any yogurt flavor you like, such as strawberry or vanilla.
• Change up the colors! Try purple or orange food coloring to fit the Halloween theme.
• Experiment with different candies, or even add some healthier options like nuts or dried fruit to balance the sweetness.
This Halloween frozen yogurt bark is not only festive and fun but also a lighter treat you can enjoy guilt-free. Let your kids help decorate, and they’ll love seeing their creations come to life in the freezer. Happy Halloween and enjoy your spooky snack!
If motherhood has you stressed and you feel like you’ve lost your creativity, I am here to help! Here you will find easy recipes, simple DIY’s, affordable styles, and what to read next. I believe we all have a creative side, some of us just need a little help to find it. I will help inspire you to have creative expression without standards.