Pumpkin Banana Bread is the perfect fall treat with a special in the middle. When you find out it is filled with decadent and sweet cream cheese you will definitely go for seconds and thirds.
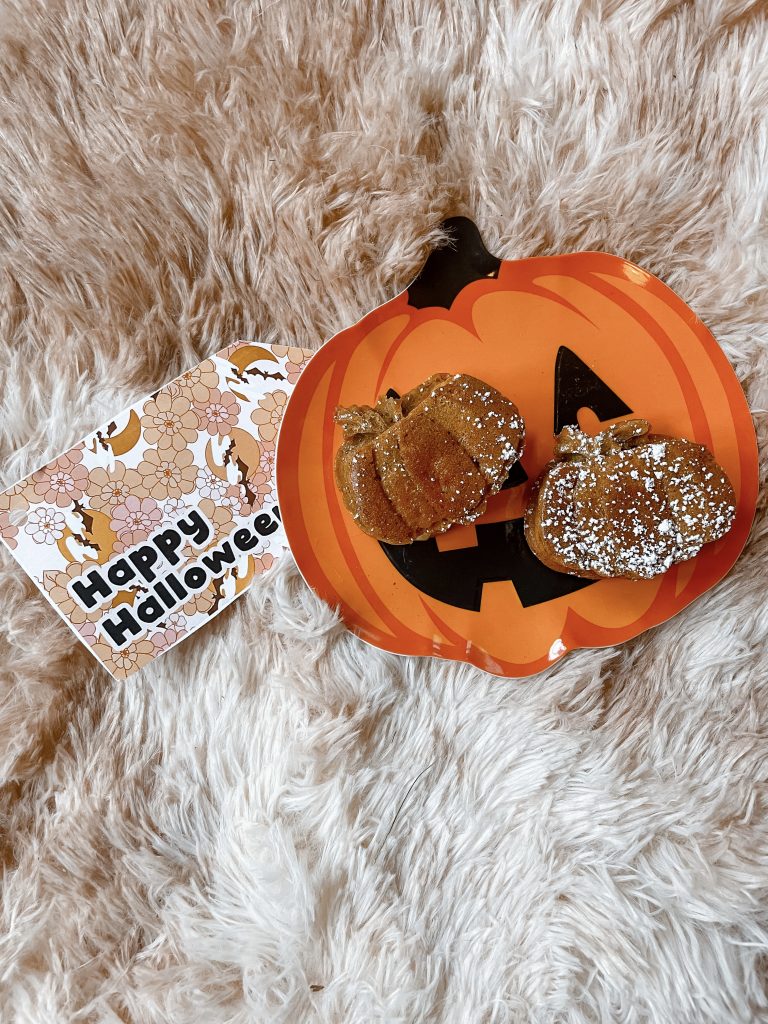
You can bake in a pan or in muffin tins, either way, works.
Cream cheese Filling
8 oz Cream cheese
1 egg
1/2 cup sugar
2 tbs flour
Pumpkin Banana Bread
2 cups All-Purpose Flour
2 teaspoons pumpkin pie spice
1 cup pumpkin puree
1 teaspoon baking soda
½ teaspoon baking powder
¼ teaspoon salt
½ applesauce
1 cup white sugar
2 eggs
2 bananas, mashed
Directions
Preheat over to 350 degrees and grease a standard loaf pan.
Mix together all ingredients for cream cheese filling. Put in a bowl and put to the side.
In a mixer, mix flour, baking powder, baking soda, spices, salt, and sugar.
Add pumpkin, apple sauce, bananas, milk, and eggs to the mixture.
Pour half of the batter into a loaf pan or muffin tins.
Pour and spread the cream cheese mixture on top of the batter.
Pour the rest of the batter over the cream cheese mixture.
Depending on your oven, bake for about 45 minutes. It may need to take longer so be sure to check.
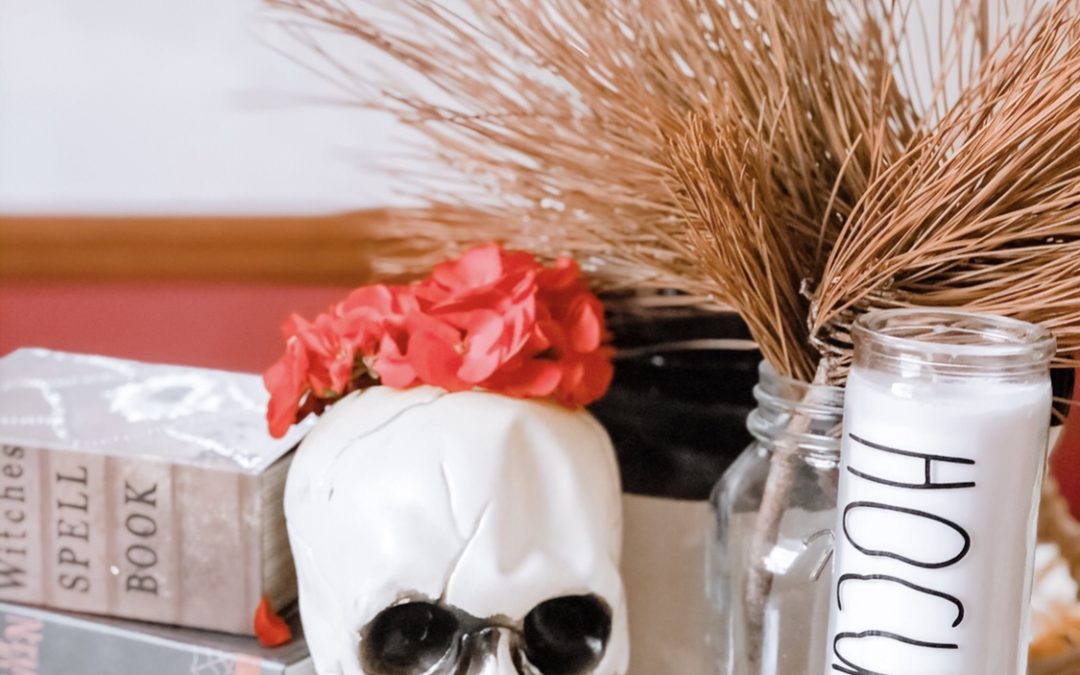
Keep your summer flowers alive while decorating for fall! Give them a little spooky vibe by putting them in this skull head from my favorite store, Dollar Tree!
Materials:
Plastic skull head from Dollar Tree or any other department store
Fresh flowers
Box cutter
Water
Black magic marker
Directions:
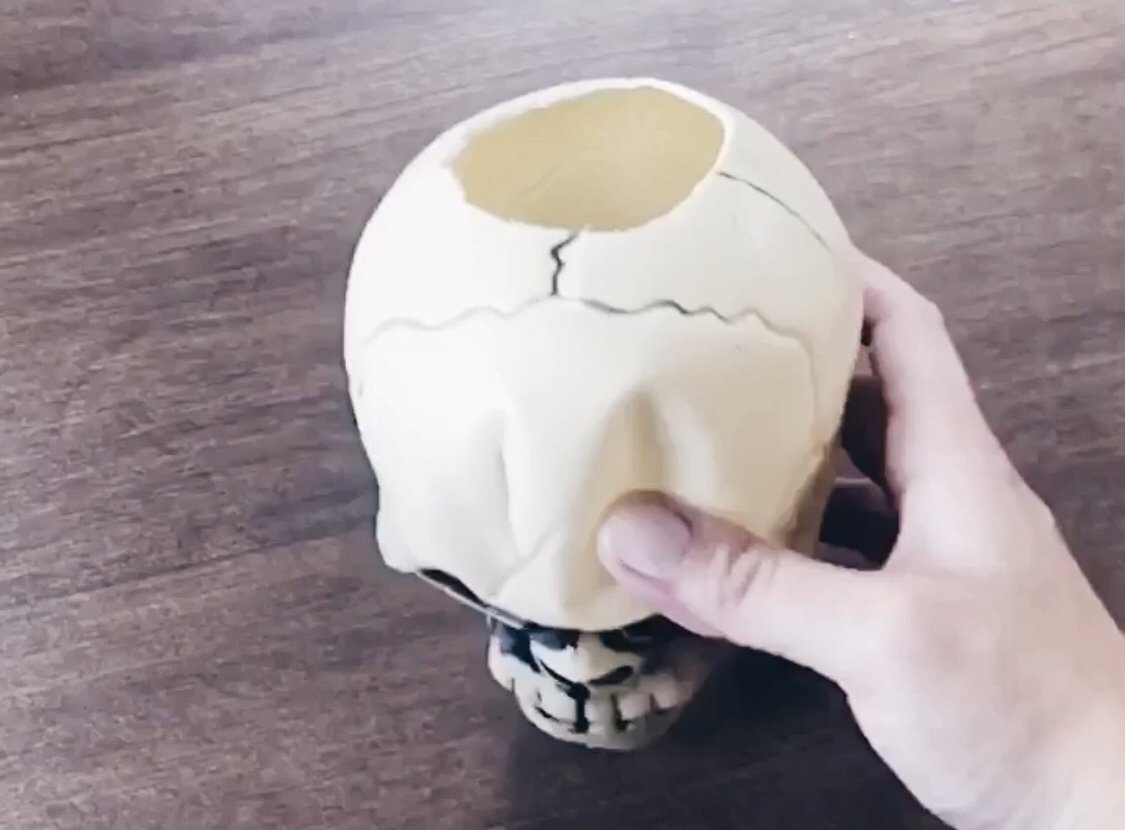
Trace a circle on top of the skull with a black marker. The circumference of a shot glass is a good size for the circle.
Cut out the circle using the box cutter.
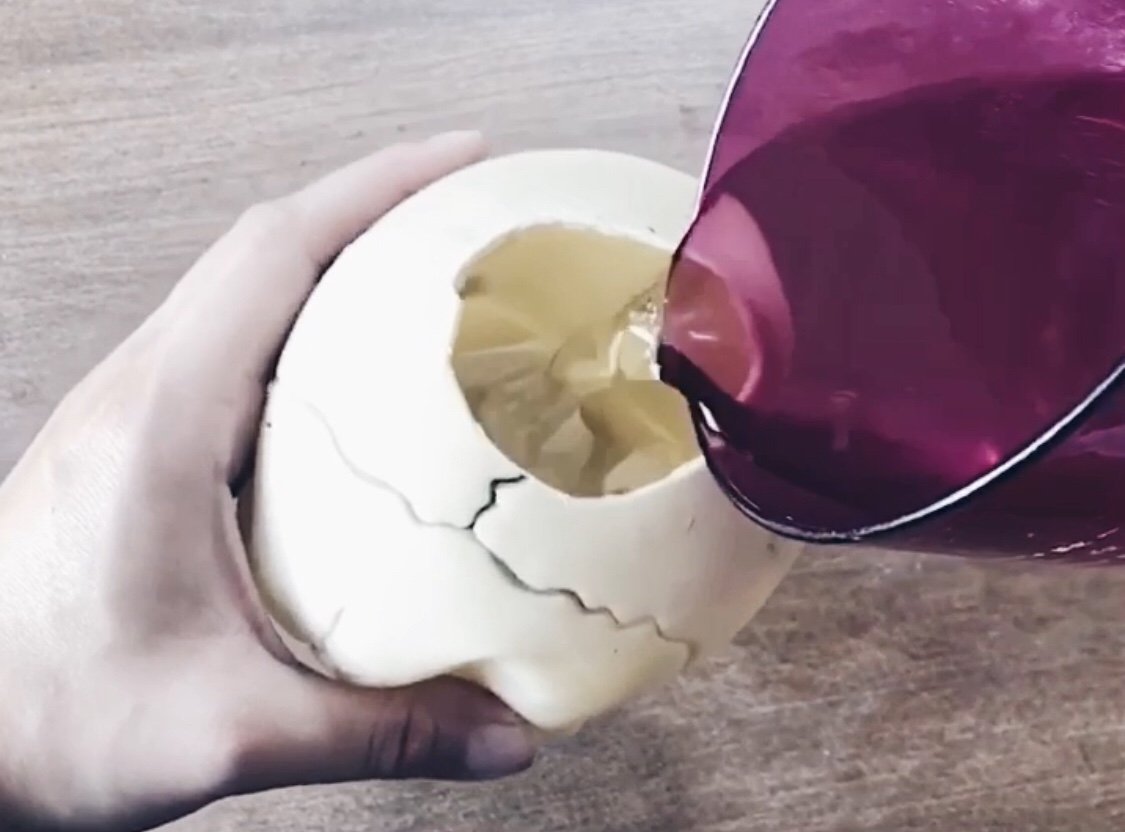
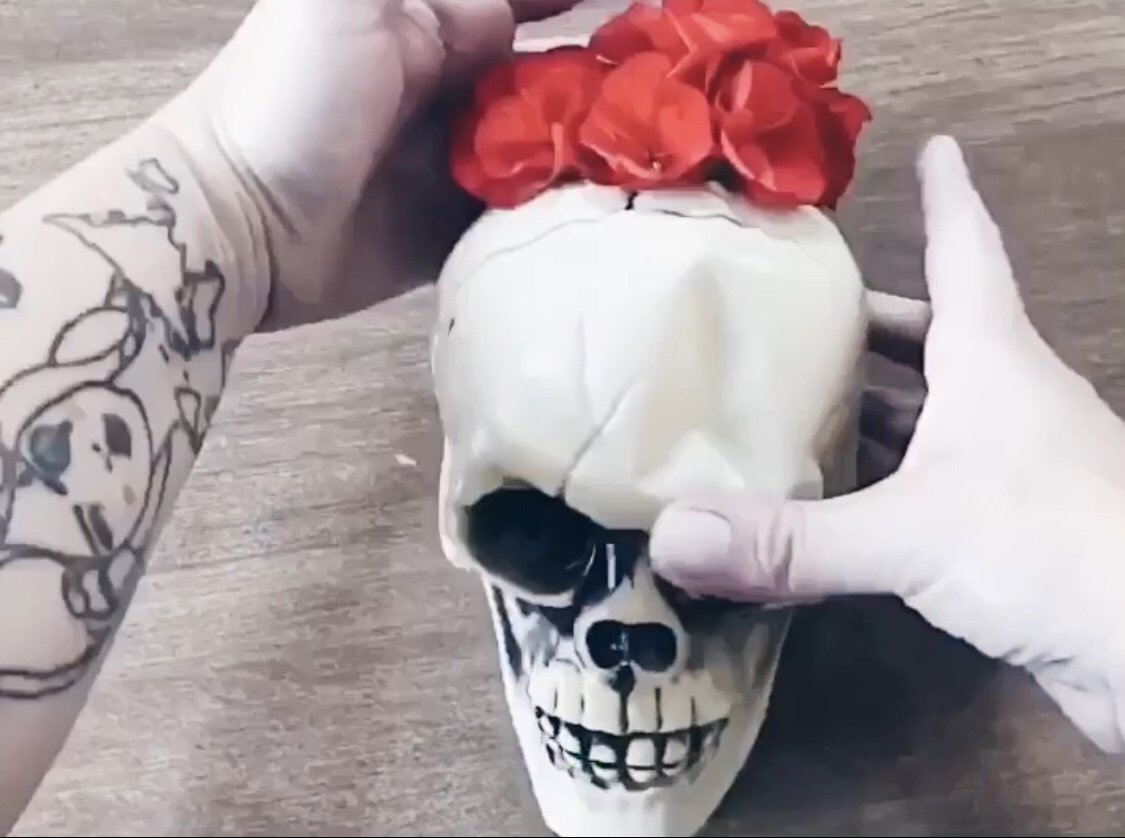
Pour some water into the skull head and place flower arrangement of your choice.
Remember to keep water in it and change flowers throughout the season to stay spooked!
And now for the super fun part, I am excited to announce a fun giveaway!
I have teamed up with an amazing group of bloggers to give YOU a chance to win:
a $1,00 Amazon Gift Card to kick off Fall season!
Simply enter below by completing the rafflecopter. You’ll receive one entry per completion. This giveaway is open to the U.S. and Canada only and runs until 9/23. Winner will be announced here. Good Luck!
Void where prohibited. By entering the giveaway you acknowledge that you are agreeing to complete each task, which involves following, liking and subscribing to newsletter’s.
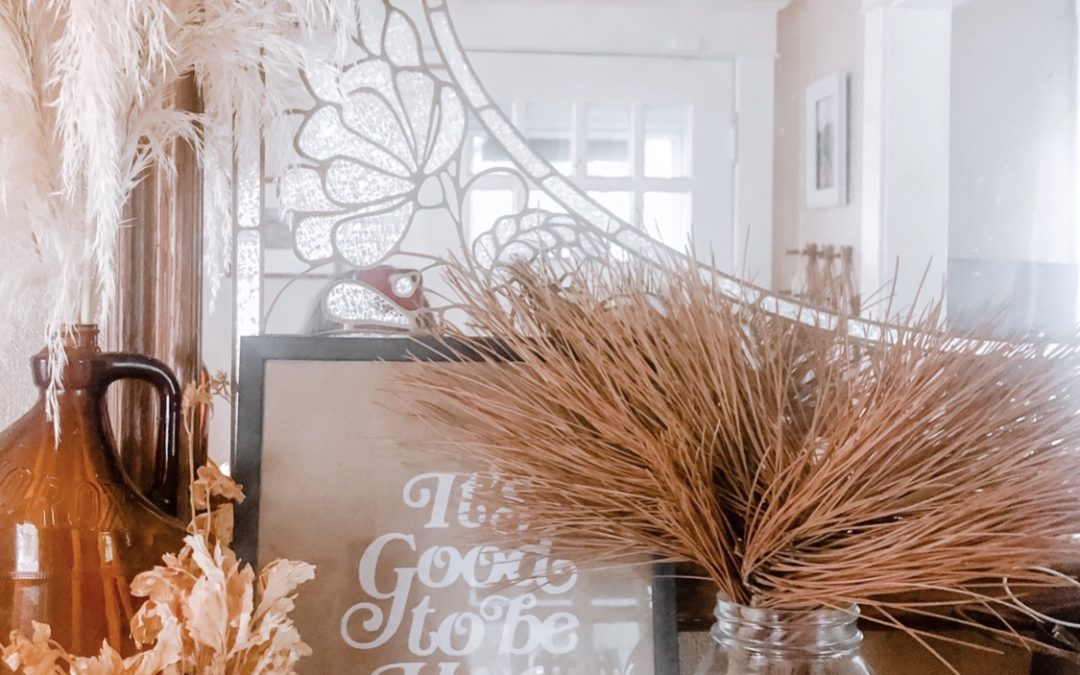
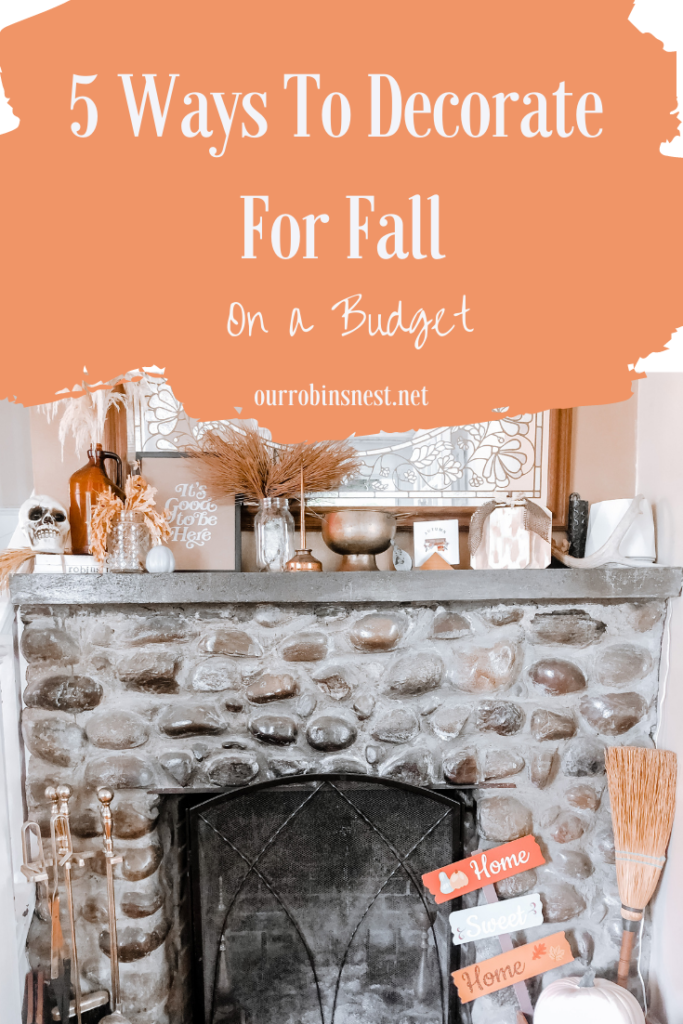
I am sharing five affordable ways to decorate for fall this season. The best part is these decorations can be used year after year so you do not need to keep buying something new every year.
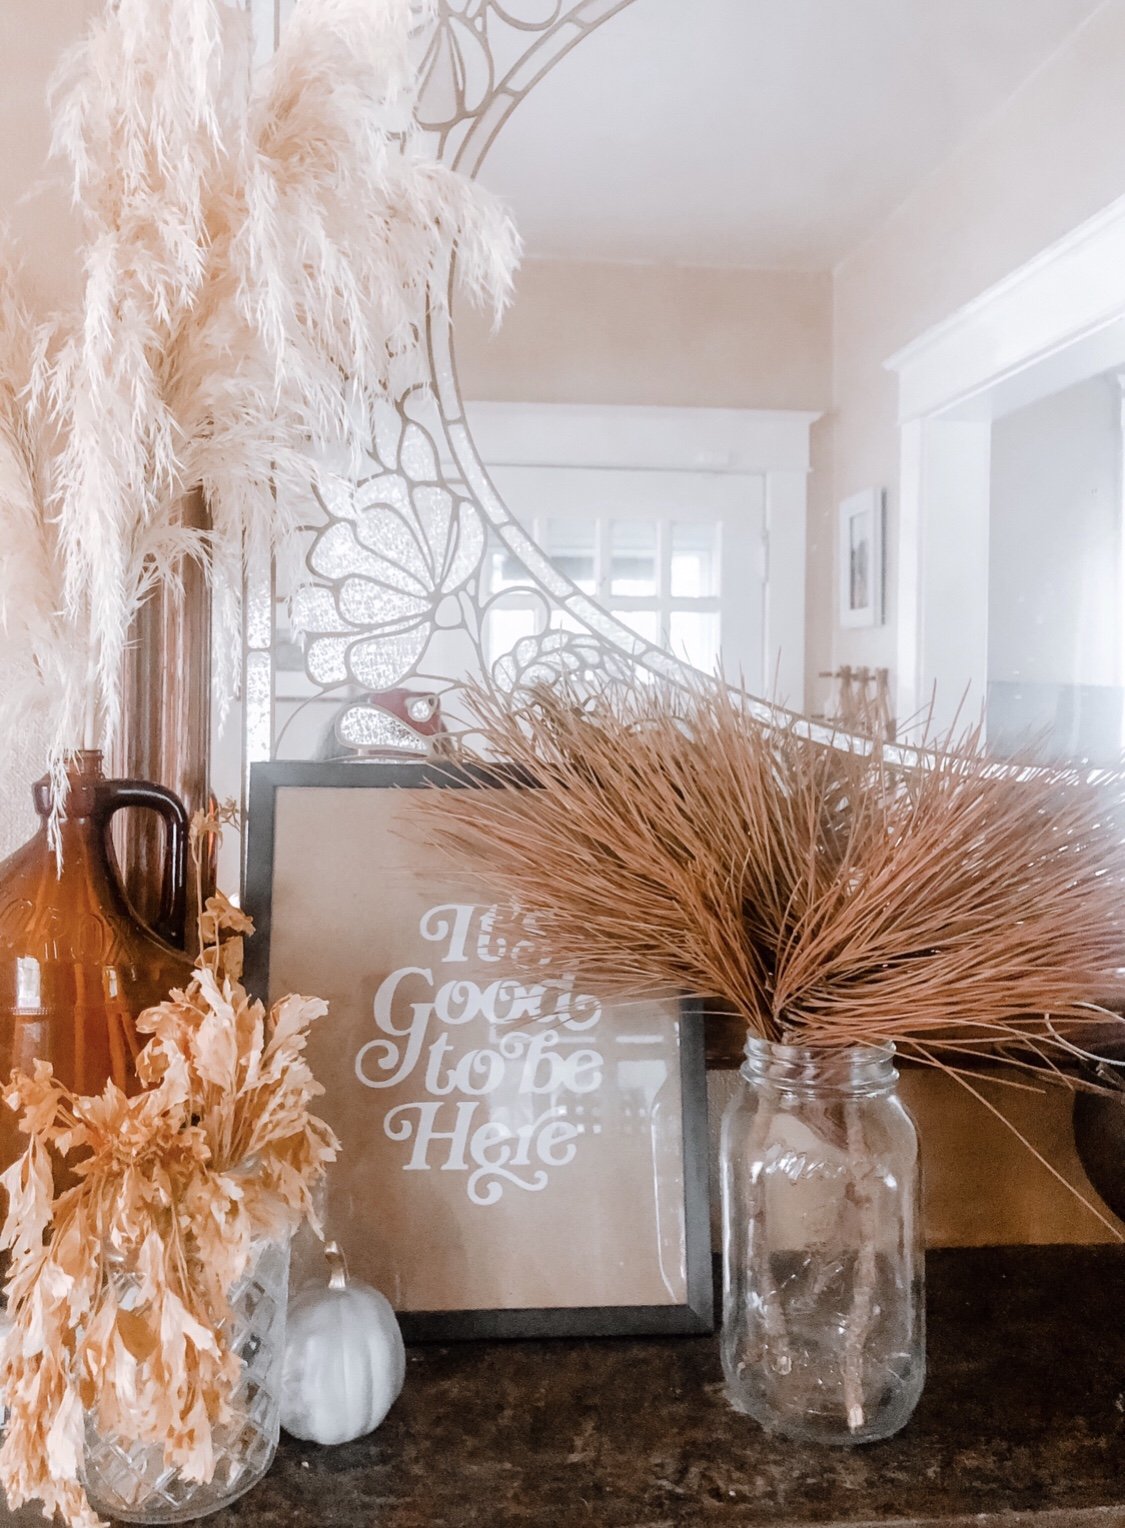
Dried Greenery
This is one of the cheapest ways to decorate this season because it can be free! Take a walk or a hike and see what you find- turned leaves, old branches use your imagination! Then place them in a vase a jar for a beautiful dried bouquet.
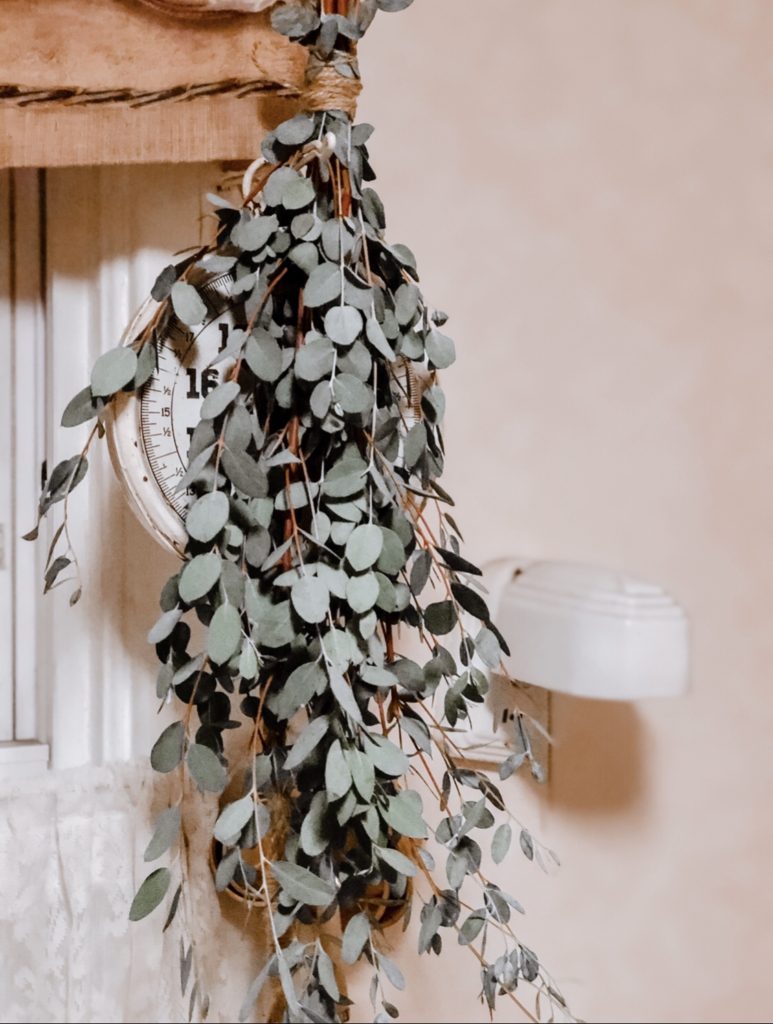
I also have dried some cilantro (shown above) and eucalyptus until the desired color. Tie the bunch with some twine and hang in a cool place. The length of hanging them depends on how dry you want them.
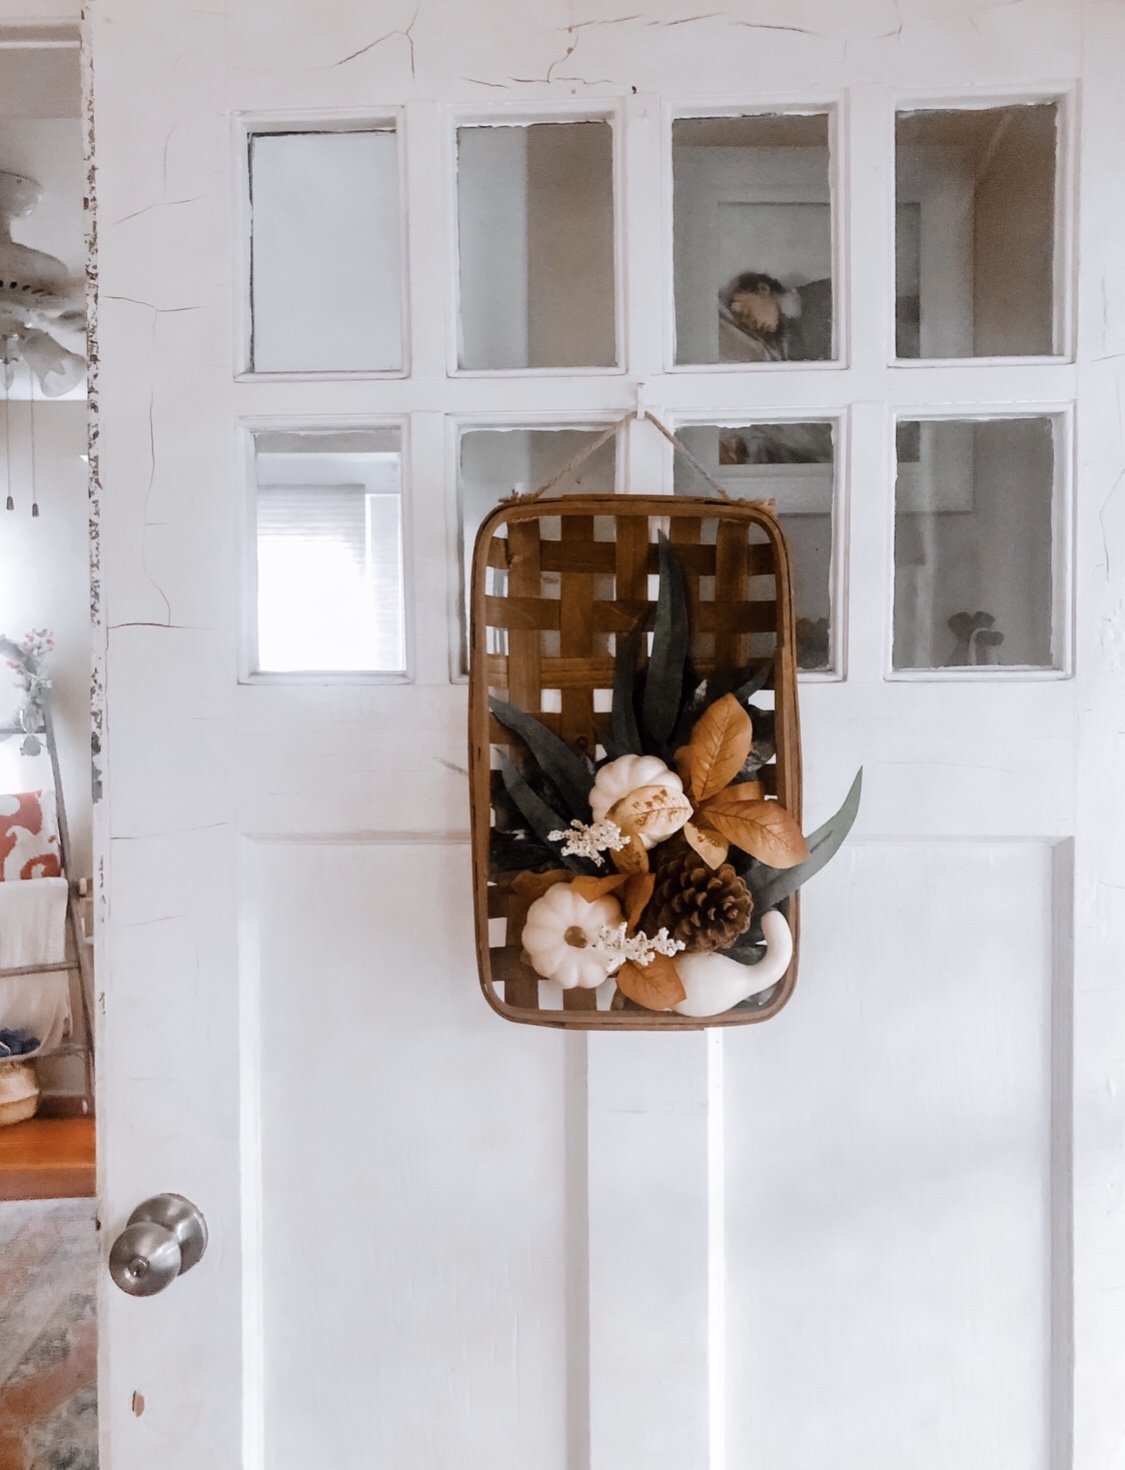
Shop Clearance at The End of The Season
When Halloween ends, the timer starts for clearance fall decor! You won’t regret it even though you won’t get to use these goodies this year and need to wait a whole year to see them again. I’ve had this door hanger for two years and was the best $3.75 I have ever spent!
Change Your Letter-board Regularly
I usually share this tip during other seasons, but I love it! Letter boards have always been my favorite decor because they are affordable and is interchangeable. Just always remember to credit whoever’s quote you use.
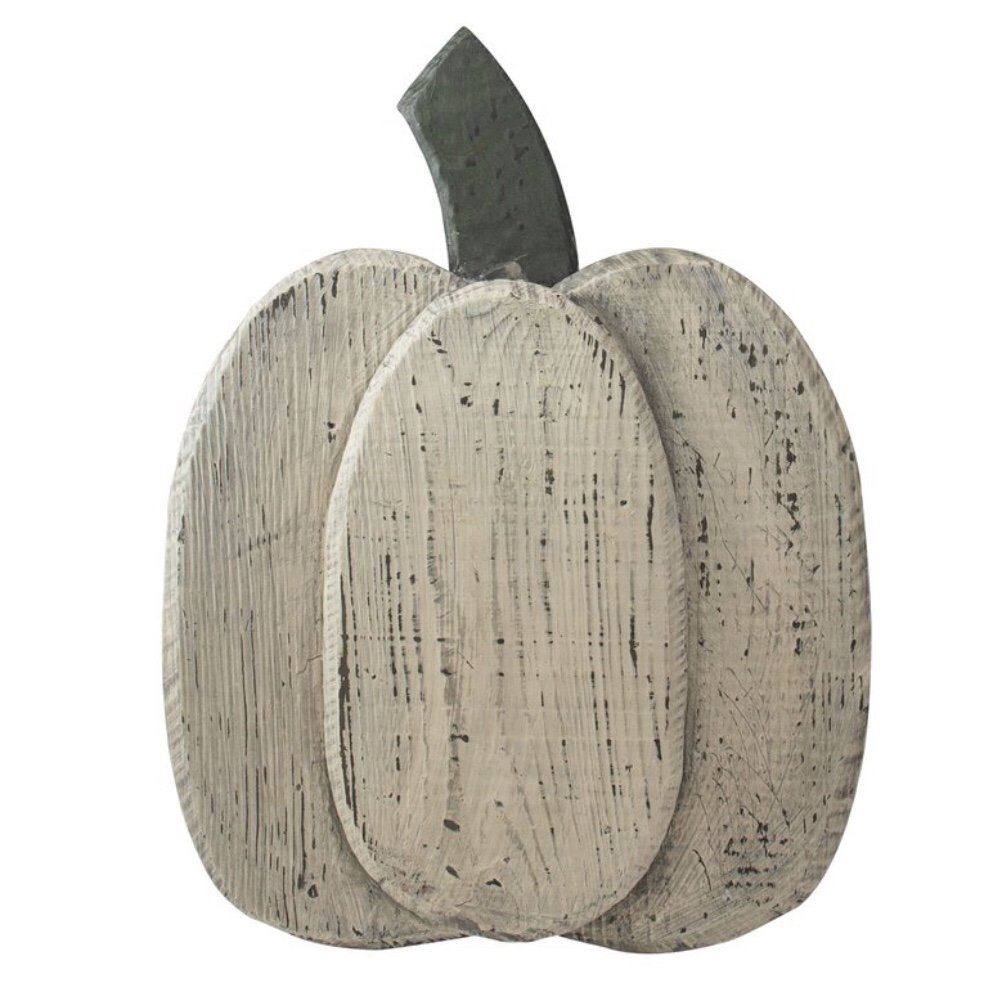
DIY
You don’t have to be artistic or crafty to do this, but you can make most of your decorations for half the price of store bought decorations.
Check out this wooden pumpkin for $27 and the similar one I made for less than $5! If you missed my blog post on how to make it check it out here.
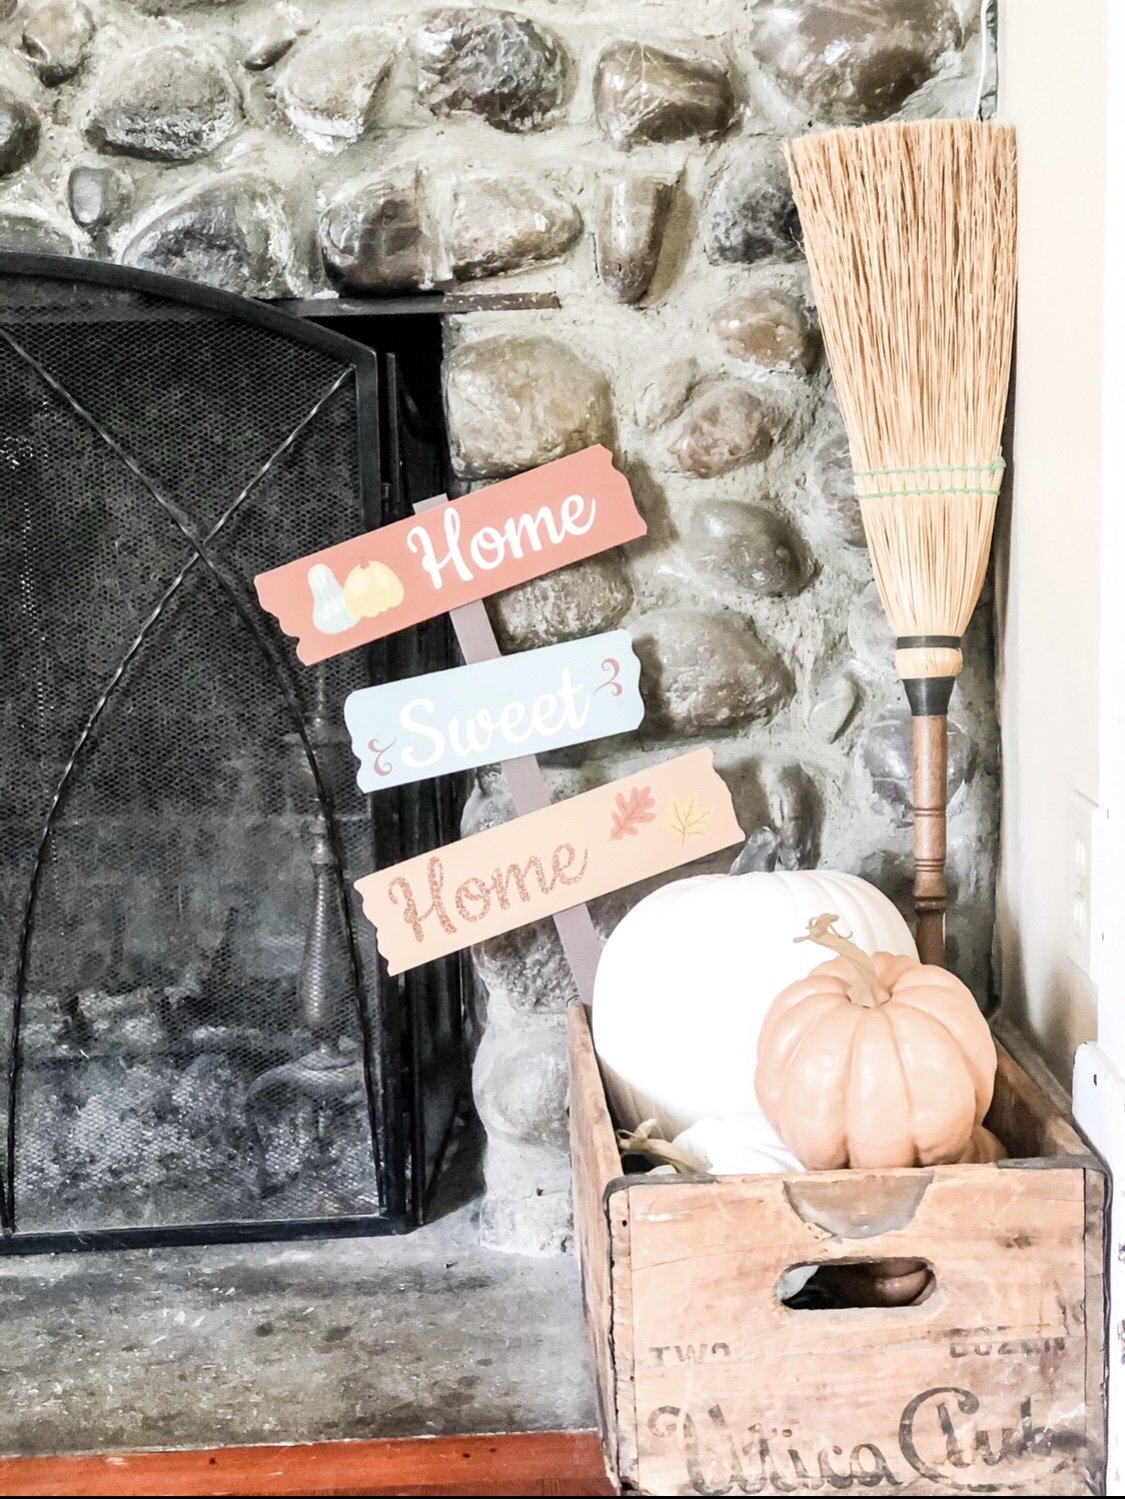
Faux Pumpkins Instead of Real Ones
Don’t get me wrong, pumpkin picking is a must during this season but I suggest investing in some faux pumpkins to add to the ‘patch’. Having some faux pumpkins adds dimension and depth to your decor. You can grab some tiny ones at Target or Dollar Tree, but once again wait until the end of the season to get some bigger ones at places such as Michaels and Jo Ann Fabric!
Check Out These Bloggers for More Fall Decor Inspiration!
It is officially my favorite time of year! It is also the time of year where I get most creative because there is inspiration everywhere I turn.
I love creating DIY fall decor especially with items from Dollar Tree. Now don’t get me wrong, Dollar Tree has stepped up their game a lot but I love upscaling items to fit my decor.
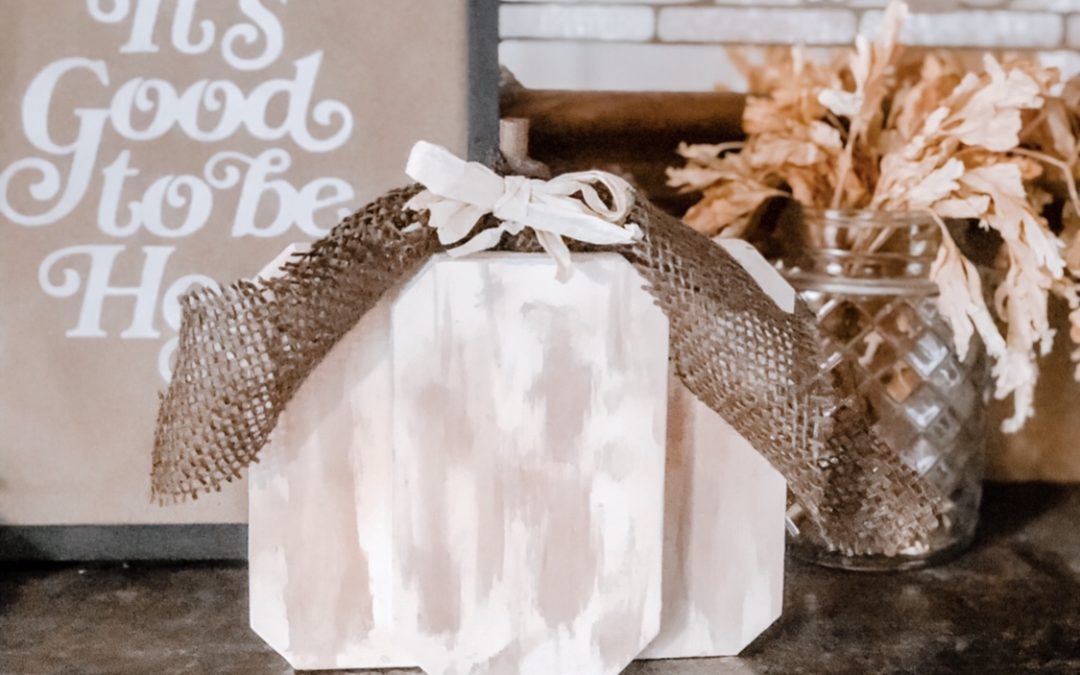
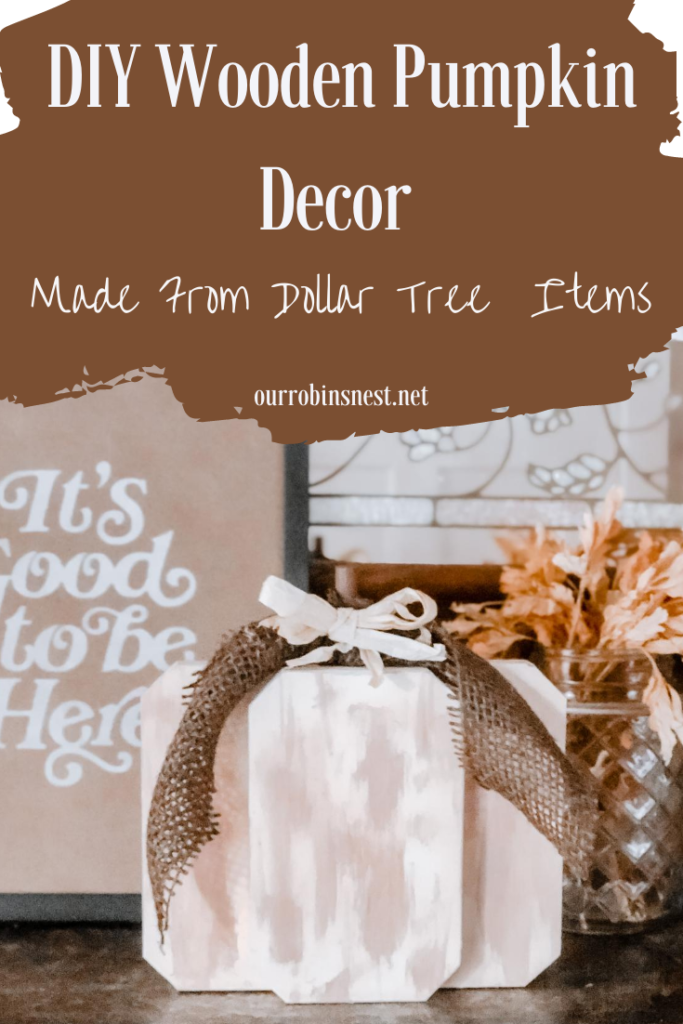
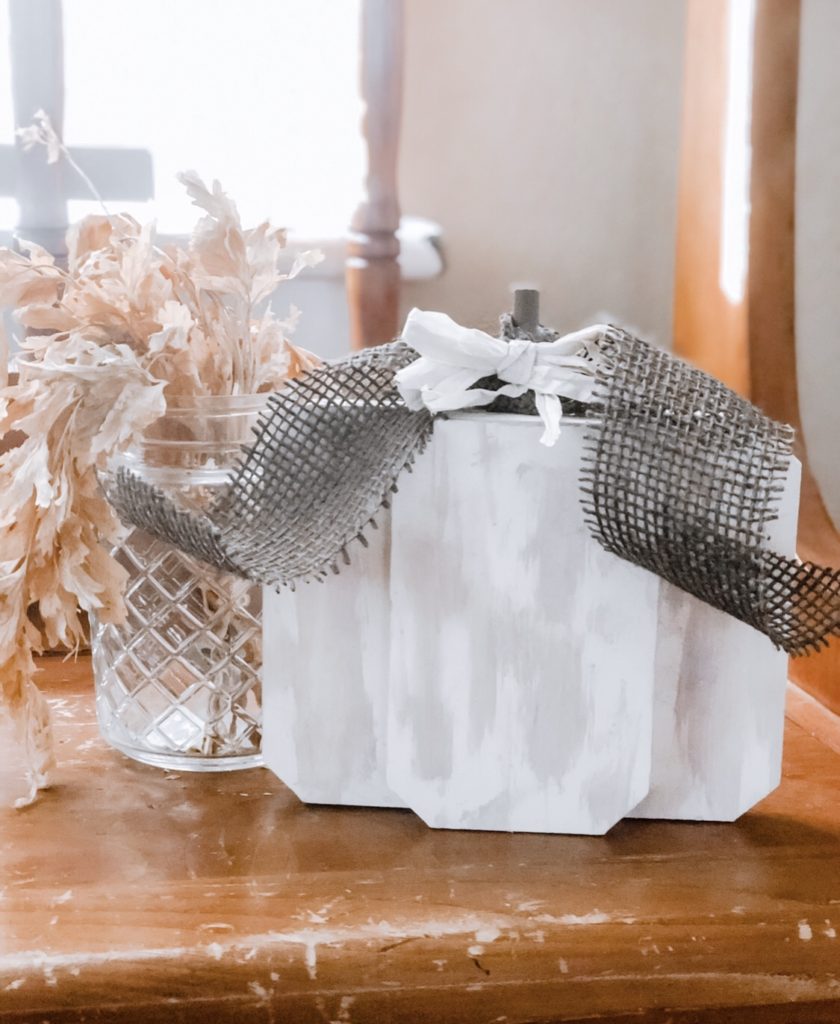
Today I am sharing how to make this dimensional wooden pumpkin using mini wooden pumpkin signs from Dollar Tree.
All Materials Needed are From Dollar Tree
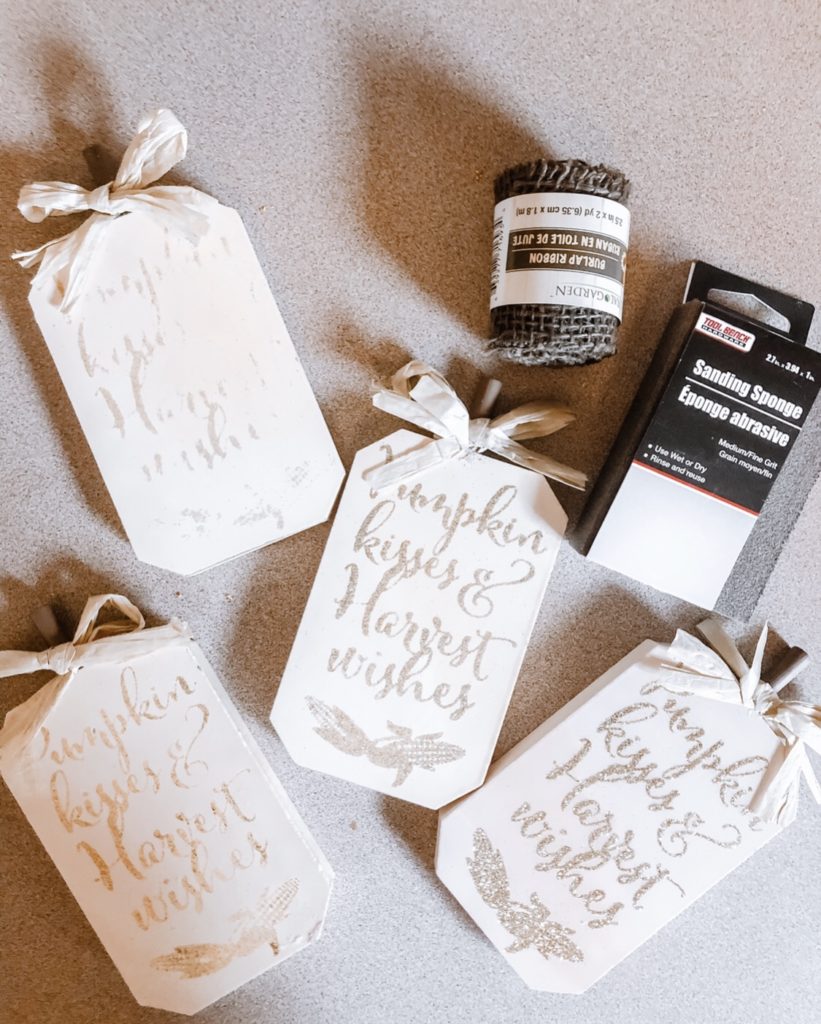
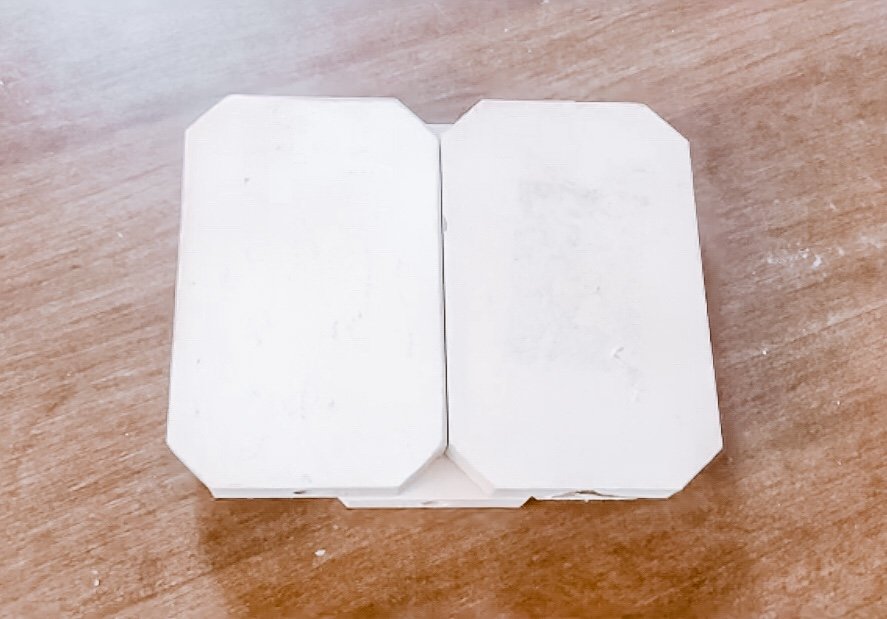
4 mini off-white pumpkin signs
Burlap ribbon
Sand paper
Sponge with green scrubber
Hot glue gun
White and brown acrylic paint
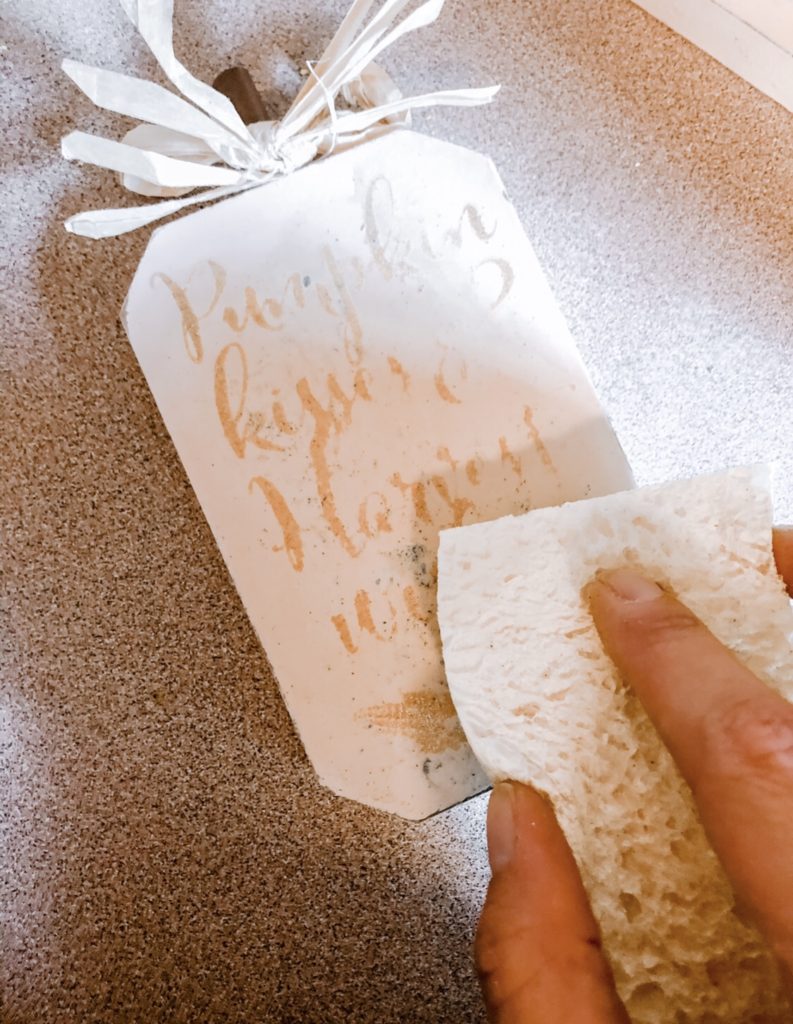
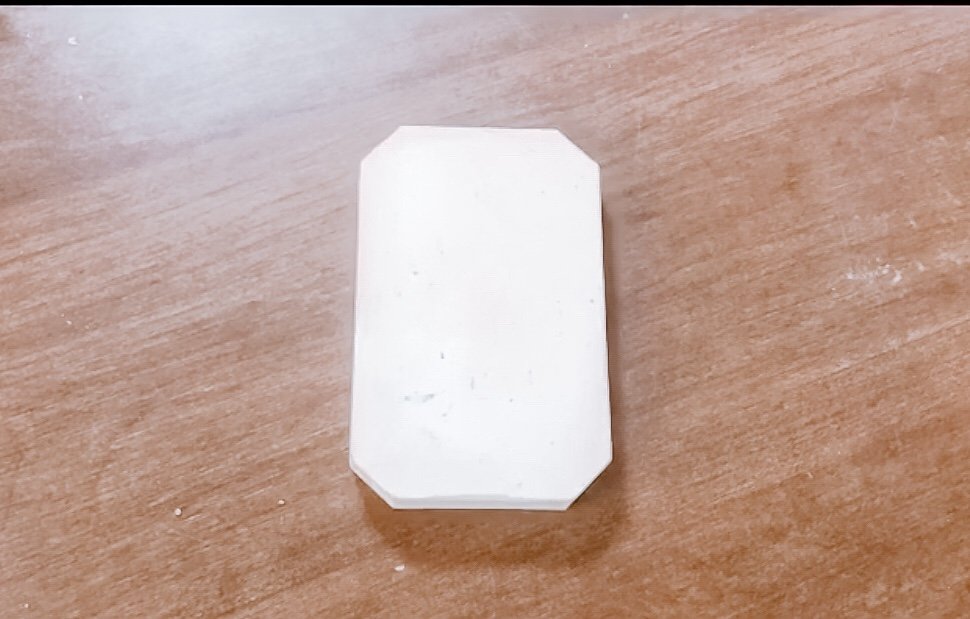
Sand off the glitter on the pumpkins. Wet the green scrubber part of the sponge and gently scrub off the words. It’s ok if you scrub off some paint of the pumpkin, it will give it a distressed look.
Turn the pumpkins over and peel off the price tag sticker that is on it. If you have a hard time getting it off, use a blow dryer to heat it up a bit, it will peel right off.
Pull the brown stems and bows off each pumpkin. They are fairly easy to pull off, just wiggle it back and worth until it pops off. Save one stem and one bow for later.
Turn the pumpkins upside down so the holes from the stems are facing down.
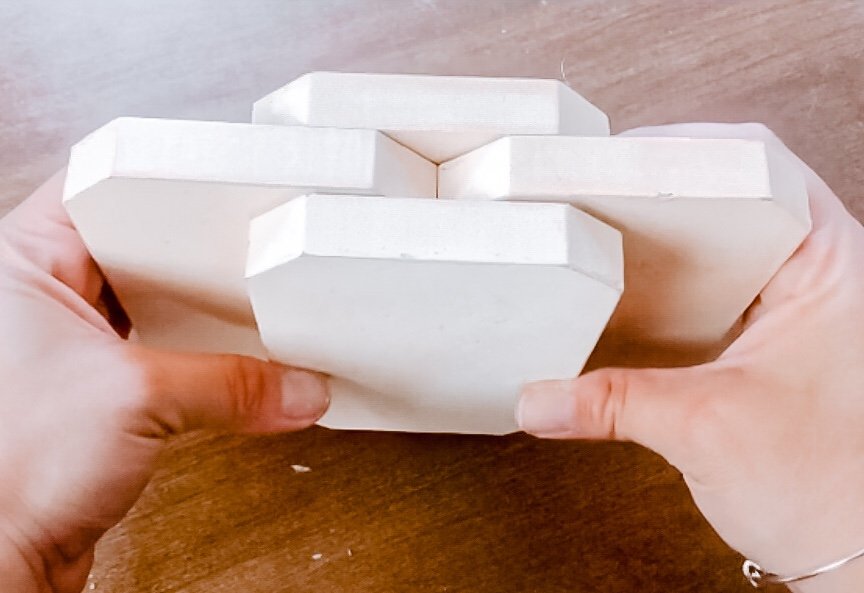
Lay one pumpkin down and glue two pumpkins on top of it side to side. Glue another pumpkin on top of the two pumpkins, right in the center.
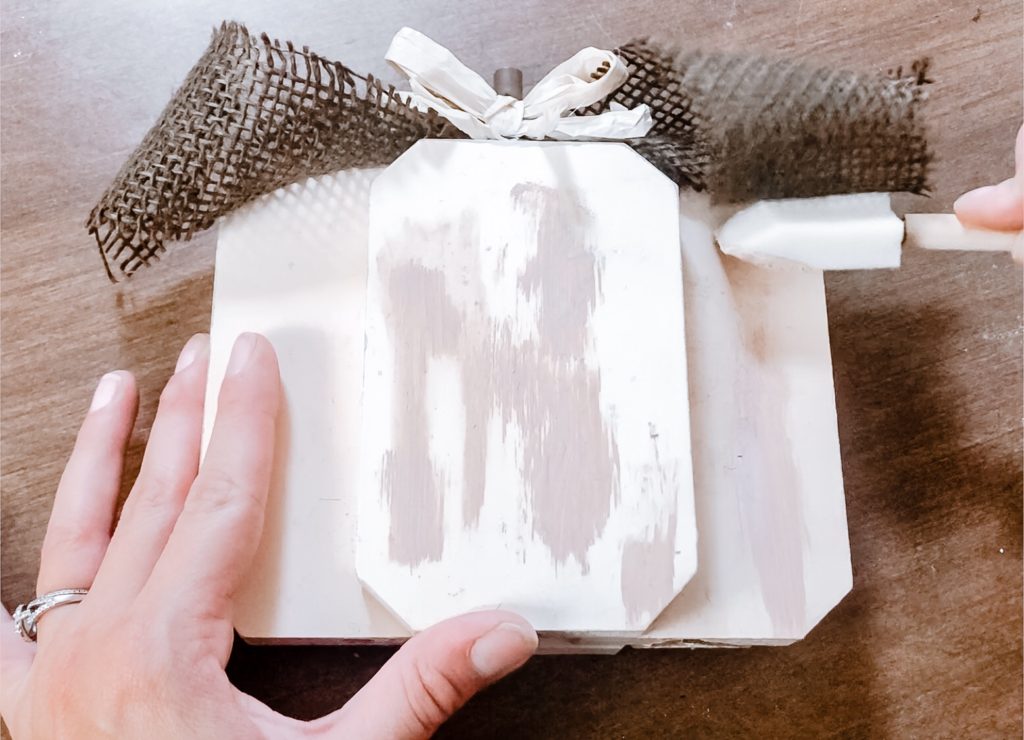
Take the stem and tie burlap around it to make a large bow. Hot glue it all together and then glue it in the center of the dimensional pumpkin.
I was happy with the base color of the pumpkins when I bought it so I decided to keep it off-white and to just add some accent color to it.
Mix brown and white paint together and to give it a beige cream color, if you want to make it chalk paint, add calcium carbonate powder.
Using a sponge brush, pant random streaks along the dimensional pumpkin. Use different pressure and thickness of strokes.
Feel free to paint it a different color or use different ribbons, make it your own. Don’t walk to your local Dollar Tree, run and get crafting!
Check out these other great blogs that are sharing their fall craft!
If motherhood has you stressed and you feel like you’ve lost your creativity, I am here to help! Here you will find easy recipes, simple DIY’s, affordable styles, and what to read next. I believe we all have a creative side, some of us just need a little help to find it. I will help inspire you to have creative expression without standards.