

It is officially my favorite time of year! It is also the time of year where I get most creative because there is inspiration everywhere I turn.
I love creating DIY fall decor especially with items from Dollar Tree. Now don’t get me wrong, Dollar Tree has stepped up their game a lot but I love upscaling items to fit my decor.
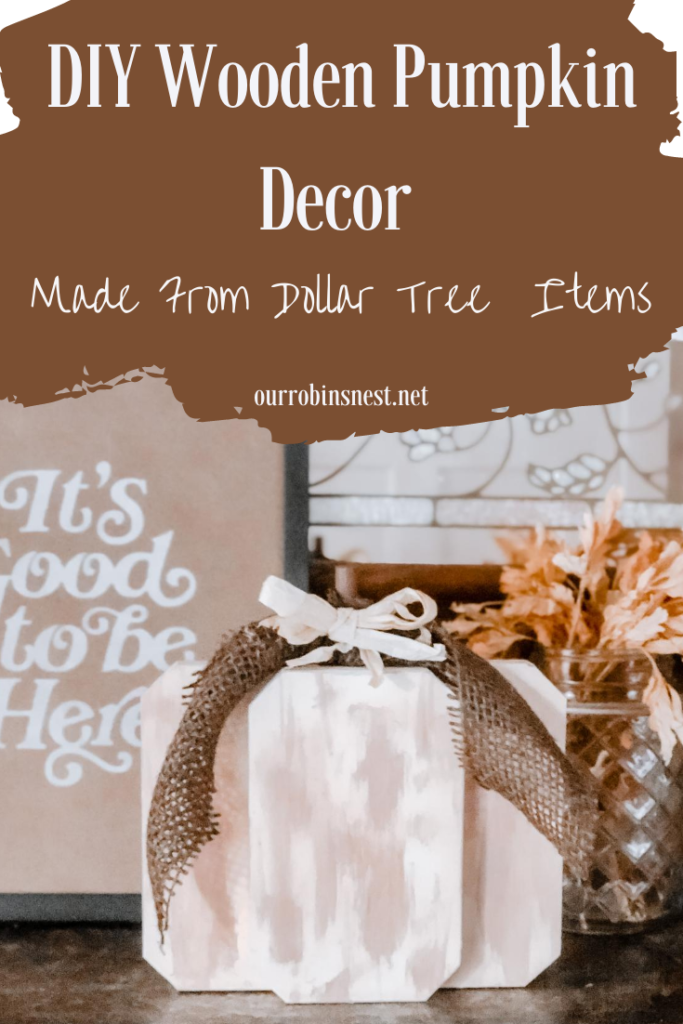
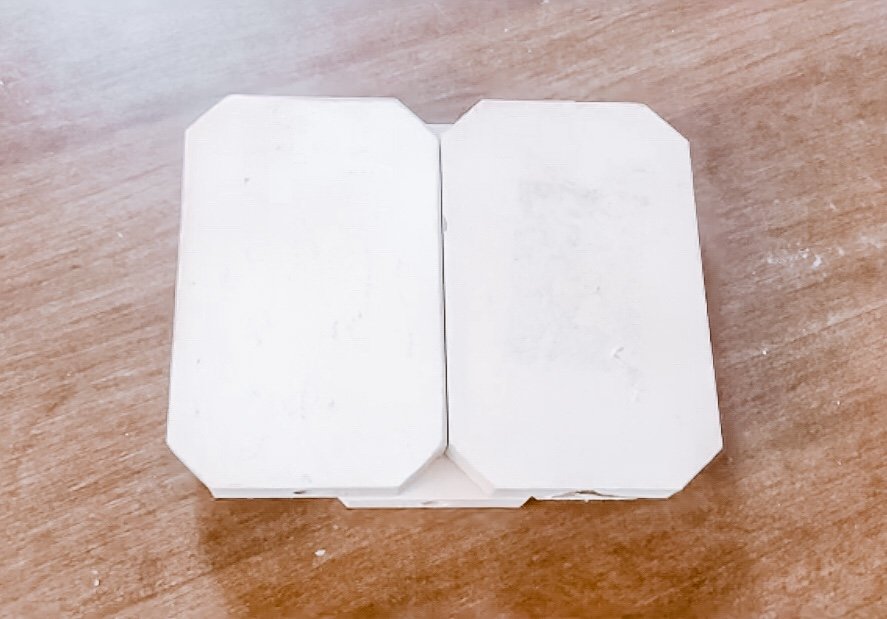
Today I am sharing how to make this dimensional wooden pumpkin using mini wooden pumpkin signs from Dollar Tree.
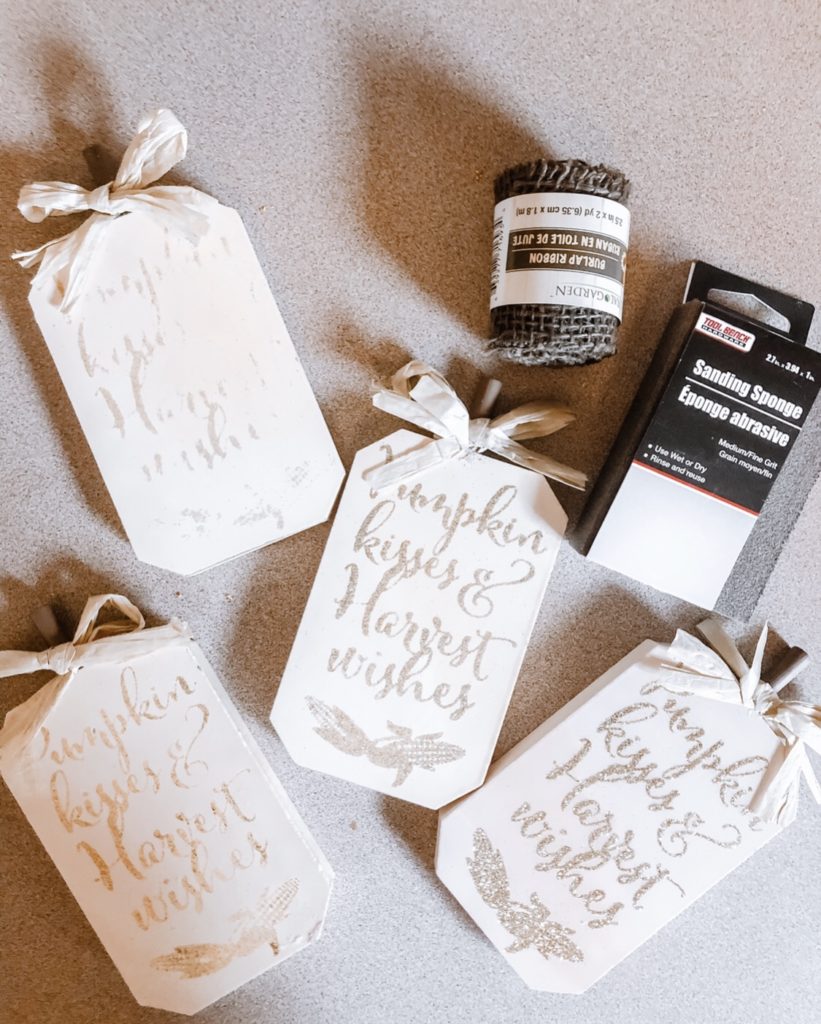
All Materials Needed are From Dollar Tree
- 4 mini off-white pumpkin signs
- Burlap ribbon
- Sand paper
- Sponge with green scrubber
- Hot glue gun
- White and brown acrylic paint
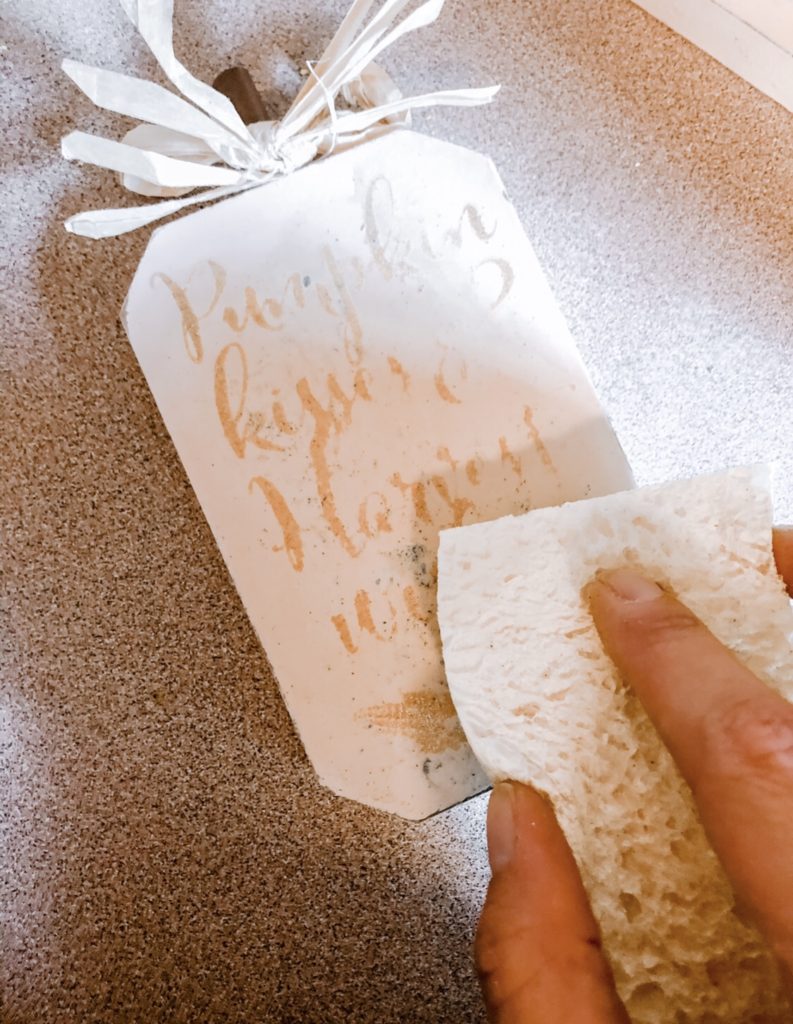
Sand off the glitter on the pumpkins. Wet the green scrubber part of the sponge and gently scrub off the words. It’s ok if you scrub off some paint of the pumpkin, it will give it a distressed look.
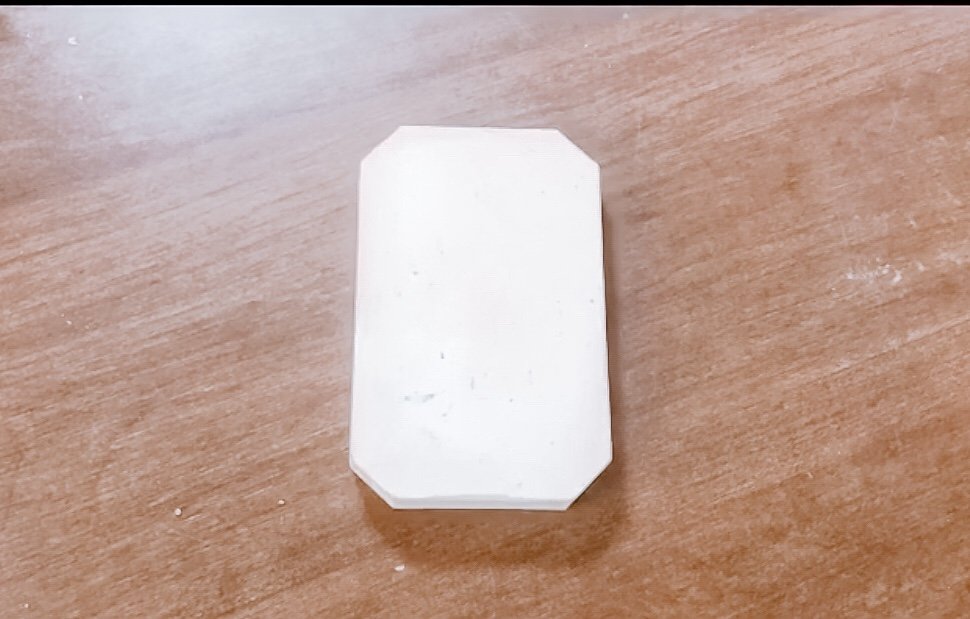
Turn the pumpkins over and peel off the price tag sticker that is on it. If you have a hard time getting it off, use a blow dryer to heat it up a bit, it will peel right off.
Pull the brown stems and bows off each pumpkin. They are fairly easy to pull off, just wiggle it back and worth until it pops off. Save one stem and one bow for later.
Turn the pumpkins upside down so the holes from the stems are facing down.
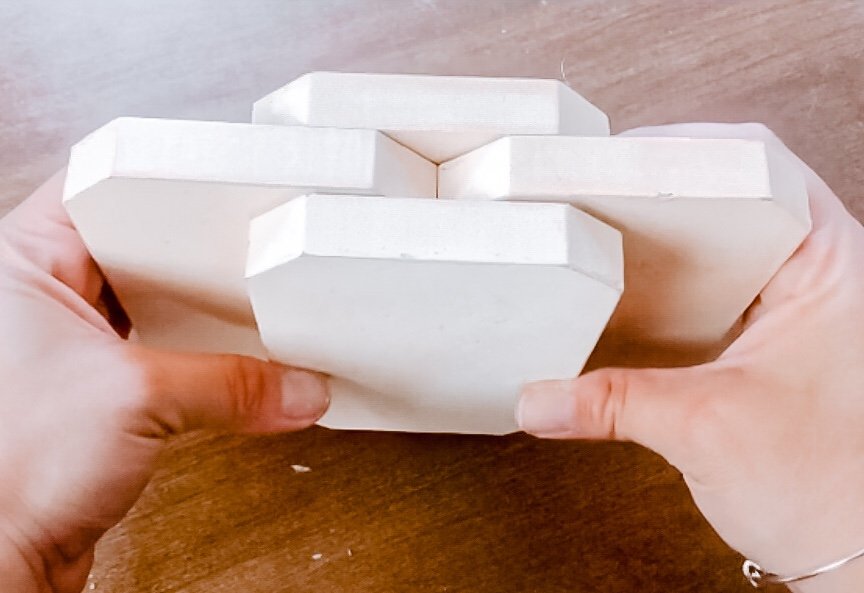
Lay one pumpkin down and glue two pumpkins on top of it side to side. Glue another pumpkin on top of the two pumpkins, right in the center.
Take the stem and tie burlap around it to make a large bow. Hot glue it all together and then glue it in the center of the dimensional pumpkin.

I was happy with the base color of the pumpkins when I bought it so I decided to keep it off-white and to just add some accent color to it.
Mix brown and white paint together and to give it a beige cream color, if you want to make it chalk paint, add calcium carbonate powder.
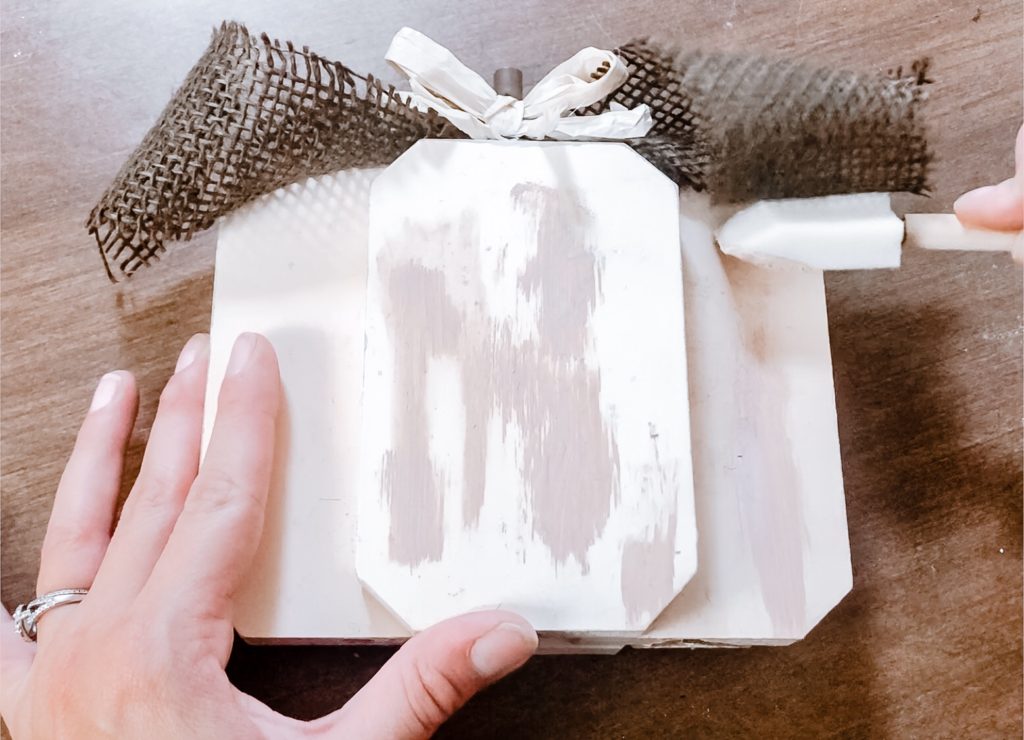
Using a sponge brush, pant random streaks along the dimensional pumpkin. Use different pressure and thickness of strokes.
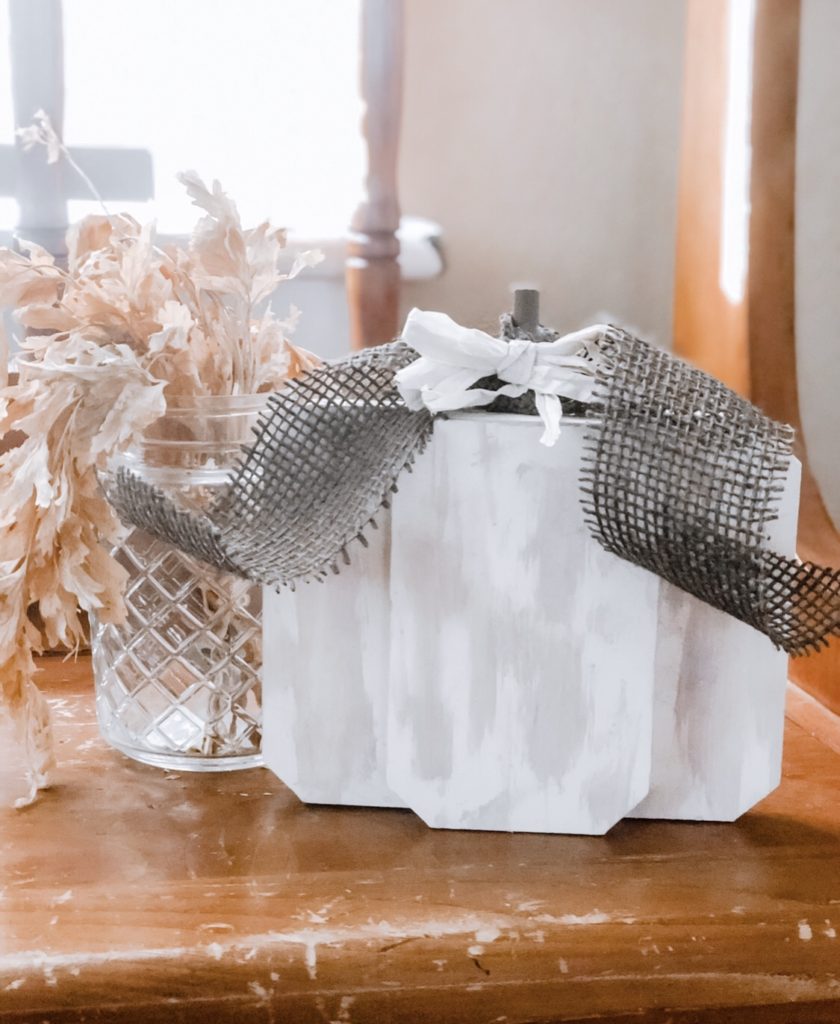
Feel free to paint it a different color or use different ribbons, make it your own. Don’t walk to your local Dollar Tree, run and get crafting!
What a great idea! I love how it’s not just flat. I need to go to the dollar store and check things out with the idea to repurpose them now!
You will have so much fun! It requires very little effort ?