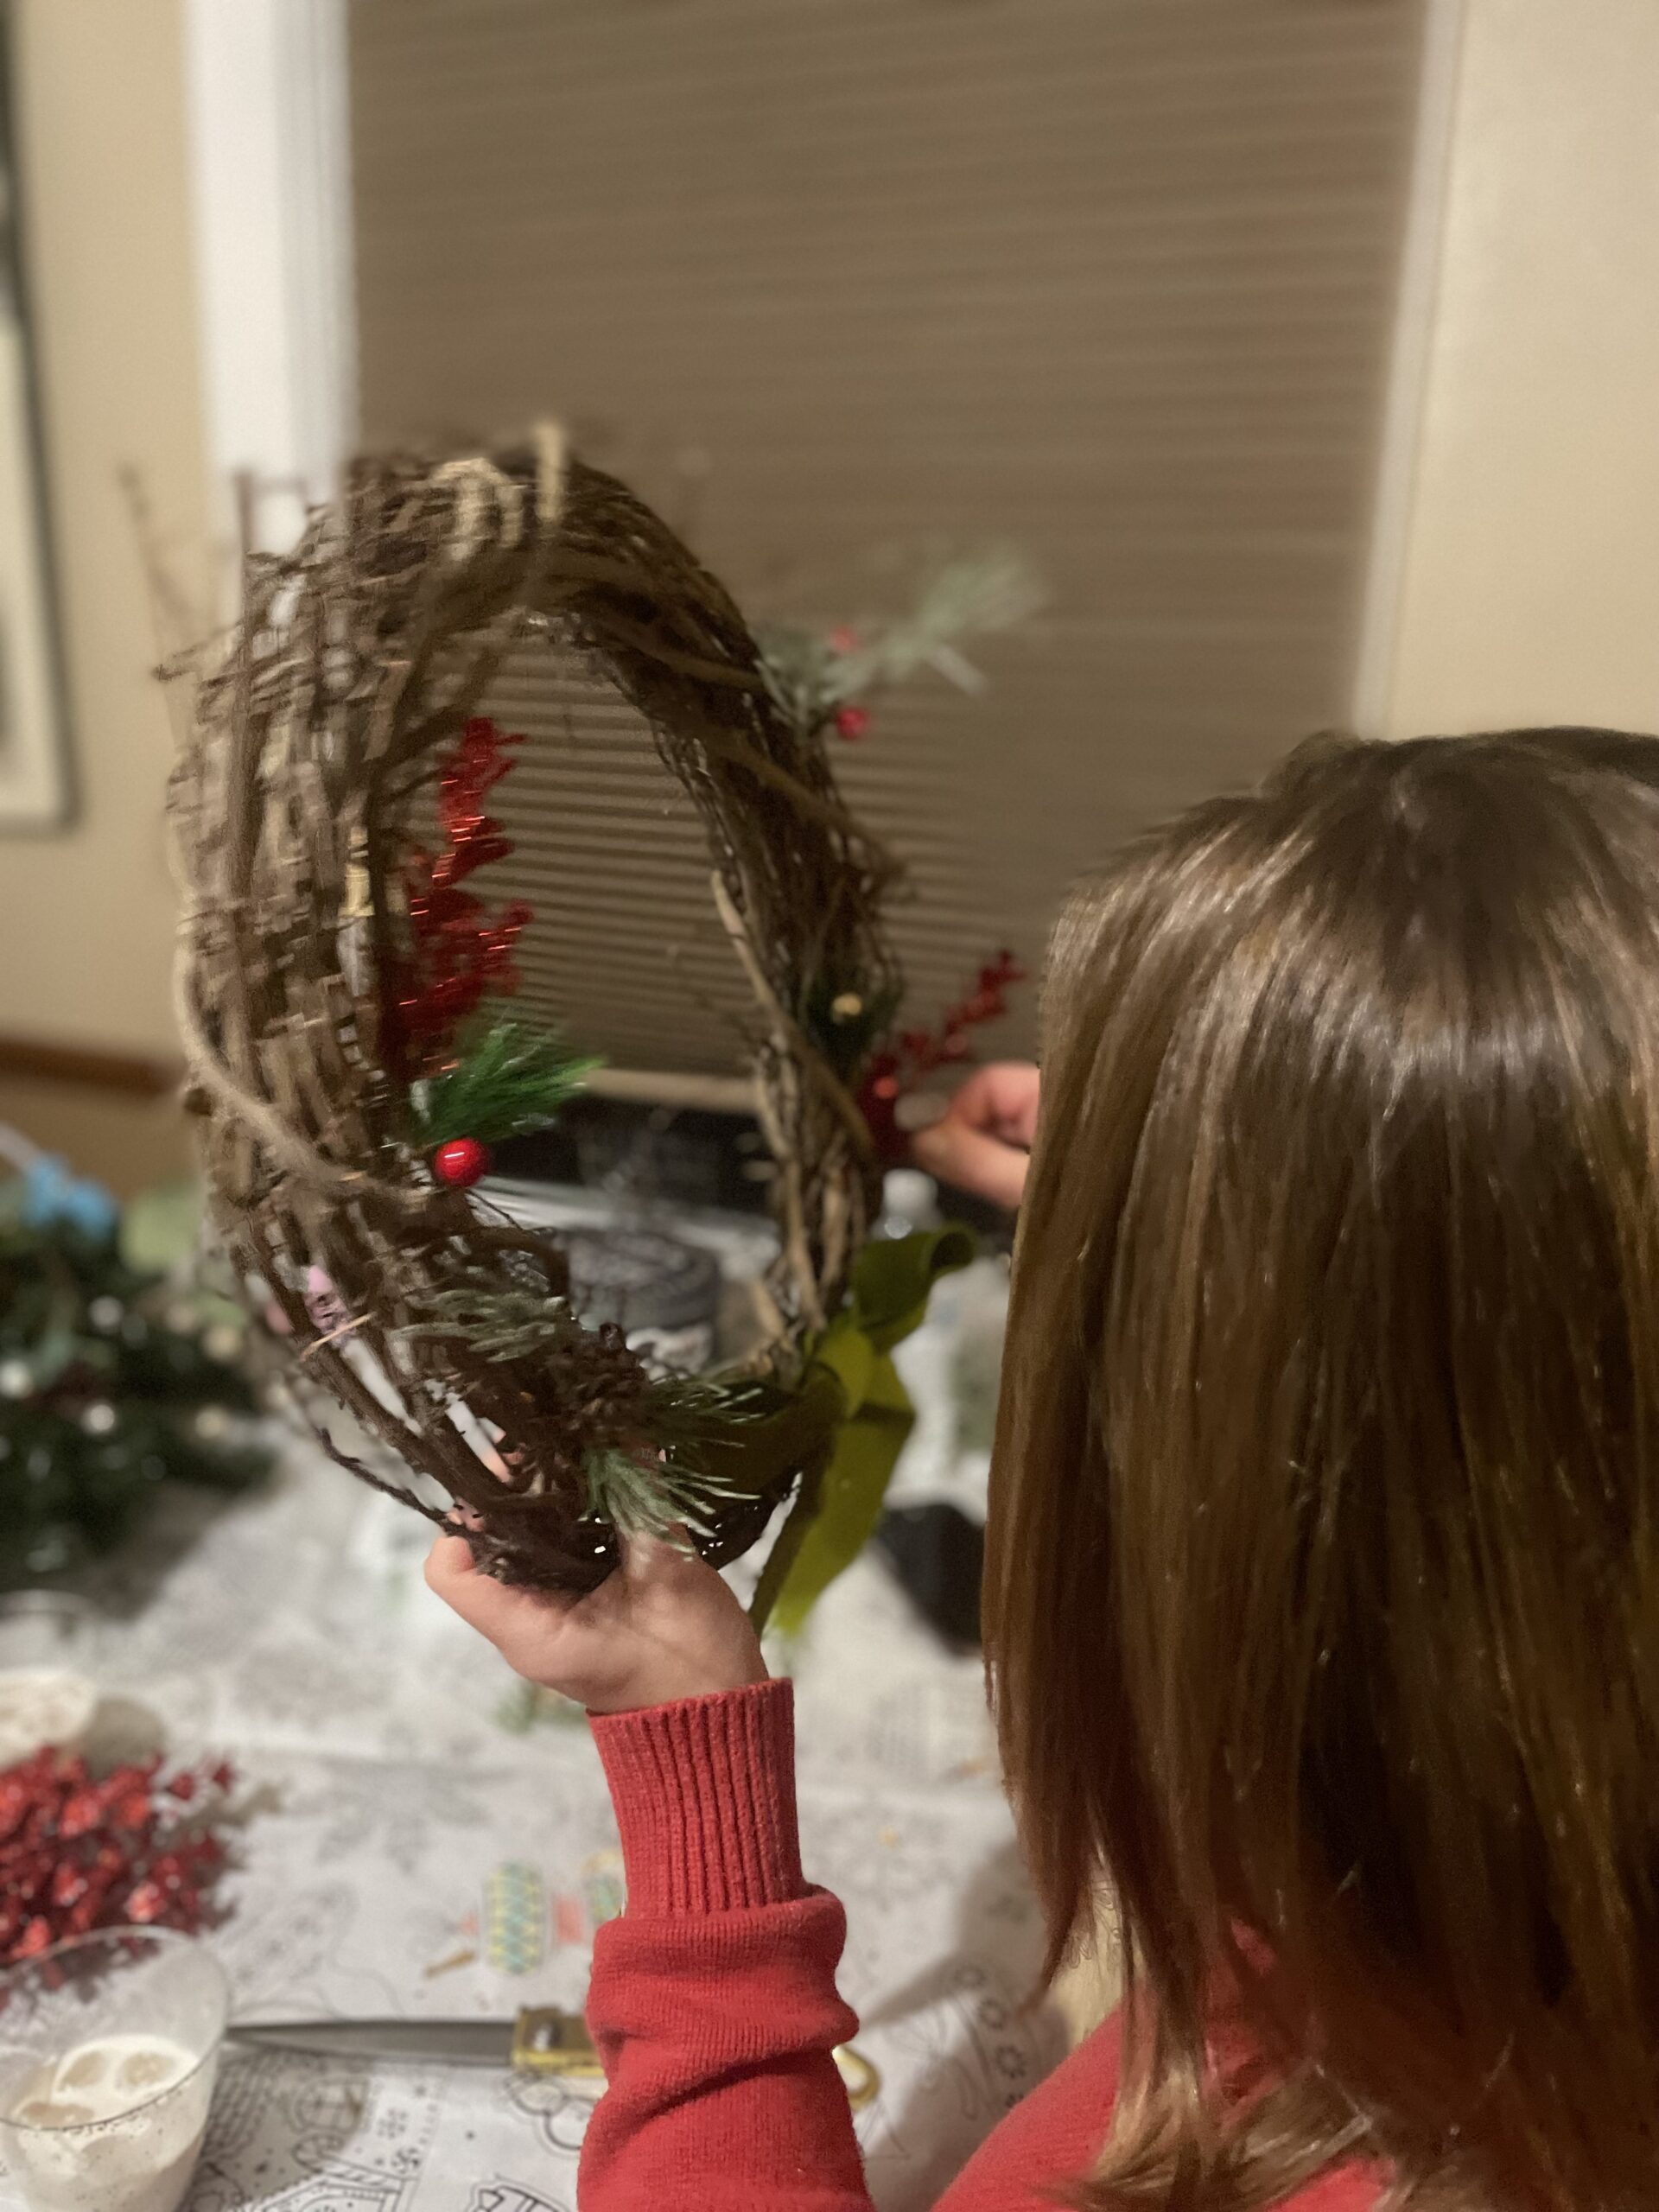
The holiday season is the perfect time to gather your friends, unleash your creativity, and make something festive together. Hosting a girls’ craft night focused on Christmas wreath-making is not only fun but also a unique way to kick off the holidays. Here’s everything you need to plan a magical evening your friends will be talking about all season long.
Step 1: Set the Scene
Create a cozy and festive atmosphere with:
• Twinkling Lights: String fairy lights around the room for a soft, magical glow.
• Holiday Music: Build a playlist with your favorite Christmas classics or soft instrumentals for background ambiance.
• Seasonal Décor: Deck the space with garlands, candles, and mini Christmas trees to set the holiday mood.
• Craft Tables: Cover tables with kraft paper or holiday-themed tablecloths to protect surfaces and make cleanup a breeze.
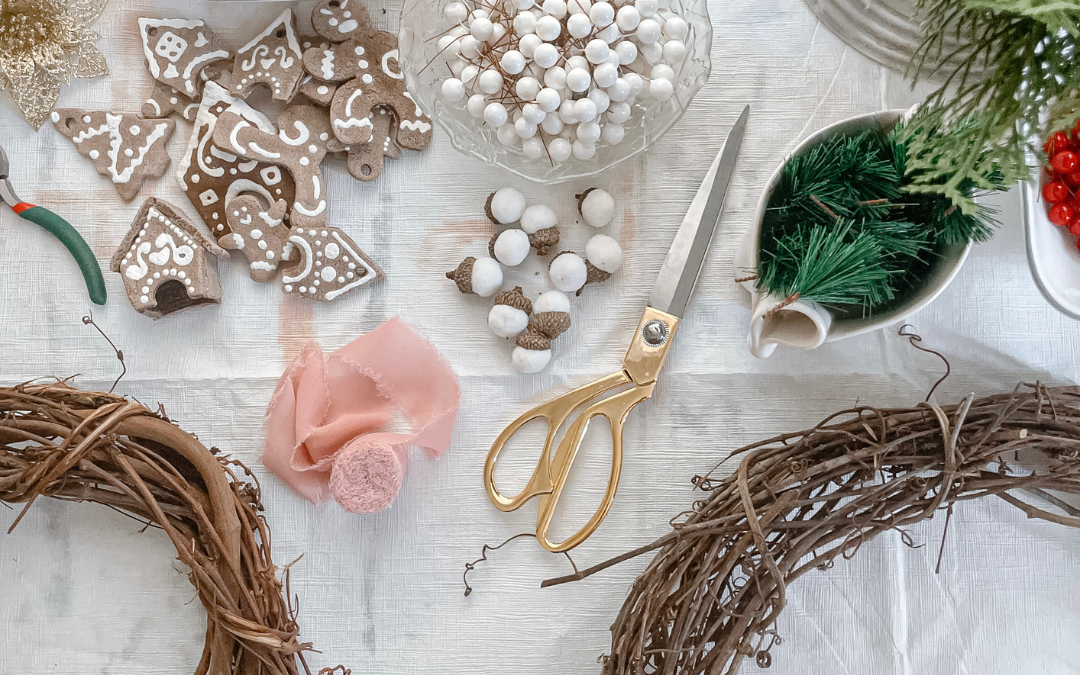
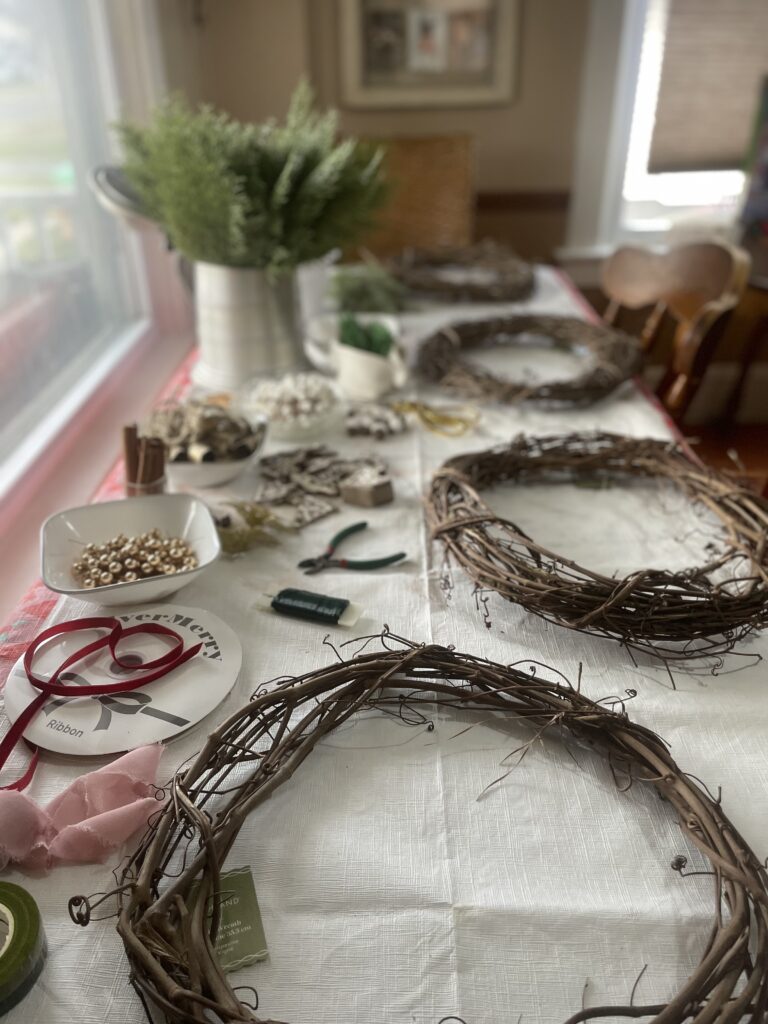
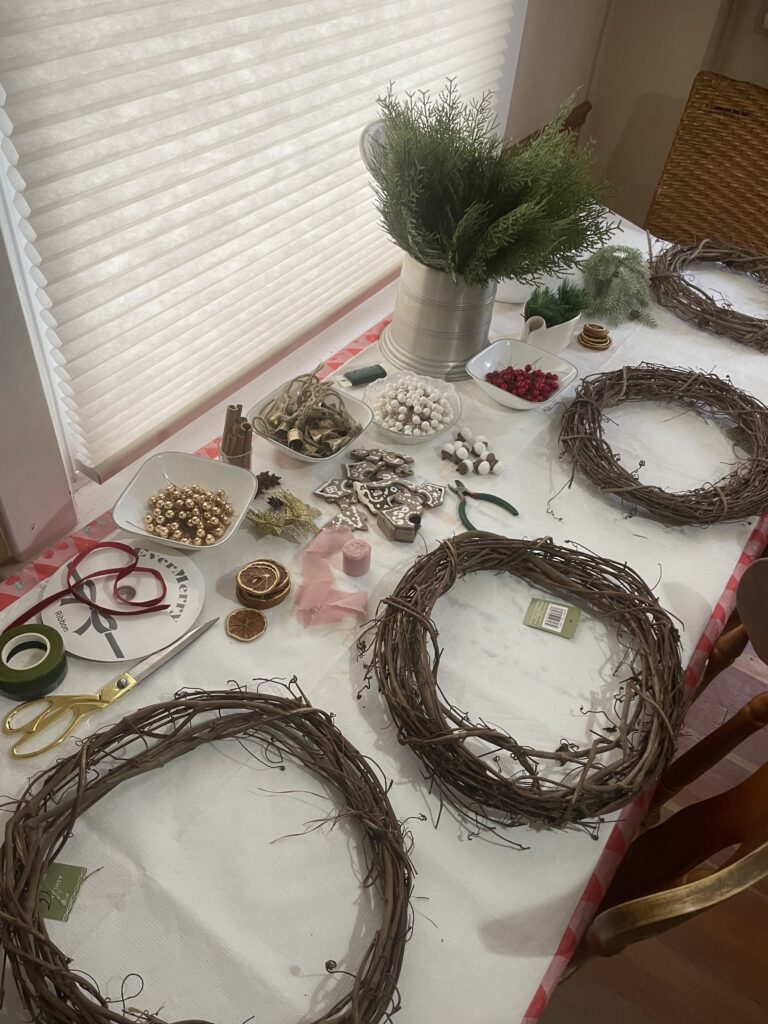
Step 2: Gather Supplies
Make it easy for your guests by providing the essentials. Here’s a list to get you started:
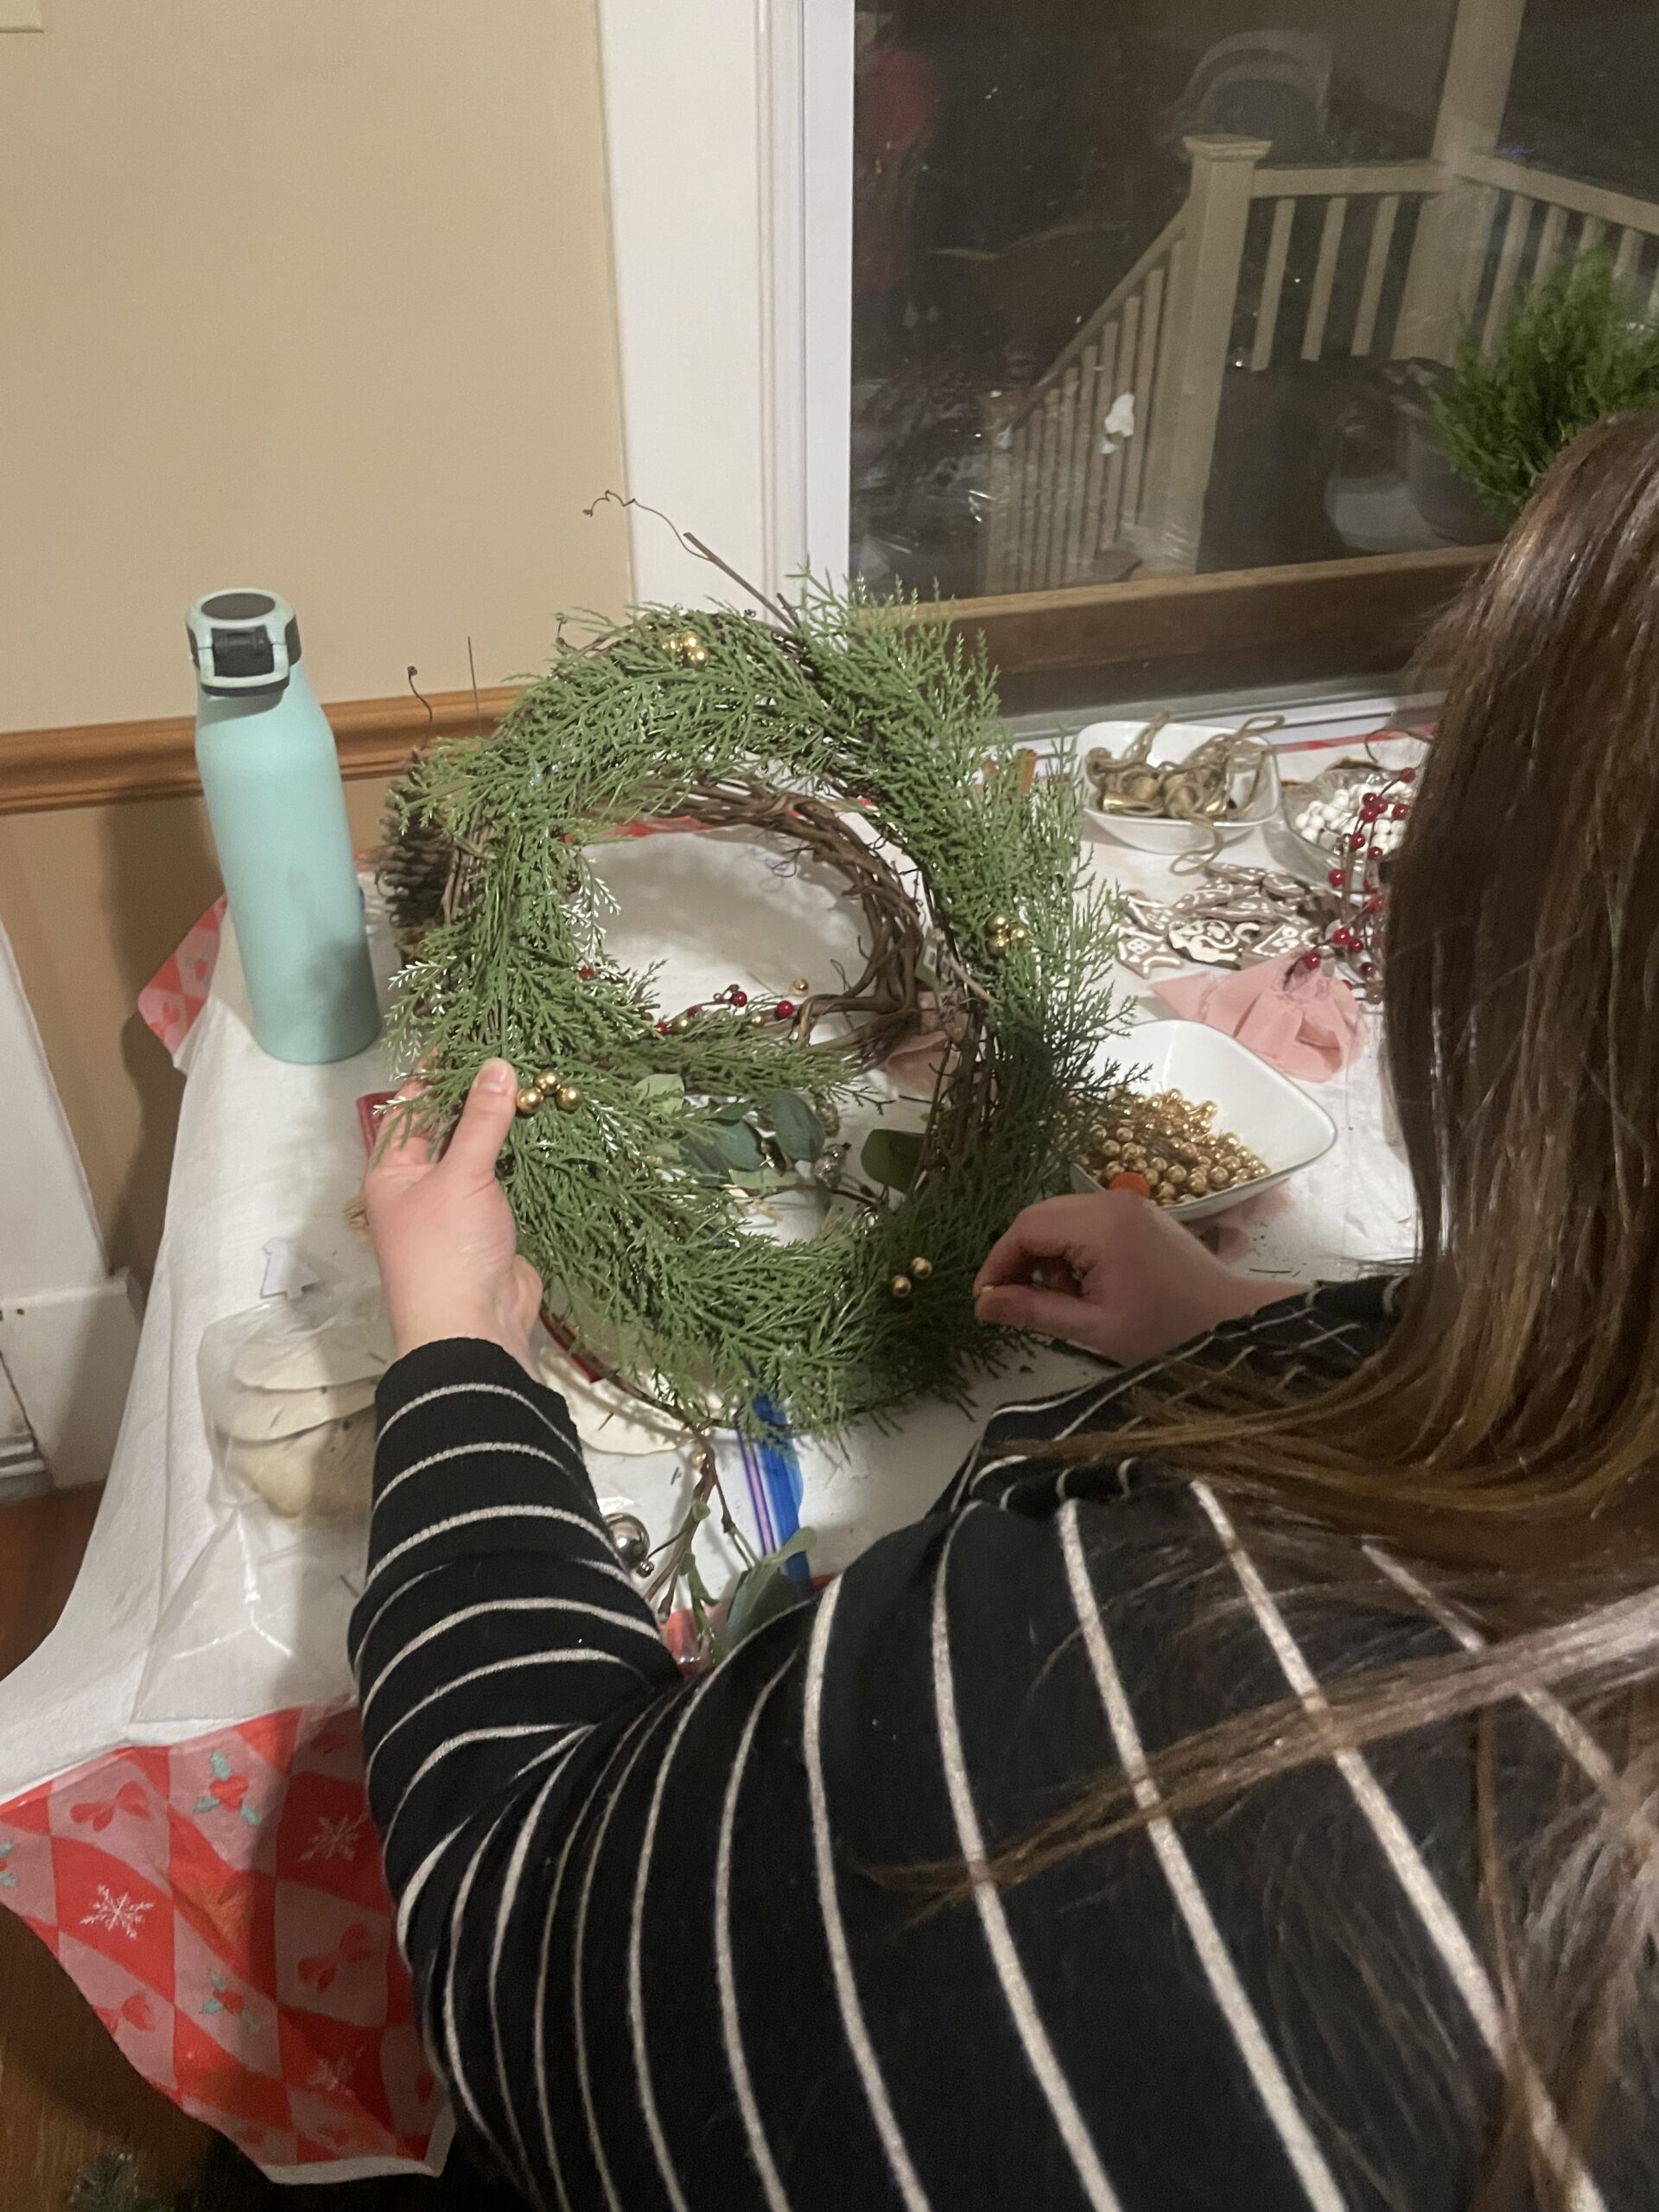
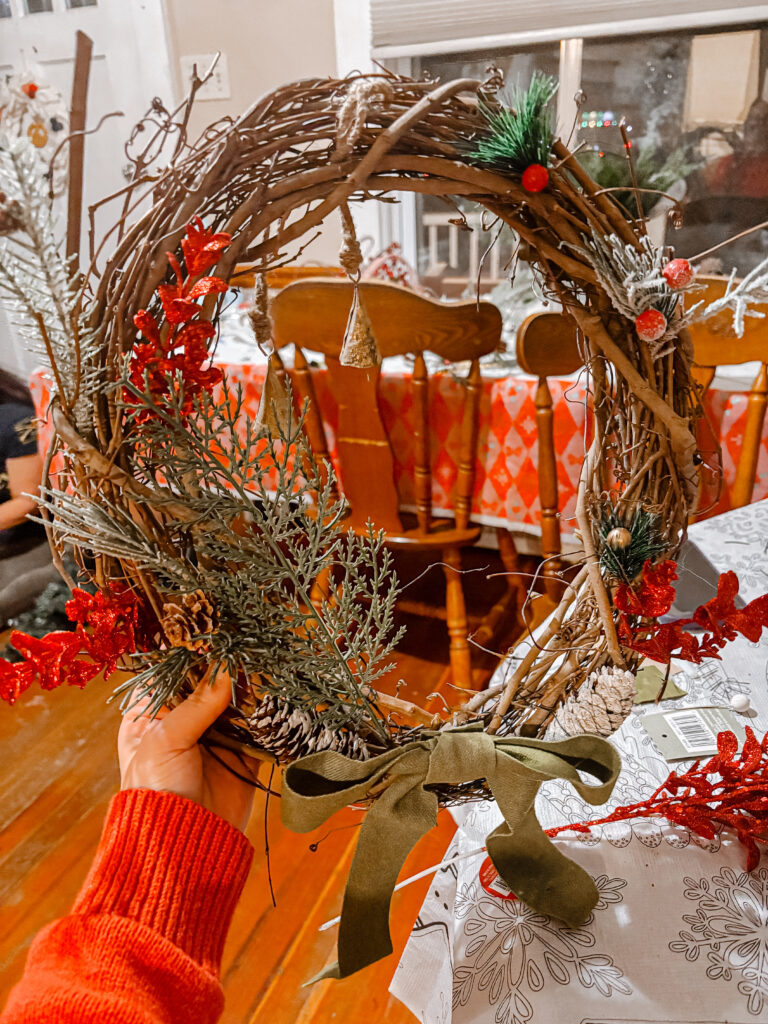
• Wreath Bases: Grapevine, wire, or foam wreath forms.
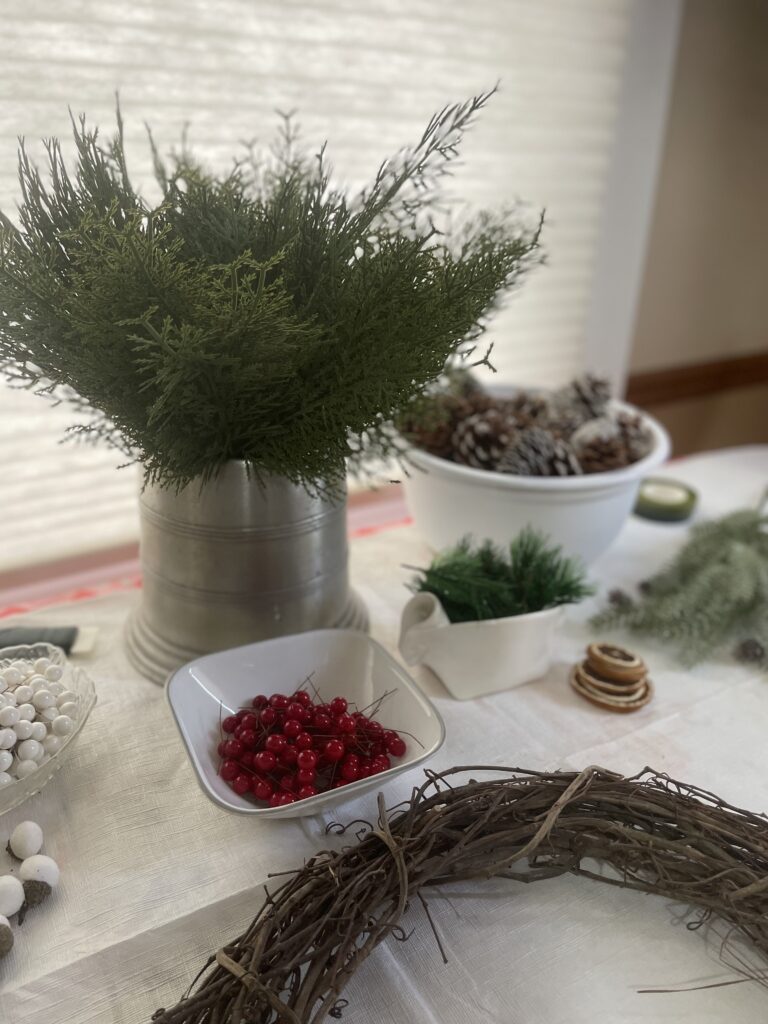
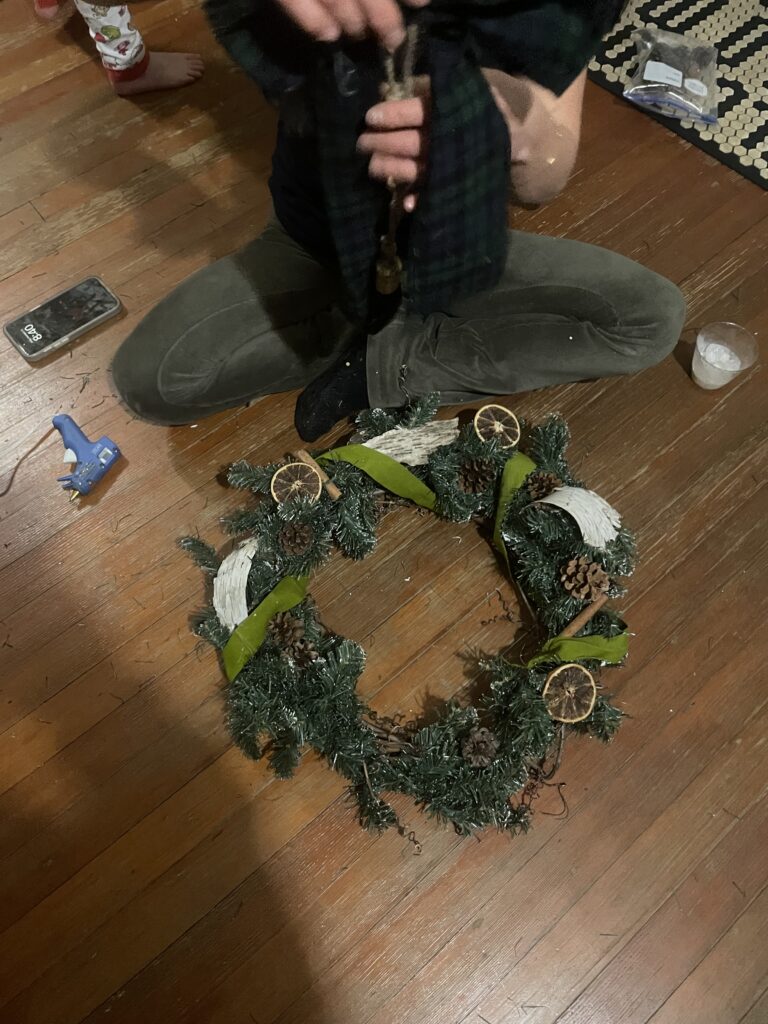
• Greenery: Faux pine branches, eucalyptus, or fresh clippings from your yard.
• Decorative Items: Ornaments, ribbon, berries, pinecones, bows, and glitter.
• Tools: Hot glue guns, floral wire, scissors, wire cutters, and zip ties.
Pro Tip: Set up a “supply bar” where guests can browse and grab what they need for their creations.
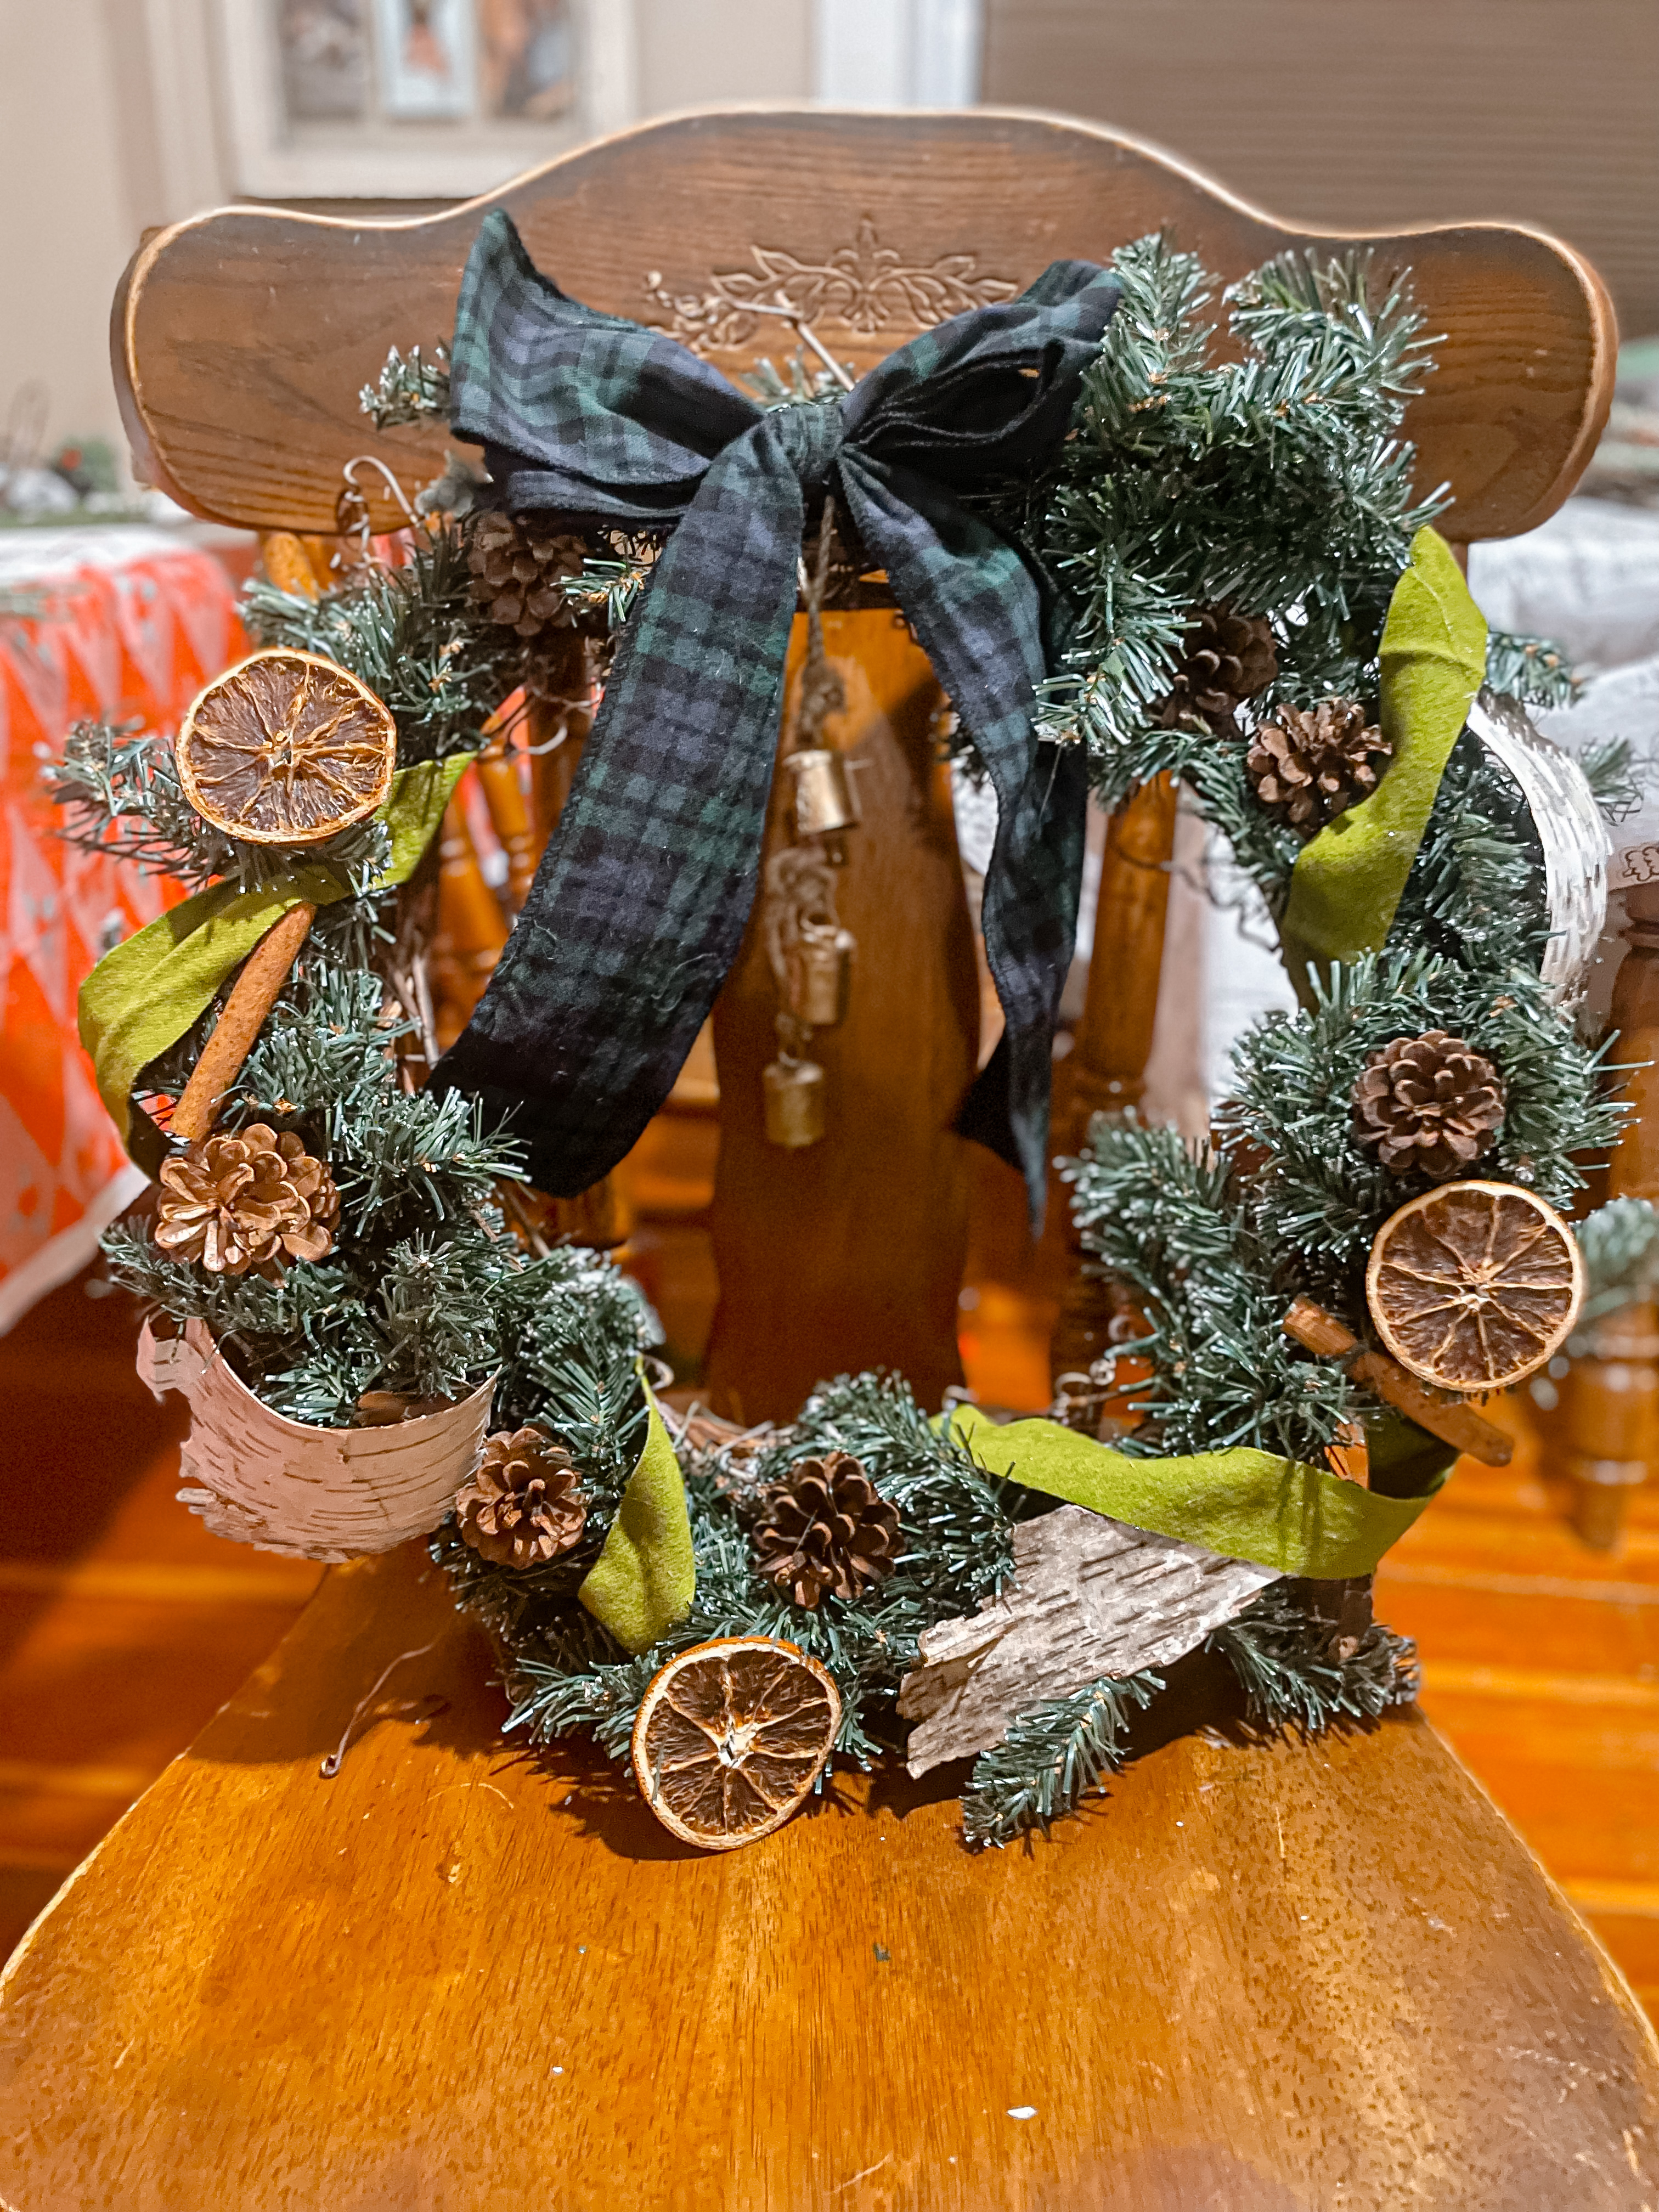
Step 3: Choose a Theme
To keep things cohesive and easy, suggest a theme for the wreaths. Some fun options:
• Winter Wonderland: Silver, white, and frosted elements.
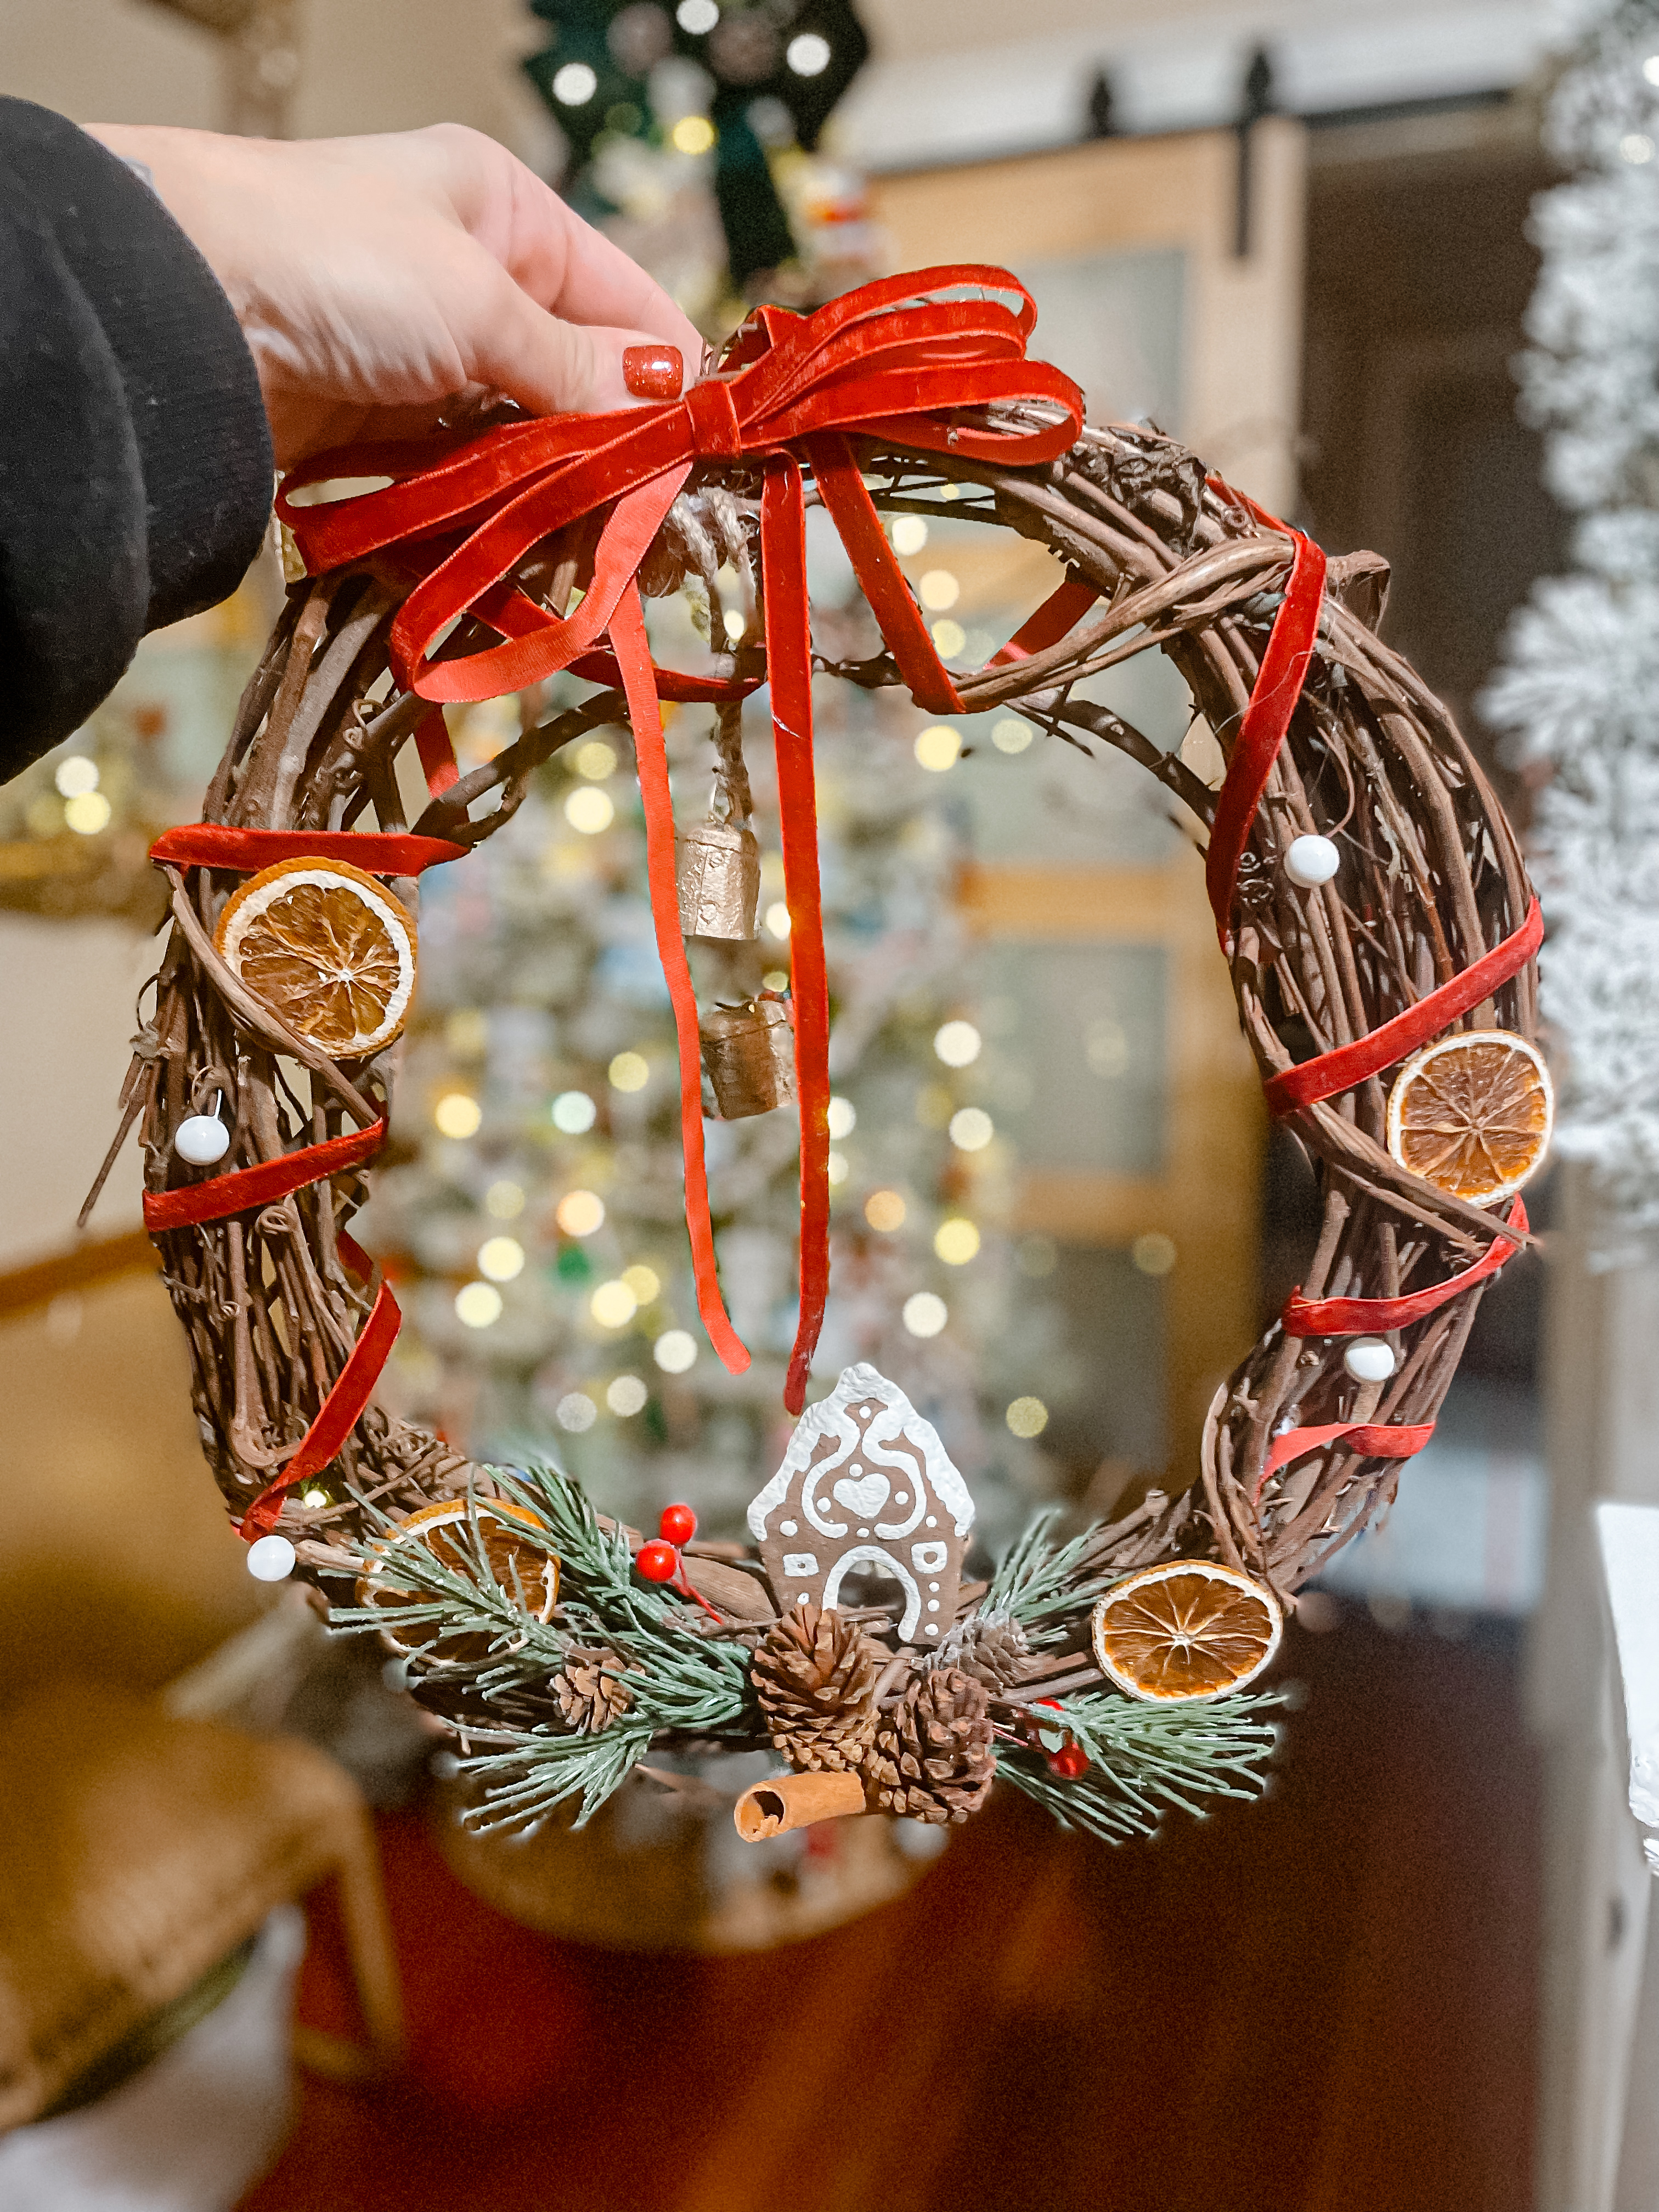
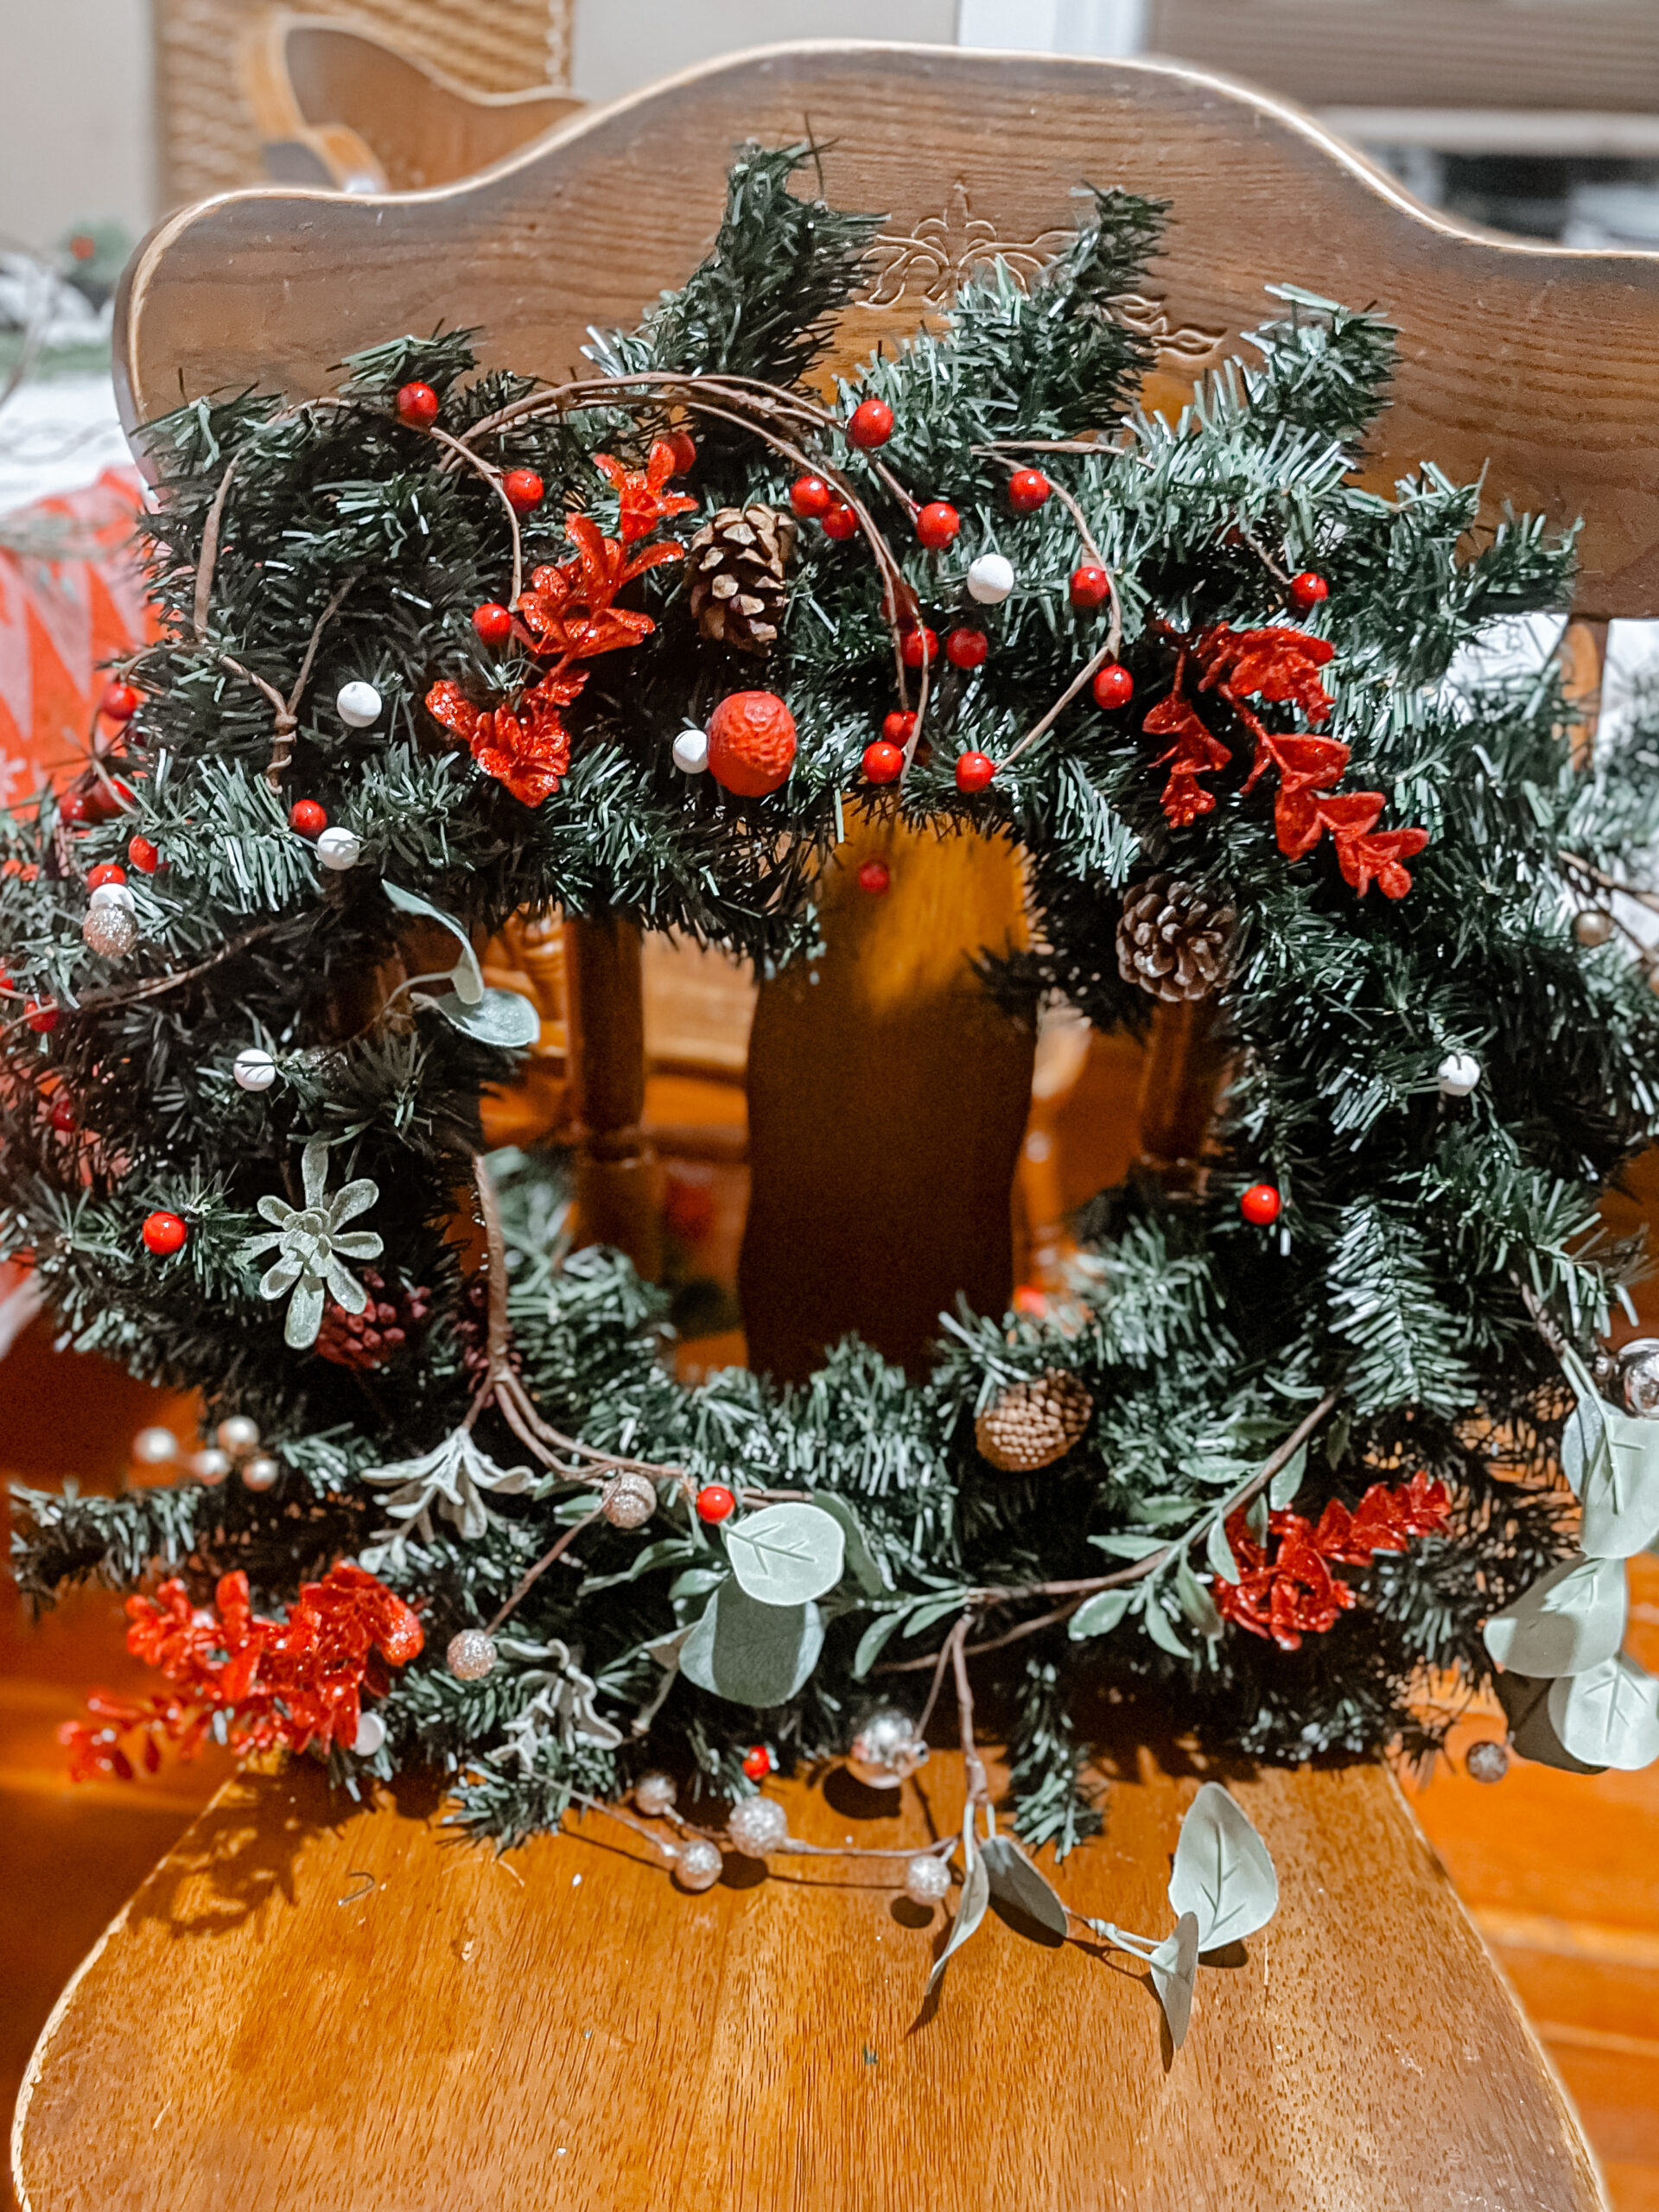
• Traditional Christmas: Red, green, and gold accents.
• Modern Glam: Metallics, monochrome palettes, and bold ribbons.
Encourage guests to bring their unique flair to their wreath while sticking loosely to the theme.
Step 4: Add Holiday Treats
No craft night is complete without snacks! Offer a mix of sweet and savory holiday goodies:
• Savory Bites: Mini charcuterie boards, spinach puffs, or warm cheese dips.
• Sweet Treats: Peppermint bark, sugar cookies, or hot cocoa brownies.
• Drinks: A hot cocoa bar with toppings, mulled wine, or festive mocktails.
Step 5: Plan for Fun Extras
Elevate the experience with a few thoughtful touches:
• Photo Station: Set up a backdrop with holiday props so guests can snap photos with their finished wreaths.
• Holiday Favors: Send guests home with a small gift, like a mini ornament or a holiday-scented candle.
• Friendly Competition: Have a lighthearted “Best Wreath” contest with a small prize for the winner.
Step 6: Enjoy the Night
The most important part of the evening is enjoying time with your friends. Don’t stress over the details; focus on laughter, creativity, and making memories.
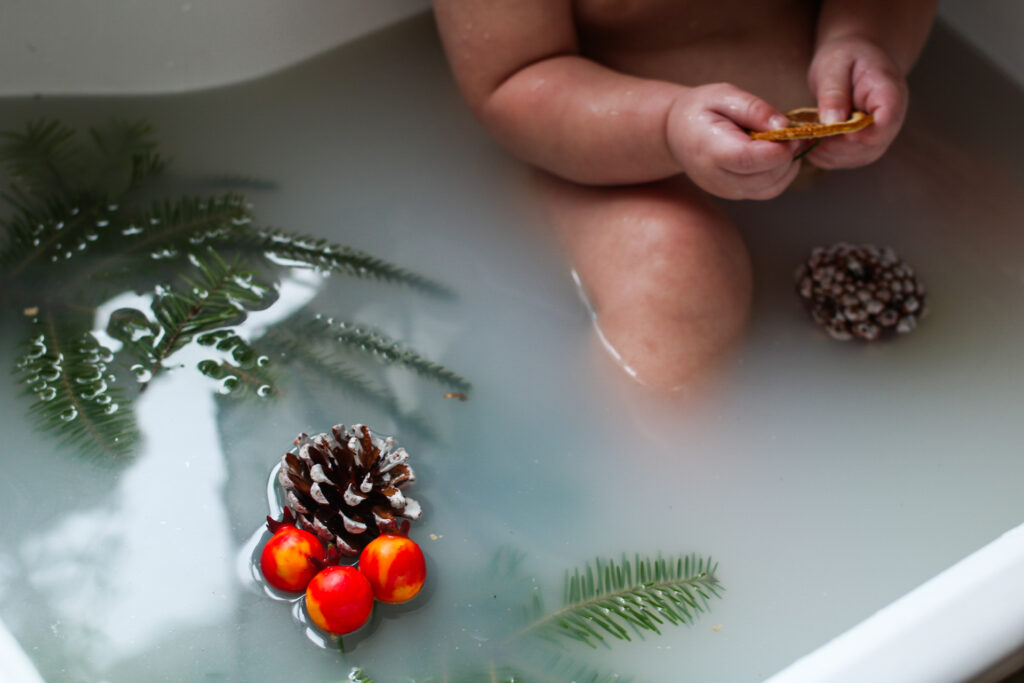
Looking for a festive and soothing experience for your little one this holiday season? A magical Christmas milk bath for your baby is the perfect combination of sensory play, relaxation, and photo-worthy moments. Plus, it’s gentle on your baby’s skin and easy to make with natural, calming ingredients.
Here’s how to create your very own Christmas milk bath:
Why a Milk Bath?
Milk baths are wonderful for babies because they help hydrate and nourish the skin. Milk contains lactic acid, which can gently exfoliate and leave your baby’s skin soft and smooth. Adding Christmas-inspired elements makes this bath not only therapeutic but also a fun holiday experience.
Christmas Milk Bath Recipe
Ingredients
• 1-2 cups of milk: Use breast milk, cow’s milk, or plant-based alternatives like oat or coconut milk.
• 1-2 tablespoons of baking soda: To soothe any irritation.
• A few drops of baby-safe essential oil: Lavender or chamomile are perfect for calming; avoid strong scents like peppermint.
• Decorative elements (optional):
• Cranberries and oranges (for a pop of festive color).
• Fresh pine sprigs (ensure they’re non-toxic and baby-safe).
• Edible holiday flowers like red and white roses or marigolds (check for safety).
Optional Add-Ons
• Baby bath toys: Look for Christmas-themed toys like rubber snowmen or candy canes.
• Holiday lights: String soft, warm fairy lights around the tub (not in it!) for an extra cozy ambiance.
How to Prepare the Christmas Milk Bath
1. Set Up the Bath Space:
• Fill the baby bath or sink with warm water, about 3-4 inches deep, ensuring the temperature is perfect for your baby.
2. Add the Milk:
• Slowly pour in 1-2 cups of milk, mixing it with the water until it becomes cloudy. Adjust based on the size of your tub.
3. Add Baking Soda:
• Stir in baking soda to balance pH levels and create a soothing effect on your baby’s skin.
4. Incorporate Essential Oil:
• Add a drop or two of baby-safe essential oil and mix gently.
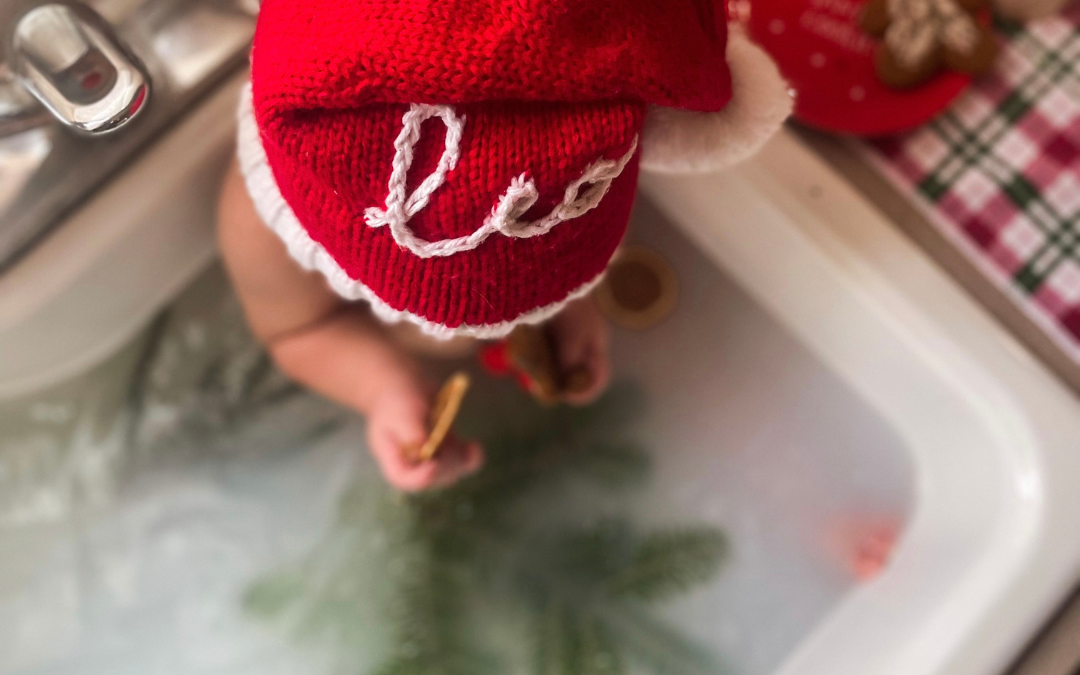
5. Decorate:
• Float cranberries, pine sprigs, and flowers on the surface. These elements add a festive touch and create beautiful photo opportunities.
6. Enjoy the Experience:
• Place your baby in the bath, allowing them to splash and explore while being supervised.
Safety Tips for Milk Baths
• Always check ingredients for allergies, especially if you’re introducing something new to your baby.
• Avoid using glitter or other non-edible decorations that may irritate your baby’s skin.
• Never leave your baby unattended in the bath, even for a moment.
• Make sure the water is warm but not hot, around 98-100°F (36-37°C).
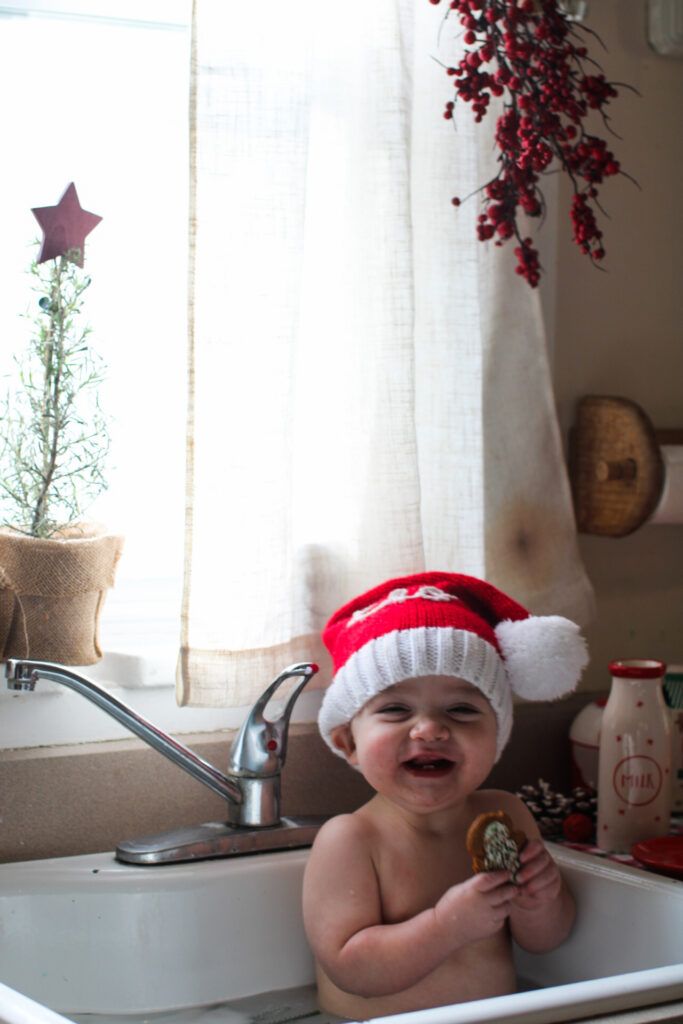
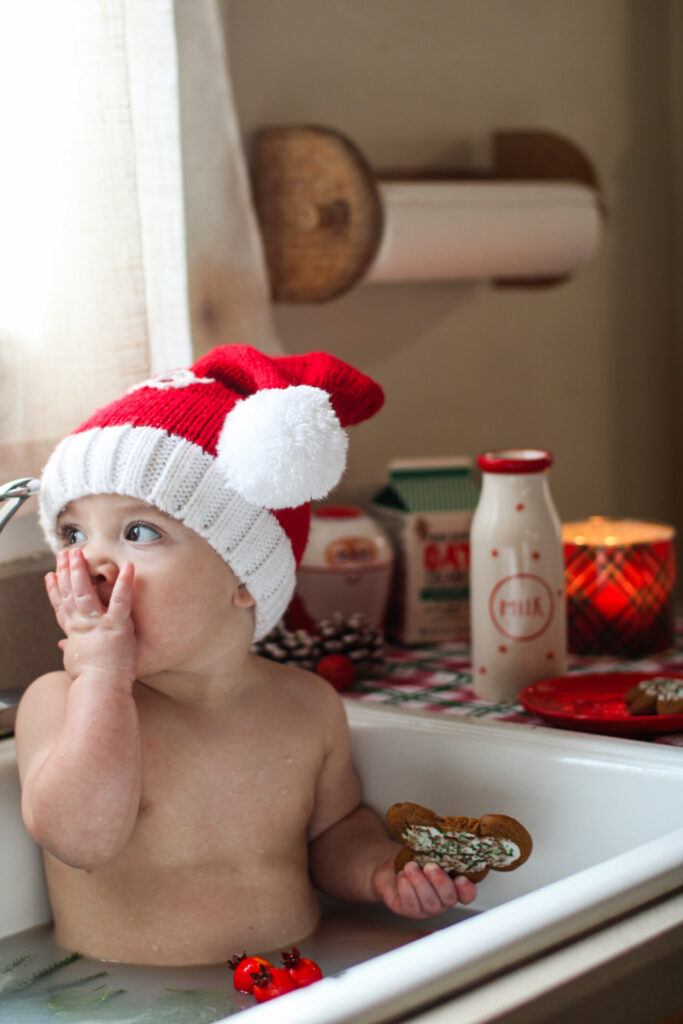
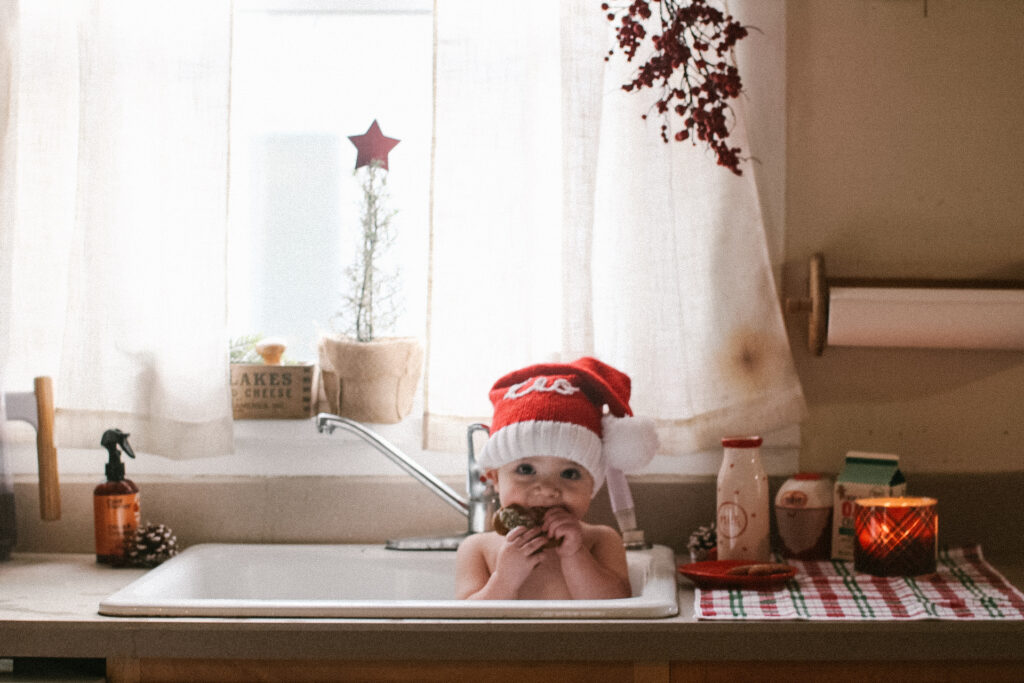
The Perfect Moment to Capture
A Christmas milk bath is not just a fun bonding experience; it’s also a great opportunity for holiday photos. Dress your baby in a Santa hat or a cozy Christmas headband to complete the look. With the milk’s soft glow and festive elements floating around, you’ll have photos to cherish for years to come.
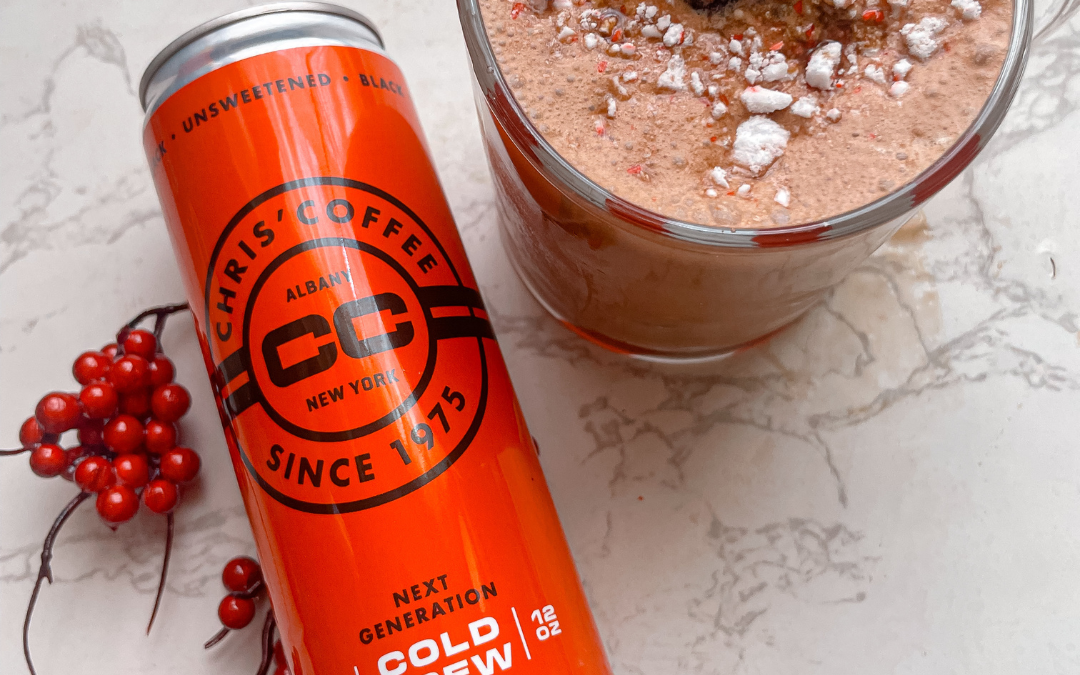
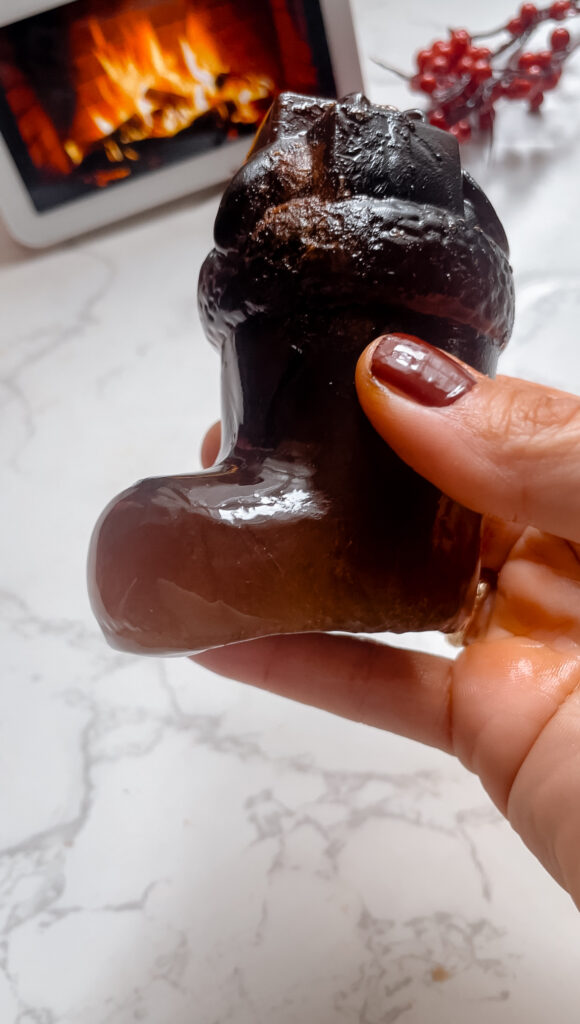
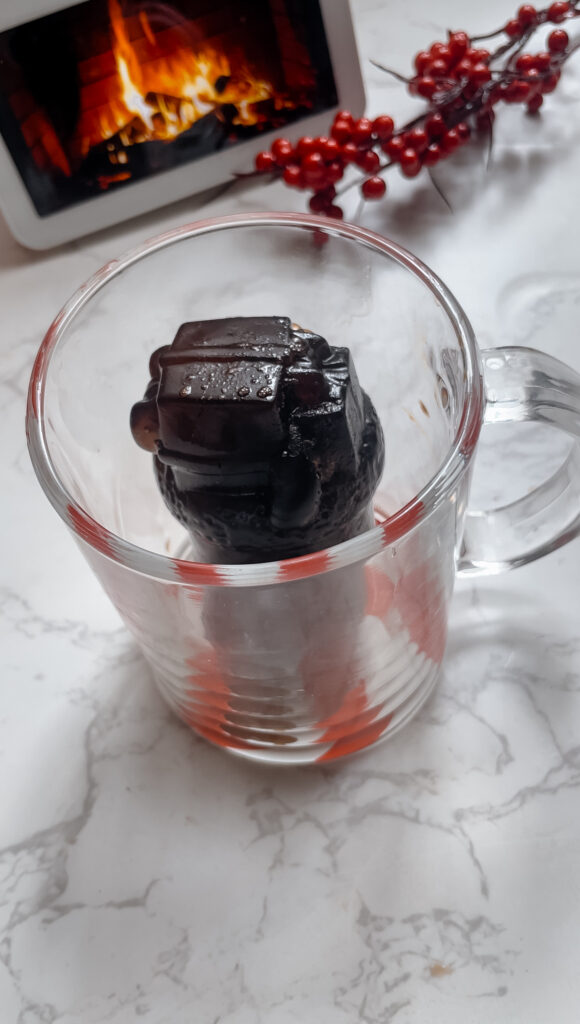
The holidays are here, and what better way to celebrate than with a festive and flavorful peppermint mocha cold foam cold brew? This peppermint mocha cold foam cold brew features the smooth, rich flavor of Chris’s Coffee as the base, complemented by holiday-inspired ingredients.
This is a sponsored post.
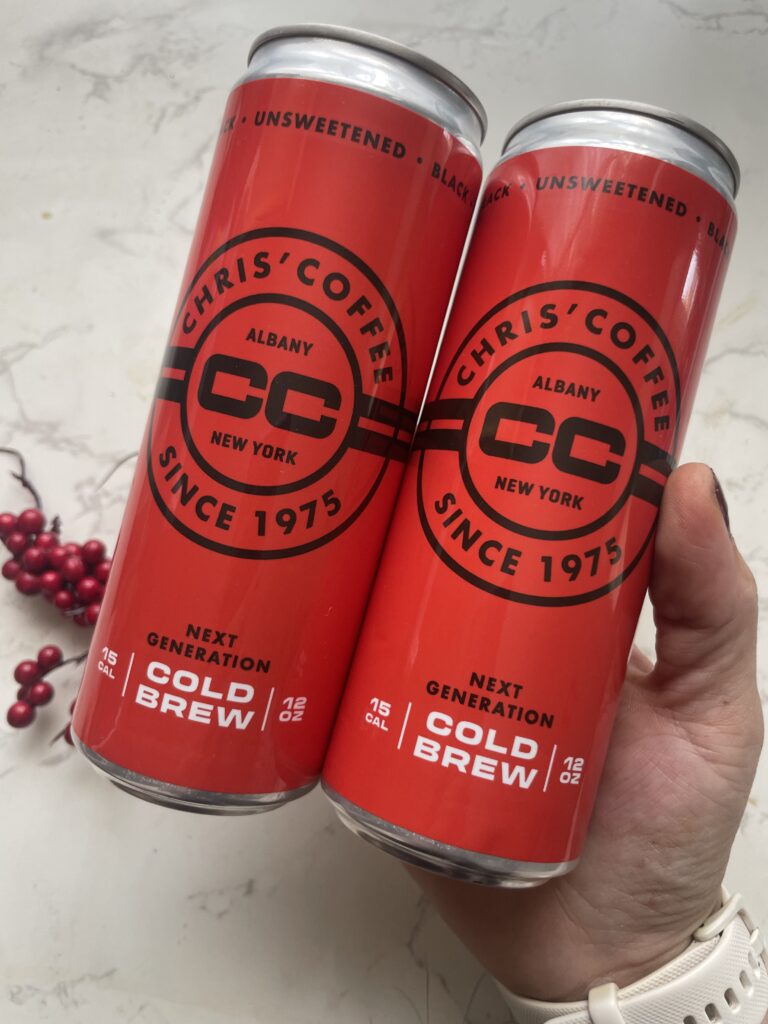
Why Chris’s Coffee Is the Perfect Choice
Chris’s Coffee is known worldwide for its exceptional quality and signature blends, making it a standout option for any coffee lover. As a leading importer of Italian-made home espresso machines, Chris’s Coffee also provides a wide range of products to enhance your at-home brewing experience. The unique, bold taste of their cold brew makes this peppermint mocha recipe truly shine.
2. Sweeten Your Coffee: Add 1 tablespoon of peppermint simple syrup to the cold brew and stir until combined. The peppermint syrup infuses the drink with a refreshing and festive flavor that pairs beautifully with the coffee.
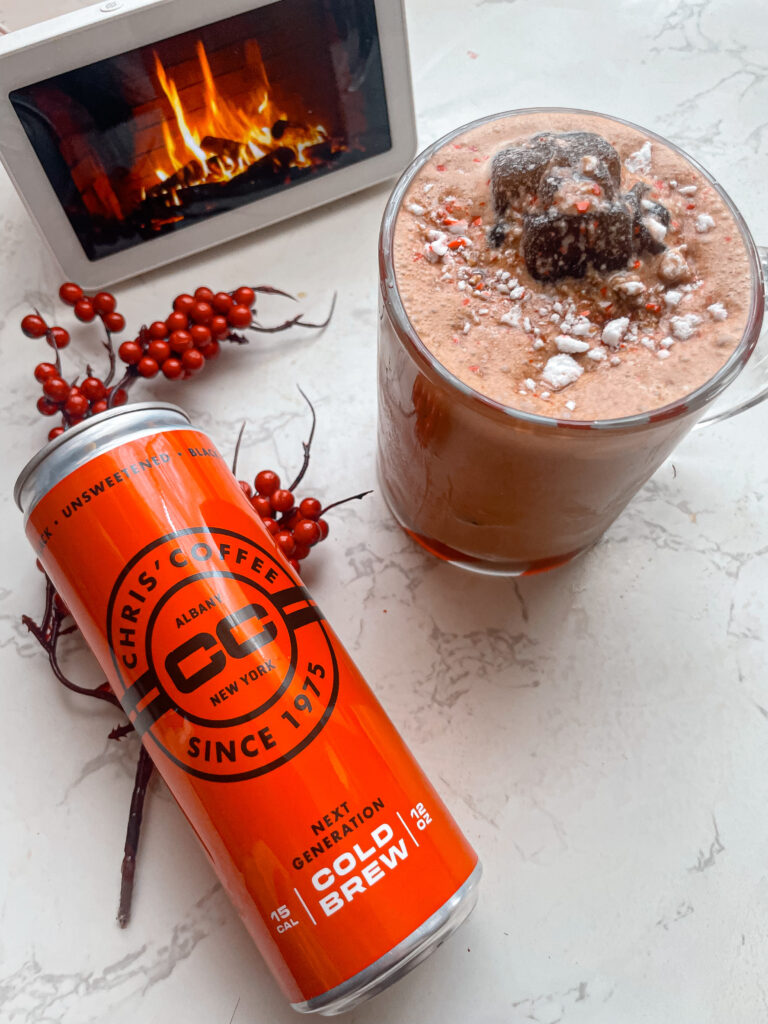
3. Make the Peppermint Mocha Cold Foam: In a small mixing container, combine ¼ cup of heavy cream, 1 tablespoon of chocolate syrup, and ¼ teaspoon of peppermint extract. Use a handheld milk frother to whip the mixture until it becomes light and fluffy. This rich cold foam adds a decadent layer of flavor to the drink.
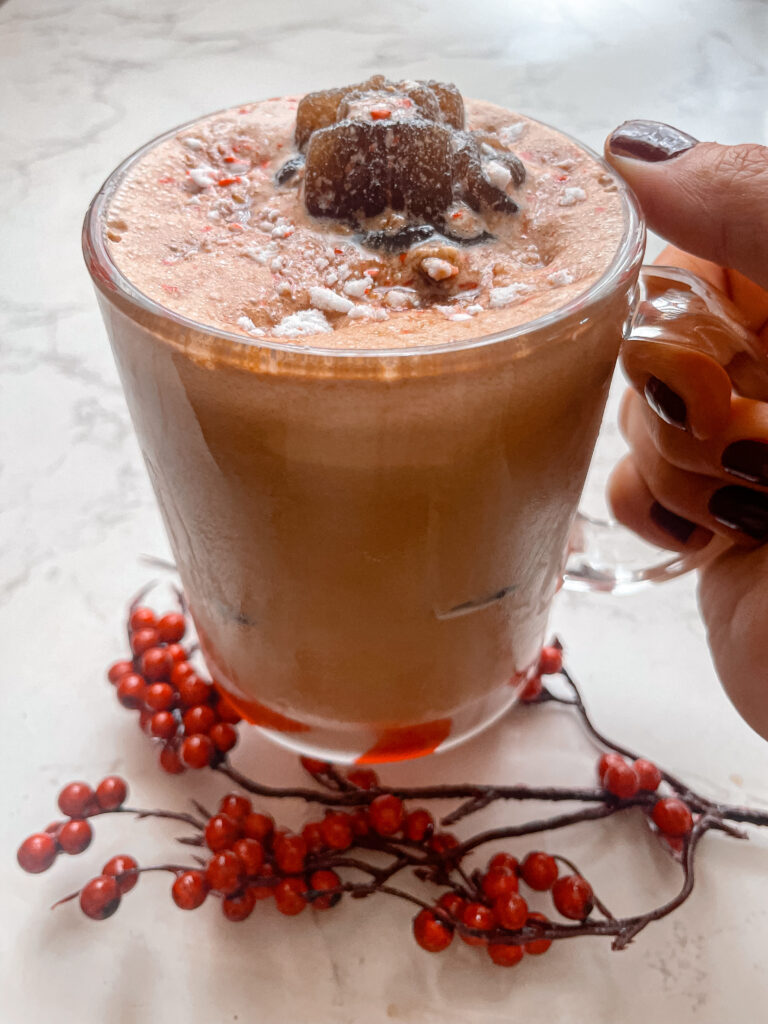
4. Assemble the Drink: Gently spoon the peppermint mocha cold foam over the top of the cold brew. The creamy foam floats beautifully and infuses the drink with chocolate and peppermint goodness.
5. Add a Festive Garnish: Sprinkle crushed candy cane over the cold foam for a final holiday touch. The red and white candy cane pieces add a pop of color and a satisfying peppermint crunch.
Why This Recipe Stands Out
The combination of Chris’s Coffee and festive ingredients makes this drink a standout holiday treat. The bold, smooth cold brew pair perfectly with the creamy chocolate and refreshing peppermint. The drink is indulgent yet refreshing, perfect for celebrating the holiday season.
Enjoy the Holiday Spirit with Chris’s Coffee
This peppermint mocha cold foam cold brew is a simple way to bring holiday cheer into your everyday coffee routine. Using Chris’s Coffee ensures a rich and flavorful experience, making this recipe a must-try for any coffee lover.
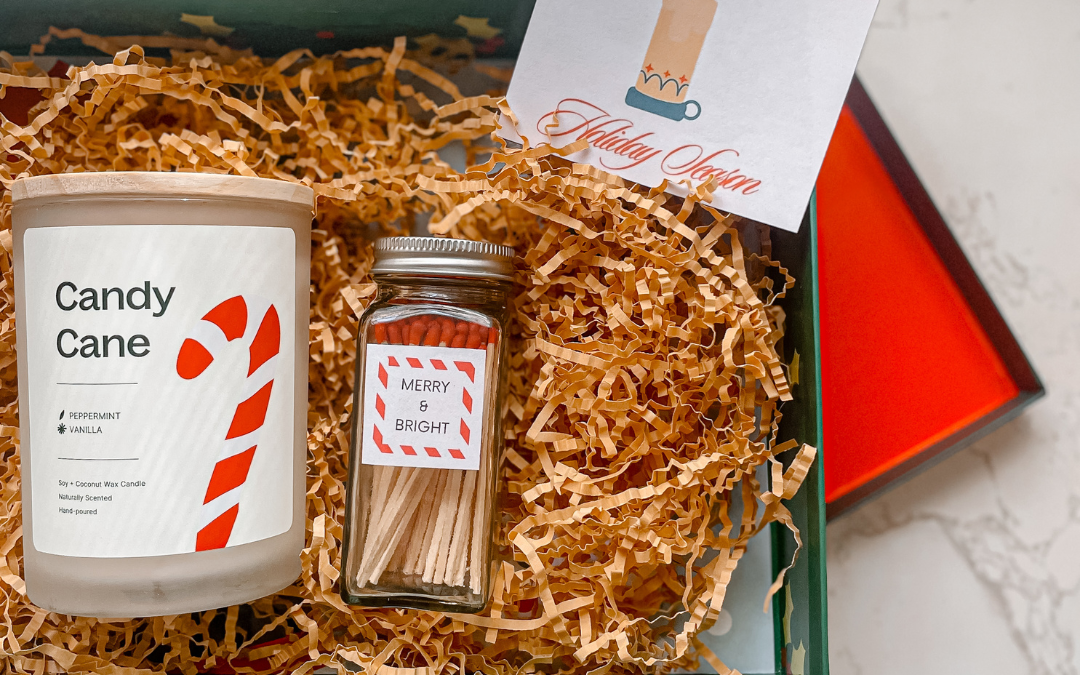
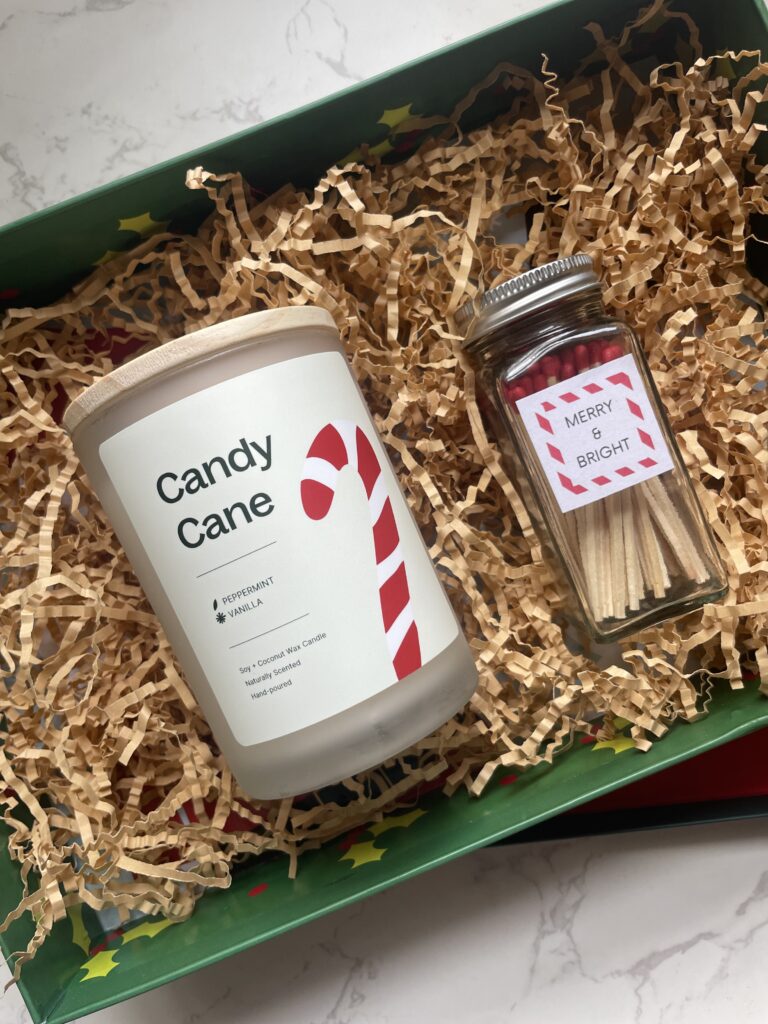
The holiday season is the perfect time for creating thoughtful, handmade gifts. This year, I’m bringing you a simple but charming DIY holiday gift idea that’s both practical and cozy: a holiday-scented candle paired with a repurposed spice jar match holder. This gift is ideal for anyone who loves the warm ambiance of candlelight and makes for a lovely, budget-friendly present. Plus, I’m including a printable label and gift tag to make it extra special!
This post contains affiliate links
What You’ll Need:
• An empty spice jar (cleaned and dried)
• Matches (long matches work great for aesthetics and ease)
• Printable labels and gift tags (scroll down to download)
• Sandpaper or striking paper (for match ignition)
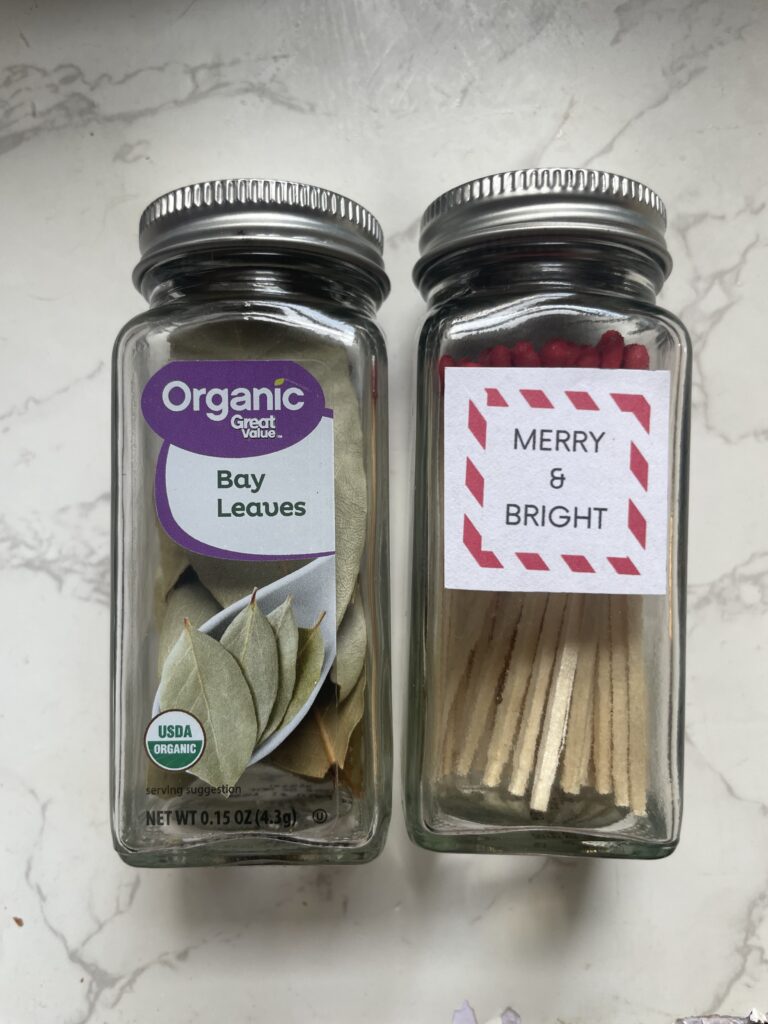
Step 1: Clean and Prepare Your Spice Jar
To start, take any empty spice jar you have on hand. Remove any labels by soaking the jar in warm, soapy water. A clean surface will ensure that your new label will adhere smoothly.
Step 2: Add Your Matches
Once your jar is dry, fill it with matches. You can use regular matches or the longer ones that are great for lighting candles in deeper holders. They give a stylish look and are easy to handle.
Step 3: Create the Strike Surface
To make your jar functional, cut a small piece of sandpaper or use adhesive striking paper and affix it to the bottom or side of the jar. This will serve as the strike area for lighting the matches. Make sure to use a surface that works with your type of matches!
Step 4: Label & Personalize
Print out the label I’ve created and stick it to the spice jar. You can use a glue stick for regular paper or use printable sticker paper. This label adds a festive touch, making it clear that this is more than just a simple spice jar – it’s now a holiday match holder! Attach the gift tag to the candle or the match jar with some twine or ribbon to complete the look.
Step 5: Gift It!
Pair the match holder with a holiday candle from Plant Therapy. Their seasonal scents will make any room feel cozy and inviting. Bundle them together for a gift that’s sure to be appreciated during the chilly months.
Why It’s a Great Gift
This DIY match holder and candle set brings a sense of warmth and personality. It’s perfect for anyone who loves creating an inviting space and makes for a unique, thoughtful gift. The repurposed jar not only gives it a handmade feel but also keeps it eco-friendly.
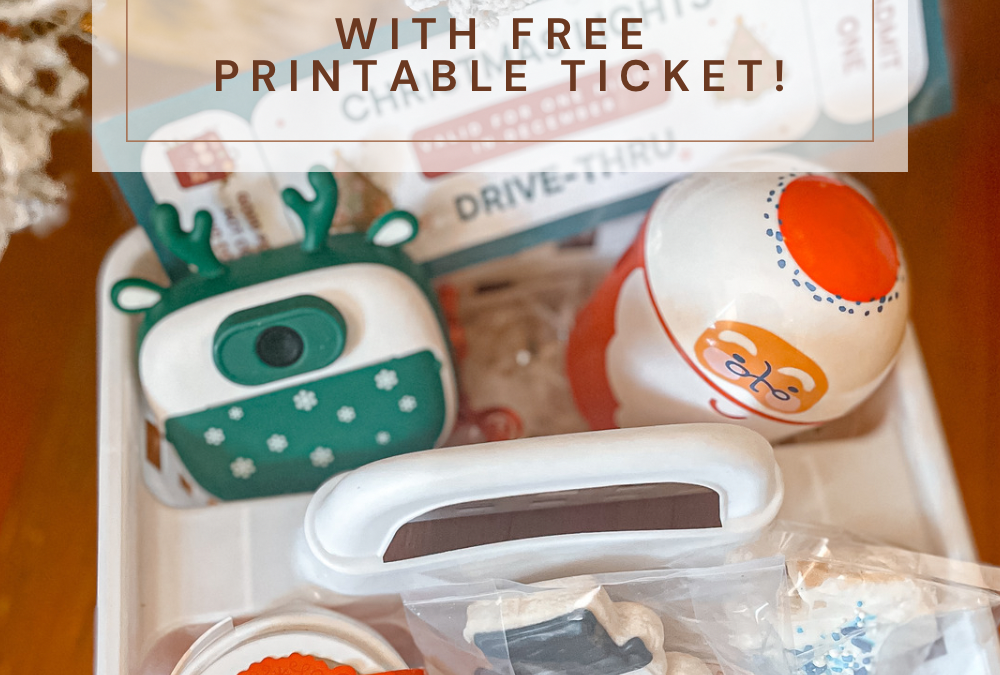
Spreading Cheer: Crafting the Perfect Holiday Lights Drive-Thru Basket for Families
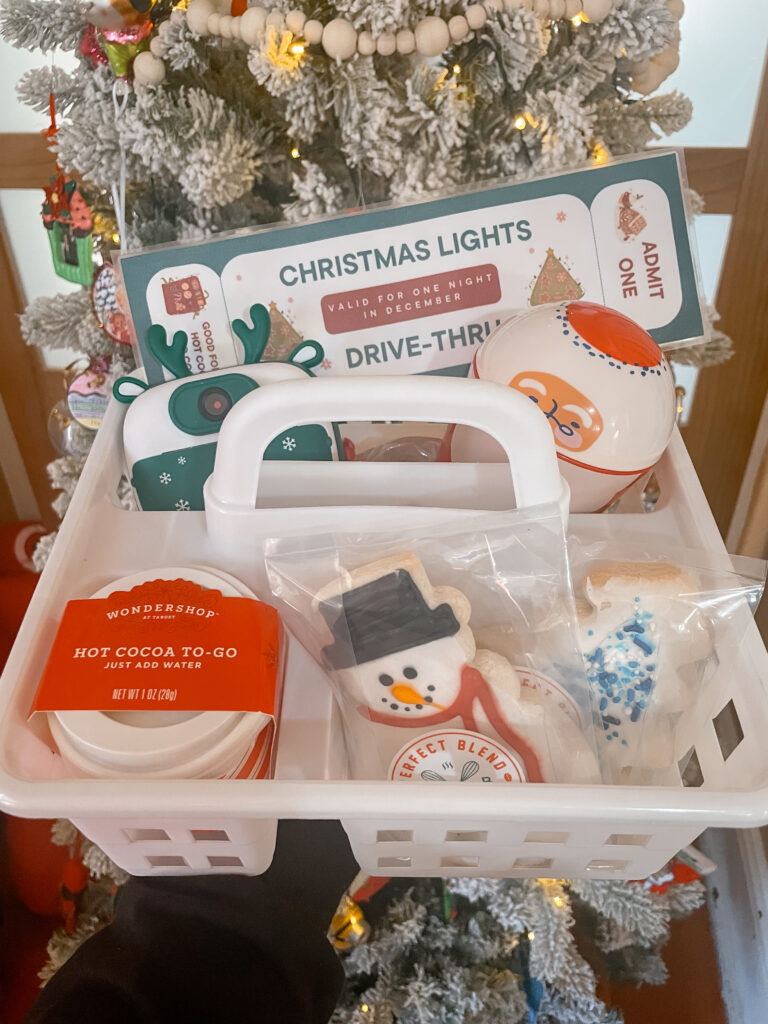
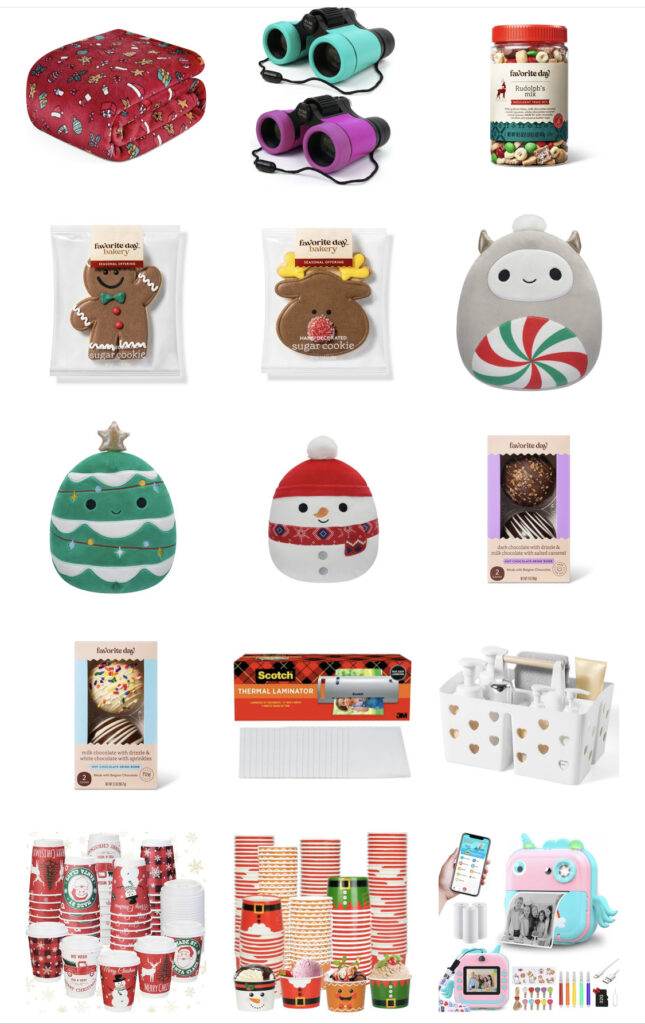
‘Tis the season for spreading joy and creating magical memories with loved ones! One delightful way to enhance your family’s holiday lights drive-thru experience is by preparing a festive basket filled with delightful goodies. In this blog post, I’ll guide you through assembling the perfect basket, complete with a scrumptious cookie, take-and-go hot chocolate, reindeer food snack mix, and a charming free printable ticket.
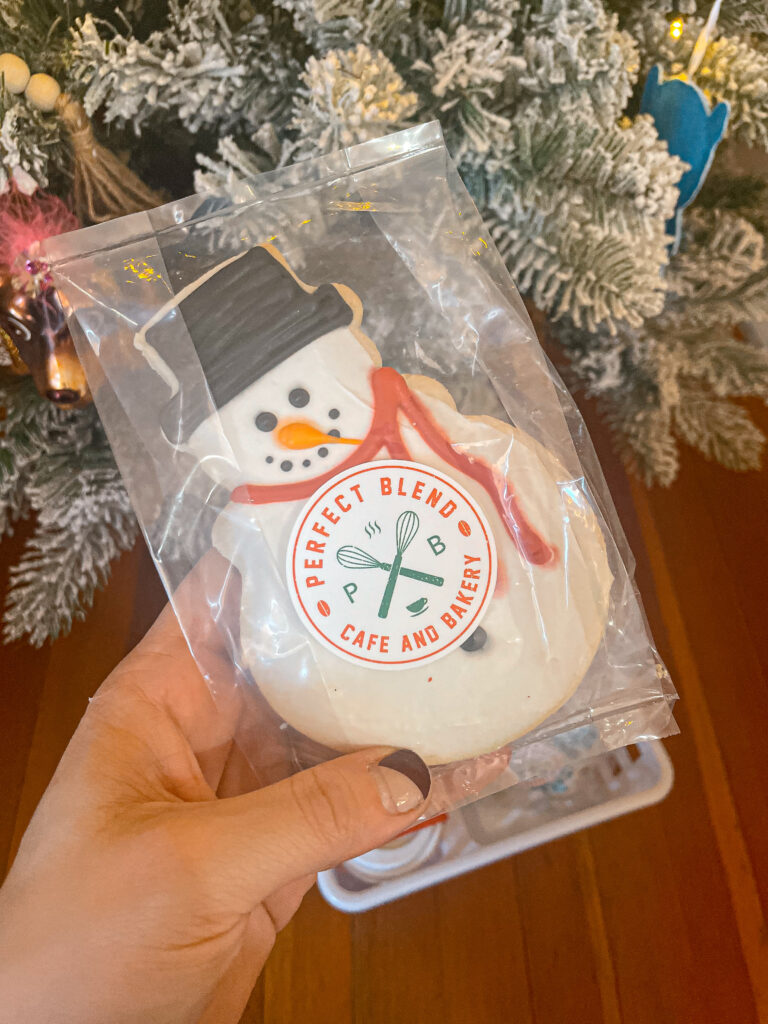
The Sweet Touch – Festive Cookies
Start your basket on a sweet note with homemade or store-bought festive cookies. Whether it’s classic sugar cookies shaped like snowflakes or gingerbread men adorned with icing, these treats will add a touch of sweetness to your holiday lights adventure.
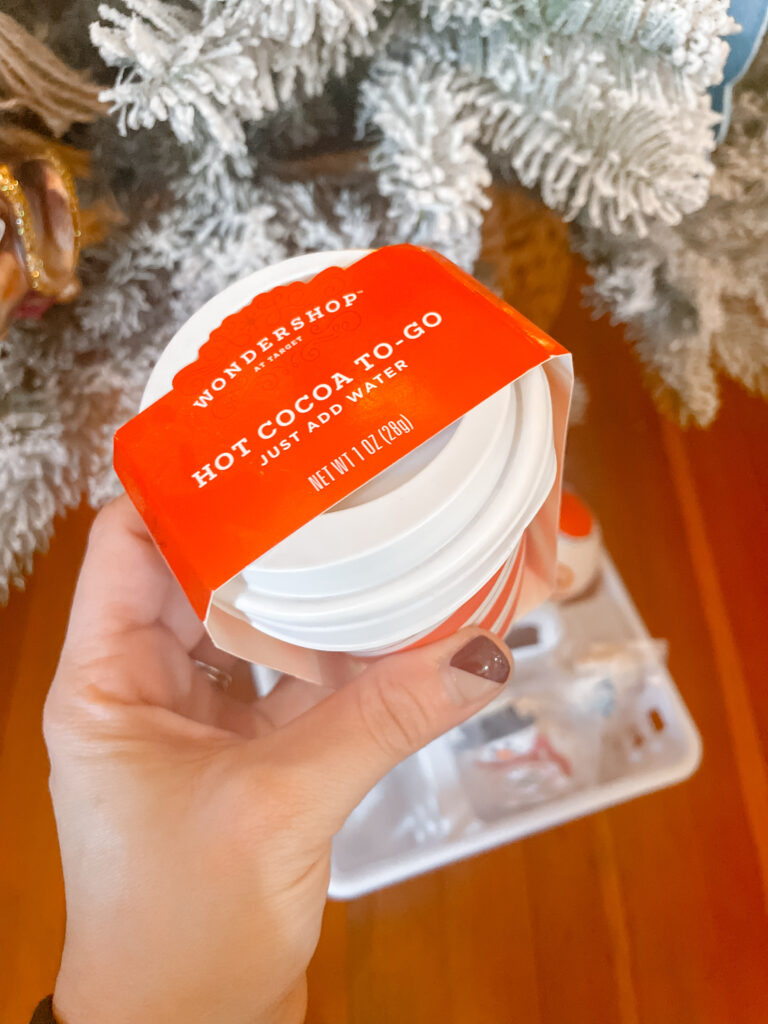
Combat the winter chill by including packets of take-and-go hot chocolate. Opt for individual servings or create DIY hot chocolate cones with layered cocoa, marshmallows, and festive sprinkles. Your family can enjoy a warm cup of cocoa while marveling at the twinkling lights.
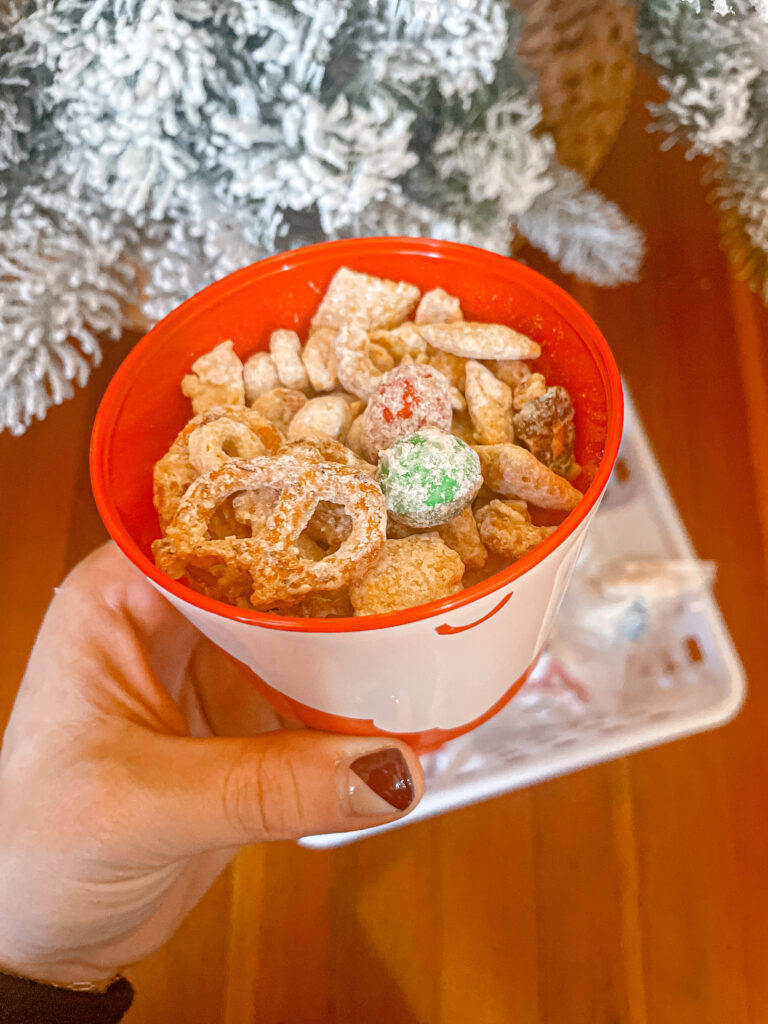
Reindeer Ready – Snack Mix
Fuel your holiday lights tour with a playful and delicious reindeer food snack mix. Combine pretzels, chocolate-covered candies, and Chex Cereal and peanuts , then package it in festive bags or a cute snack cup. Not only is it a tasty treat, but it also adds a touch of whimsy to the evening as your family munches on this reindeer-approved snack.
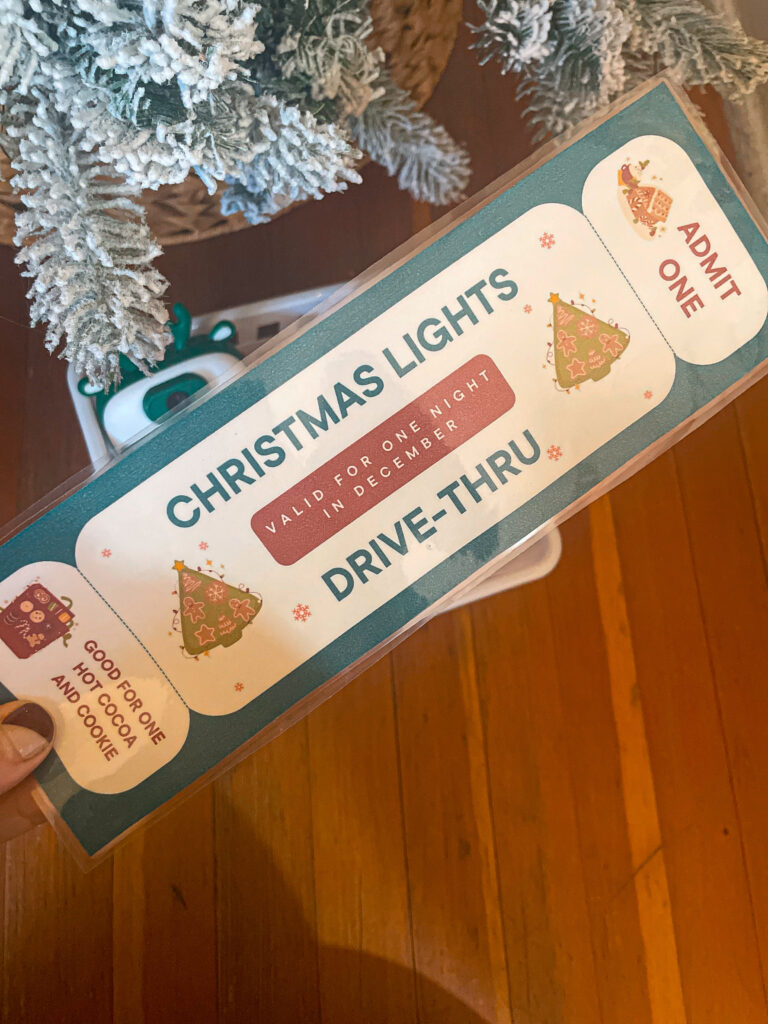
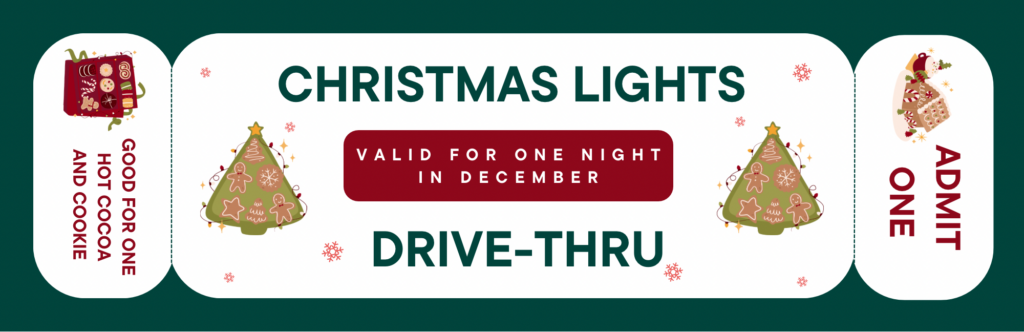
Admittance Granted – Free Printable Ticket
Add an extra dose of holiday magic by including a free printable ticket to your lights drive-thru. This not only serves as a creative touch but also adds an element of anticipation for your little ones. I laminated mine so we can use it for years to come.
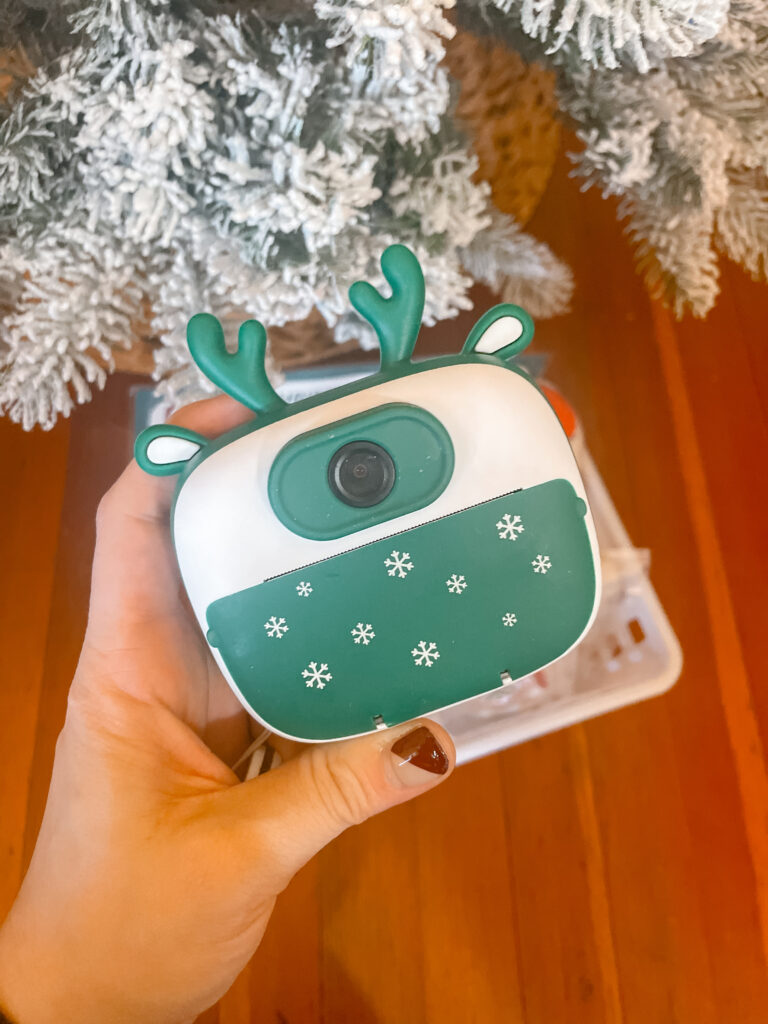
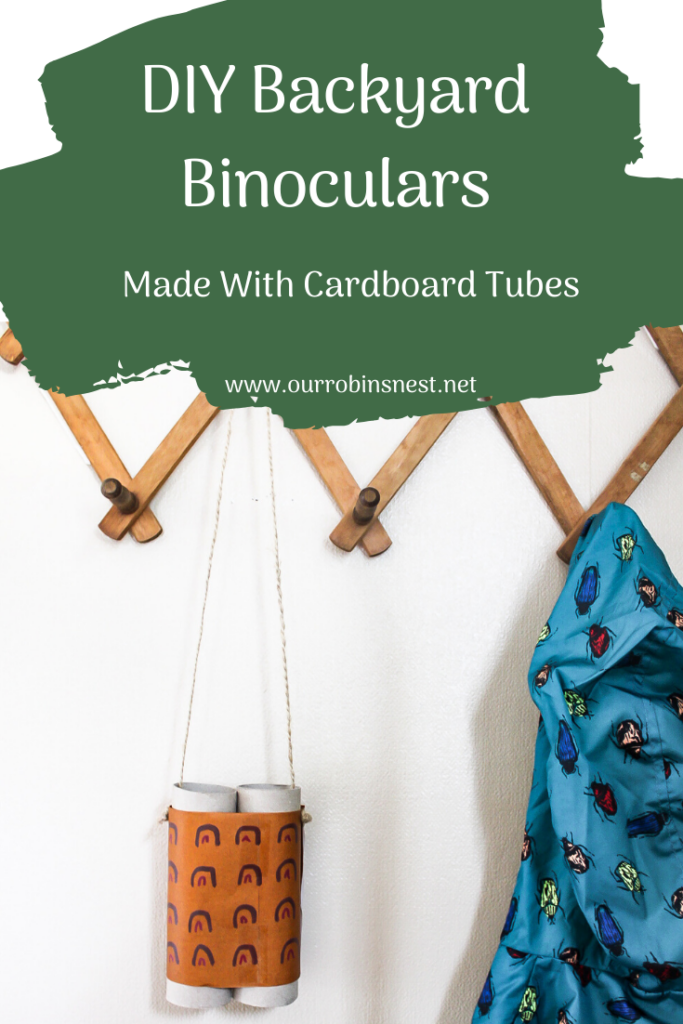
Add other surprises like a stuffed toy, binoculars, camera to capture the lights or more treats!
As you embark on your holiday lights tour, armed with your festive basket, you’re sure to create lasting memories filled with warmth and joy. From the delightful cookies to the cozy hot chocolate and whimsical reindeer snack mix, every element contributes to the magic of the season. So, bundle up, grab your basket, and get ready for a night of enchantment and family fun!
If motherhood has you stressed and you feel like you’ve lost your creativity, I am here to help! Here you will find easy recipes, simple DIY’s, affordable styles, and what to read next. I believe we all have a creative side, some of us just need a little help to find it. I will help inspire you to have creative expression without standards.