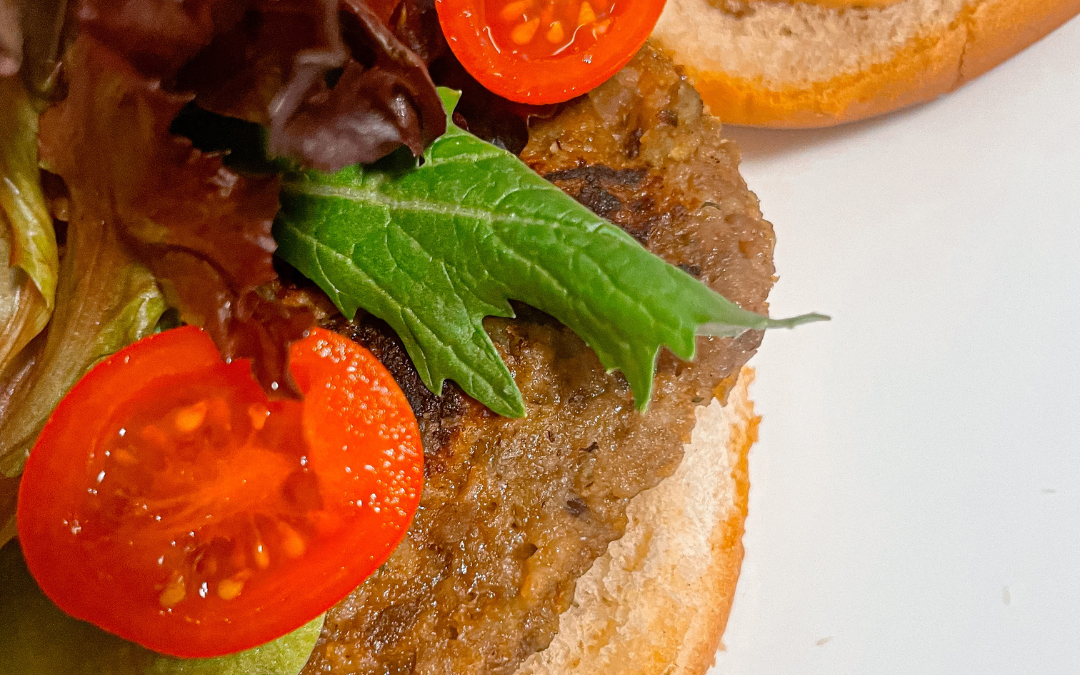
Summer is the perfect time to embrace light, refreshing meals that showcase the bounty of the season. One of my favorite summer dishes is my homemade eggplant burger patties. They are a delightful vegetarian option that’s both hearty and satisfying. Today, I’ll share not only the recipe for these delicious patties but also some ideas for creating a complete summer meal around them.
The Star of the Show: Eggplant Burger Patties
Ingredients:
1 large eggplant, peeled and diced
1 small onion, finely chopped
2 cloves garlic, minced
1 cup breadcrumbs
1/4 cup grated Parmesan cheese (optional)
1 egg, beaten
1 teaspoon dried oregano
1 teaspoon dried basil
Salt and pepper to taste
Olive oil for cooking
Instructions:
Prepare the Eggplant:
Begin by peeling and dicing the eggplant into small cubes.
Heat a tablespoon of olive oil in a large skillet over medium heat.
Add the diced eggplant and cook until it becomes soft and golden brown, about 10 minutes. Remove from heat and let it cool slightly.
Mix the Ingredients:
In a large mixing bowl, combine the cooked eggplant, chopped onion, minced garlic, breadcrumbs, grated Parmesan (if using), beaten egg, oregano, basil, salt, and pepper.
Mix until all ingredients are well incorporated.
Form the Patties:
Using your hands, form the mixture into burger-sized patties.
If the mixture is too wet, add a bit more breadcrumbs until you reach the desired consistency.
Cook the Patties:
Heat a tablespoon of olive oil in a skillet over medium heat.
Cook the patties for about 4-5 minutes on each side, or until they are golden brown and firm.
Serve:
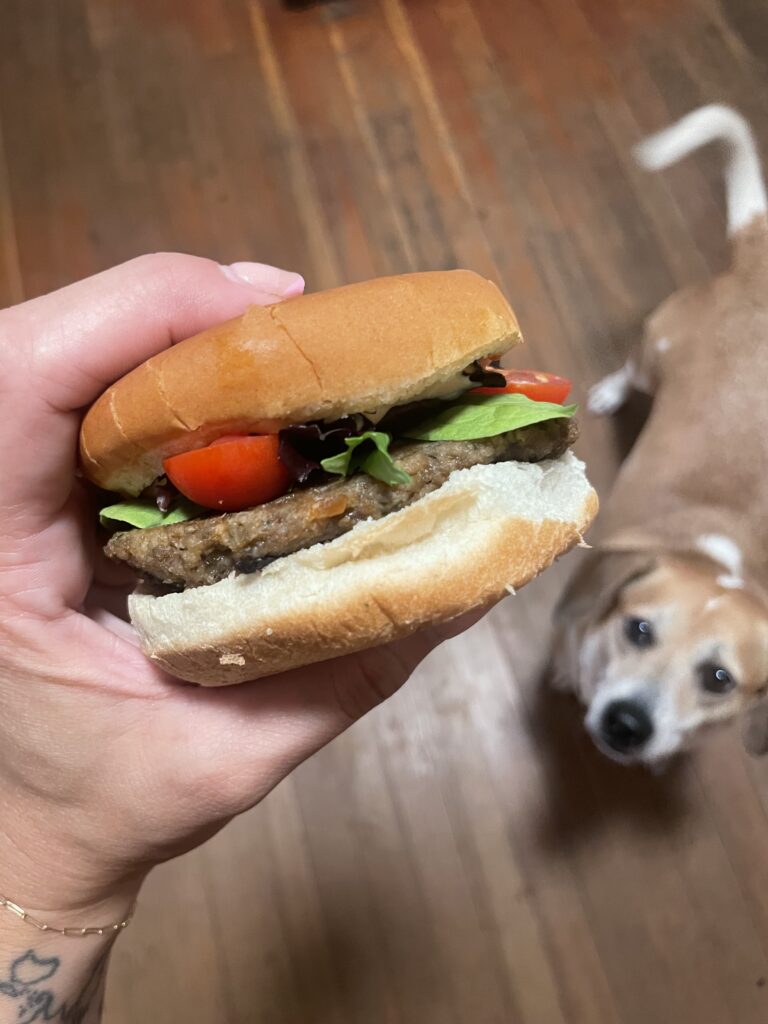
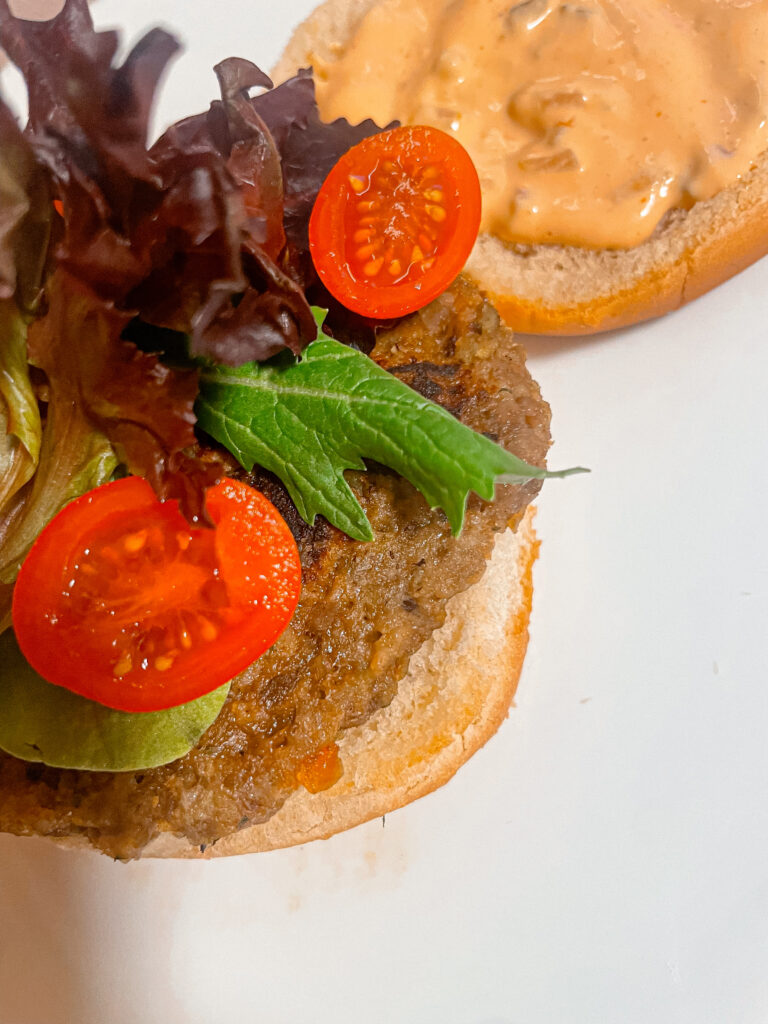
Serve the patties on toasted buns with your favorite toppings and condiments. I love adding fresh lettuce, tomato slices, and a dollop of tzatziki or homemade secret sauce.
Building the Perfect Summer Meal
Now that you have your delicious eggplant burger patties, let’s build a complete summer meal around them.
1. Fresh Summer Salad: A crisp, refreshing salad pairs perfectly with these savory patties. Try a Greek salad with tomatoes, cucumbers, red onions, Kalamata olives, and feta cheese, drizzled with a simple lemon vinaigrette.
2. Grilled Vegetables: Take advantage of summer’s vegetable bounty by grilling some bell peppers, zucchini, and corn on the cob. A light brush of olive oil and a sprinkle of salt and pepper is all you need to enhance their natural flavors.
This eggplant burger patties recipe is a versatile and delightful addition to any summer menu. It’s a wonderful way to enjoy the flavors of the season while keeping your meal light and nutritious. Whether you’re hosting a backyard barbecue or simply enjoying a quiet dinner on the patio, these patties will be a hit. Enjoy the taste of summer with every bite!
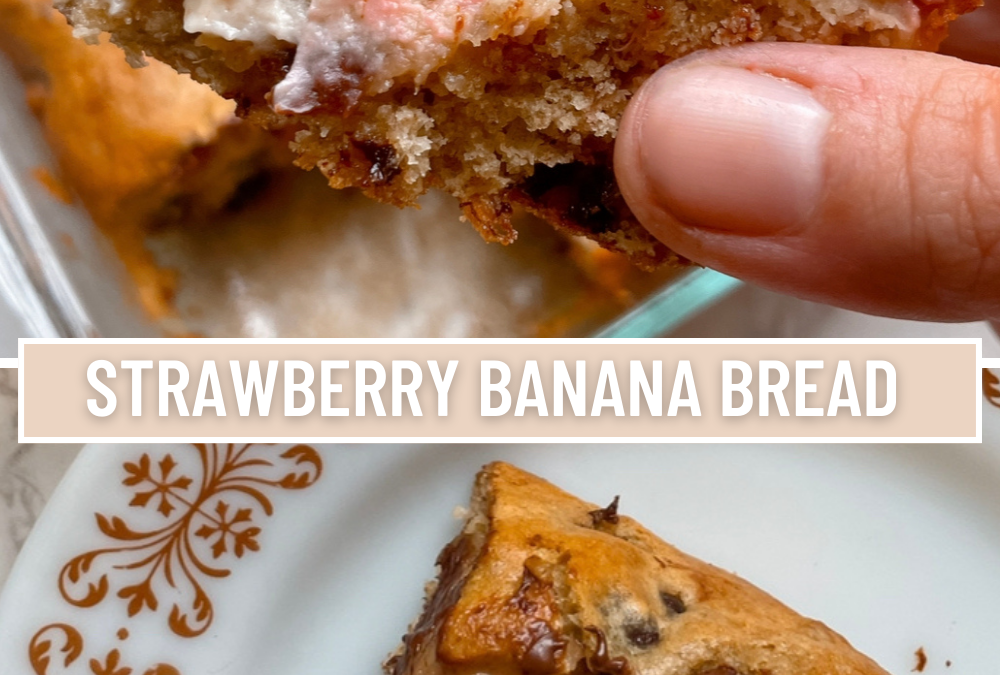
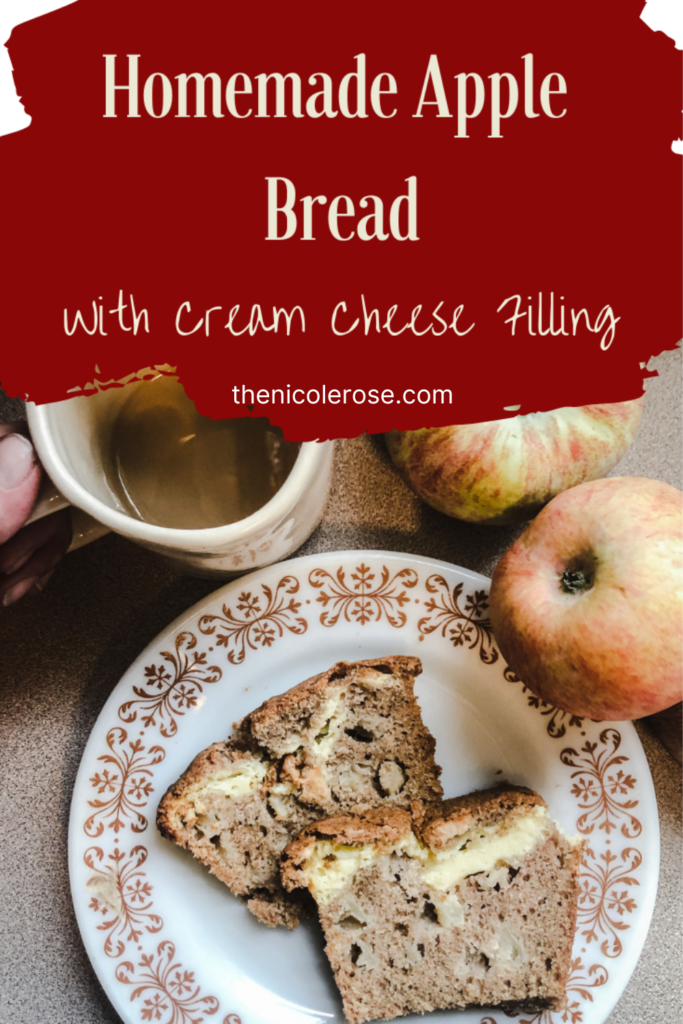
Craving a decadent treat that combines the fruity goodness of strawberries, the creamy richness of cheesecake, and the comfort of homemade banana bread? Look no further! In this recipe, we’ll guide you through creating a mouthwatering delight: Strawberry Cheesecake Banana Bread. Prepare to tantalize your taste buds and impress your friends and family with this irresistible dessert!
Ingredients:
2 ripe bananas, mashed
1/2 cup unsalted butter, melted
1 cup granulated sugar
2 large eggs
1 teaspoon vanilla extract
2 cups all-purpose flour
1 teaspoon baking powder
1/2 teaspoon baking soda
1/4 teaspoon salt
1 cup fresh strawberries, chopped
1 cup cream cheese, softened
1/4 cup powdered sugar
Chocolate chips
1 teaspoon lemon zest (optional)
Additional strawberries for garnish (optional)
Instructions:
Preheat the oven to 350°F (175°C). Grease a 9×5-inch loaf pan and set it aside.
In a large mixing bowl, combine the mashed bananas, melted butter, and granulated sugar. Mix well until the sugar has dissolved.
Add the eggs one at a time, beating well after each addition. Stir in the vanilla extract.
In a separate bowl, whisk together the flour, baking powder, baking soda, and salt. Gradually add the dry ingredients to the banana mixture, mixing until combined. Be careful not to overmix, as this can result in dense bread.
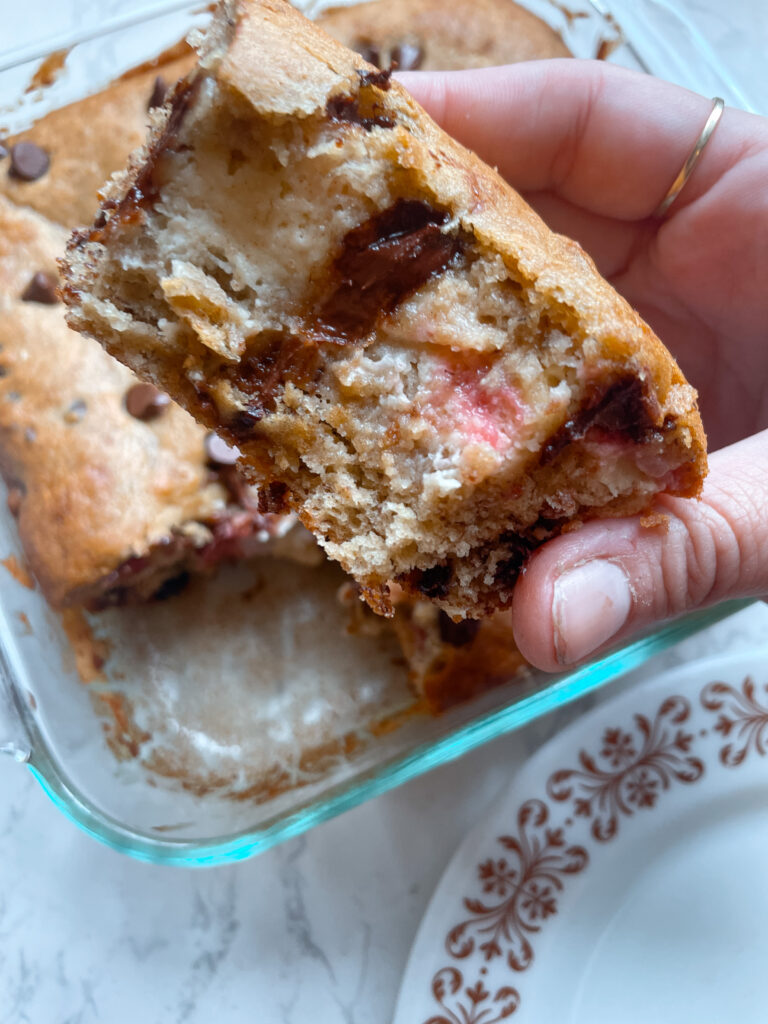
Gently fold in the chopped strawberries and chocolate chips, ensuring they are evenly distributed throughout the batter.
Mix the cream cheese, powdered sugar, and lemon zest in a small bowl until smooth and creamy.
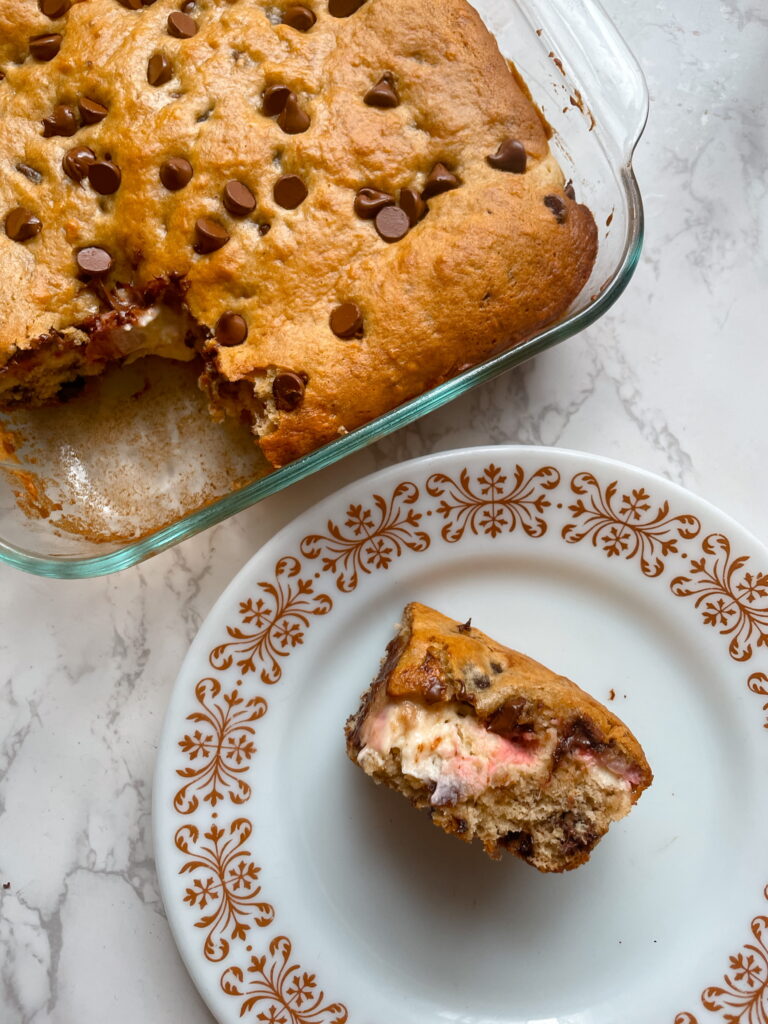
Pour half of the banana bread batter into the prepared loaf pan—spoon dollops of the cream cheese mixture on top. Use a knife to gently swirl the cream cheese mixture into the batter, creating a marbled effect.
Pour the remaining banana bread batter over the top, smoothing it out evenly.
Bake in the preheated oven for 50-60 minutes, or until a toothpick inserted into the center comes out clean. The bread should be golden brown and firm to the touch.
Remove the loaf pan from the oven and allow the bread to cool for about 10 minutes. Then transfer it to a wire rack to cool completely.
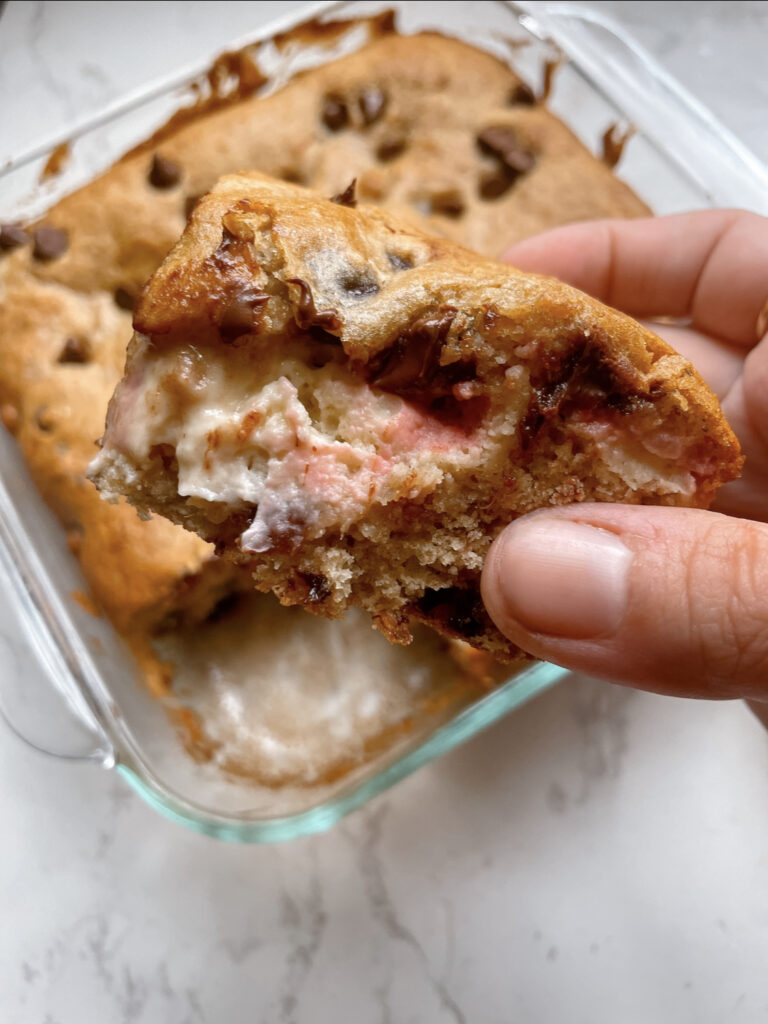
Once cooled, slice the Strawberry Cheesecake Banana Bread into thick, tempting pieces. For an extra touch, garnish each slice with a fresh strawberry.
Serve and savor this delightful creation with a cup of coffee or a cold glass of milk. Enjoy the heavenly combination of banana bread, creamy cheesecake, and bursts of strawberry goodness!
Tips for Perfecting Your Strawberry Cheesecake Banana Bread
Use ripe bananas: The riper the bananas, the sweeter and more flavorful your banana bread will be. Look for bananas with brown spots on the peel, as they indicate ripeness and will mash easily.
Don’t overmix the batter: When adding the dry ingredients to the wet mixture, mix until just combined. Overmixing can lead to a dense and tough bread. A few lumps are okay; they’ll disappear during baking.
Fold in the strawberries gently: To prevent them from breaking down too much, gently fold them into the batter using a spatula. This will help maintain their texture and distribute them evenly.
Achieve the perfect swirl: When adding the cream cheese mixture, use a spoon to create dollops on top of the first layer of batter. Then, use a knife to gently swirl the cream cheese and batter together, creating a beautiful marbled effect.
Adjust baking time if needed: Ovens can vary, so keep an eye on your bread as it bakes. If the top is browning too quickly, tent it with foil to prevent burning. If the center needs more cooking time, cover the loaf pan with foil to continue baking without over-browning the top.
Allow it to cool completely: As tempting as it may be to dive into the bread right away, allowing it to cool completely before slicing will result in cleaner slices and a better texture. Patience pays off!
Strawberry Cheesecake Banana Bread recipe offers the perfect balance of flavors, combining the beloved classics of banana bread and cheesecake with the vibrant sweetness of fresh strawberries. Whether it’s for a special occasion or a delightful indulgence, this mouthwatering treat is sure to be a crowd-pleaser. So, gather your ingredients, preheat your oven, and get ready to experience a slice of pure bliss!
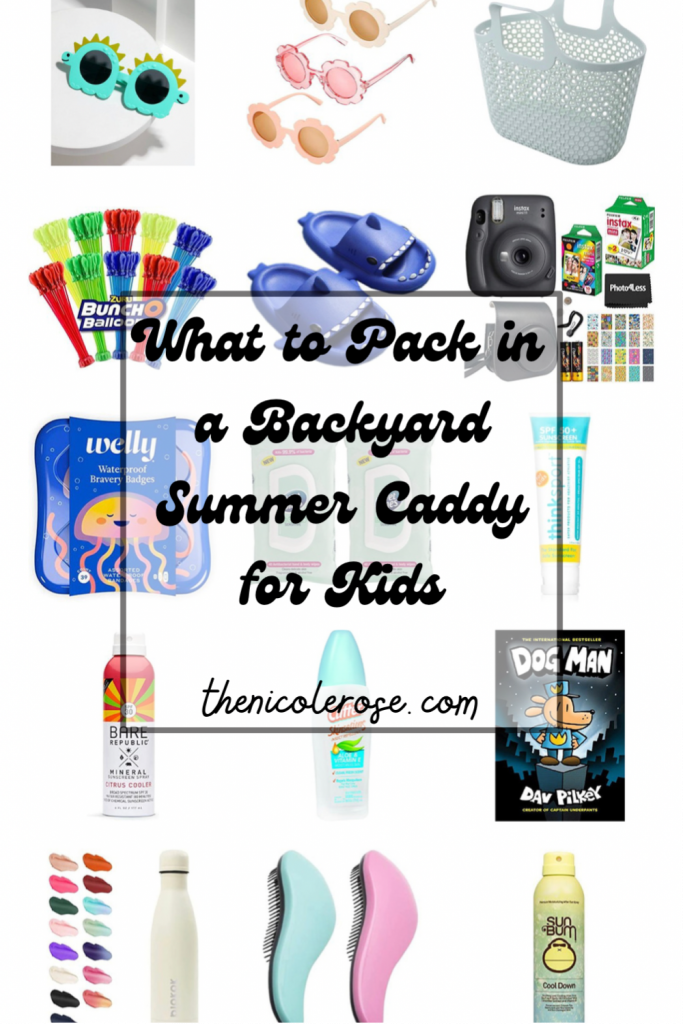
As the temperature rises and the school bells ring for the last time, it’s time to embrace the joys of summer with your little ones. Whether you’re planning a family vacation, beach trips, or simply spending quality time in your backyard, it’s essential to ensure your kids have everything they need to stay cool, hydrated, and entertained. Let’s explore 6 must-have summer essentials for kids that will make their summer days filled with frozen treats, water play, and endless fun. Let’s dive in!
6 Must-Have Summer Essentials for Kids: Stay Cool and Have Fun
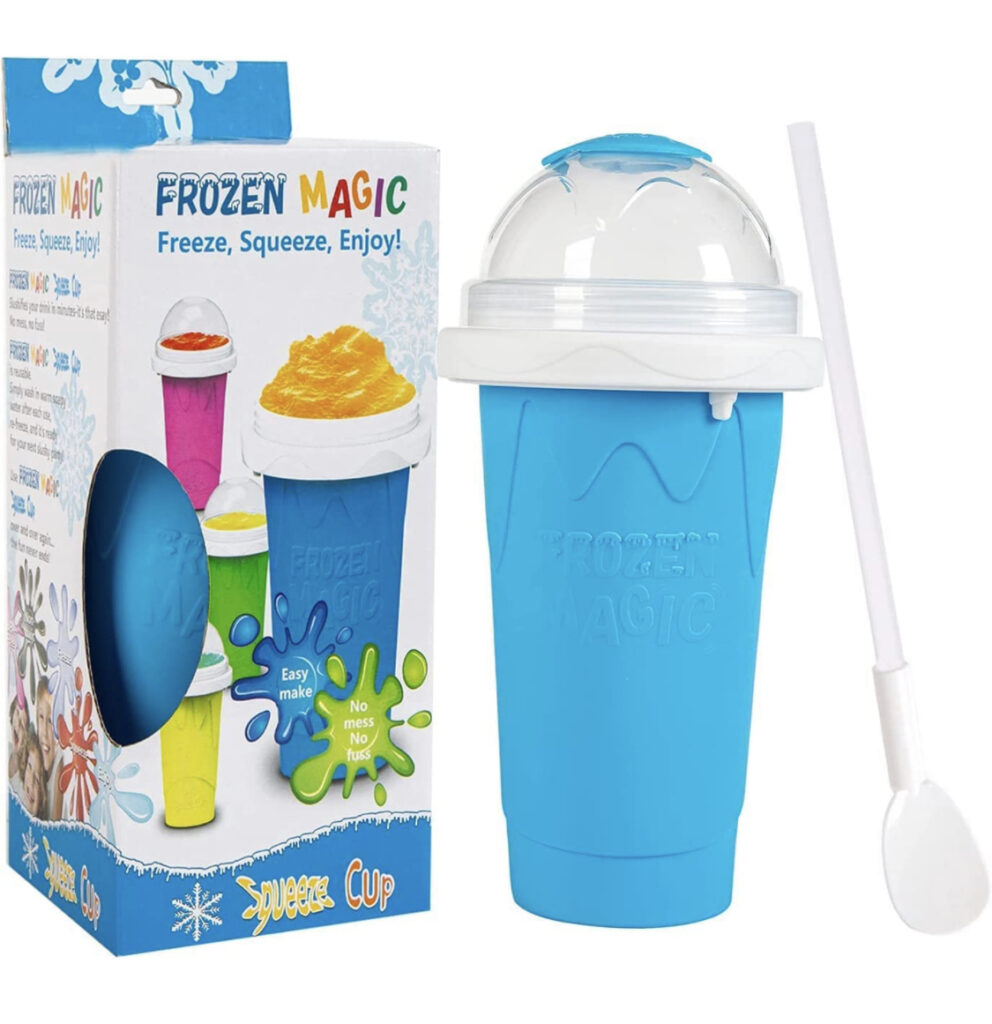
Beat the summer heat with a refreshing and magical twist! A frozen magic slushy cup is the perfect accessory for your little ones. This innovative cup allows kids to create their own slushie by freezing the inner core, which magically transforms their favorite drinks into icy delights. It’s not only a fun way to keep them hydrated but also encourages creativity as they mix and match flavors. Say goodbye to sugary store-bought slushies and hello to homemade, nutritional alternatives!
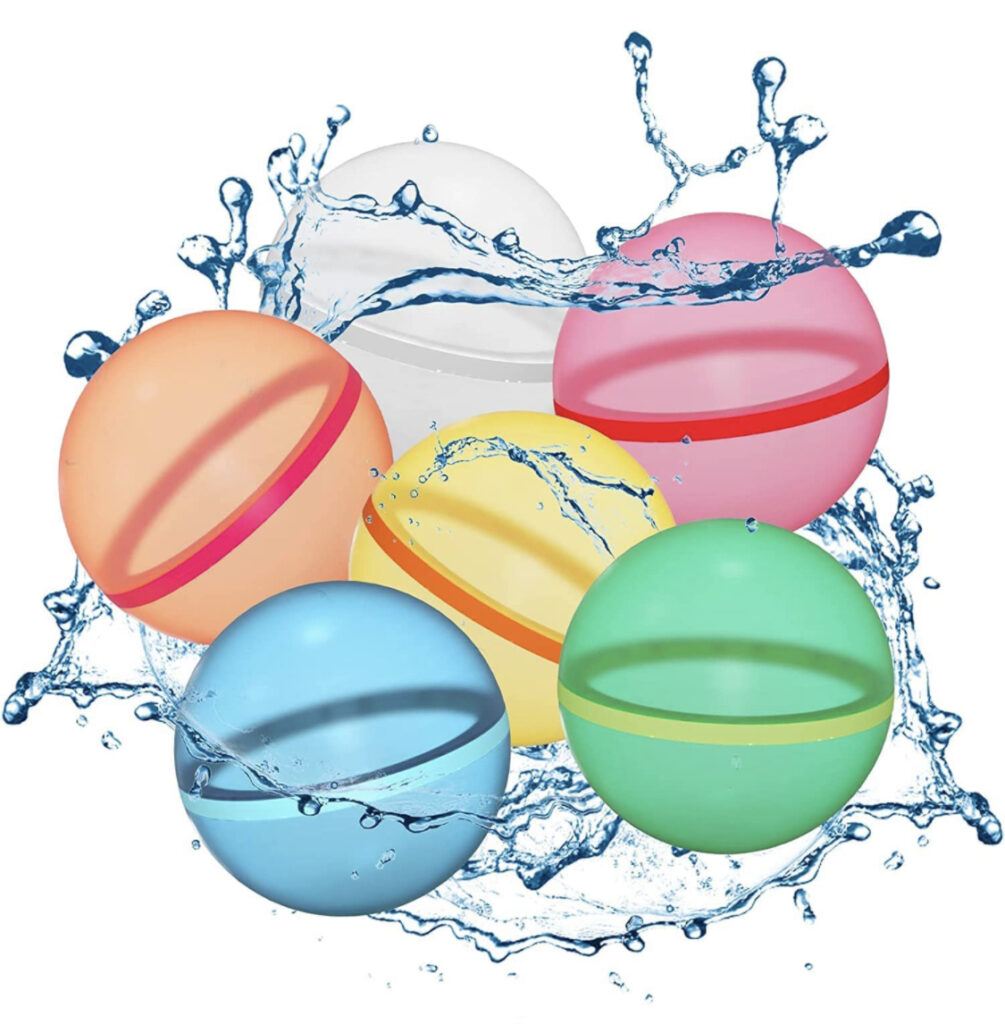
Water balloon fights are a classic summer pastime, but the waste of traditional balloons can be a concern. Enter reusable water balloons! Made from durable materials, these eco-friendly alternatives can be filled up and thrown just like regular water balloons, but without the hassle of cleaning up tiny balloon pieces afterward. Simply refill them, and the fun never stops! It’s a sustainable choice that keeps the laughter flowing and the environment happy.
When the summer sun is scorching, staying cool becomes a top priority. A portable neck fan is an excellent solution to beat the heat. These lightweight and hands-free fans hang comfortably around the neck, providing a refreshing breeze on demand. Whether your kids are playing sports, exploring nature, or simply lounging by the pool, a portable neck fan ensures they stay cool and comfortable throughout the day.
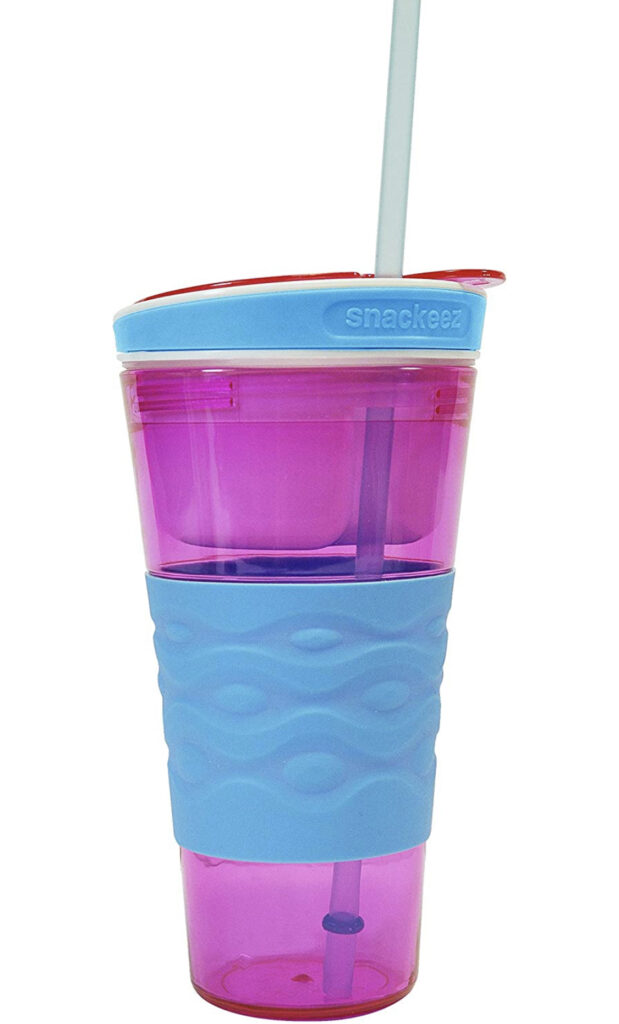
Family adventures often involve being on the go, and hungry little tummies can quickly lead to crankiness. Enter the travel snack and drink tumbler! This clever tumbler keeps snacks dry and easily accessible. Fill the compartment with your child’s favorite treat and fill with their favorite drink, and let them enjoy a picnic wherever they go. The spill-proof design ensures no messes, making it a must-have for road trips, beach outings, and park visits.
Whether your kids are building sandcastles at the beach or splashing around in the pool, protecting their feet is crucial. Athletic water socks are designed to provide comfort, grip, and protection in and out of the water. With quick-drying materials and anti-slip soles, these socks keep little feet safe from hot sand, rough pool surfaces, and potential slips. Let your kids enjoy their summer activities worry-free while their feet stay cozy and protected.
Transform your backyard into a water wonderland with a 3-in-1 splash park. These inflatable playsets feature a combination of a sprinkler, slide, and wading pool, creating a mini water park right at home. Let your kids cool off as they slide down the refreshing waterslide, splash around in the shallow pool, and dance under the playful sprinklers. This versatile summer essential guarantees hours of laughter and creates unforgettable memories for your little adventurers.
Summer is a time for kids to have fun, explore, and make lasting memories. With these six summer essentials for kids, you can ensure they stay cool, hydrated, and entertained!
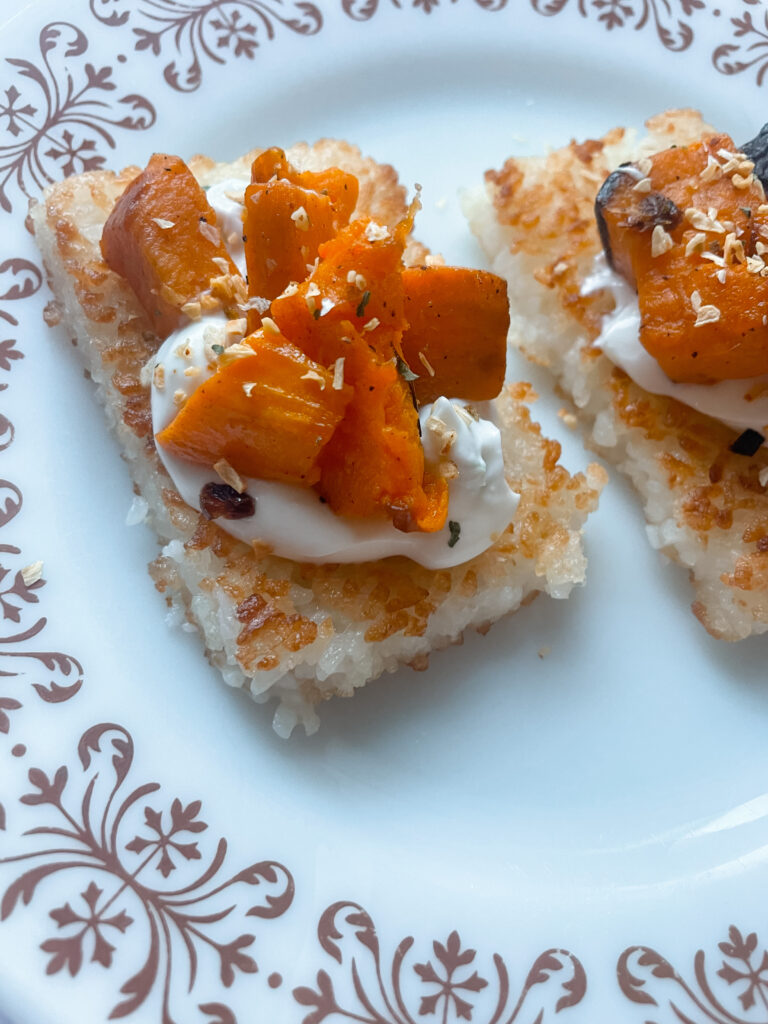
Sautéed sweet potatoes with pan-fried sushi rice and yogurt garlic sauce is a nutritious and delicious dish that combines the natural sweetness of sweet potatoes with the savory flavors of sushi rice and tangy yogurt garlic sauce. This dish is a perfect blend of textures, flavors, and colors that will leave your taste buds craving for more. The dish is simple and easy to prepare, making it an ideal recipe for those busy weeknights or when you need a quick and nutritious meal. I will take you through the step-by-step process of preparing this flavorful and nutritious dish, as well as discuss the health benefits of its ingredients.
All about the delicious dish
Sautéed sweet potatoes with pan-fried sushi rice and yogurt garlic sauce is a delicious, vegetarian meal that is easy to prepare and bursting with flavor. The combination of sweet and savory makes this dish a perfect choice for any meal, any time of the day.
Ingredients required for the recipe
Sweet potatoes
– 2 sweet potatoes- 1 tbsp olive oil- Salt and pepper to taste
Sushi rice
– 1 cup sushi rice- 1 ½ cups water- 1 tbsp rice vinegar- 1 tbsp sugar- 1 tsp salt
Yogurt
– 1 cup plain yogurt- 1 clove garlic, minced- 1 tbsp lemon juice- Salt and pepper to taste
Step-by-step method of preparing sautéed sweet potatoes
Prepping the sweet potatoes
1. Peel and cut the sweet potatoes into bite-sized cubes.2. In a large frying pan, heat the olive oil over medium heat.3. Add the sweet potatoes to the pan and season with salt and pepper.
Sautéing the sweet potatoes
1. Cook the sweet potatoes for 10-15 minutes, stirring occasionally, until they are soft and browned on the outside.2. While the sweet potatoes are cooking, prepare the yogurt garlic sauce (instructions below).
Additions to the sautéed sweet potatoes
1. Once the sweet potatoes are cooked, add the sesame oil, soy sauce, honey, and ginger to the pan.2. Cook for another few minutes, until the sweet potatoes are coated in the sauce.
How to prepare pan-fried sushi rice
Cooking the sushi rice
1. Rinse the sushi rice in cold water until the water runs clear.2. In a medium-sized saucepan, combine the rice, water, rice vinegar, sugar, and salt.3. Cover the pan and bring to a boil over high heat.4. Reduce the heat to low and simmer for 20 minutes.5. Remove from heat and let the rice sit for 10-15 minutes.
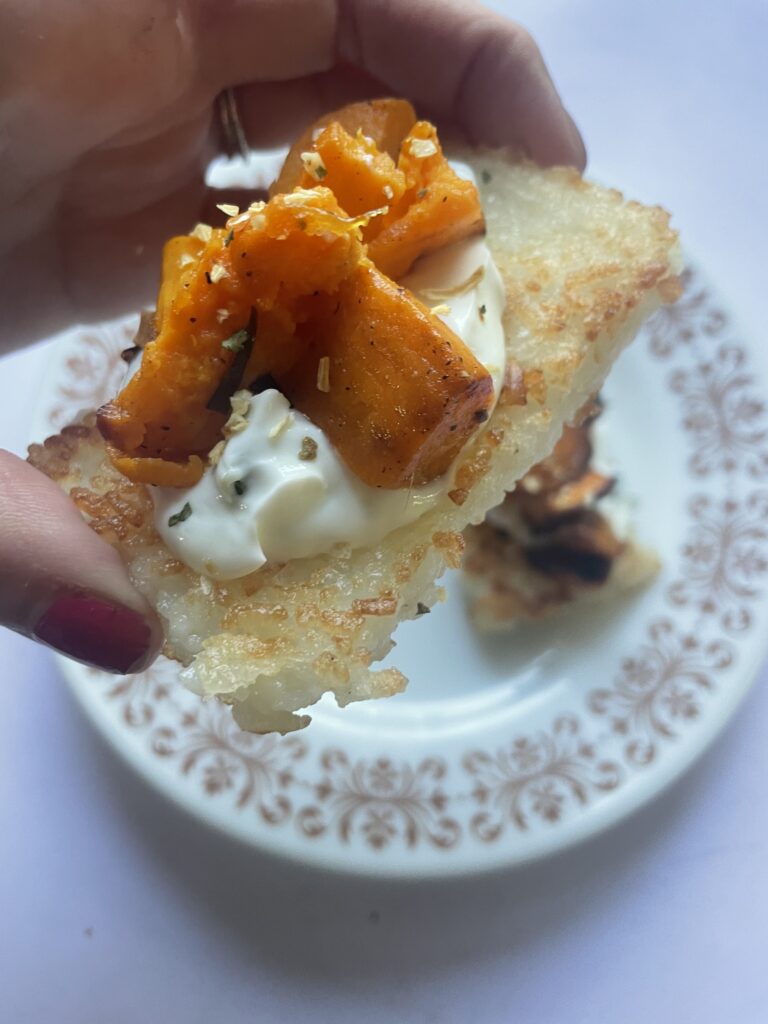
Pan-frying the sushi rice
1. Heat a large frying pan over medium-high heat.2. Add the cooked sushi rice to the pan and spread it out in an even layer.3. Cook for 5-7 minutes without stirring, until the rice is crispy and golden brown on the bottom.4. Flip the rice over and cook for another 5-7 minutes on the other side.Serve the pan-fried sushi rice alongside the sautéed sweet potatoes and the yogurt garlic sauce. This dish can be enjoyed as a complete meal on its own, or alongside other vegetarian dishes. Enjoy!
Preparing the yogurt garlic sauce
Ingredients for the sauce
– 1 cup plain yogurt- 1 clove garlic, minced- 1 tablespoon lemon juice- Salt and black pepper to taste
Preparation of the sauce
In a bowl, whisk together the yogurt, garlic, lemon juice, salt, and black pepper until smooth. Adjust the seasoning if needed and refrigerate until ready to use.
Serving suggestions and presentation tips
Combining the dish components
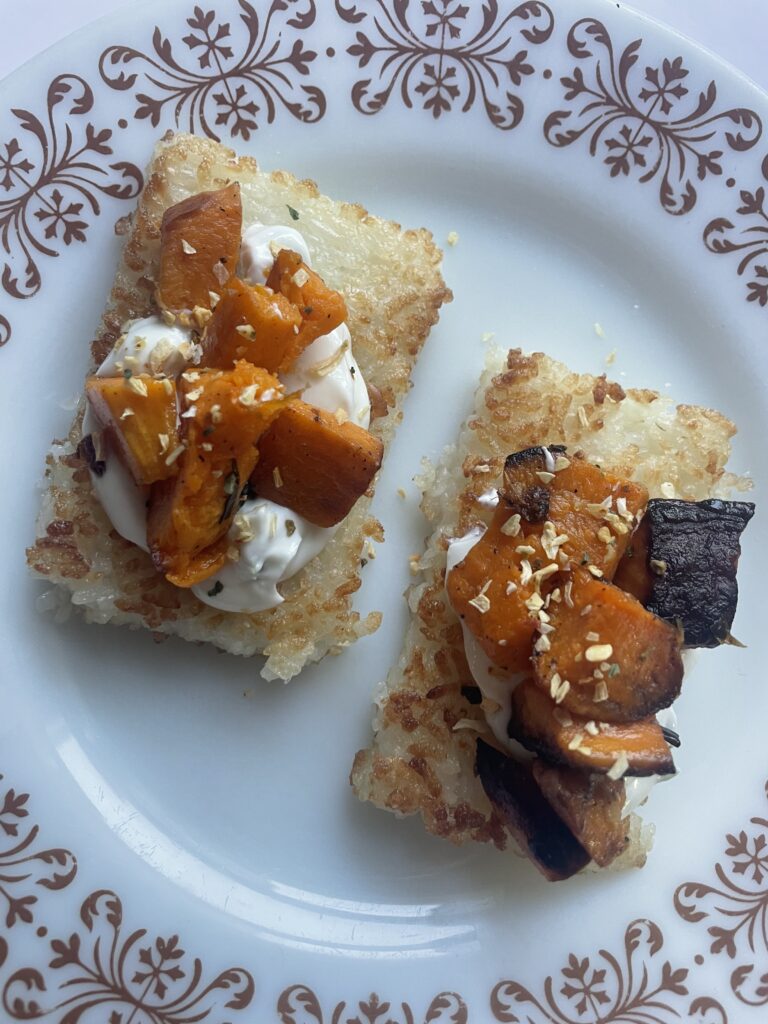
To serve, place the sautéed sweet potatoes and pan-fried sushi rice side by side on a plate. Spoon the yogurt garlic sauce over the sweet potatoes and sprinkle with fresh herbs or sesame seeds, if desired.
Best ways to present the dish
For an elegant presentation, use a ring mold to shape the sweet potatoes and sushi rice into neat stacks. Top with a dollop of the yogurt garlic sauce and garnish with microgreens or edible flowers.
Health benefits of the dish
Nutritional benefits of sweet potatoes
Sweet potatoes are a good source of fiber, vitamin A, vitamin C, and potassium. They also contain antioxidants that may help reduce inflammation and lower the risk of chronic diseases such as cancer.
Health benefits of sushi rice
Sushi rice is a good source of complex carbohydrates that provide sustained energy for the body. It also contains essential minerals such as iron and magnesium, which are important for maintaining healthy blood cells and strong bones.
Importance of yogurt garlic sauce in the dish
The yogurt garlic sauce adds a tangy flavor and creamy texture to the dish. It also provides probiotics that promote good gut health and boost the immune system.
Tips on the recipe
Summary of the dish and recipe
Sautéed sweet potatoes with pan-fried sushi rice and yogurt garlic sauce is a delicious and healthy vegetarian dish that is easy to make and packed with flavor and nutrition. The dish can be served as a main course or a side dish and is perfect for a quick and satisfying meal.
Tips for variations and experimentation with the recipe
For a more filling dish, add some protein such as tofu, grilled chicken, or shrimp. You can also experiment with different spices and seasonings to create your own unique flavor profile. Try adding cumin, paprika, or chili powder for a spicy kick, or fresh herbs such as cilantro or basil for a fresh and herbaceous flavor.Sautéed sweet potatoes with pan-fried sushi rice and yogurt garlic sauce is a healthy and tasty dish that is perfect for any occasion. Its combination of flavors and textures makes it a popular recipe among food enthusiasts. By following the simple steps outlined in this article, you can easily prepare this dish in the comfort of your home. Whether you are a beginner or an experienced cook, this recipe is sure to impress your family and friends. So go ahead and give it a try, and experience the deliciousness of this amazing dish today!
FAQ
Can I use other types of rice instead of sushi rice?
Yes, you can. However, sushi rice is the recommended type of rice for this recipe due to its sticky texture and ability to hold its shape when pan-fried. If you choose to use other types of rice, you may not get the same texture and flavor.
Can I substitute the sweet potatoes with other vegetables?
Yes, you can. This recipe is versatile and allows for modifications. You can substitute sweet potatoes with other vegetables such as carrots, butternut squash, or pumpkin. However, keep in mind that the cooking times for these vegetables may vary.
Is the yogurt garlic sauce necessary?
While the yogurt garlic sauce is an essential part of this recipe, it is not necessary. You can omit the sauce or substitute it with other sauces or dressings. However, the yogurt garlic sauce adds a tangy and creamy flavor to the dish, which complements the sweetness of the sweet potatoes and the savory flavors of the sushi rice.
How can I make this dish spicier?
If you prefer a spicier version of this dish, you can add chili flakes, cayenne pepper, or hot sauce to the sweet potatoes and sushi rice. You can also sprinkle some chopped jalapenos or red pepper flakes on top of the dish for an added kick. However, keep in mind that the sweetness of the sweet potatoes may be masked by the spiciness of the added ingredients.
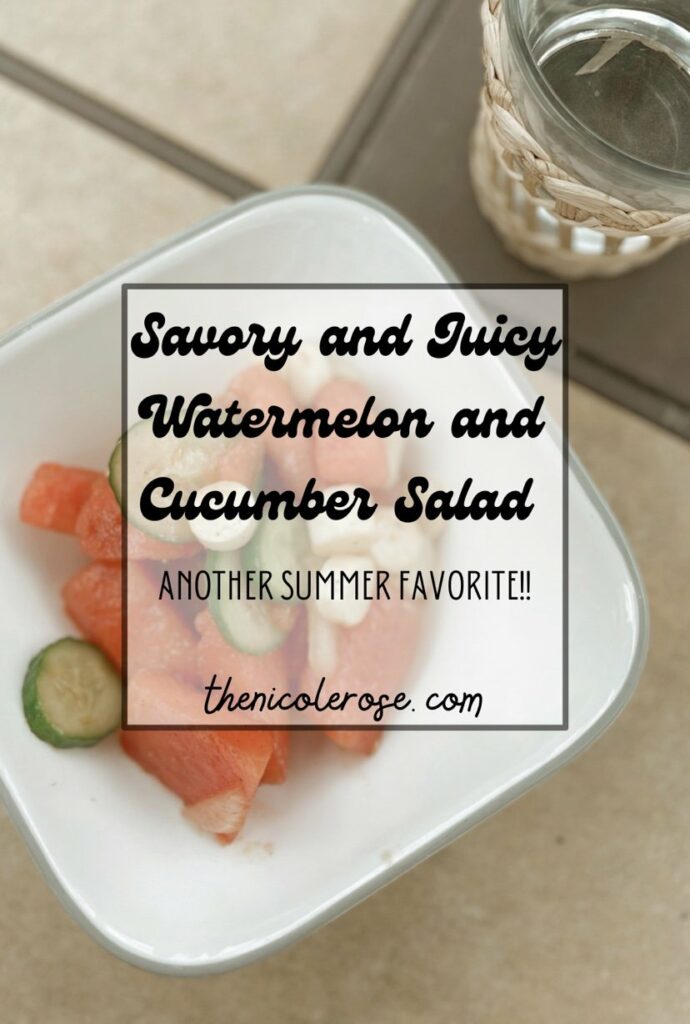
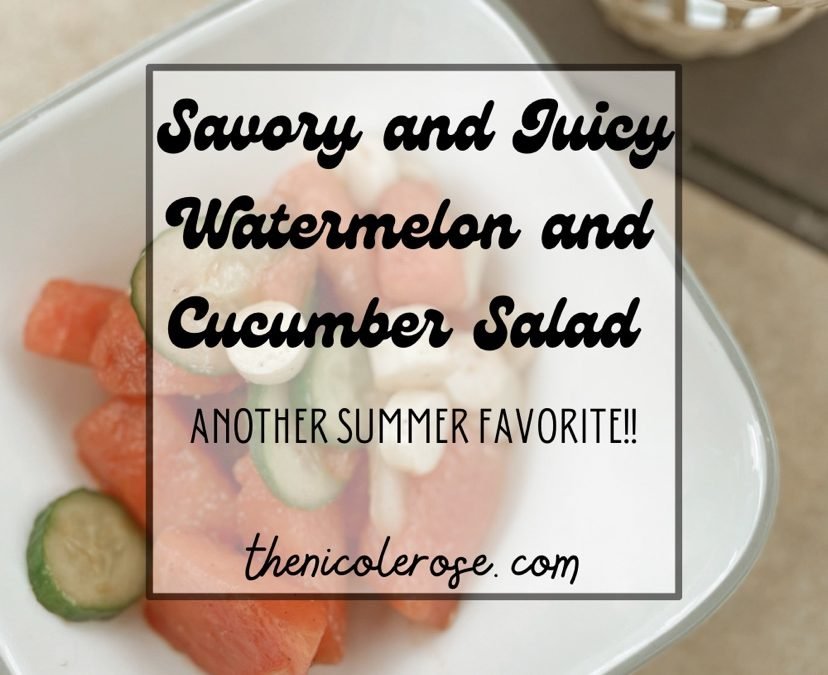
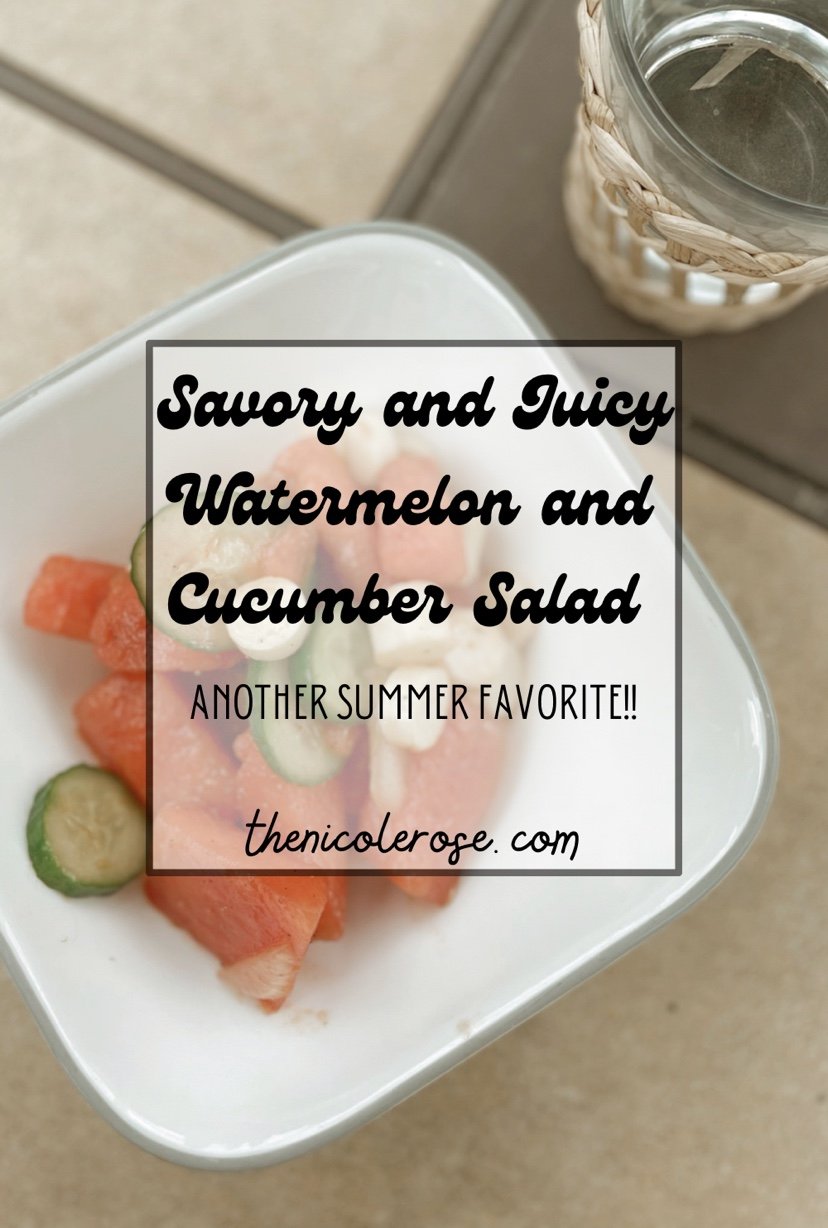
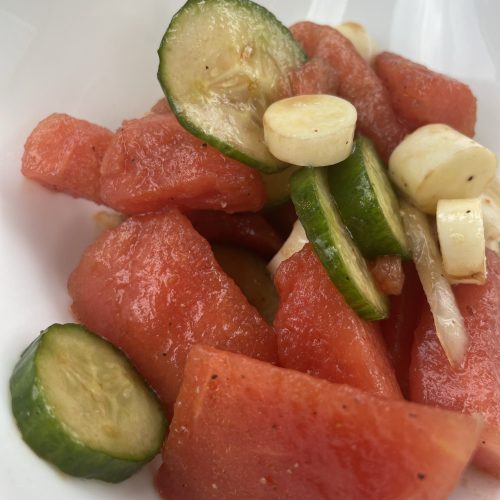
Heat wave is going strong right now and if you know me, I do not do well in the heat. I try to keep things cool during the summer and avoid turning on the oven and make hot food (I may just order takeout instead). It can be hard to find refreshing meals to make but I love refreshing watermelon and cucumber salad.
It is a savory dish that has the perfect amount of sweet and spice, my favorite combo!
Ingredients
– tbs avocado oil (about 2 tbs)
– lime juice (about 1 tbs)
– balsamic vinegar (about 1 tbs)
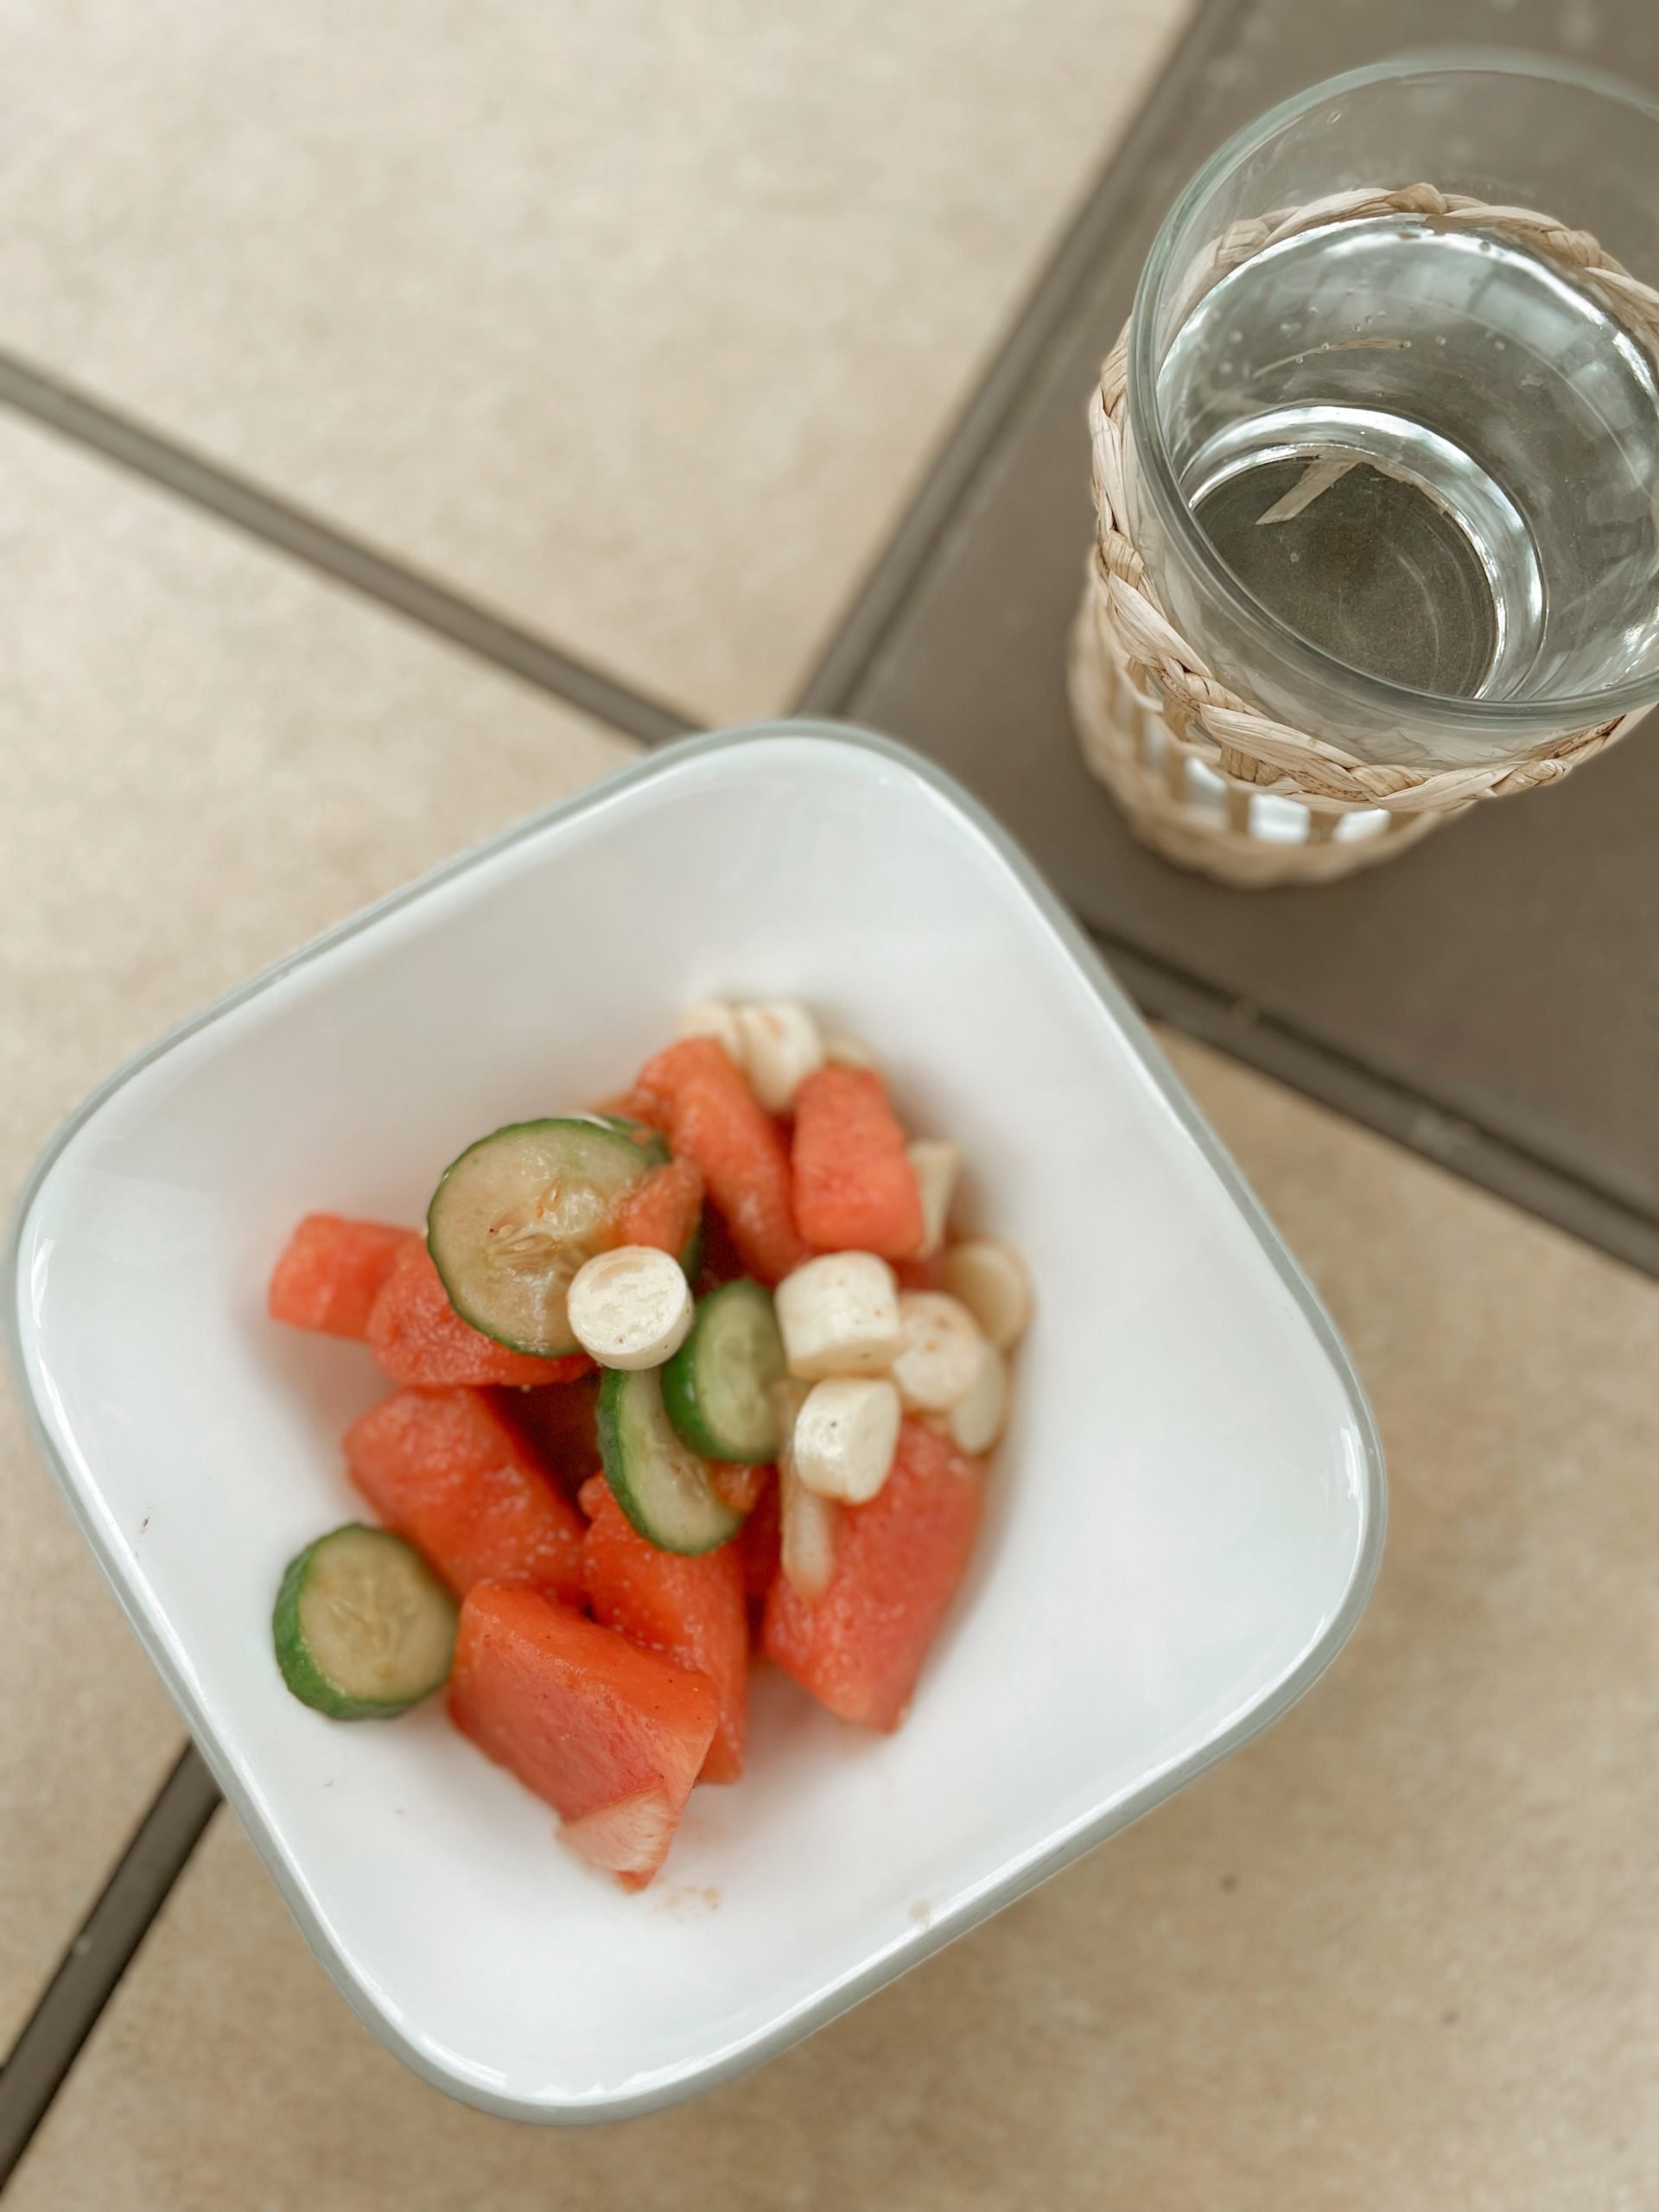
This is the perfect side dish to have with summer meals and it is so easy to make. It takes minutes to put together with little effort. It is sure to be a crowd pleaser.
-cubed watermelon
– thinly sliced cucumber
-thinly sliced onion
-cubed mozzarella cheese (fresh or low moisture)
– Tajin seasoning (amount is based on preference)
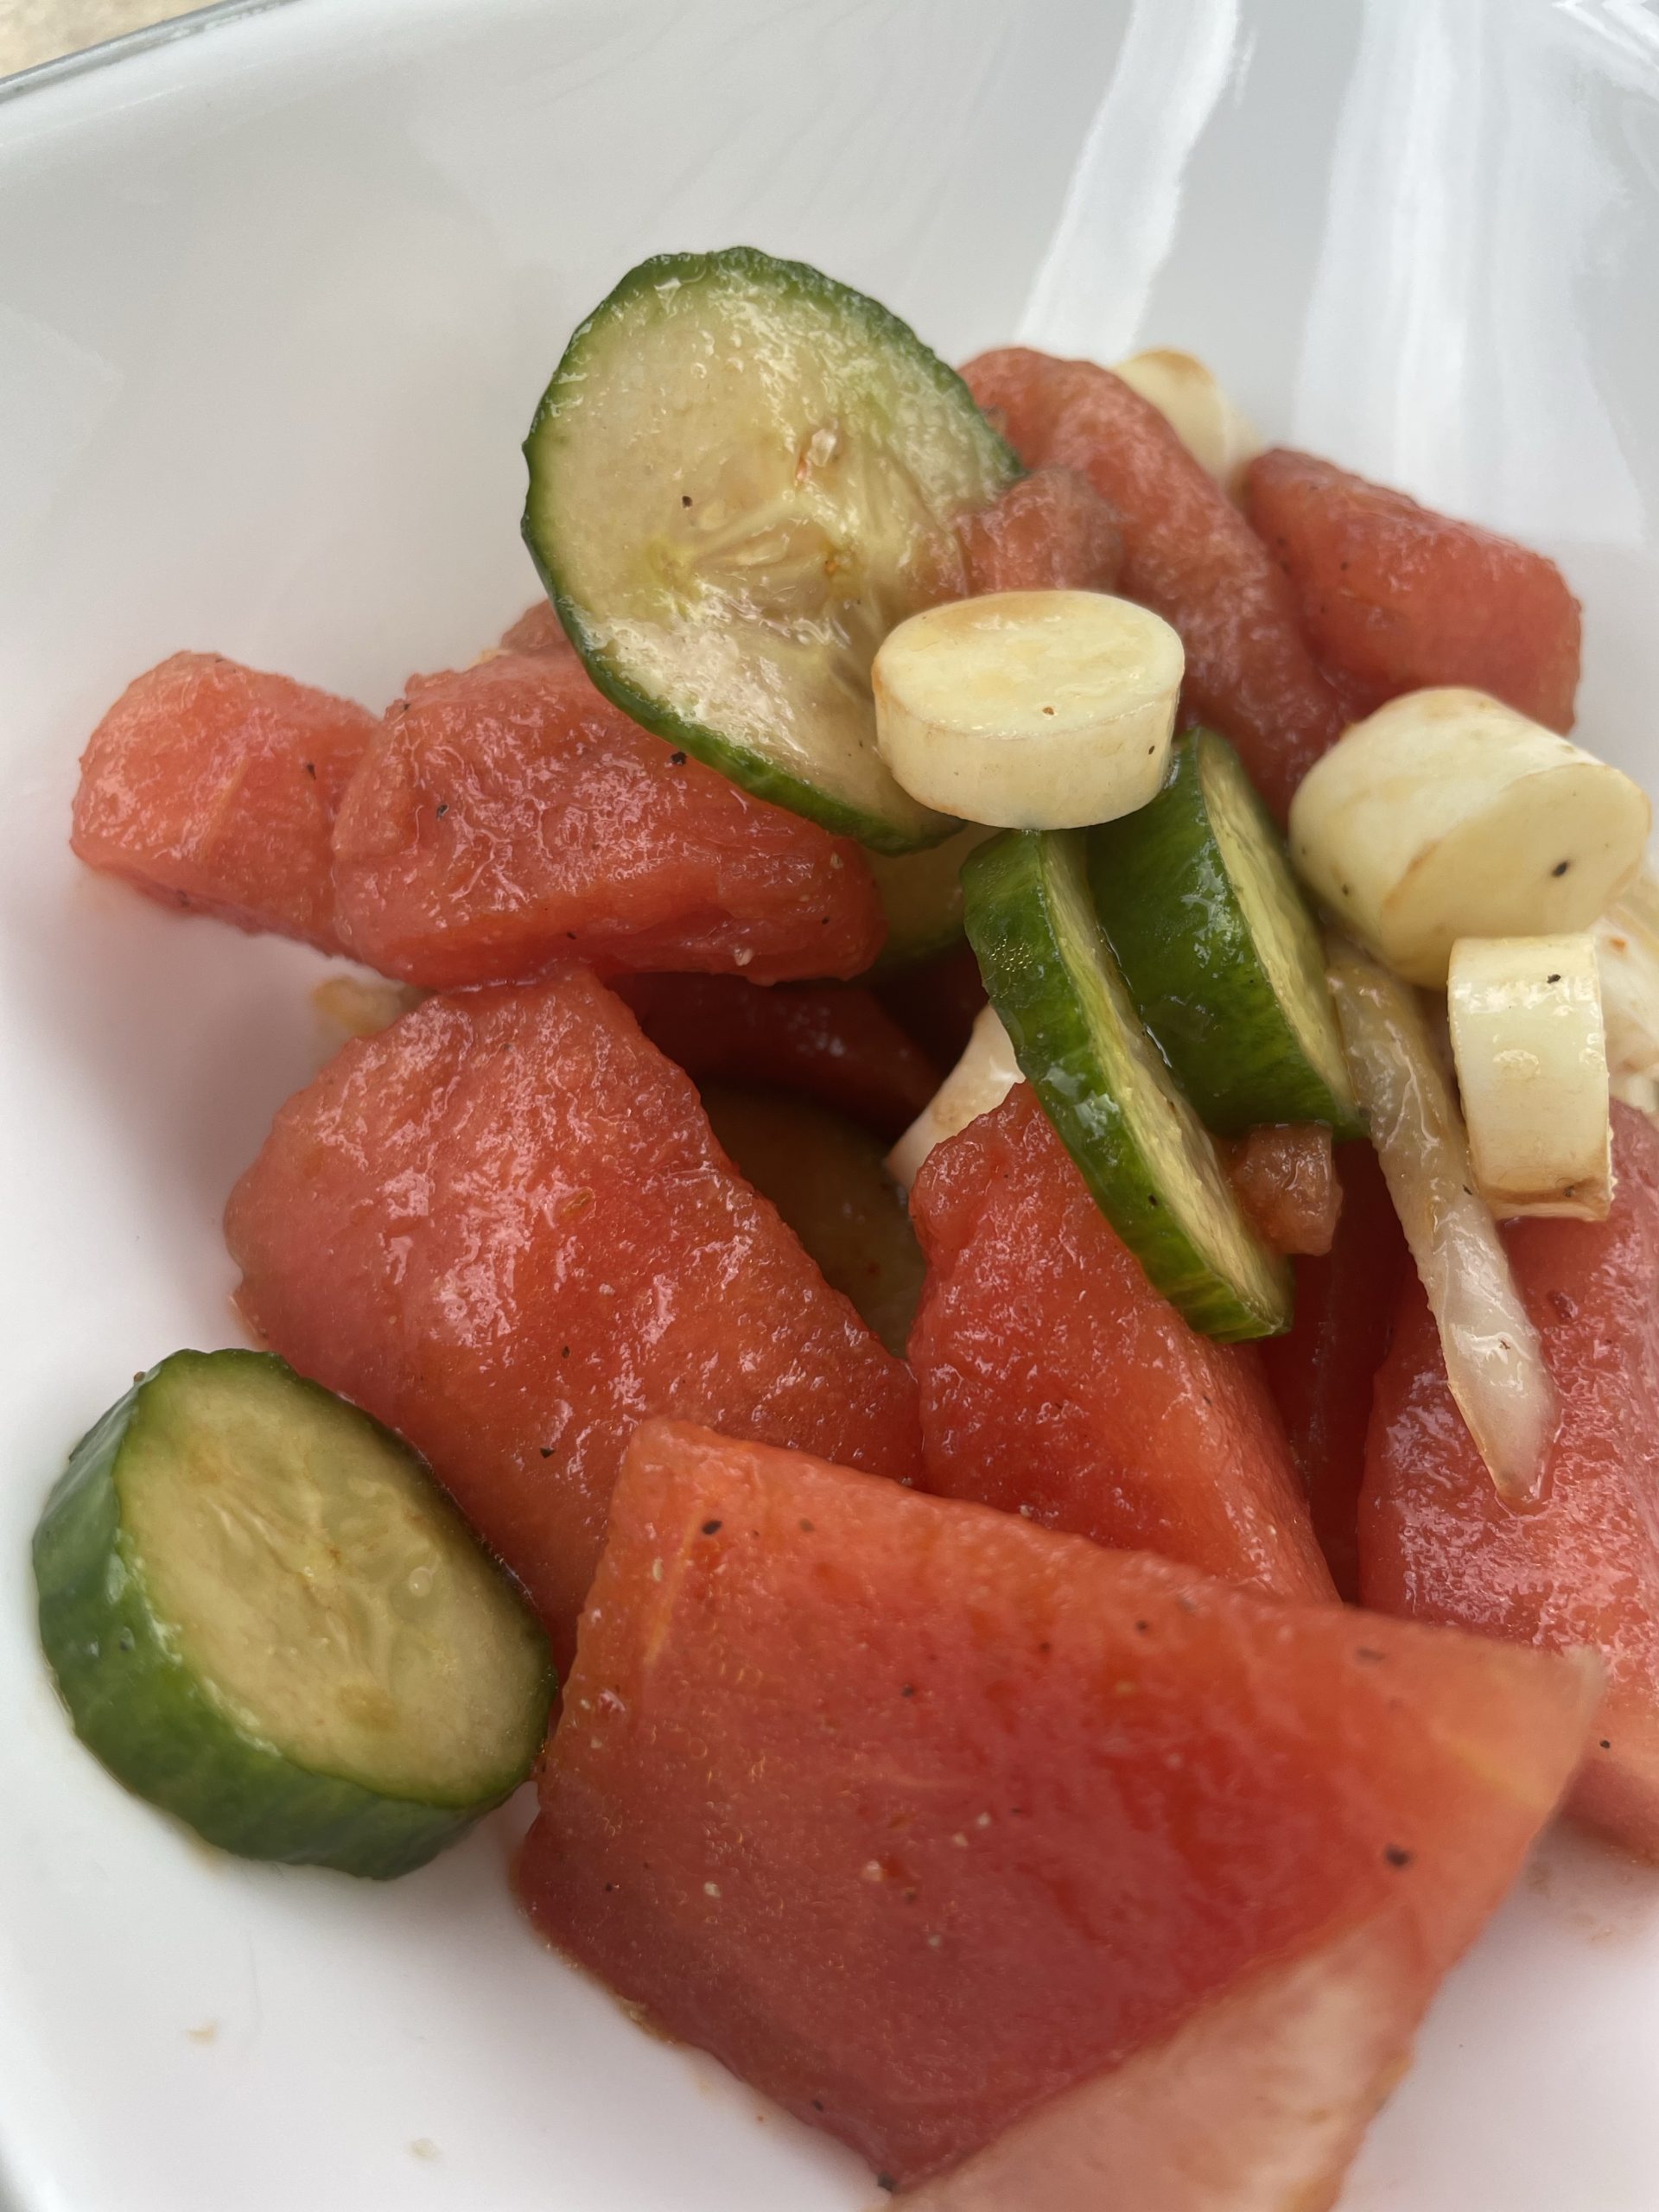
Refreshing watermelon and cucumber salad is based on your preference of taste. If you want more onion or cheese, make sure to add to your liking!
Instructions
In a large bowl, whisk together oil, lime juice and seasoning until all is combined.
Add watermelon, cucumber, onion, and cheese.
Toss together in dressing.
Serve right away.
You can also add other seasonings such as chili pepper, paprika, salt and pepper. You can also switch up the cheese and use feta. Garnishes are always great such as mint or basil. Make it your way!
Watermelon and Cucumber Salad
This savory dish has the perfect amount of sweet in spice in one bowl.
If motherhood has you stressed and you feel like you’ve lost your creativity, I am here to help! Here you will find easy recipes, simple DIY’s, affordable styles, and what to read next. I believe we all have a creative side, some of us just need a little help to find it. I will help inspire you to have creative expression without standards.