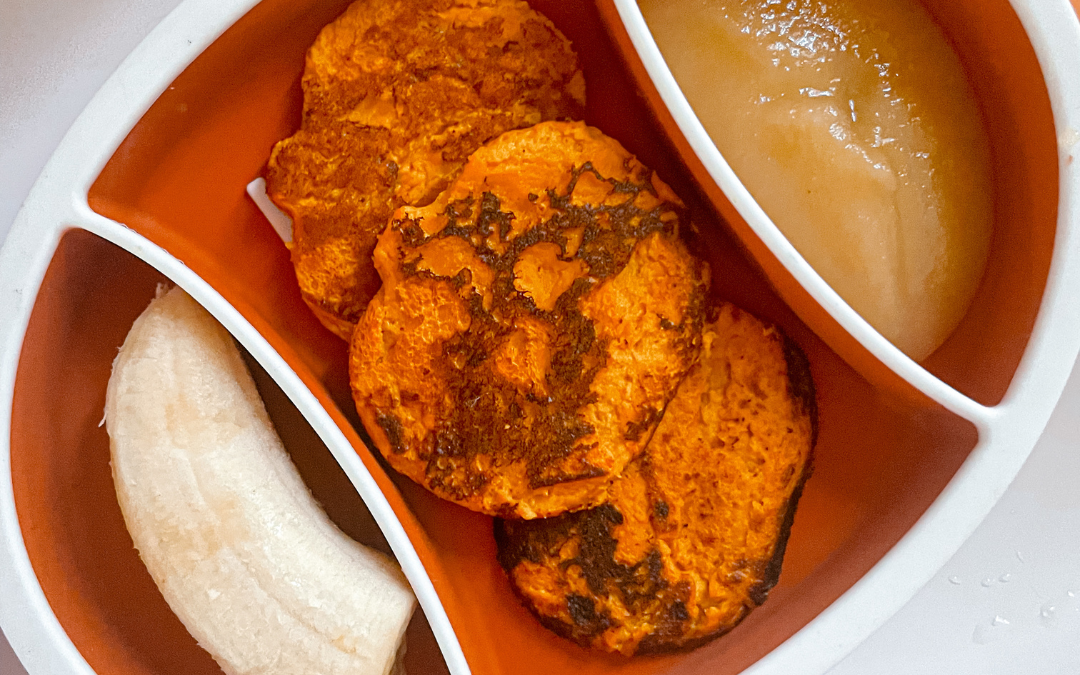
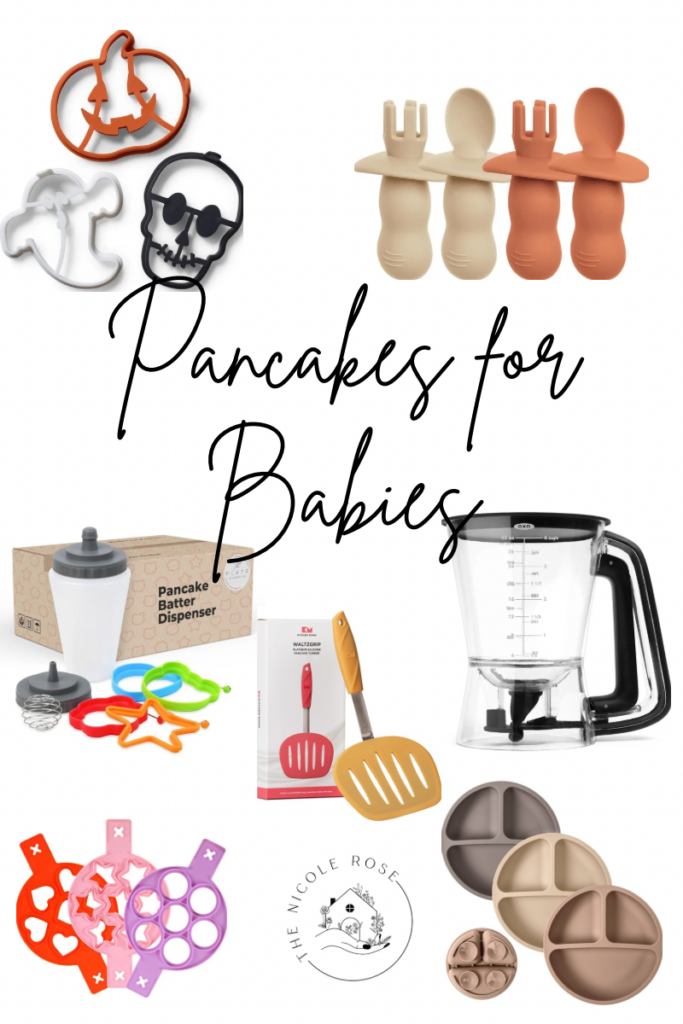
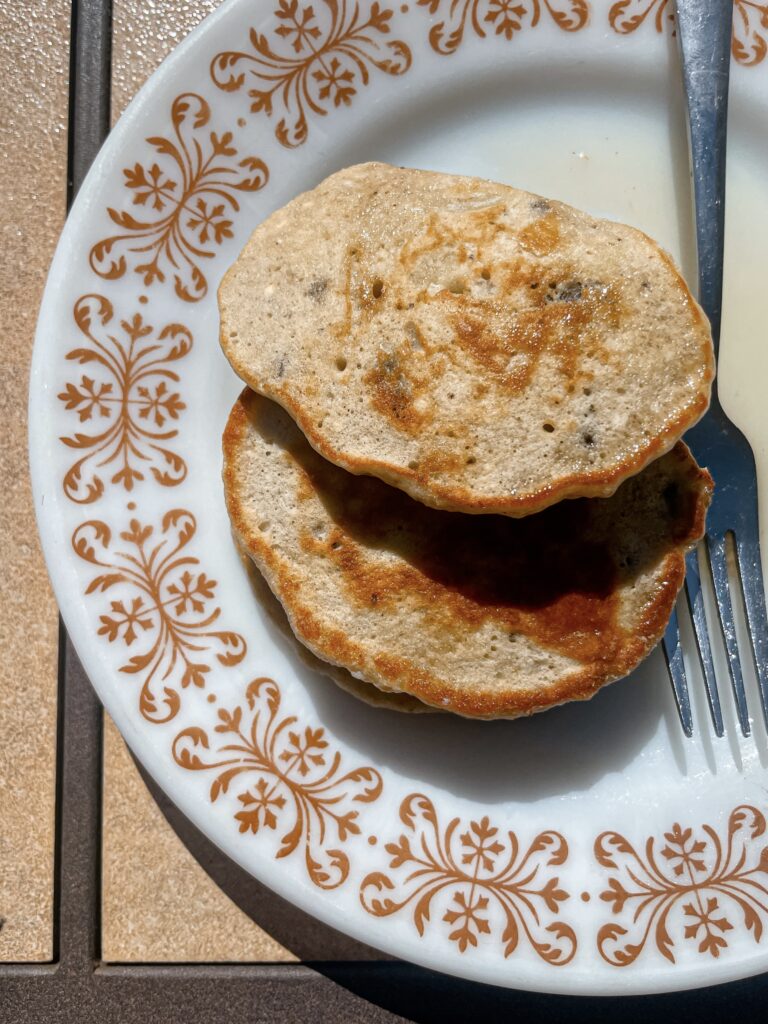
As the cool autumn breeze sweeps in, pumpkin-flavored treats fill the air, and there’s no reason why even your little one should miss out! If you’re looking for a simple and wholesome fall breakfast, these pumpkin pancakes made with baby cereal are the perfect seasonal meal for your baby. They’re easy to make, packed with nutrients, and soft enough for those tiny gums or newly budding teeth.
Why Pumpkin Pancakes?
Pumpkin is not only a fall favorite but also a nutrient powerhouse for babies. Rich in vitamins A and C, it helps support your baby’s vision and immune system. Plus, the mild sweetness of pumpkin makes it an instant hit with little taste buds. Combine that with the iron-rich goodness of baby cereal, and you’ve got yourself a complete, wholesome meal.
Ingredients
To make these baby-friendly pumpkin pancakes, you’ll need:
½ cup pumpkin puree (unsweetened)
½ cup baby cereal (rice, oat, or multigrain)
1 egg (for binding, or you can substitute with mashed banana for younger babies)
1 tablespoon unsweetened applesauce (for a touch of natural sweetness)
1-2 tablespoons of water or breast milk/formula (to adjust the consistency)
Instructions
Prepare the Batter: In a medium bowl, combine the pumpkin puree, baby cereal, egg (or banana), and applesauce. Stir until everything is well mixed. If the batter seems too thick, add water or breast milk/formula one tablespoon at a time until the batter is smooth but not too runny.
Add Spice (Optional): If your baby is already used to mild spices, sprinkle in a pinch of pumpkin pie spice for a dash of fall flavor. This step is entirely optional, but it adds a warm, aromatic touch to the pancakes.
Cook the Pancakes: Heat a non-stick pan or skillet over low-medium heat. If needed, lightly grease the pan with a bit of oil or butter. Spoon small amounts of batter onto the pan to create baby-sized pancakes (about 2-3 inches wide). Cook for 2-3 minutes on each side, or until golden brown and cooked through.
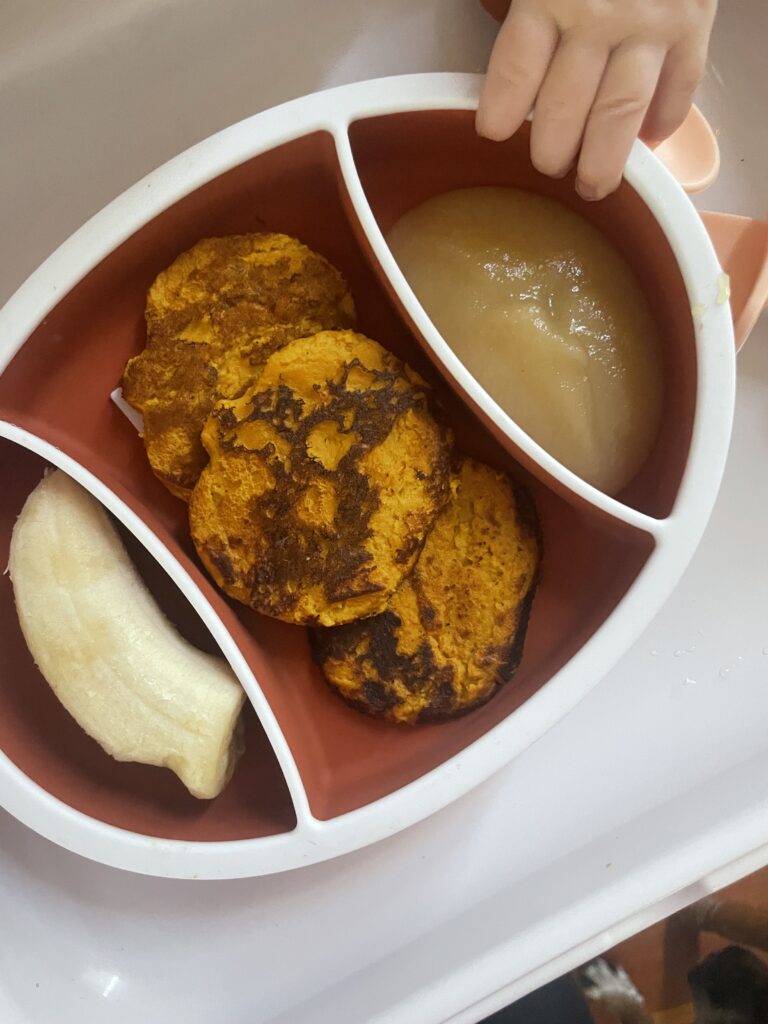
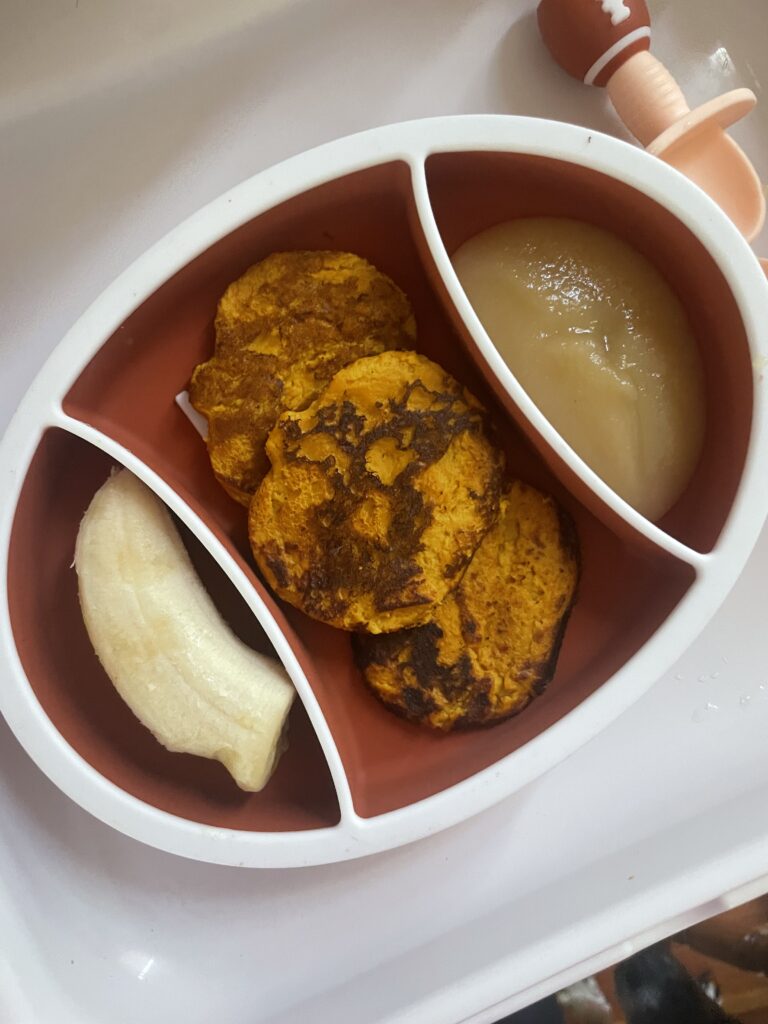
Cool and Serve: Allow the pancakes to cool slightly before serving them to your baby. You can serve them as finger foods, making them perfect for baby-led weaning, or break them into small bite-sized pieces.
Tips:
Freezing for Later: These pancakes freeze beautifully! Make a batch, let them cool, and store them in a freezer-safe bag. Just thaw or reheat them on busy mornings.
Sweetener-Free: These pancakes are naturally sweetened with pumpkin and applesauce, making them ideal for babies under 1 year old, who should avoid added sugars.
Egg-Free Option: If you prefer not to use egg, a mashed banana is a great binding agent that adds a bit of sweetness.
Why Use Baby Cereal?
Baby cereal is an excellent ingredient for pancakes because it’s already fortified with iron, which is essential for your baby’s development. It also provides a familiar texture for your little one, especially if they’re just starting solids.
Serving Suggestions
These pumpkin pancakes pair well with mashed fruit or yogurt as a dip, adding extra texture and fun to the meal. As your baby grows and becomes more comfortable with different foods, you can start experimenting with toppings like smashed berries or a drizzle of natural peanut butter (if your baby has already been introduced to peanuts).
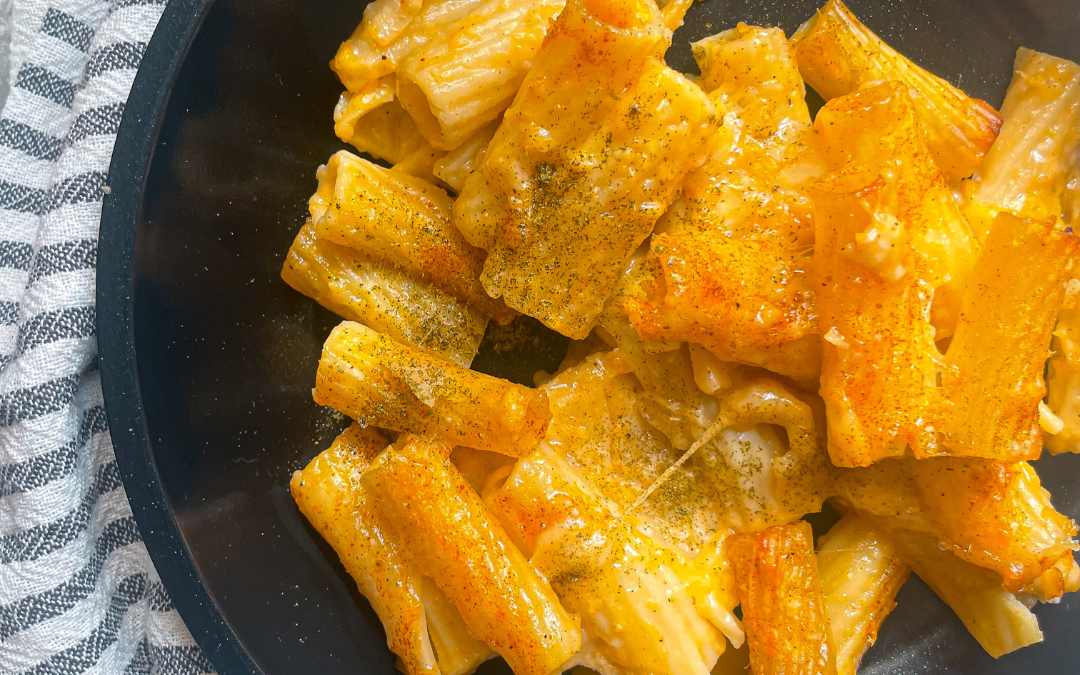
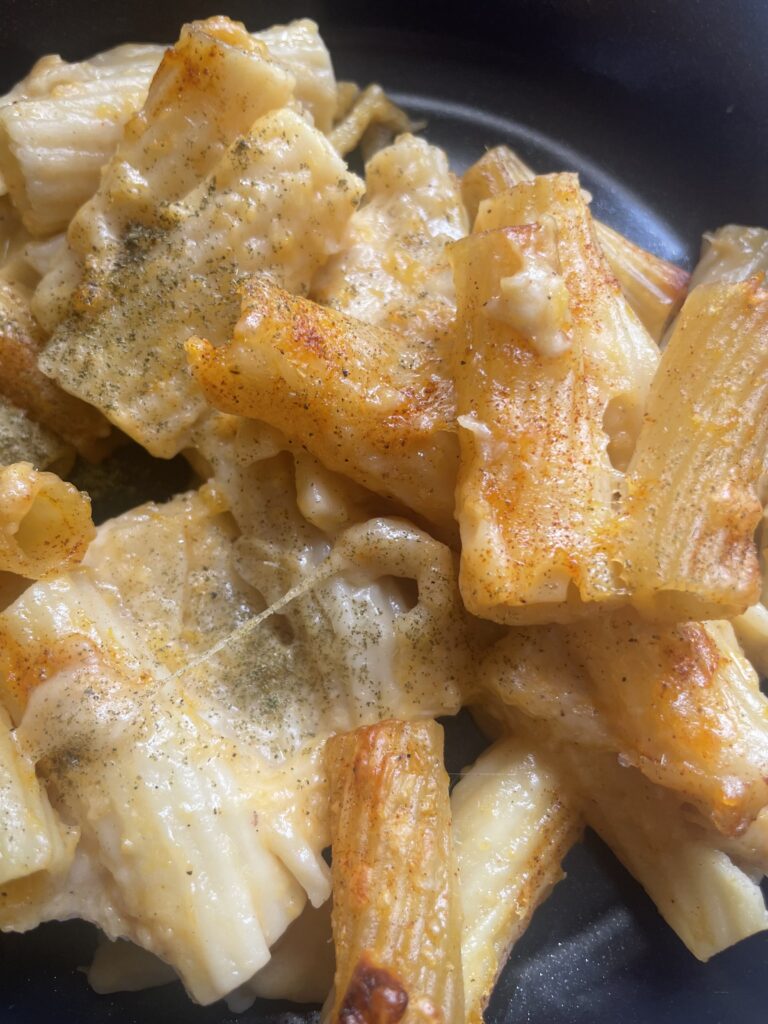
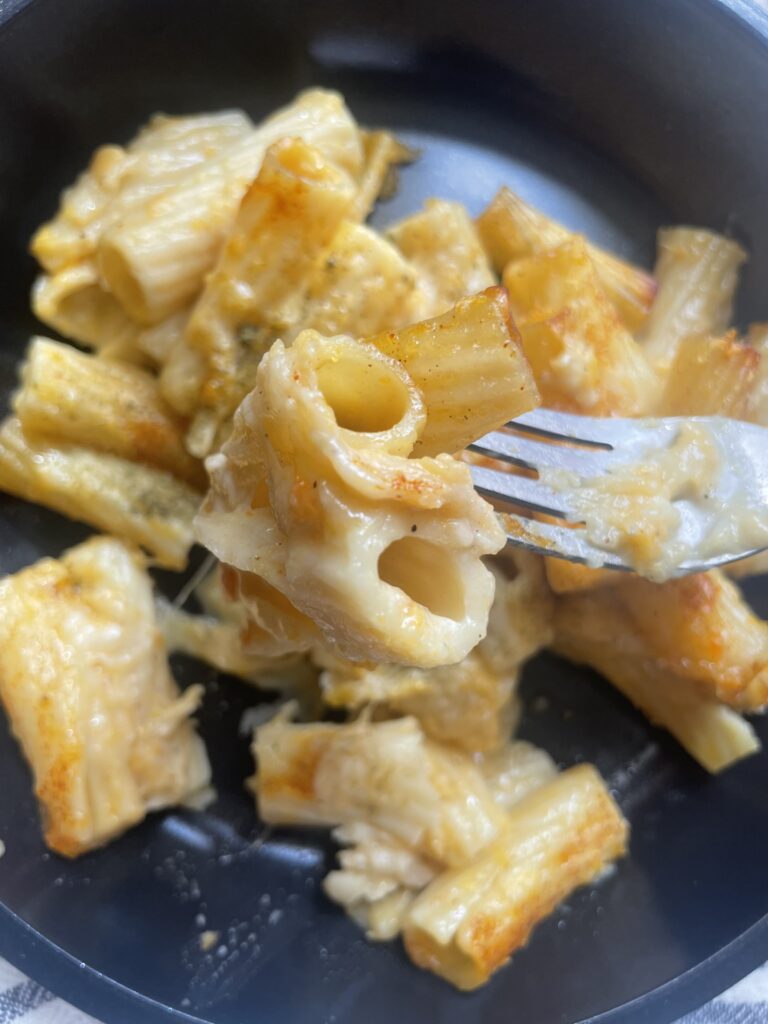
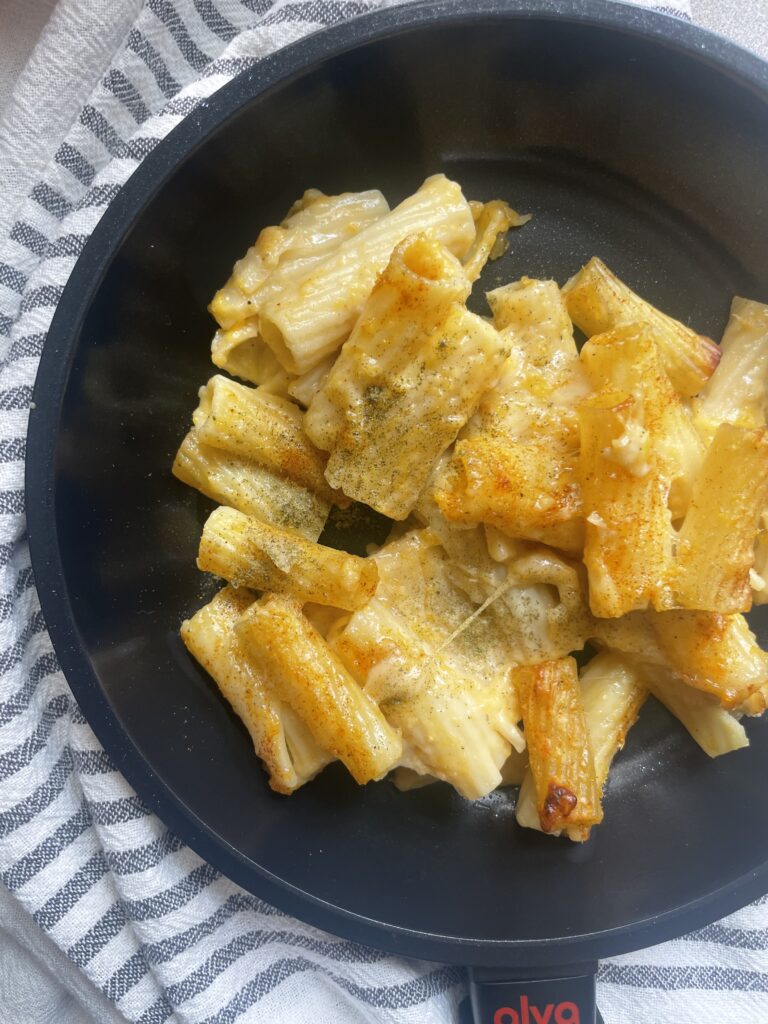
As the crisp air of fall settles in, it’s time to embrace hearty yet healthy meals that bring warmth and comfort. One of my go-to fall staples is Butternut Squash Mac and Cheese—a lighter twist on the classic dish we all know and love. It combines the creamy richness of cheddar cheese with the natural sweetness of butternut squash, resulting in a dish that’s both satisfying and wholesome. If you’re looking for the perfect balance of indulgence and nutrition, this mac and cheese is a must-try!
Why Butternut Squash?
Butternut squash is packed with vitamins and minerals like vitamin A, C, and fiber. It not only adds a velvety texture to the mac and cheese but also gives it a subtle sweetness that pairs perfectly with the sharpness of cheddar cheese. Plus, it’s an easy way to sneak in some extra veggies!
Ingredients
1 pound macaroni (elbow, rigatoni, shells, or your favorite shape)
Optional: A pinch of nutmeg and fresh sage for garnish
Instructions
Cook the pasta: Bring a large pot of salted water to a boil and cook the elbow macaroni until al dente, according to package instructions. Drain and set aside.
Prepare the butternut squash: In a large pot, melt the butter over medium heat. Add the diced onion and cook until softened, about 3-4 minutes. Add the cubed butternut squash, garlic, salt, pepper, mustard powder, and cayenne pepper. Stir well to coat the squash with the seasoning.
Cook the squash: Pour in the vegetable broth, bringing the mixture to a boil. Lower the heat to a simmer, cover, and cook until the butternut squash is tender, about 15-20 minutes.
Blend into a sauce: Using an immersion blender (or transferring the mixture to a blender), blend the butternut squash mixture until smooth. Return it to the pot, add the milk, and stir until well combined. Bring the sauce back to a gentle simmer.
Add the cheese: Gradually stir in the shredded cheddar cheese until it melts into the sauce. Taste and adjust seasoning if necessary.
Combine the pasta: Add the cooked pasta to the sauce, stirring to coat each piece with the creamy butternut squash and cheese mixture.
Prepare for baking (optional): If you prefer a baked mac and cheese with a crispy topping, preheat the oven to 375°F (190°C). Transfer the mac and cheese to a greased 9x13-inch baking dish. In a small bowl, combine the breadcrumbs and Parmesan cheese. Sprinkle the mixture evenly over the mac and cheese.
Bake: Place the dish in the oven and bake for 15-20 minutes, or until the top is golden brown and bubbly. For an extra crispy finish, broil on high for 2-3 minutes at the end, but keep a close eye to avoid burning.
Serve and garnish: Divide the mac and cheese into bowls and top with a sprinkle of nutmeg and freshly chopped sage for an added burst of fall flavor.
FAQ: Your Butternut Squash Mac and Cheese Questions Answered!
Can I use frozen butternut squash instead of fresh?
Absolutely! Frozen butternut squash is a convenient option that works just as well as fresh. You can thaw it slightly before using or add it straight to the pot when cooking with the onions. Keep in mind that frozen squash may cook a bit faster, so monitor it closely to avoid overcooking. The flavor and texture will still be creamy and delicious!
How do I reheat leftovers?
There are a few ways to reheat your Butternut Squash Mac and Cheese:
In the microwave: Add a splash of milk to your serving to keep it creamy, then microwave in 30-second increments, stirring between intervals, until heated through.
In a skillet: Heat a non-stick skillet over medium heat and add the mac and cheese. Stir frequently and add a splash of milk to restore the creaminess. This method gives the pasta a slightly crispy texture around the edges, which is a delicious bonus!
In the oven: Preheat your oven to 350°F (175°C). Place the mac and cheese in an oven-safe dish, cover with foil, and bake for 15-20 minutes, or until heated through.
Can I make this dish ahead of time?
Yes! You can make this mac and cheese ahead of time and store it in the fridge for up to 3 days. Simply reheat using any of the methods above when you’re ready to serve.
Can I freeze it?
Yes, this Butternut Squash Mac and Cheese freezes well. Allow it to cool completely, then transfer it to a freezer-safe container. It can be frozen for up to 2 months. To reheat, thaw in the fridge overnight and then reheat in the oven or microwave.
A Lighter Comfort Food for Fall
This lighter version of mac and cheese is perfect for family dinners, fall gatherings, or even meal prepping for the week ahead. Whether you’re looking for a cozy weeknight meal or a festive side dish, this recipe is sure to satisfy!
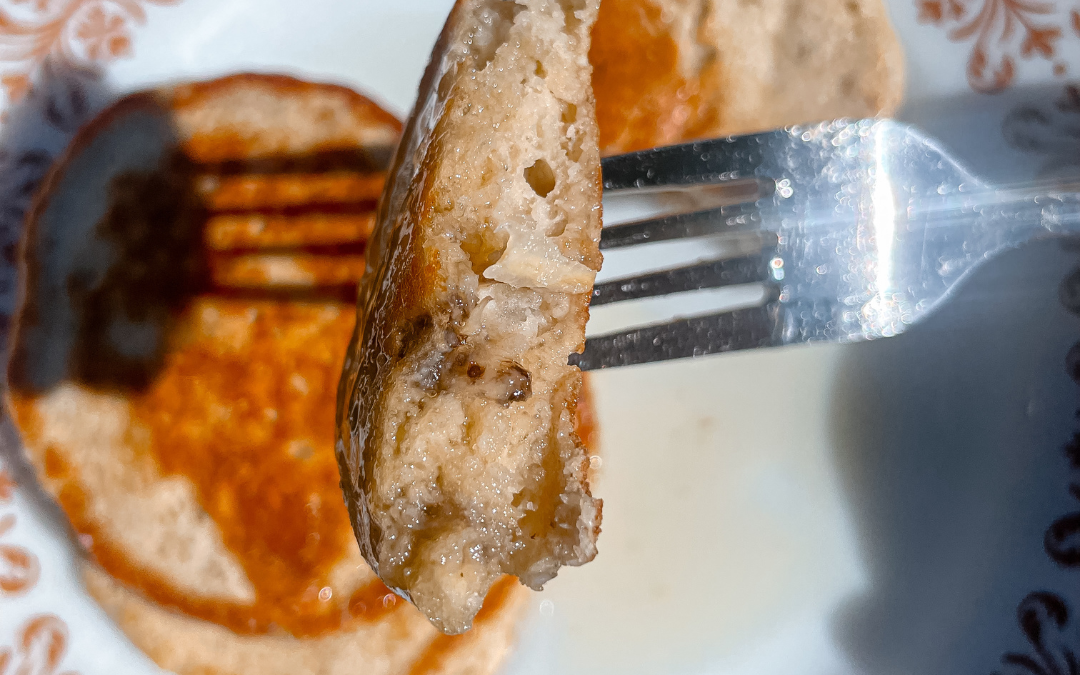
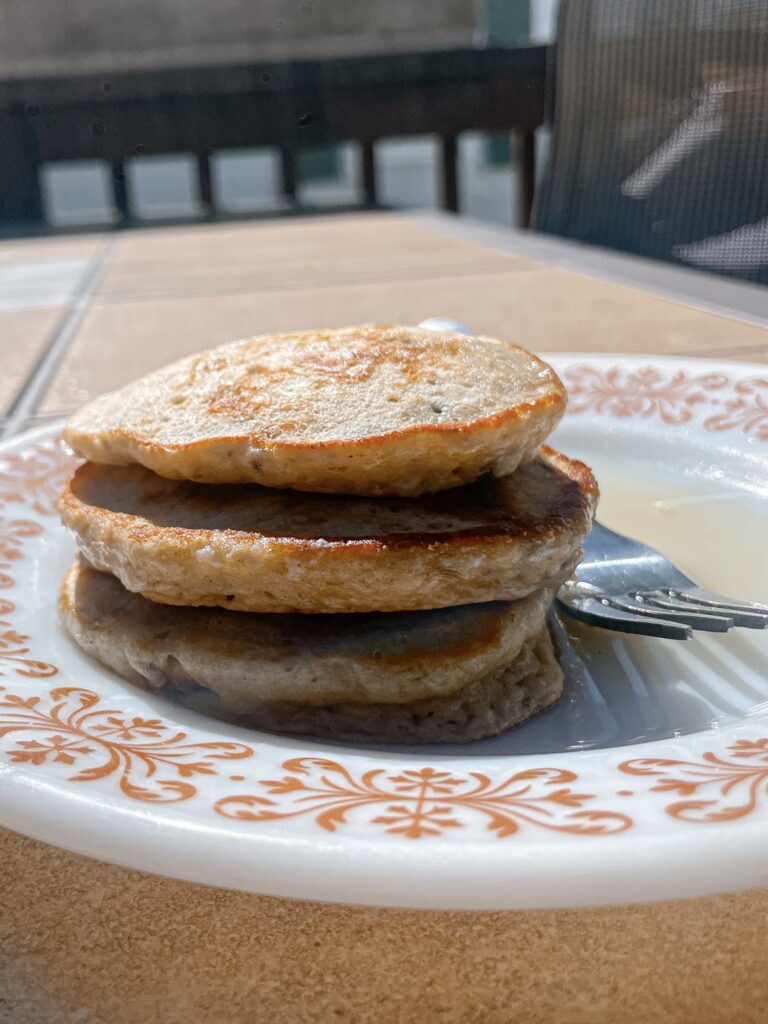
What if I told you that you could make pancakes with just five simple ingredients you likely already have in your kitchen? These 5-ingredient pancakes are made with banana, egg, baking powder, flour, and your choice of almond or vanilla extract. They’re easy, nutritious, and perfect for busy mornings or weekend brunches!
Why You’ll Love These Pancakes:
Healthy: The mashed banana adds natural sweetness and moisture, so there’s no need for added sugar.
Simple: With just five ingredients, these pancakes are straightforward and come together quickly.
Fluffy: Thanks to the baking powder, these pancakes puff up beautifully, giving you light, airy pancakes that melt in your mouth.
Customizable: Whether you prefer vanilla or almond extract, you can tweak the flavor to suit your taste.
Ingredients:
1 ripe banana
1 large egg
1 teaspoon baking powder
1/3 cup all-purpose flour (can sub with whole wheat or gluten-free flour)
1/2 teaspoon vanilla or almond extract
Instructions:
Mash the banana: In a medium-sized bowl, mash the banana with a fork until smooth. You can leave a few small chunks for added texture if you prefer.
Mix in the egg and extract: Add the egg and almond or vanilla extract to the mashed banana. Stir until the mixture is fully combined.
Add the dry ingredients: Sprinkle the baking powder and flour into the bowl. Gently mix until all the ingredients are incorporated, but be careful not to overmix. The baking powder is key to getting those pancakes to fluff up, so make sure it’s evenly distributed in the batter.
Cook the pancakes: Heat a non-stick pan or griddle over medium heat and lightly grease it with a bit of oil or butter. Spoon about 2 tablespoons of batter for each pancake onto the pan. Cook for 1-2 minutes on each side, or until bubbles start to form on the surface and the edges turn golden. Flip and cook for another 1-2 minutes. You’ll see the pancakes rise and get wonderfully fluffy!
Serve and enjoy: Stack your pancakes high and serve them with your favorite toppings—fresh fruit, maple syrup, a sprinkle of powdered sugar/pumpkin spice, or a dollop of yogurt.
Why This Recipe is Perfect for Babies and Toddlers:
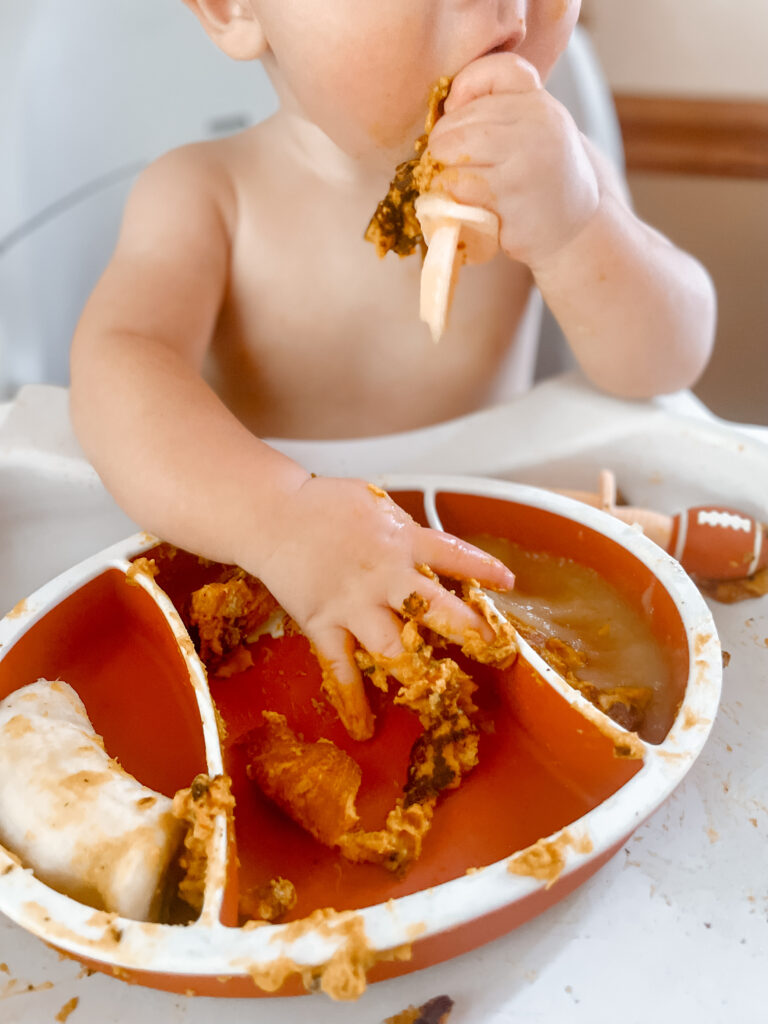
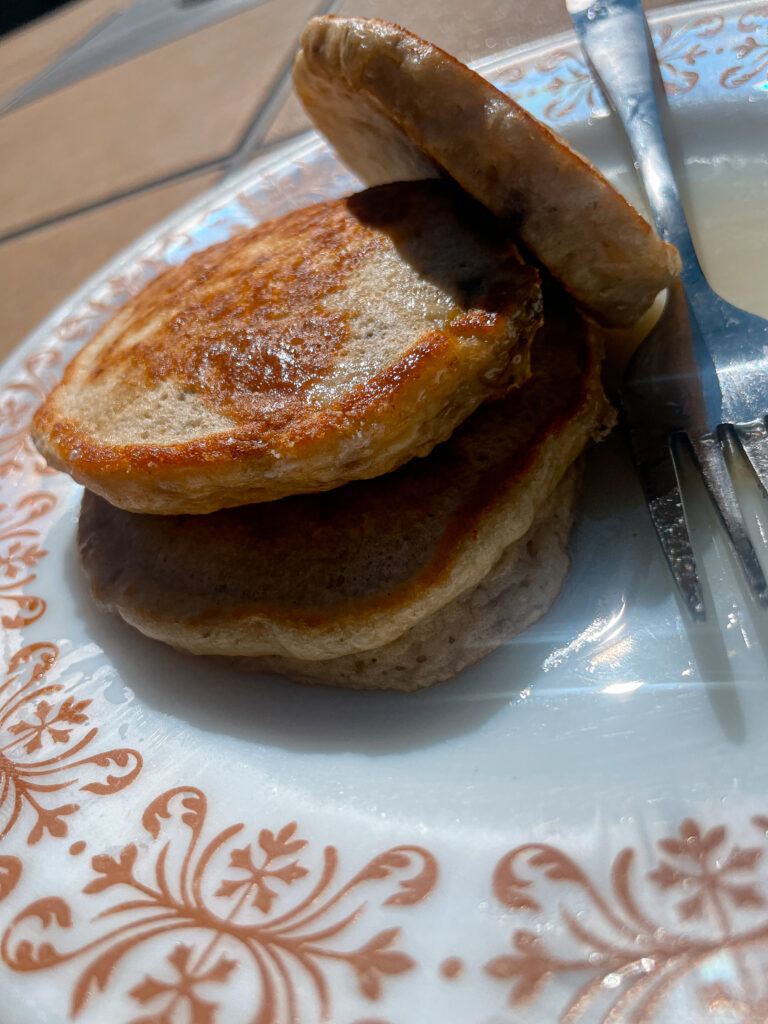
As a mom, I’m always looking for simple, wholesome recipes that my little ones can enjoy, and this pancake recipe checks all the boxes. With minimal ingredients and no added sugar, these pancakes are soft and easy for babies and toddlers to eat. My youngest, Leo, just loves them! The banana adds natural sweetness and moisture, making it a perfect baby-friendly option. I love that I can make a batch and serve them to both of my boys without worrying about excess sugar or processed ingredients. Plus, they’re a great way to introduce healthy flavors early on!
Not only are they healthy, but the pancakes get so fluffy, which makes them easy for little hands to grab onto and munch on. I cut them into small bite-sized pieces for my boys, and they love them as finger food. The fluffiness also means they’re soft enough for babies without teeth, so no worries if your little one is still working on their first set of chompers!
FAQ:
Can I make these pancakes gluten-free? Yes! Simply substitute the all-purpose flour with a gluten-free flour blend. You could also try using oat flour for a more wholesome option.
Can I freeze these pancakes? Definitely. Make a double batch, let the pancakes cool completely, and then store them in an airtight container or freezer bag. To reheat, just pop them in the microwave or toaster. Perfect for those busy mornings when you need breakfast in a pinch!
Can I add more ingredients? Absolutely! While this recipe is great as-is, feel free to add in extras like chia seeds, cinnamon, or a handful of blueberries for extra flavor and nutrients.
What’s the best way to store leftovers? If you have any leftovers (which I doubt you will!), you can store them in the fridge for up to 3 days. Just warm them up in a skillet or microwave, and they’ll be as good as fresh.
Can I use other extracts? Yes! You can experiment with different extracts like coconut, lemon, or even maple for a fun twist on the flavor.
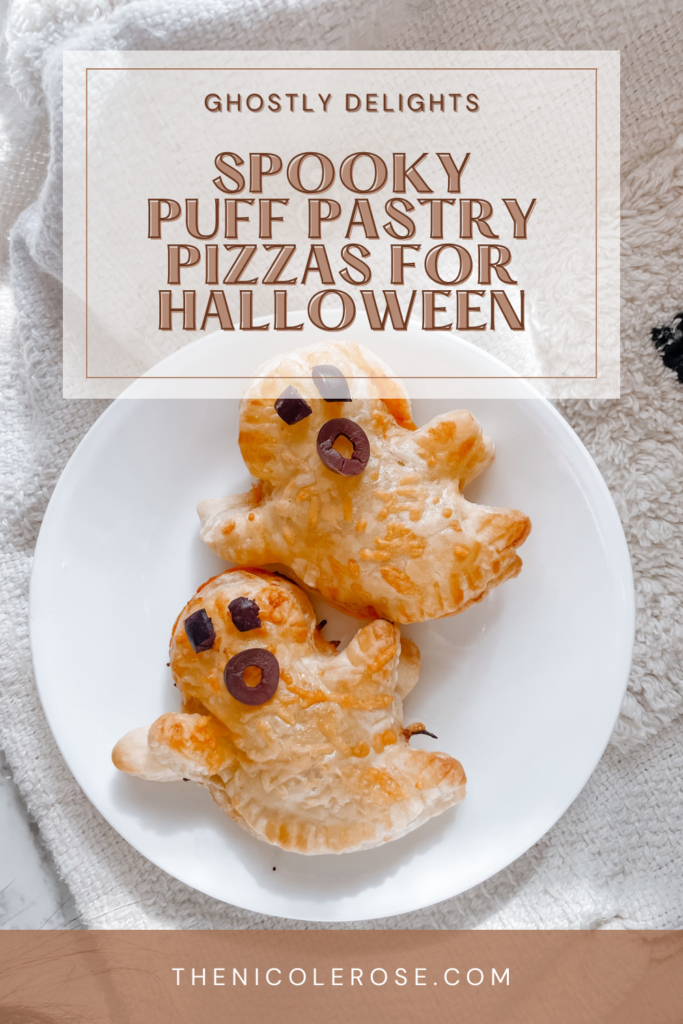
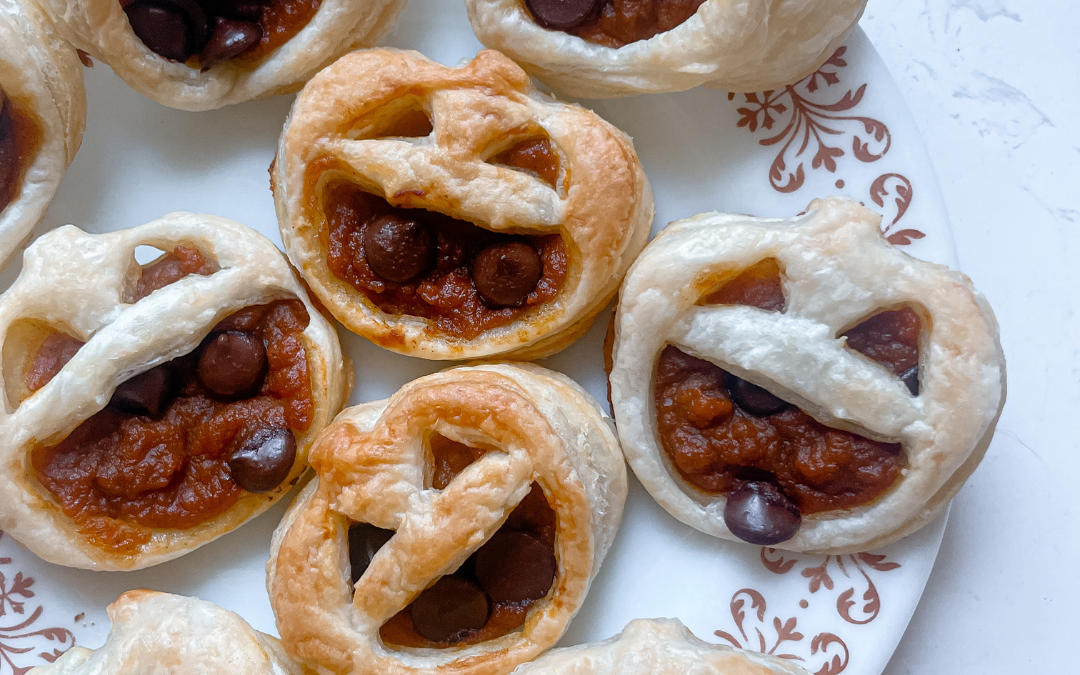
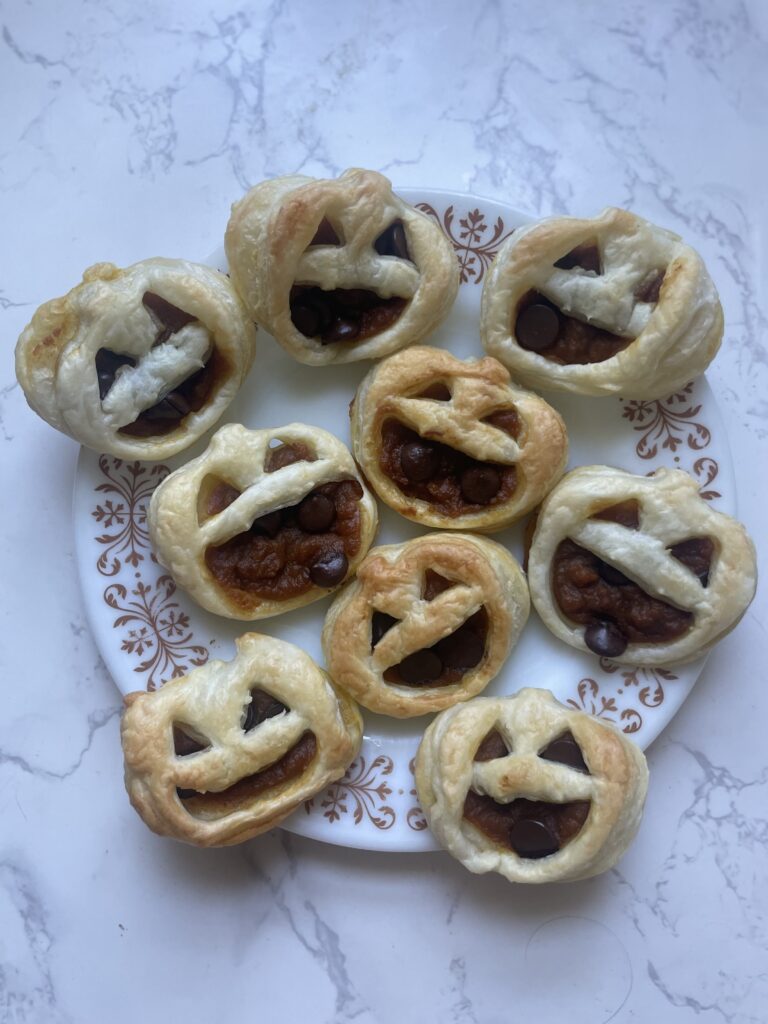
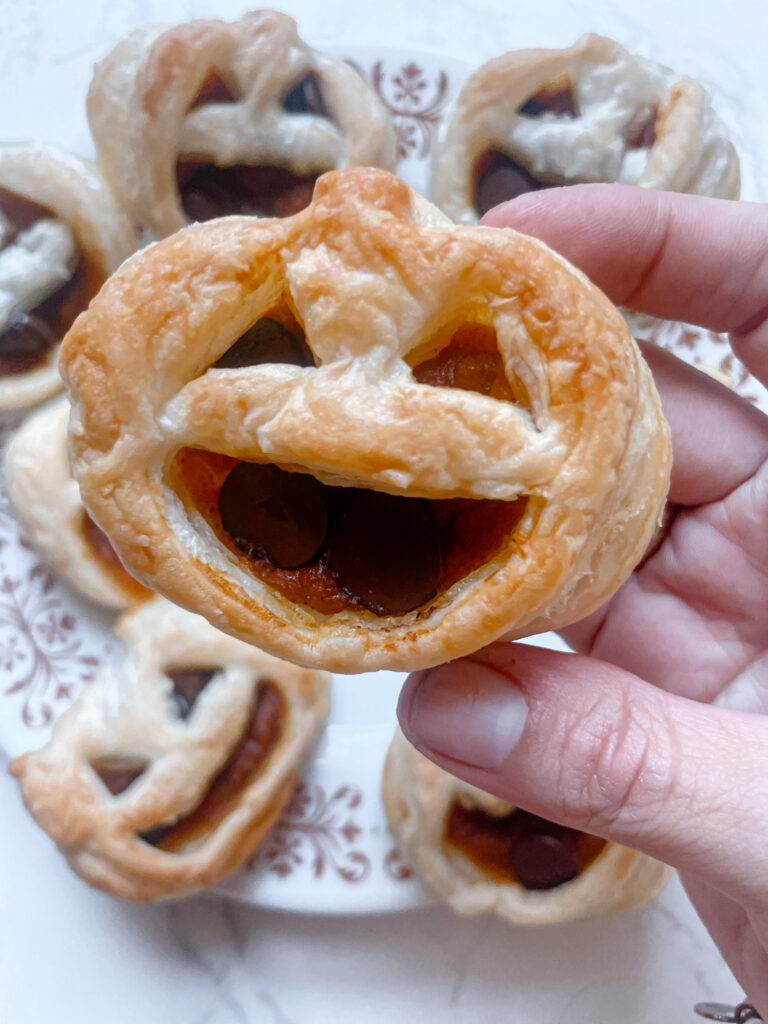
If you’re looking for the perfect autumn treat that’s both easy to make and irresistibly delicious, these Chocolate and Pumpkin Hand Pies are it! Imagine biting into a flaky puff pastry filled with warm spiced pumpkin and a hint of rich dark chocolate—pure fall magic. Plus, the festive shapes make them as fun to eat as they are to create, making this recipe a must-try for any fall baking session.
Autumn is a special time in our household, especially for my 8-year-old, Franco. He looks forward to all the festive treats we create together during this time of year, from spooky Halloween cookies to comforting pumpkin-flavored desserts. These hand pies are a particular favorite because they’re as fun to make as they are to eat. Franco loves helping out in the kitchen, especially when he gets to choose which autumn-themed cutters we use to shape our pies.
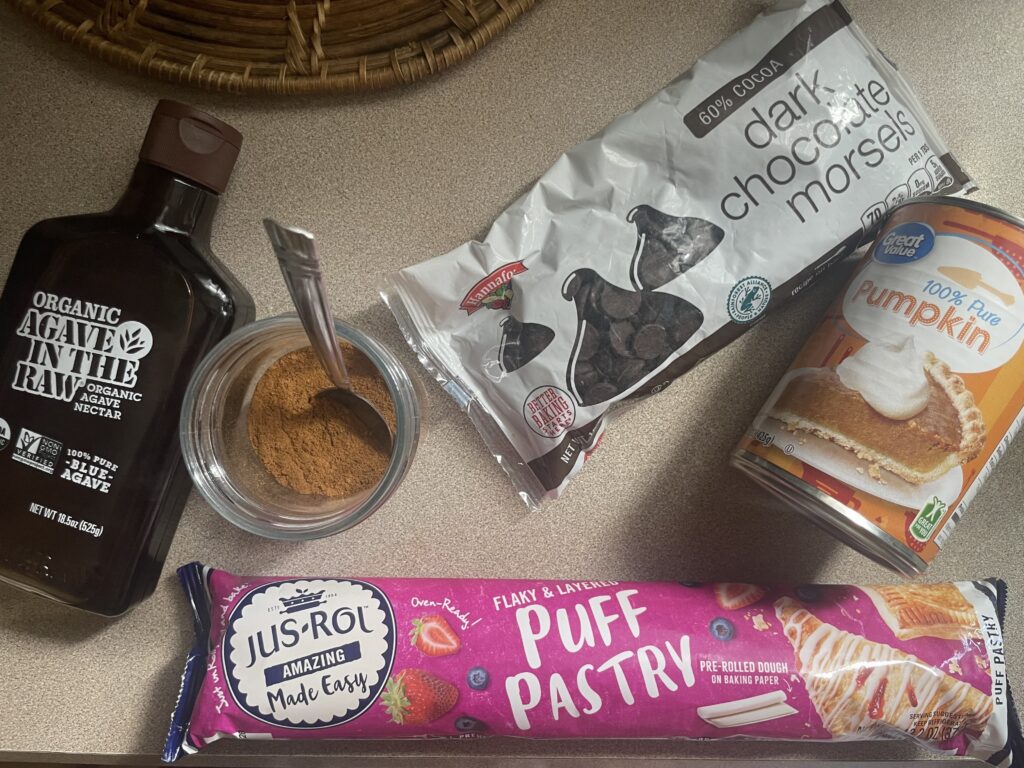
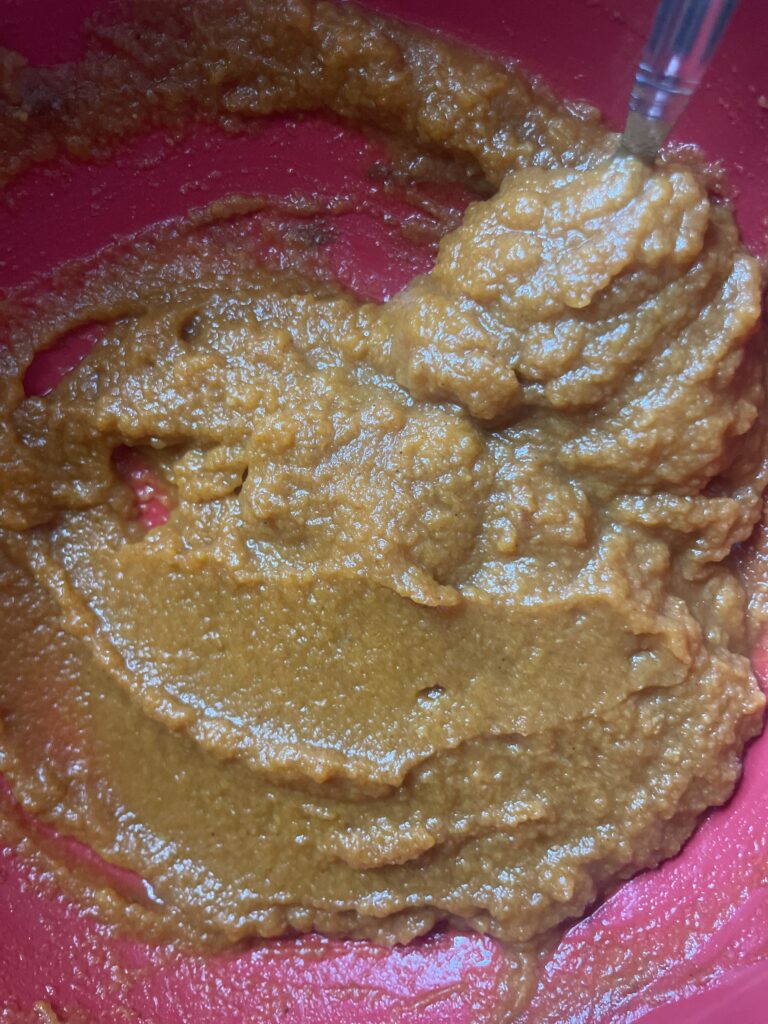
Prepare the Filling: In a medium bowl, combine the pumpkin puree, agave nectar, and pumpkin pie spice. Stir until well mixed.
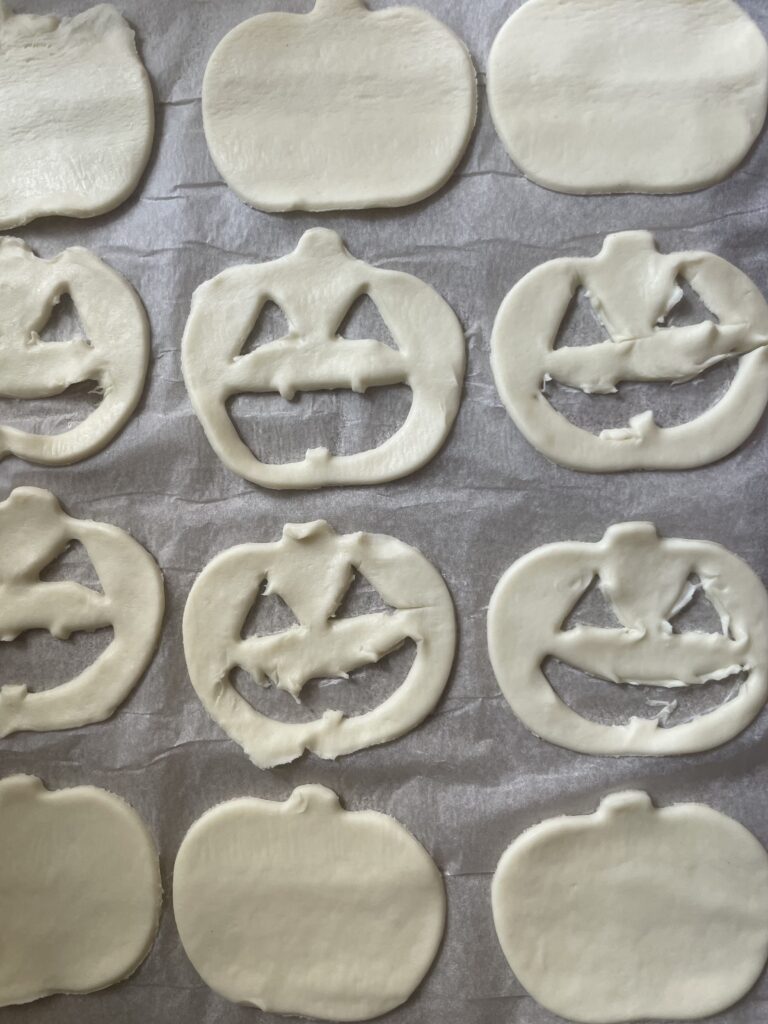
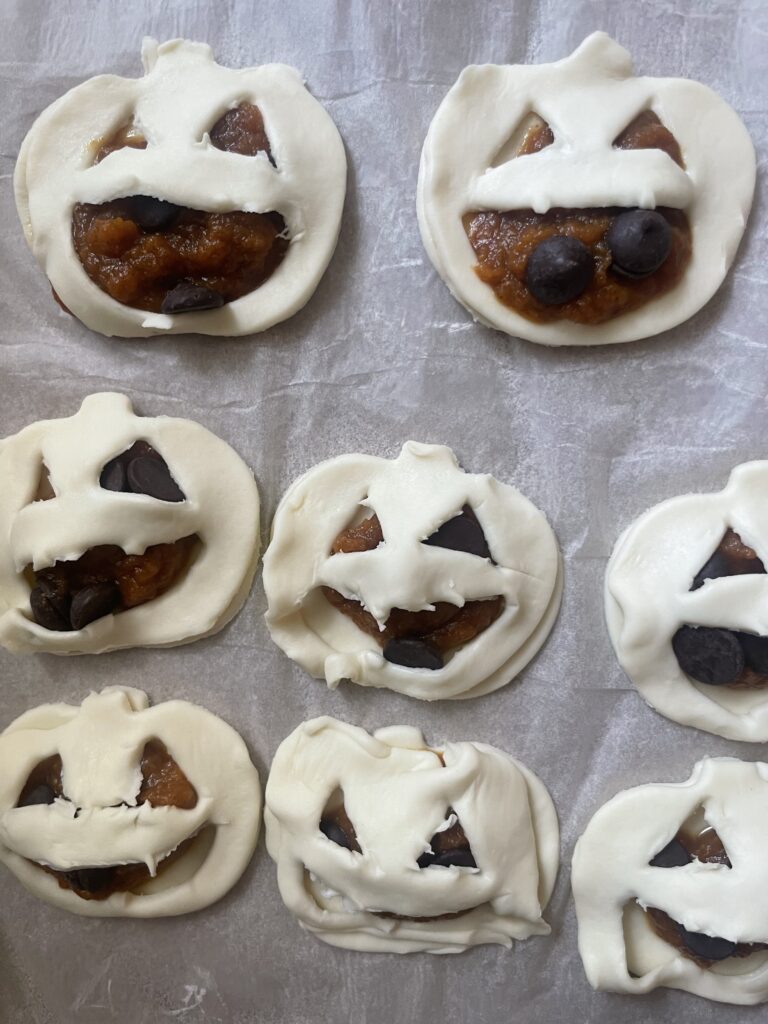
Roll Out the Puff Pastry: On a lightly floured surface, roll out the puff pastry sheet to smooth any creases. Use your autumn-themed cookie cutters to cut out an even number of shapes—these will form the tops and bottoms of your hand pies.
Assemble the Hand Pies:
Place half of the cut-out shapes on a parchment-lined baking sheet.
Spoon a small amount of the pumpkin mixture into the center of each shape, leaving a border around the edges.
Add a few dark chocolate chips on top of the pumpkin filling.
Seal the Pies:
Brush the edges of each filled shape with a bit of water, then place a second cut-out shape on top.
Gently press the edges together with your fingers, and then use a fork to crimp the edges and seal the pies.
Egg Wash: In a small bowl, whisk the egg with a tablespoon of water. Brush the tops of each hand pie with the egg wash to give them a golden, glossy finish.
Bake: Preheat your oven to 375°F (190°C). Bake the hand pies for 20-25 minutes, or until they are golden brown and puffed up.
Cool and Serve: Allow the hand pies to cool slightly on a wire rack before serving. Enjoy them warm with a cup of spiced tea or hot chocolate!
Tips for Success
Keep It Cold: Make sure your puff pastry stays cold while working with it. If it becomes too warm, pop it back in the fridge for a few minutes before continuing.
Customize Your Fillings: Feel free to add nuts, dried fruit, or a sprinkle of cinnamon sugar on top for extra flavor and texture.
Make Ahead: These hand pies can be assembled and frozen before baking. Just pop them in the oven directly from the freezer, adding a few extra minutes to the baking time.
Why You’ll Love These Hand Pies
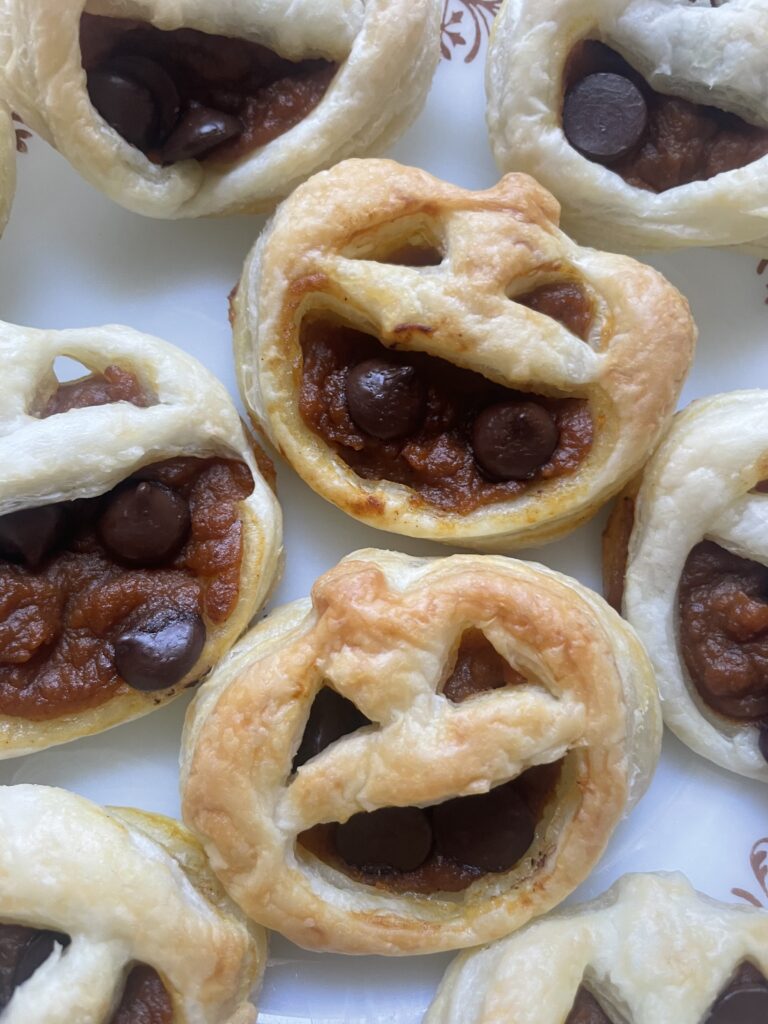
These Chocolate and Pumpkin Hand Pies are the perfect blend of sweet and savory, with the rich taste of dark chocolate complementing the warm, spiced pumpkin filling. The puff pastry gives each pie a delightful flakiness, and the autumn-themed shapes make them as fun to look at as they are to eat.
Whether you’re making them for a fall gathering or just to enjoy with your family, these hand pies are sure to become a seasonal favorite. Plus, they’re the perfect size for little hands to hold, making them a hit with kids too!
What’s your favorite fall dessert? Let me know in the comments, and don’t forget to share your creations if you try this recipe!
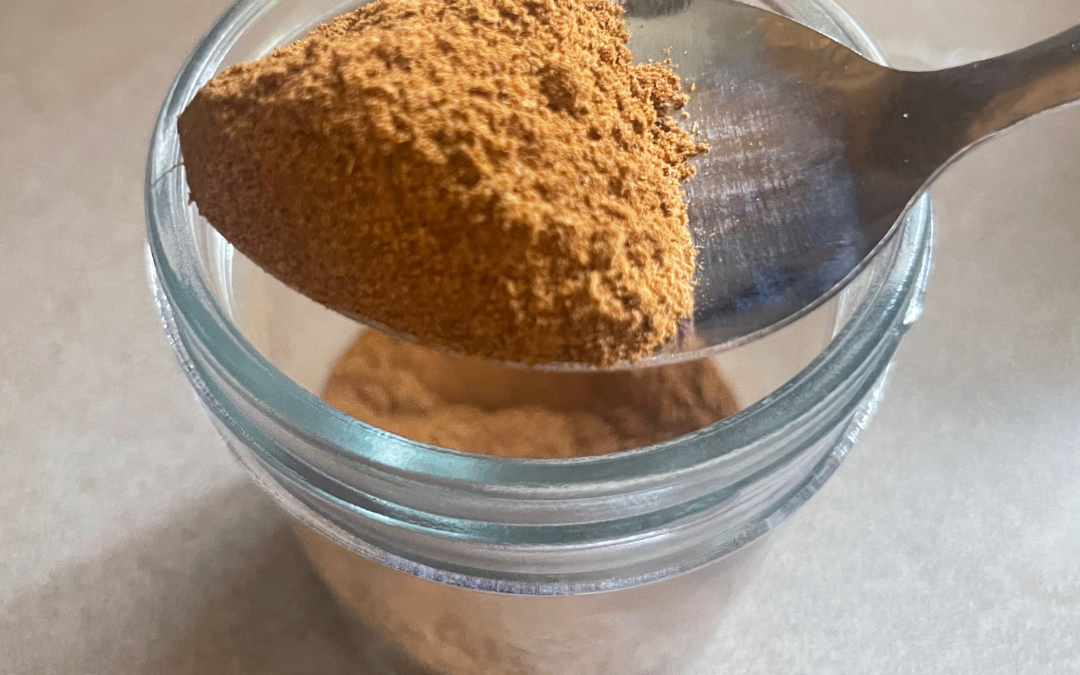
Homemade Pumpkin Spice Recipe: Your Go-To Fall Flavor
Fall is in the air, and you know what that means—pumpkin spice everything! Instead of reaching for a store-bought mix, why not create your own homemade pumpkin spice? With just a few pantry staples, you can whip up a batch that’s fresher, more flavorful, and free of any unnecessary additives. This versatile spice blend is perfect for everything from lattes to baked goods, and it makes a great gift too!
Ingredients
3 tablespoons ground cinnamon
2 teaspoons ground ginger
2 teaspoons ground nutmeg
1 1/2 teaspoons ground allspice
1 1/2 teaspoons ground cloves
Instructions
Measure the Spices: In a small bowl, combine the ground cinnamon, ginger, nutmeg, allspice, and cloves.
Mix Thoroughly: Use a whisk or spoon to thoroughly mix the spices together. Ensure there are no clumps, and the blend is even.
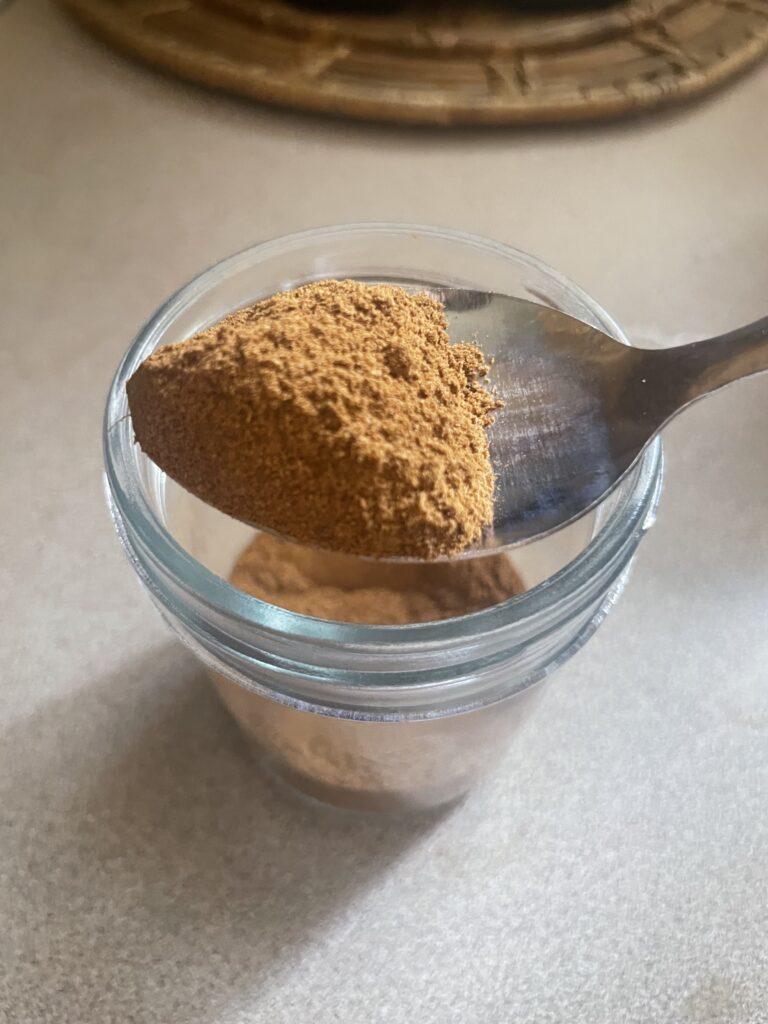
Store: Transfer your pumpkin spice mix to an airtight container. Store in a cool, dark place for up to 6 months.
Use: Add a teaspoon to your morning coffee, sprinkle it over oatmeal, mix it into pancake batter, or use it in your favorite fall dessert recipes.
Tips for the Perfect Pumpkin Spice Blend
Adjust to Taste: Feel free to tweak the ratios based on your preference. If you love cinnamon, add a bit more; if cloves are too strong for you, scale them back.
Double the Recipe: This blend makes about 1/4 cup, but you can easily double or triple the recipe if you plan on using it frequently or gifting it.
Add a Twist: Consider adding a pinch of cardamom for an extra layer of flavor or a bit of ground vanilla for sweetness.
Why Make Your Own Pumpkin Spice?
Homemade pumpkin spice isn’t just more economical than the store-bought versions; it’s also customizable. You can control the quality of the ingredients, making sure your spice mix is fresh and potent. Plus, there’s something satisfying about mixing up your own seasonal flavors—it’s like capturing the essence of fall in a jar!
Have a favorite way to use pumpkin spice? Share your tips or recipe ideas in the comments below!
If motherhood has you stressed and you feel like you’ve lost your creativity, I am here to help! Here you will find easy recipes, simple DIY’s, affordable styles, and what to read next. I believe we all have a creative side, some of us just need a little help to find it. I will help inspire you to have creative expression without standards.