

If one more person in this house asks why I’m decorating for Christmas already, they’re getting put on the naughty list!
Just kidding. Kind of.
Luckily, Leo is still my biggest fan and fully supports my Christmas decorating decisions. So naturally, his playroom is getting a festive little glow-up!
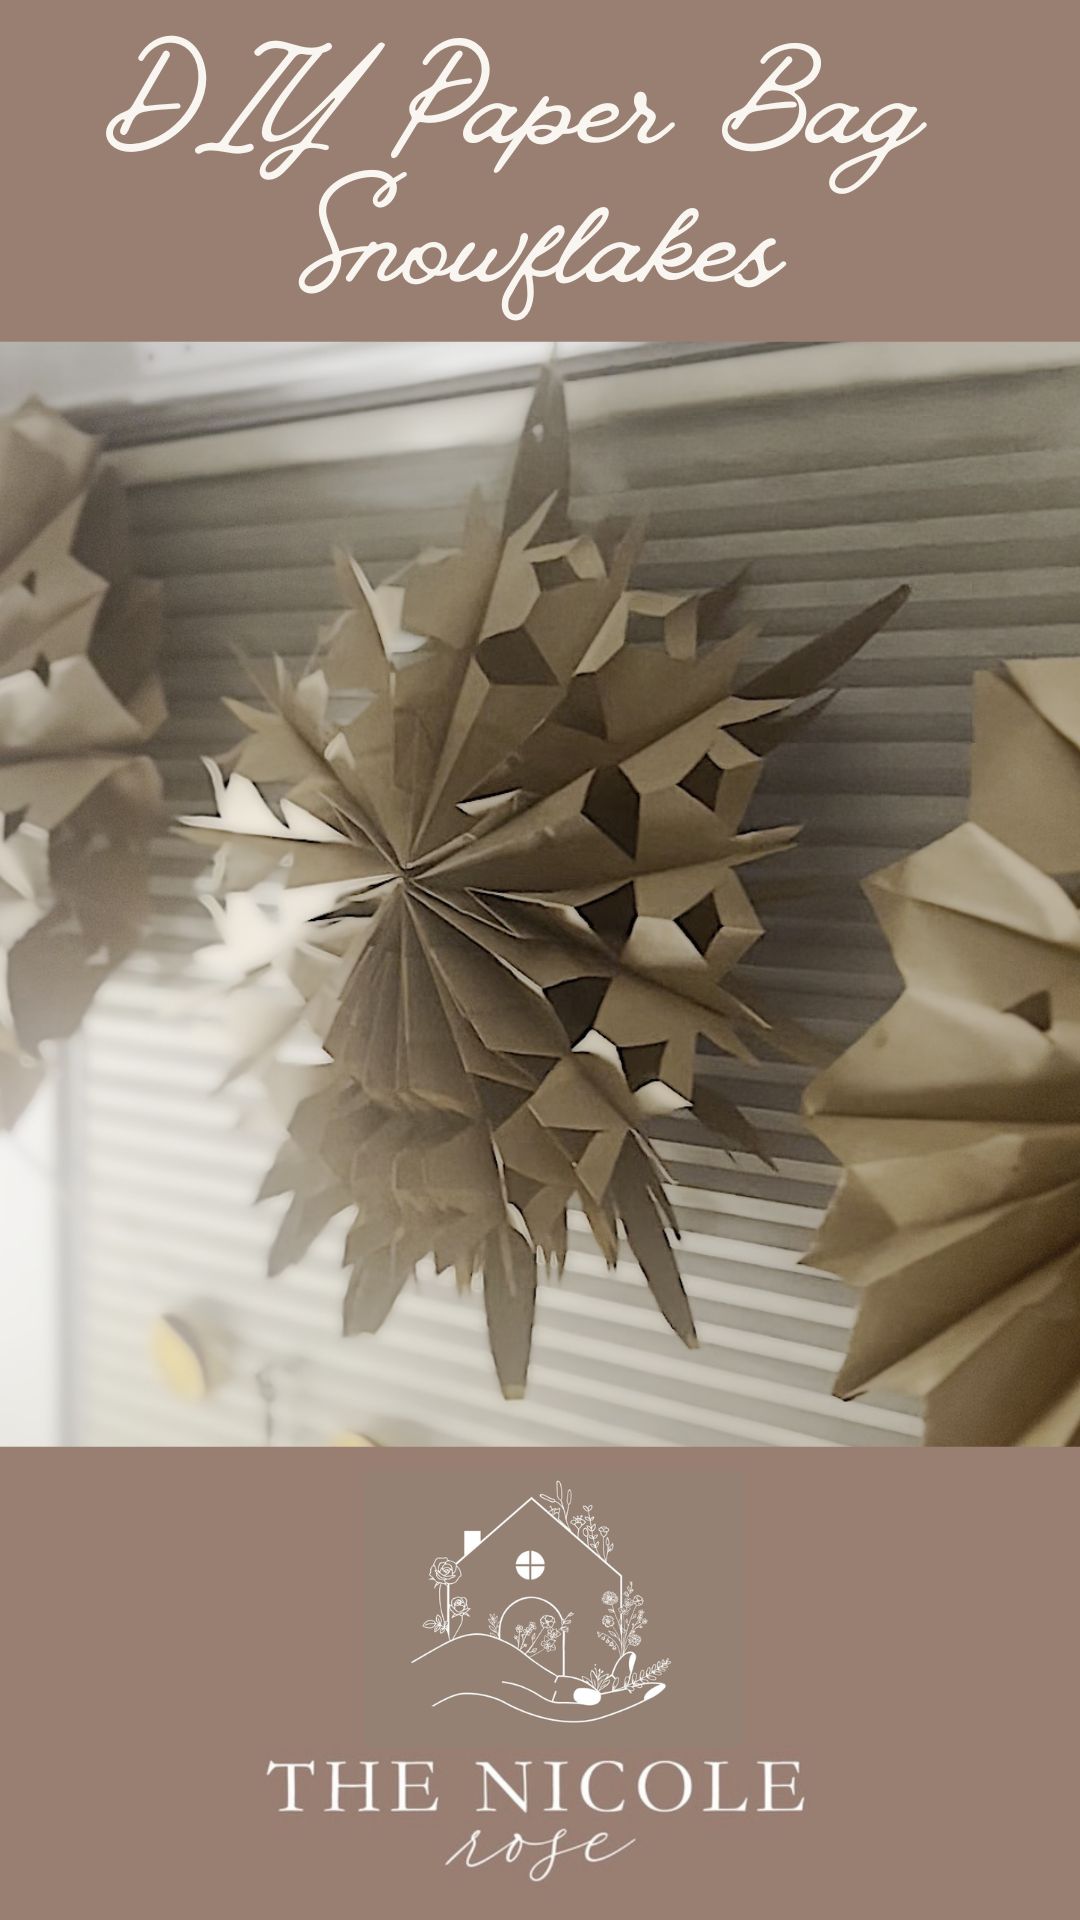
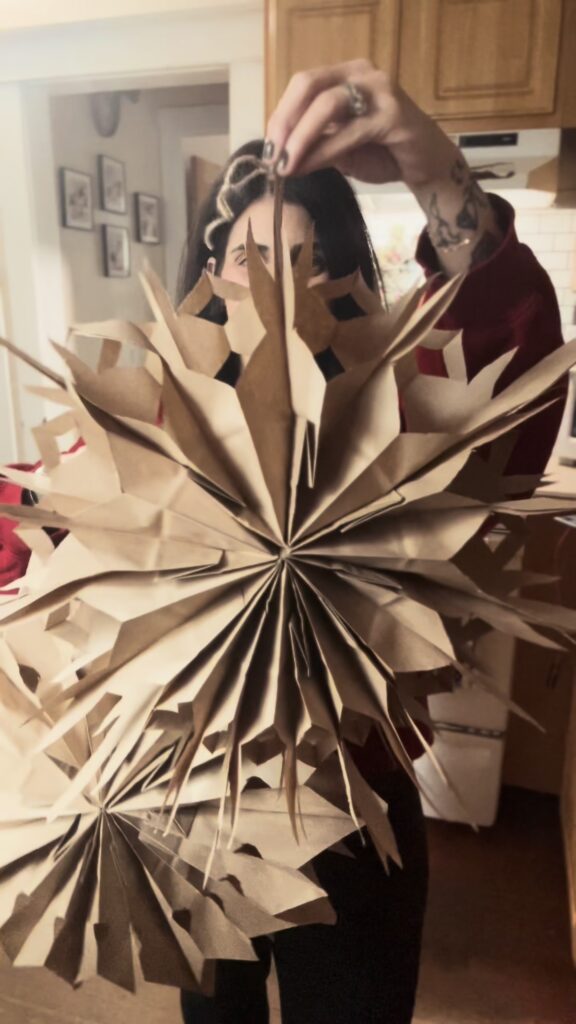
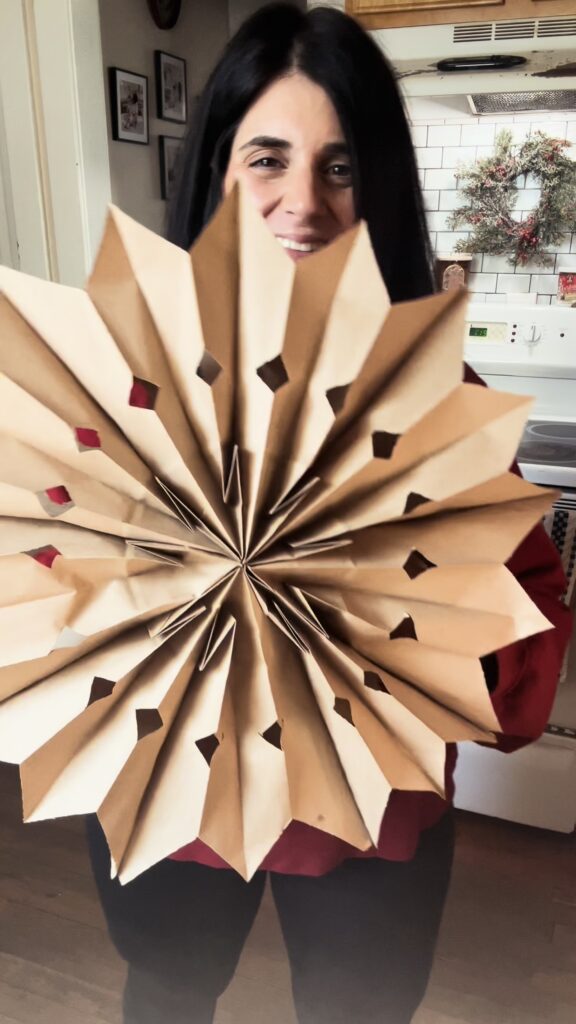
These DIY paper bag snowflakes are one of the easiest and most affordable Christmas decorations you can make. With just a few supplies, you can create oversized snowflakes that look beautiful hanging from the ceiling, in windows, or along a wall.
The best part? You don’t need any fancy crafting skills, and each snowflake only takes a few minutes to put together.
Why You’ll Love These DIY Paper Bag Snowflakes
I love finding inexpensive ways to make our home feel festive, especially when decorating spaces for the kids. These paper bag snowflakes are perfect because they’re:
- Budget-friendly: You can make several snowflakes using an inexpensive package of paper lunch bags.
- Easy to customize: Experiment with different cuts and patterns to create unique snowflakes.
- Lightweight: Perfect for hanging in playrooms, bedrooms, windows, and other spaces.
- Quick to make: Once you get the hang of it, you can make one in about 10 minutes.
- Perfect for Christmas: They add a cozy, whimsical touch without spending a fortune.
Supplies You’ll Need
You only need a handful of supplies to make these beautiful oversized paper bag snowflakes, and you might already have most of them at home!
- 9-12 paper lunch bags per snowflake
- Hot glue gun and glue sticks
- Scissors
- Pencil (optional)
- Hole punch
- Twine, string, or ribbon
- Removable ceiling hooks for hanging
Shop My Supplies: I’ve linked everything you need to recreate these festive snowflakes in one convenient place!
Shop My DIY Paper Bag Snowflake Supplies
Tip: White paper bags create a snowy winter wonderland look, while traditional brown kraft bags are perfect for a cozy, neutral Christmas aesthetic.
How to Make DIY Paper Bag Snowflakes
Step 1: Stack and Glue Your Paper Bags
Start by laying your first paper lunch bag flat with the bottom flap facing up and the opening pointing away from you.
Using your hot glue gun, apply glue in an upside-down T shape. Run one line of glue down the center of the bag and another across the bottom.
Place another paper bag directly on top, making sure the bags are lined up evenly and facing the same direction.
Repeat this process until you have a stack of approximately 9-12 bags.
Tip: Make sure you’re gluing the bags together rather than gluing the openings shut. The bags need to expand when you open your snowflake.
Step 2: Cut Your Snowflake Design
Once your bags are glued together, it’s time to get creative!
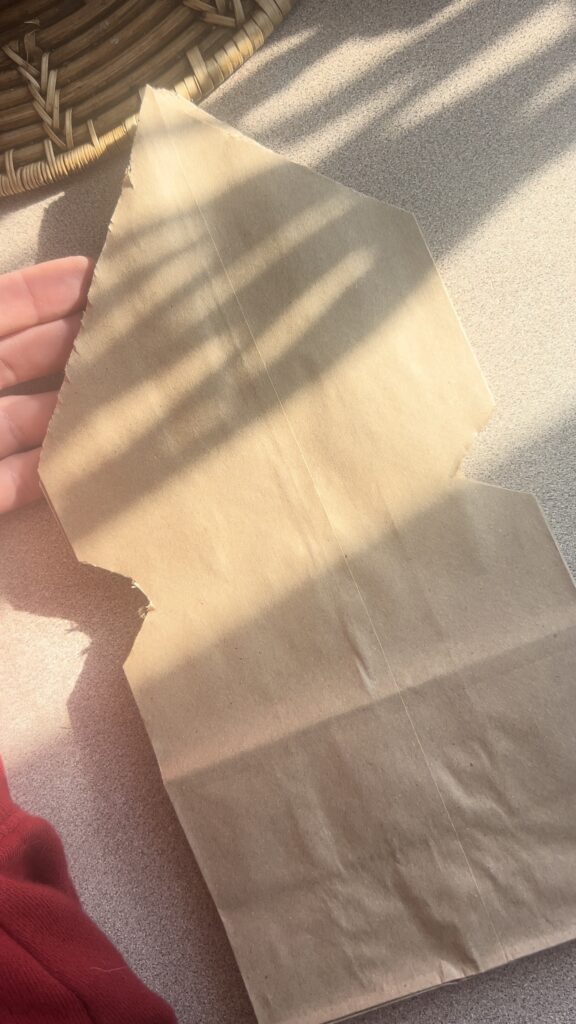
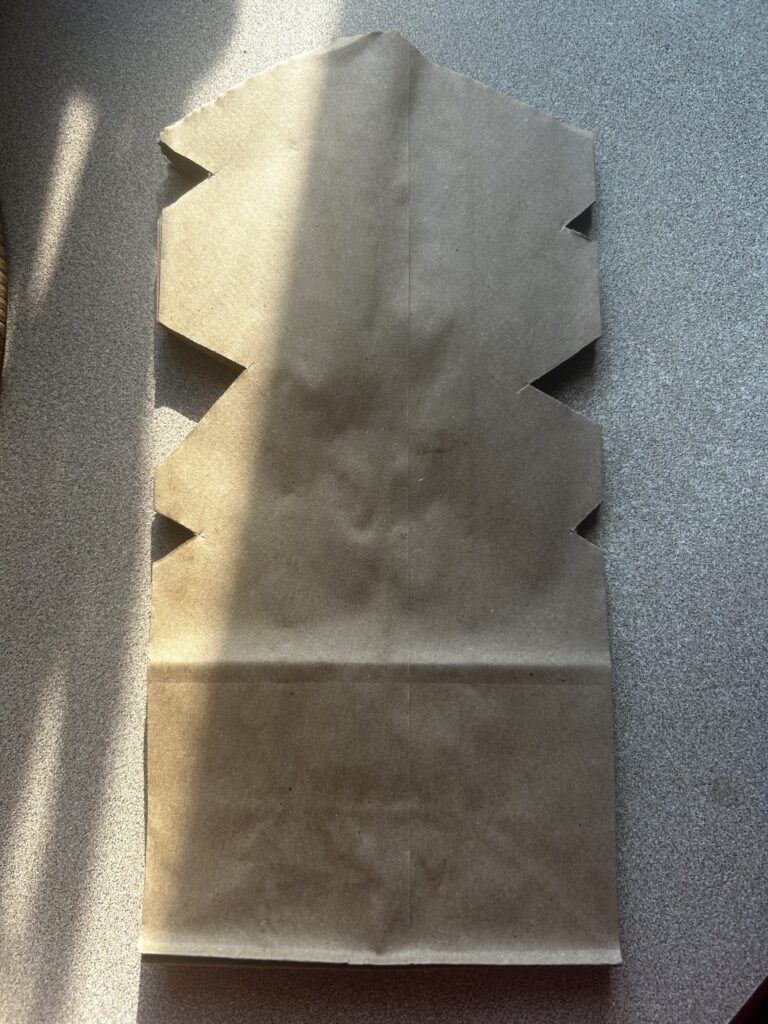
Using scissors, cut the top of your stacked bags into a point, rounded edge, or another shape.
Next, cut small shapes along the sides of the stack. You can try triangles, half circles, or little notches.
These cuts will create the decorative openings when your snowflake unfolds.
Don’t worry about making every cut perfect. Part of the charm is that every snowflake turns out a little different.
Step 3: Open Your Snowflake
This is my favorite part!
Carefully grab the first and last bags in your stack and gently pull them apart, fanning the bags open until they form a complete circle.
You’ll see your snowflake design come to life!
If the two ends meet comfortably, secure them together using another upside-down T of hot glue.
For decorations you want to reuse, you can also use removable fasteners to connect the ends instead of permanently gluing them.
Step 4: Add String for Hanging
Use a hole punch to create a small hole near the top of one of the snowflake’s points, avoiding the glued seams.
Thread fishing line, twine, or ribbon through the hole and tie it securely.
I love using clear fishing line because it gives the illusion that the snowflakes are floating.
Step 5: Hang and Enjoy!
Now comes the fun part: decorating!
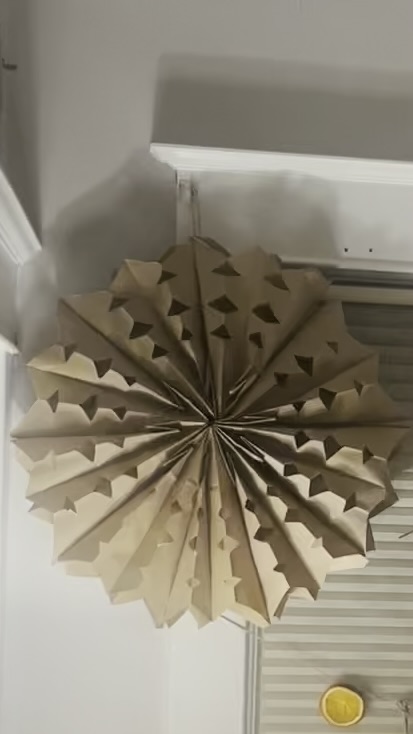
Hang your snowflakes at different heights to create a layered, whimsical look. I especially love how they transform a simple playroom into a festive little Christmas wonderland.
Be sure to use secure, appropriate hooks and keep hanging strings and decorations well out of reach of toddlers.
Fun Paper Bag Snowflake Design Ideas
One of the best things about this craft is how many different snowflakes you can create using the same basic technique.
Classic pointed snowflake: Cut the top of your bags into a triangle and add small triangle cutouts along the sides.
Rounded snowflake: Round off the top edges and add half-circle cutouts for a softer, flower-like design.
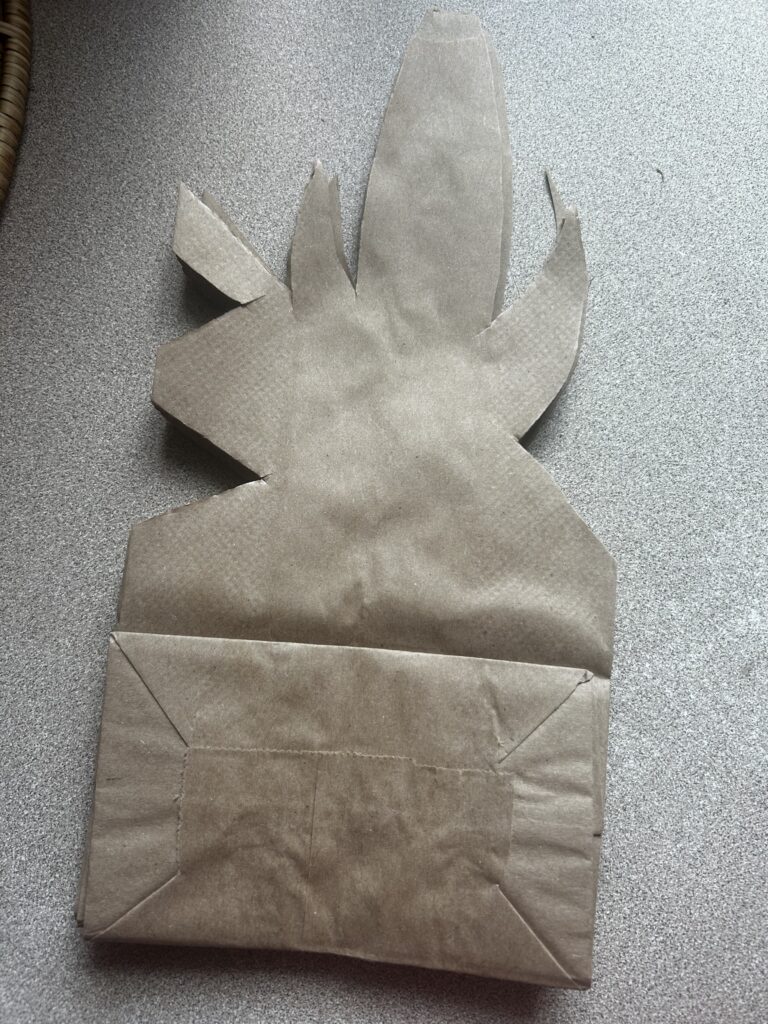
Starburst snowflake: Create a sharp point at the top and experiment with narrow side cutouts for a more dramatic design.
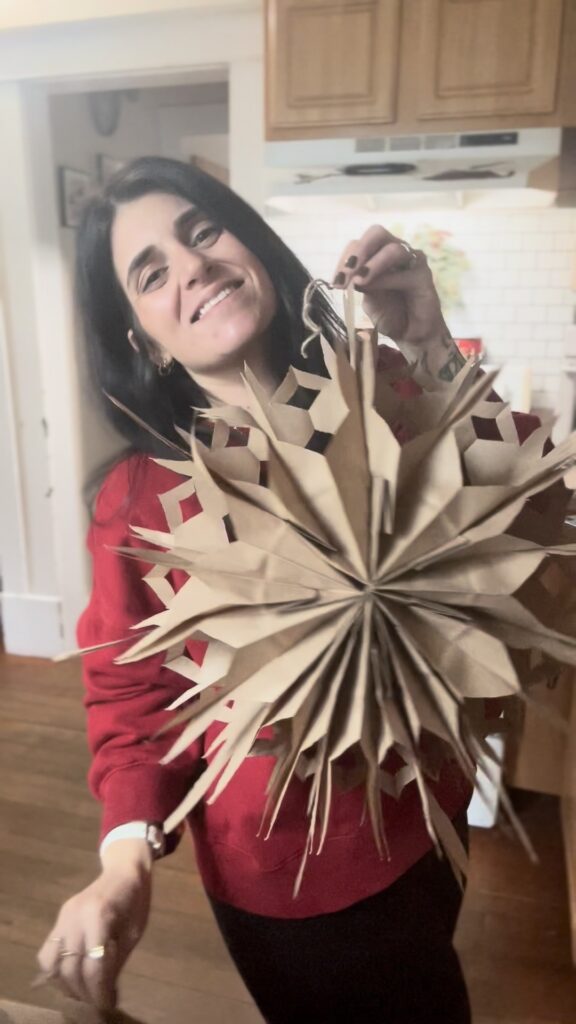
Mixed-size snowflakes: Try different bag sizes to create a collection of large and small snowflakes.
Mixing several styles together makes the decorations look even more interesting.
Tips for Making the Best Paper Bag Snowflakes
Use sharp scissors. Cutting through several layers of paper can be tricky, so sturdy scissors will make the process easier.
Don’t use too much glue. A thin line is all you need. Excess glue can make the bags difficult to open.
Experiment with the number of bags. Depending on the size and shape of your paper bags, you may need more or fewer bags to create a full circle.
Make a few different designs. I think these look best when you combine different shapes and sizes.
Store them for next year. If you use removable fasteners, you can carefully fold the snowflakes back into a stack and store them flat.
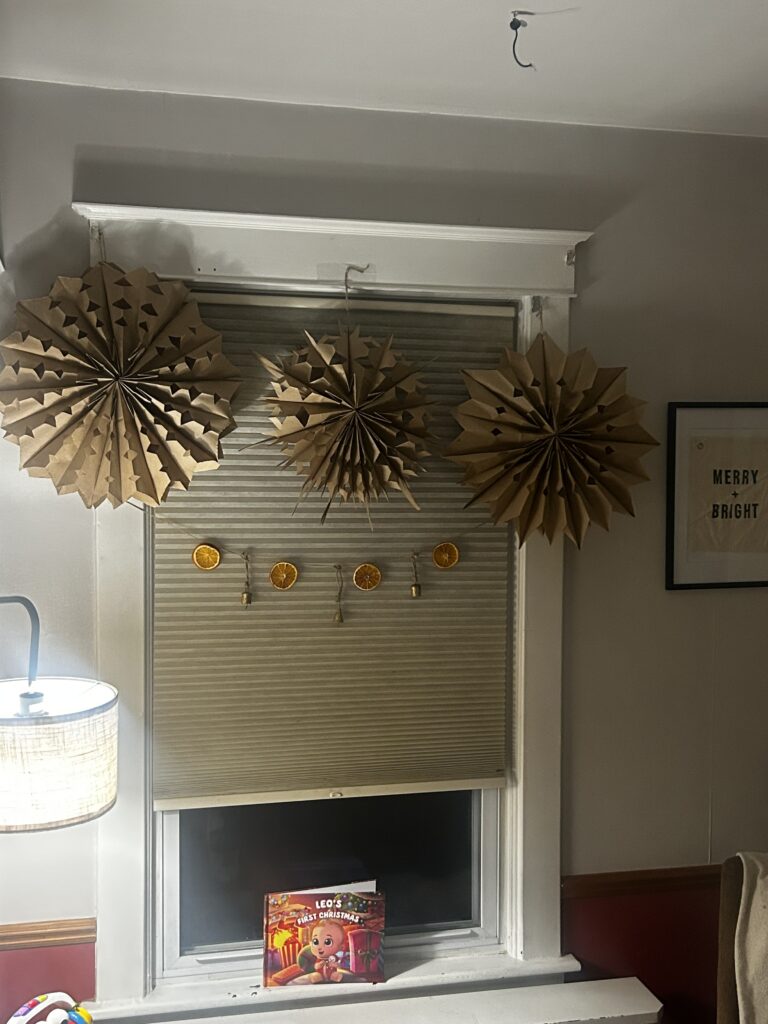
Decorating for Christmas
I know it’s only November, but Christmas decorating is officially underway in our house, whether everyone agrees with it or not!
And since Leo is currently my biggest supporter, I figured his playroom deserved a little Christmas magic.
These oversized paper bag snowflakes were such an easy way to make the space feel festive without spending a lot of money or completely changing the room.
Sometimes the simplest DIY projects end up being my favorites, especially when they’re inexpensive, easy to make, and bring a little extra joy to the kids.
If you’re looking for an easy Christmas craft or affordable holiday decorating idea, give these DIY paper bag snowflakes a try!
You can find all the supplies I used right here: Shop My Paper Bag Snowflake Supplies.
And if anyone asks why you’re decorating so early, just tell them you’re on the nice list and they’re on thin ice.
You Will Also Like
0 Comments