Welcome back to Craft Something New With Me! I’ve been loving this series where I try out a new craft for the first time, and this week’s find was too good not to share. While browsing Dollar Tree (as one does), I spotted a DIY candle making kit that instantly sparked my interest. It looked simple, creative, and—best of all—only $1.25!
Each kit comes with:
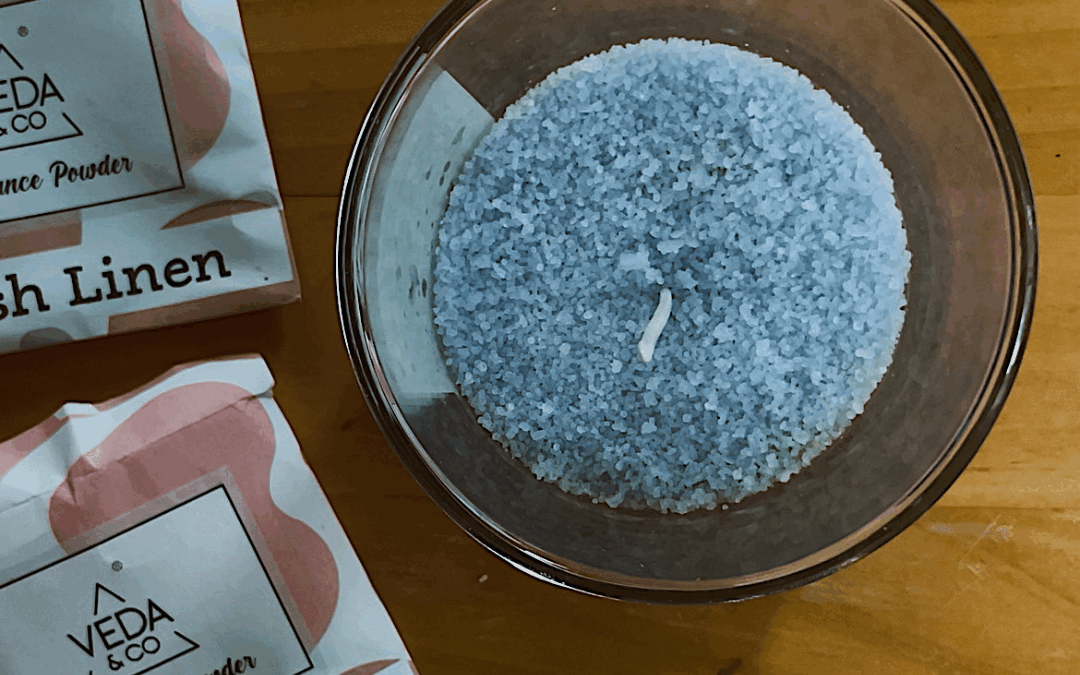
A clear glass votive
Four packets of scented pearl wax sand in different colors
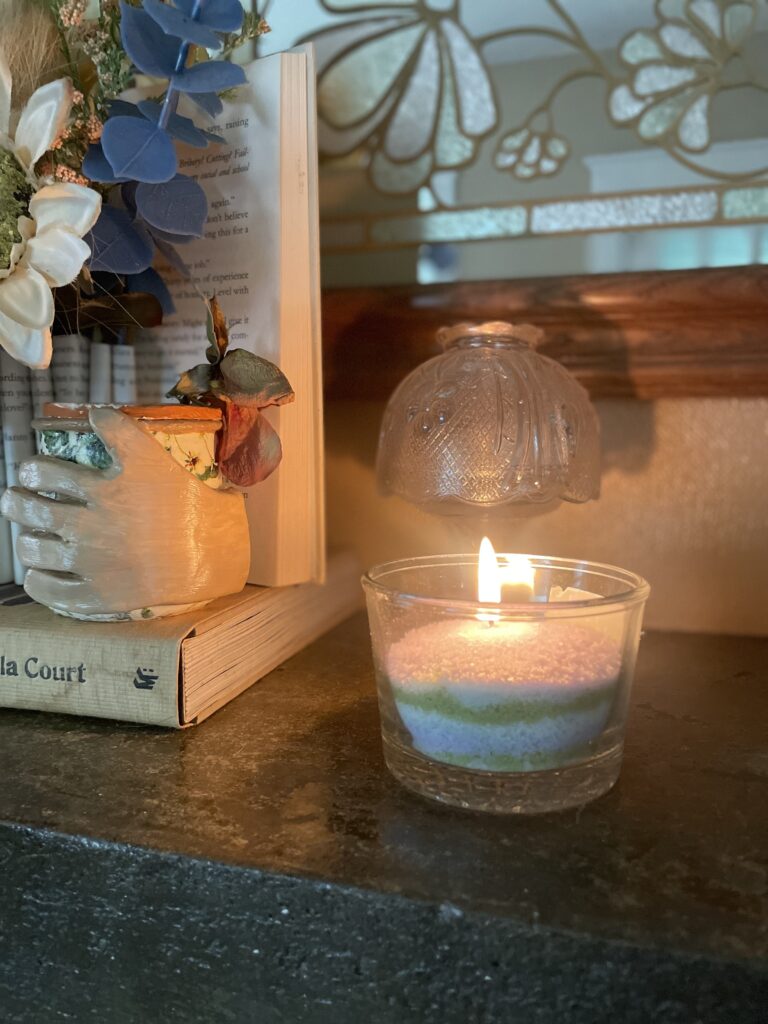
That’s it! But don’t be fooled by its simplicity—this little kit packs a punch when it comes to creativity. You get to layer the wax sand in any design or pattern you want, so each candle turns out completely unique. I went for a fun ombré stripe look, but you could totally do swirls, gradients, or even a mini rainbow. It’s a great craft for kids too, since there’s no actual melting or pouring involved—just layering and personalizing.
The scents are subtle but surprisingly nice for something so affordable. Once lit, the candle gives off a soft aroma and glows beautifully through the layers.
If your local Dollar Tree doesn’t have these in stock (they’ve been flying off the shelves!), I found a few similar options on Amazon that I’ve linked here:
Absolutely. It’s easy, mess-free, and a perfect quick craft to do when you’re short on time but want that satisfying “I made this!” feeling. I could see these making adorable gifts, party favors, or even a fun girls’ night activity.
Other Posts In This Series
Stay tuned for more projects in this series, and don’t forget to tag me on Instagram @thenicoleroseblog if you try it yourself!
One of my favorite parts of crafting is trying something totally new—even if I have no idea how it’ll turn out. That’s the heart behind my Craft Something New With Me series! Each post is all about stepping out of the comfort zone, having a little fun, and hopefully creating something cute in the process.
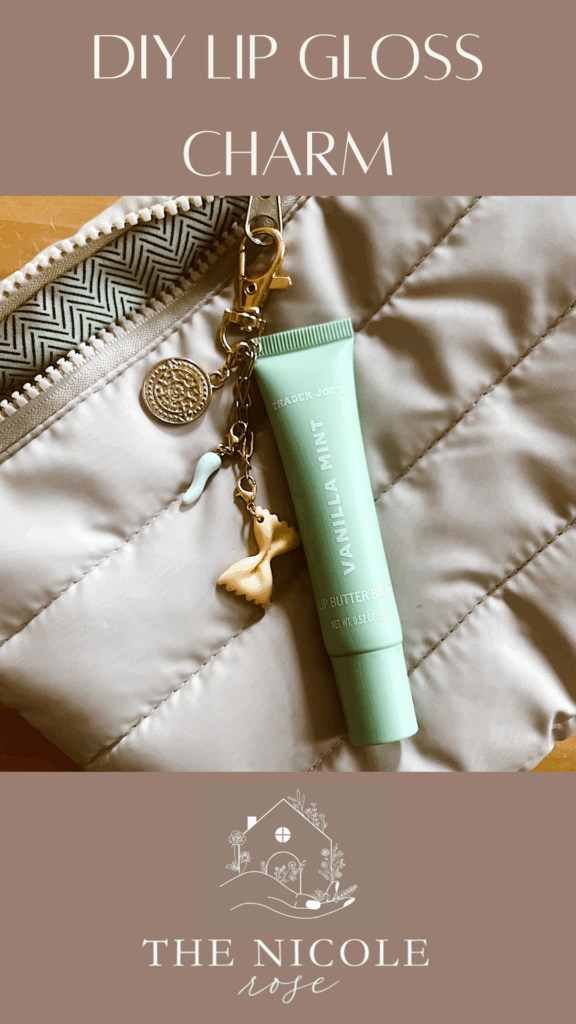
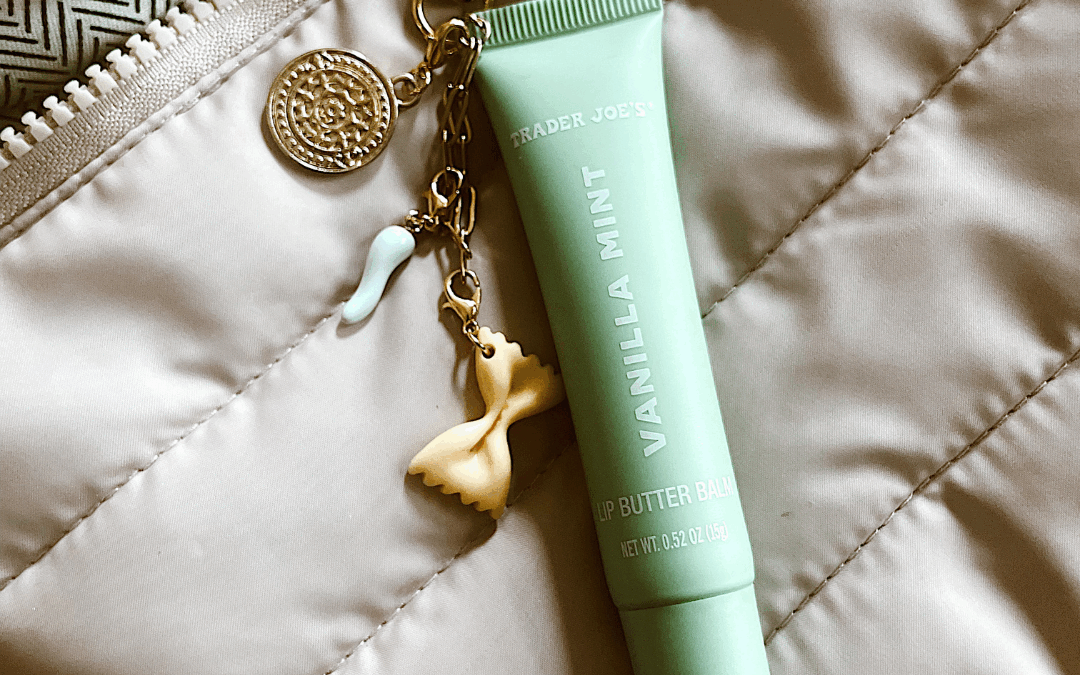
This time, I gave DIY lip gloss charms a try, and I’m officially obsessed.
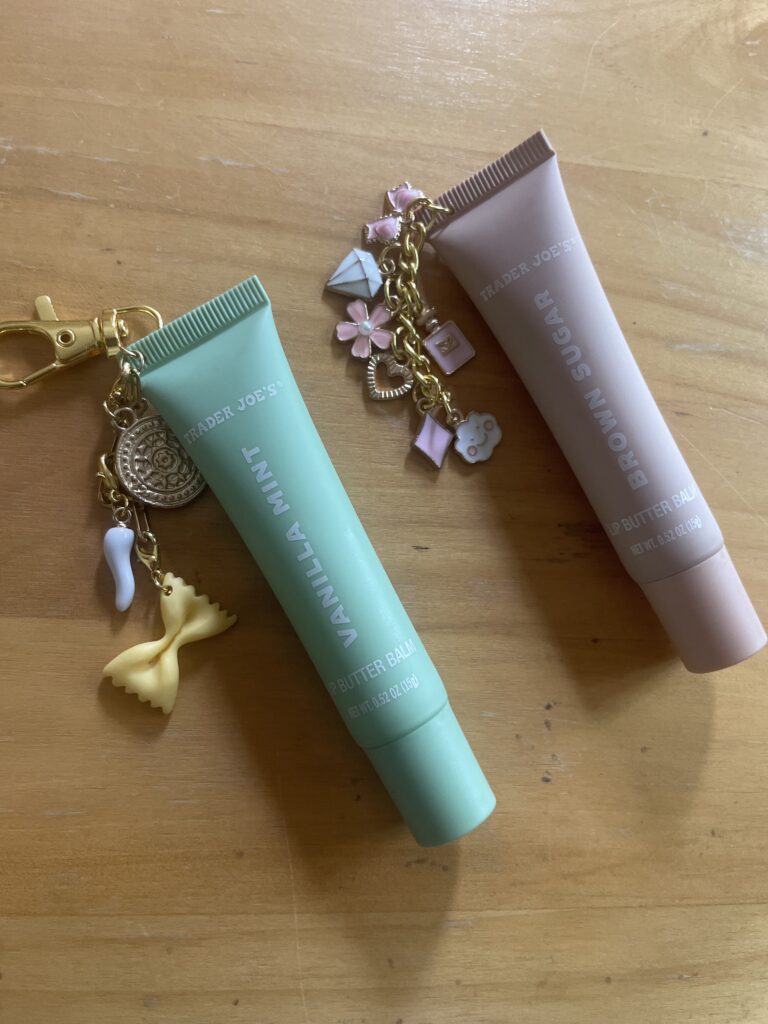
I had a pack of mini lip glosses sitting around and thought—why not turn these into keychain charms? A few minutes, a thumb tack, and some crafty magic later… I had a collection of glossy, giftable cuties that instantly made my purse 10x more fun.
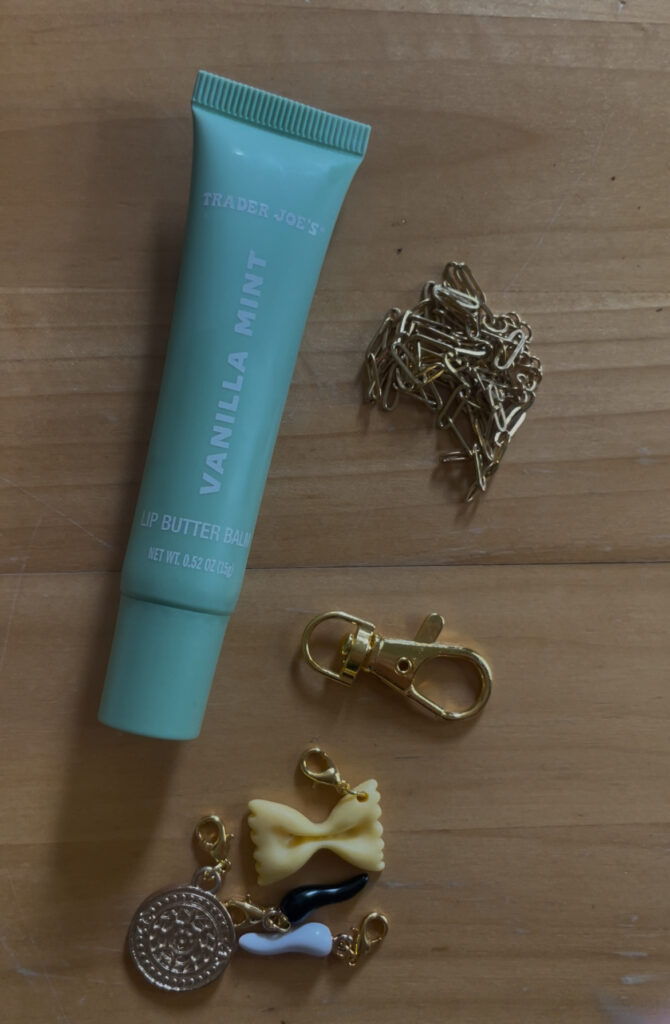
Supplies I Used:
Here’s what I used for the project:
Mini lip glosses (already filled)
Thumb tack or safety pin (to make the charm hole)
Jump rings
Keychain rings or clips
Beads, tassels and charms
Gold chain link
What I Did:
I carefully used a thumb tack to poke a small hole in the top of each lip gloss cap, then screwed in a mini eye pin to create a charm loop. From there, I added a keychain ring and some fun little add-ons like mini tassels and name labels.
My Honest Thoughts
I thought this might be one of those crafts that looks better on Instagram than in real life—but nope! It’s super easy, takes minimal supplies, and is such a fun way to upcycle inexpensive glosses. They make great teacher gifts and party favors.
I’m calling this one a win and definitely adding it to my list of go-to DIY gift ideas.
If you’ve never made DIY lip gloss charms, consider this your sign to start. Whether you’re crafting for fun, gifting, or making party favors—these are a hit.
Tag me over on Instagram @thenicoleroseblog if you give it a try—I’d love to see your versions!
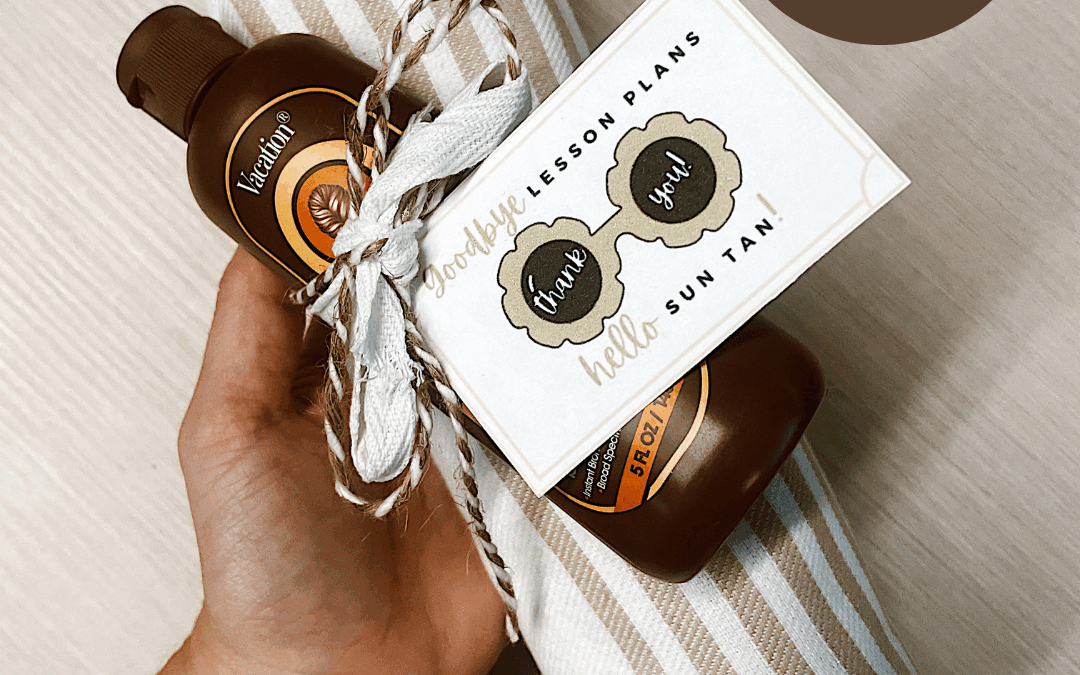
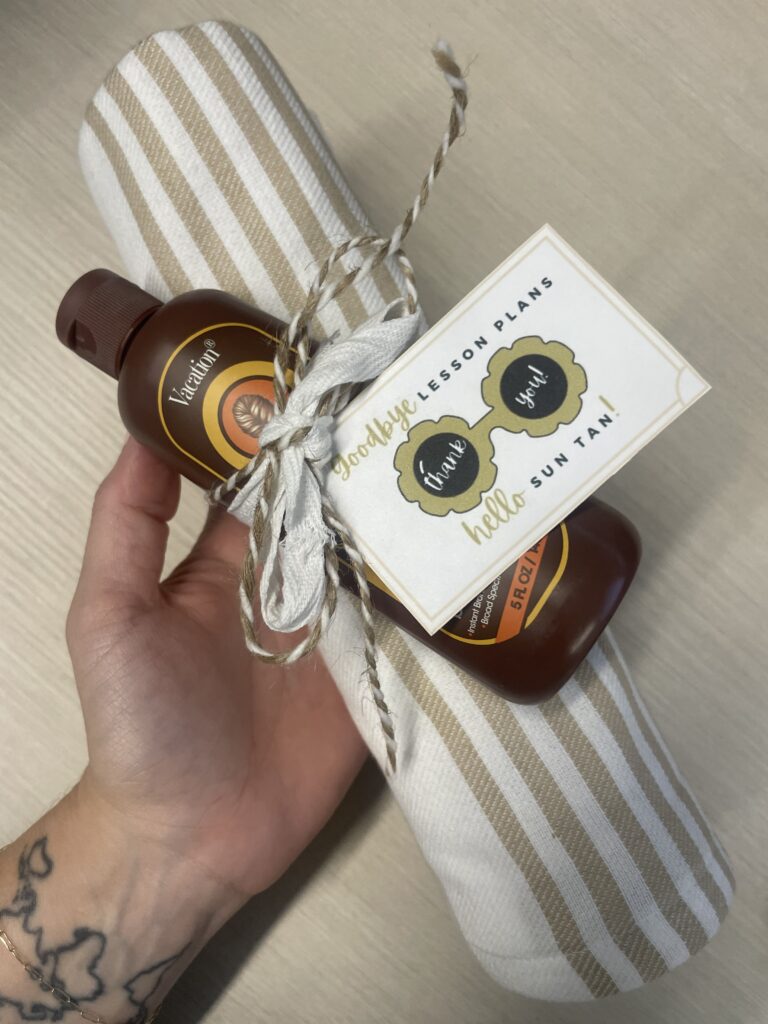
As the school year wraps up, there’s no better time to show a little appreciation for the incredible teachers, staff, and caretakers in our lives. I love gifting something thoughtful and useful—especially if it gives off major summer vibes!
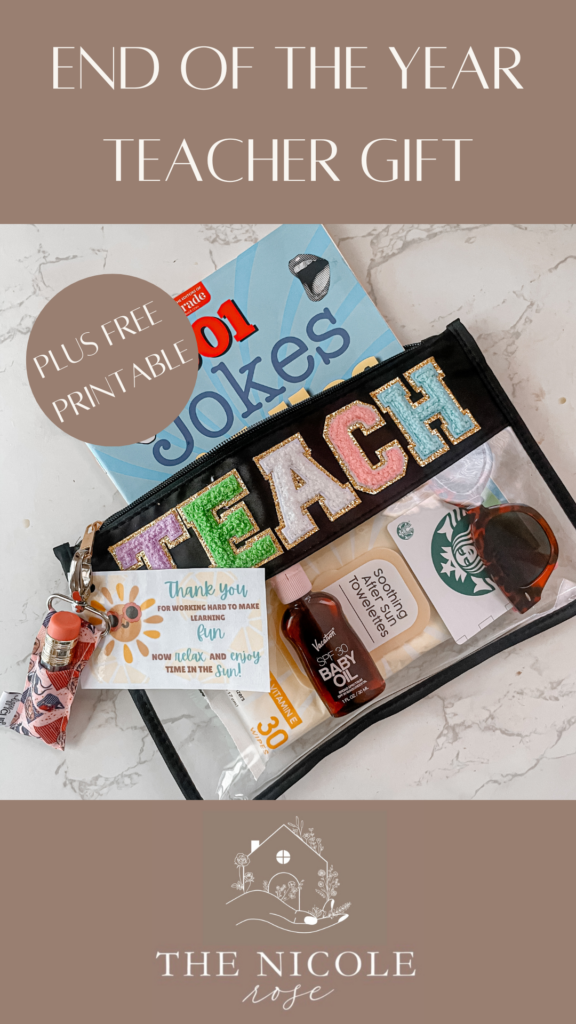
This year’s end-of-year thank-you gift? A linen beach throw paired with sunscreen, wrapped up with love and topped off with the cutest sunshine-inspired tag. Keep scrolling to grab the free printable and see how easy this gift is to recreate!
What I Used:
A neutral linen beach throw (lightweight, soft, and summer-ready)
A bottle of sunscreen (because skin care is self-care)
Optional: ribbon or twine to bundle them up
FREE printable gift tag that says “Goodbye lesson plans, hello sun tan!”
How to Put It Together:
Fold the beach throw neatly and place the sunscreen on top.
Wrap the bundle with twine or pop it in a cute reusable bag.
Print out the gift tag (on cardstock works best!) and attach it with a clip or hole punch + twine.
Welcome to my new Craft Something New With Me Series!
There’s something exciting (and a little nerve-wracking) about trying a craft you’ve never done before. That’s why I decided to start a new series called Craft Something New With Me! In each post, I’ll try a new-to-me craft, share what worked (and what didn’t), and give you my honest take on whether I’d do it again.
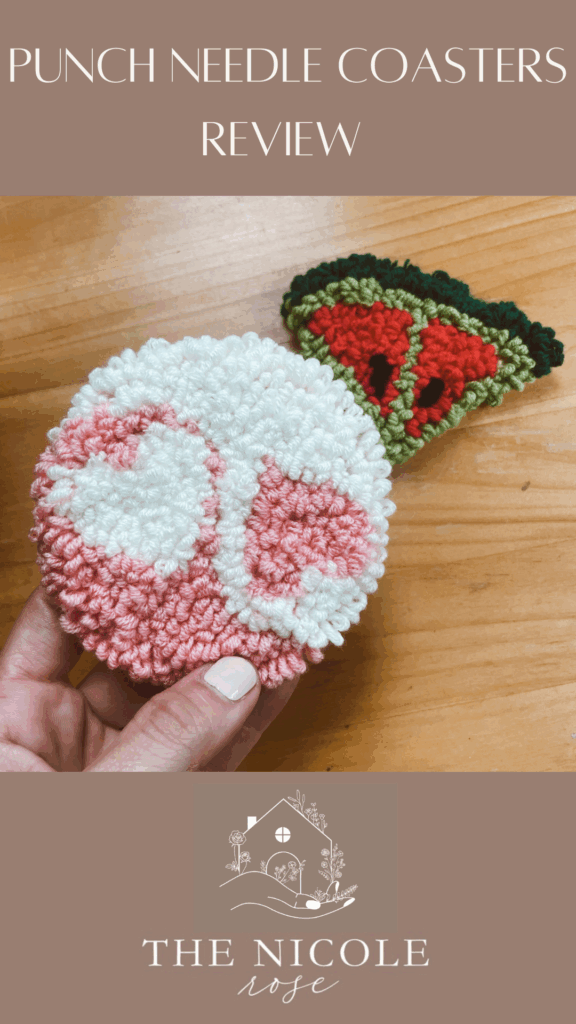
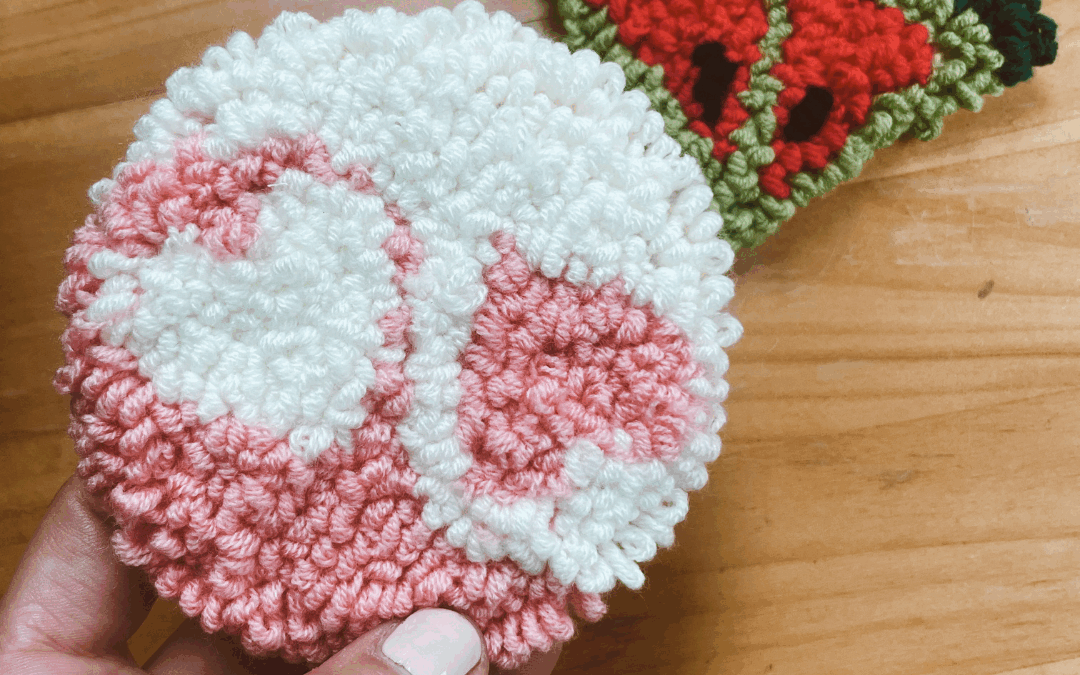
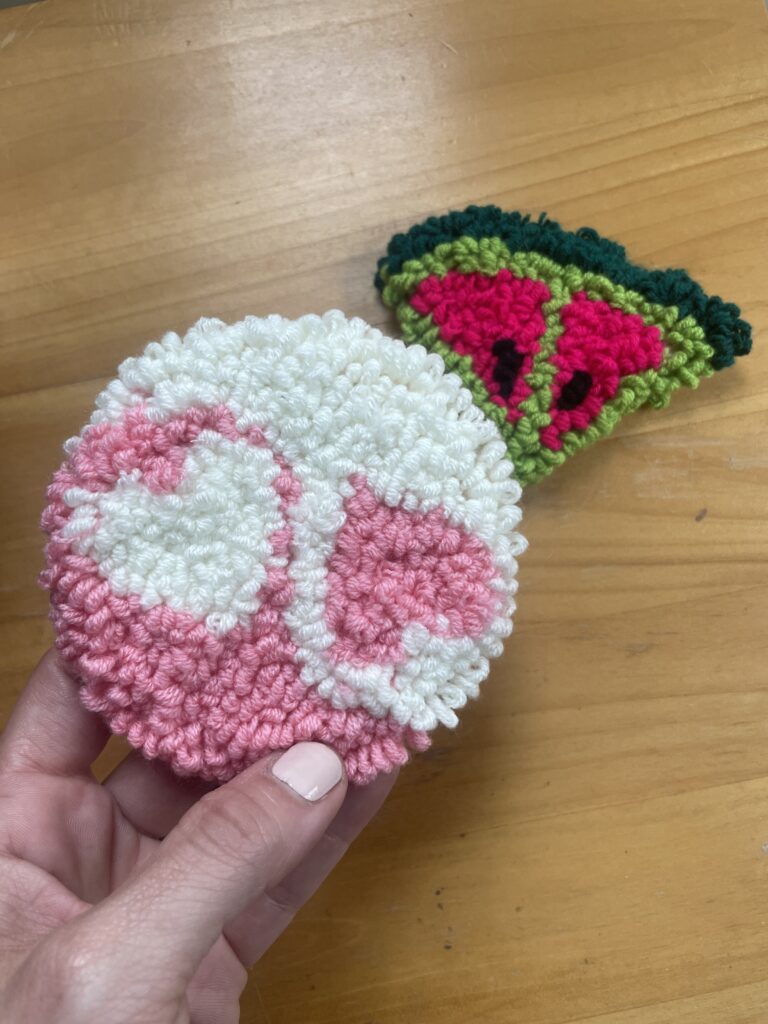
First up: punch needle coasters.
Punch needle has been on my crafty bucket list for a while now—it’s one of those things I’ve admired from afar but never actually tried. So I grabbed a beginner kit and gave it a go!
Let’s just say… punch needle was not love at first poke.
The process took way longer than I expected. I wasn’t sure if I was doing it wrong or if it’s just one of those things that takes time and patience (spoiler: it’s both). My hand kept cramping, and it honestly felt a bit clunky at first. But after sticking with it, I did eventually get into a rhythm—and I’ll admit, there’s something oddly satisfying about watching those little loops build into a design.
My biggest takeaway? I don’t think I’ll be diving into a full punch needle wall hanging anytime soon, but I do love how these coasters turned out. They’re adorable, functional, and totally giftable. So while I wouldn’t call myself a punch needle enthusiast just yet, I’m glad I gave it a try.
Would I do punch needle again? Maybe—if I had a great design in mind and a comfy seat. Would I recommend it? Definitely, especially if you like methodical, repetitive crafts with cozy end results.
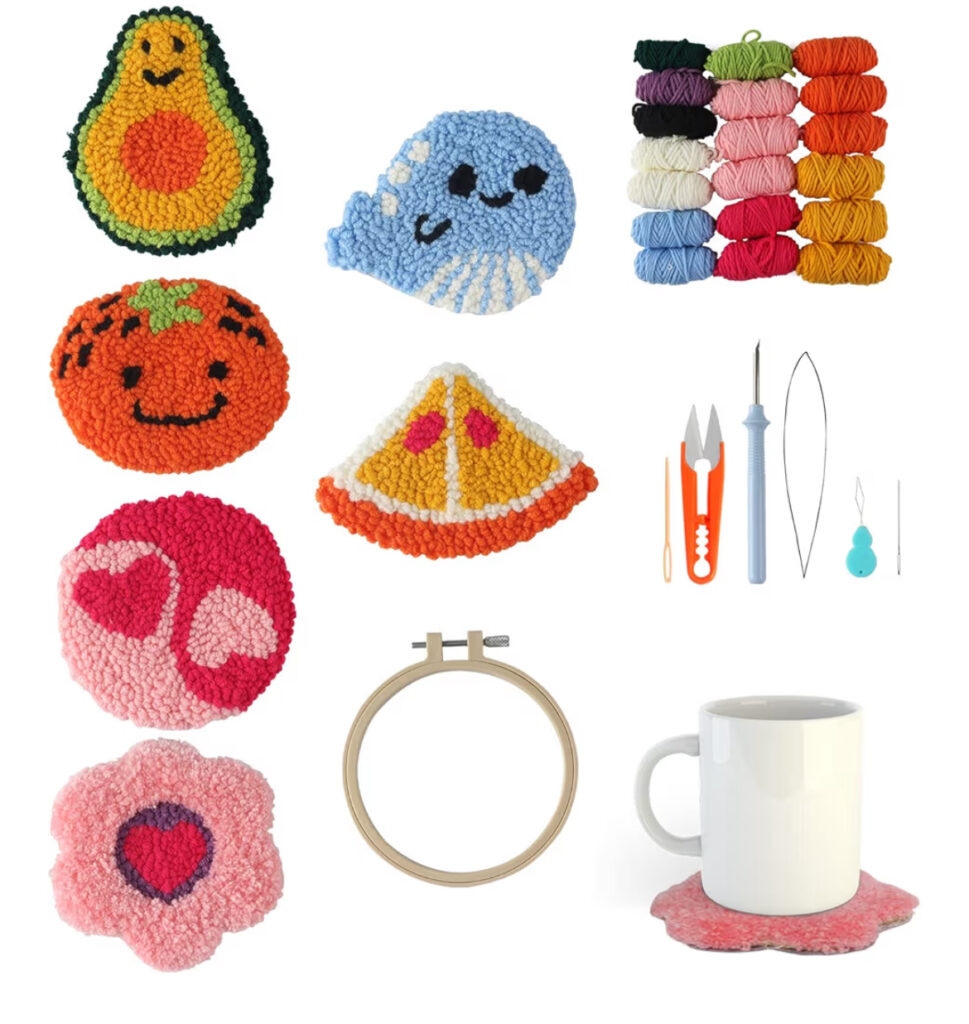
Supplies I Used
Want to try this for yourself? Here’s the beginner punch needle kit I used:
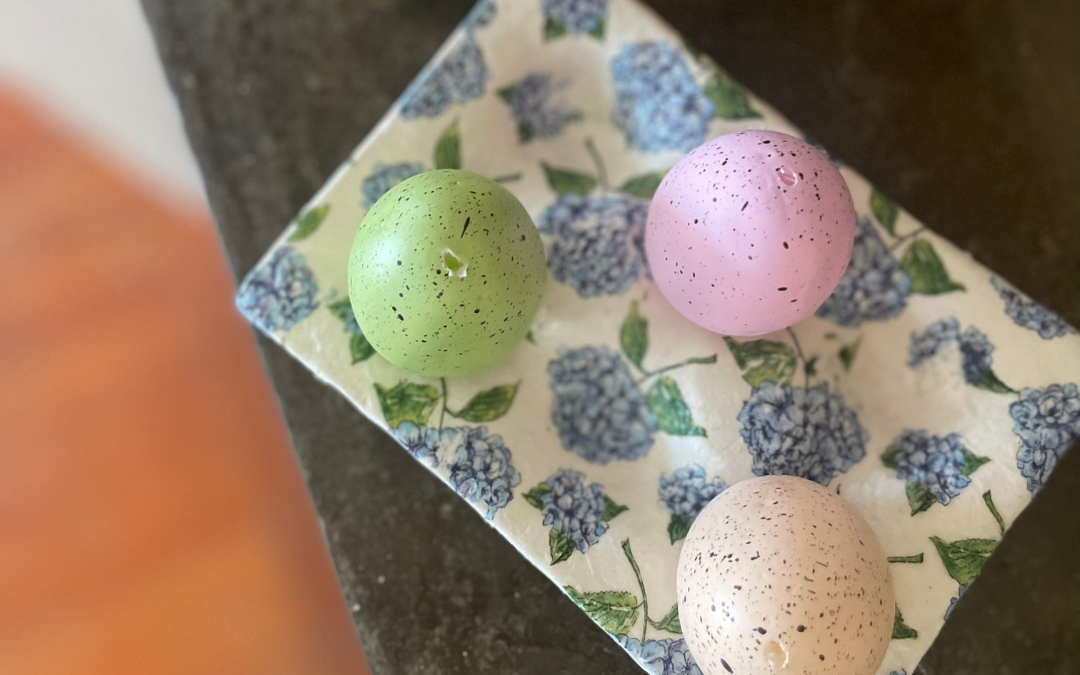
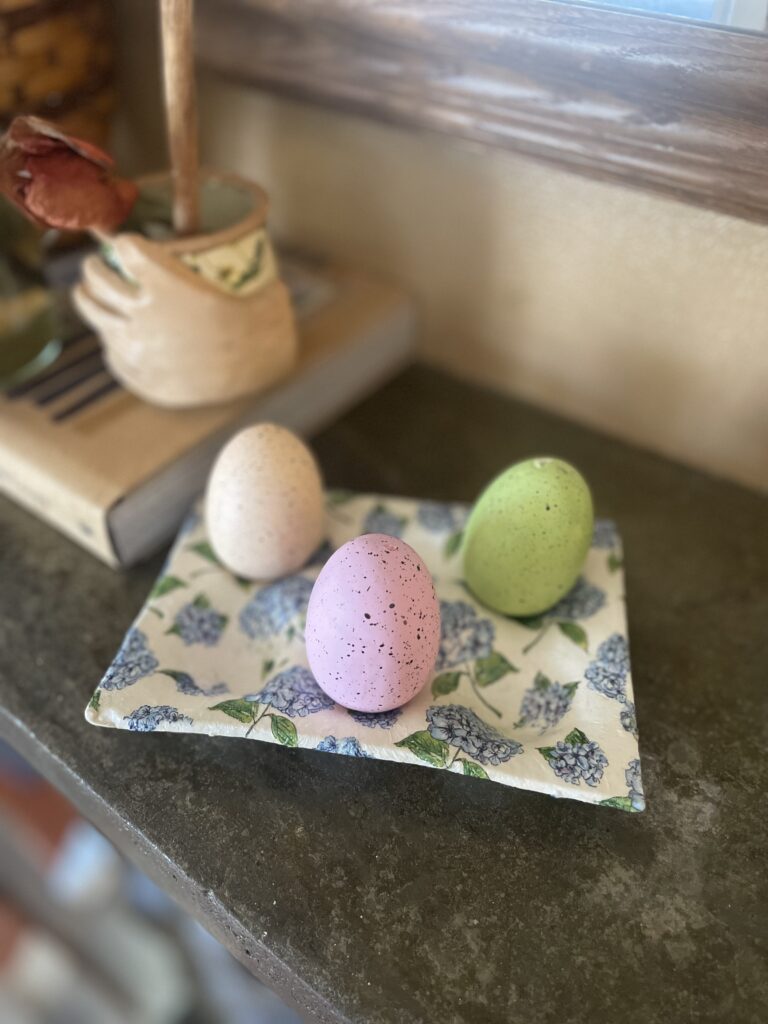
Looking for a creative way to display your decorated Easter eggs or organize small items around the house? These DIY air-dry clay egg trays are the perfect project! You can keep them simple with air-dry clay or take it up a notch by adding a touch of personality with decoupage.
Materials Needed:
Air-dry clay (about ½ lb)
Empty cardboard egg carton (6 or 12 count)
Rolling pin
Sharp knife or craft blade
Scissors
Acrylic paints (optional)
Paintbrushes (optional)
Napkin for decoupage (optional)
Decoupage glue or Mod Podge (optional)
Varnish or sealant (optional)
Sandpaper (optional)
Instructions for Air-Dry Clay Egg Tray:
Prepare the Egg Carton Mold:
Cut off the lid and any flaps from the egg carton, leaving just the base with the egg cup impressions. This will be your mold.
Roll Out the Clay:
On a clean surface, roll out the air-dry clay to about ¼-inch thickness. Make sure the clay sheet is large enough to cover the entire egg carton base with some overhang.
Mold the Clay Over the Carton:
Gently lay the rolled-out clay over the egg carton base. Press the clay into each egg cup depression, making sure it fits snugly into the contours.
Trim the Edges:
Use a sharp knife to trim the excess clay around the edges for a clean, polished look.
Dry and Sand:
Let the clay dry completely according to the manufacturer’s instructions (usually 24-48 hours). Once dry, remove the cardboard mold and gently sand any rough edges.
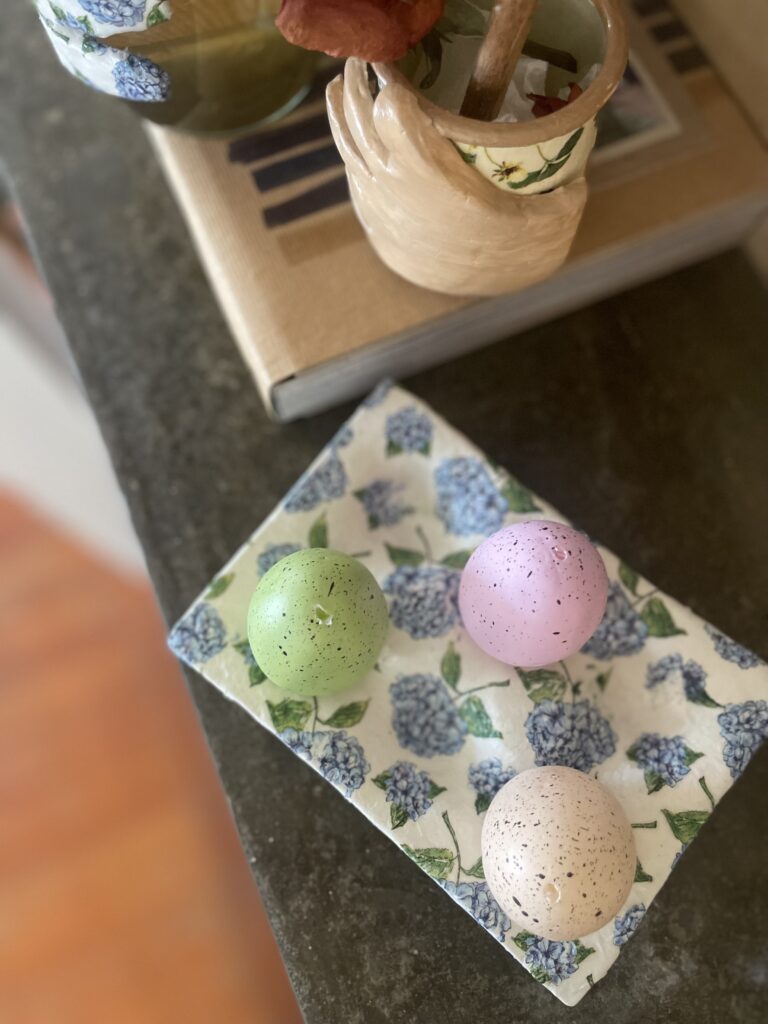
Optional: Decoupage for a Personal Touch
For an extra pop of color or pattern, try decoupaging your tray:
Choose Your Napkin:
Pick a decorative napkin with a design you love. Florals, pastels, or even vintage prints work beautifully.
Apply the Napkin:
Once the tray is completely dry, brush a thin layer of decoupage glue (like Mod Podge) onto the surface of the tray. Gently press the napkin onto the tray, smoothing out any wrinkles or bubbles.
Seal the Design:
Once the napkin is fully dry, add another layer of Mod Podge on top to seal the design and protect it.
Add a Finishing Coat:
If you want a more durable finish, add a final coat of clear varnish or sealant.
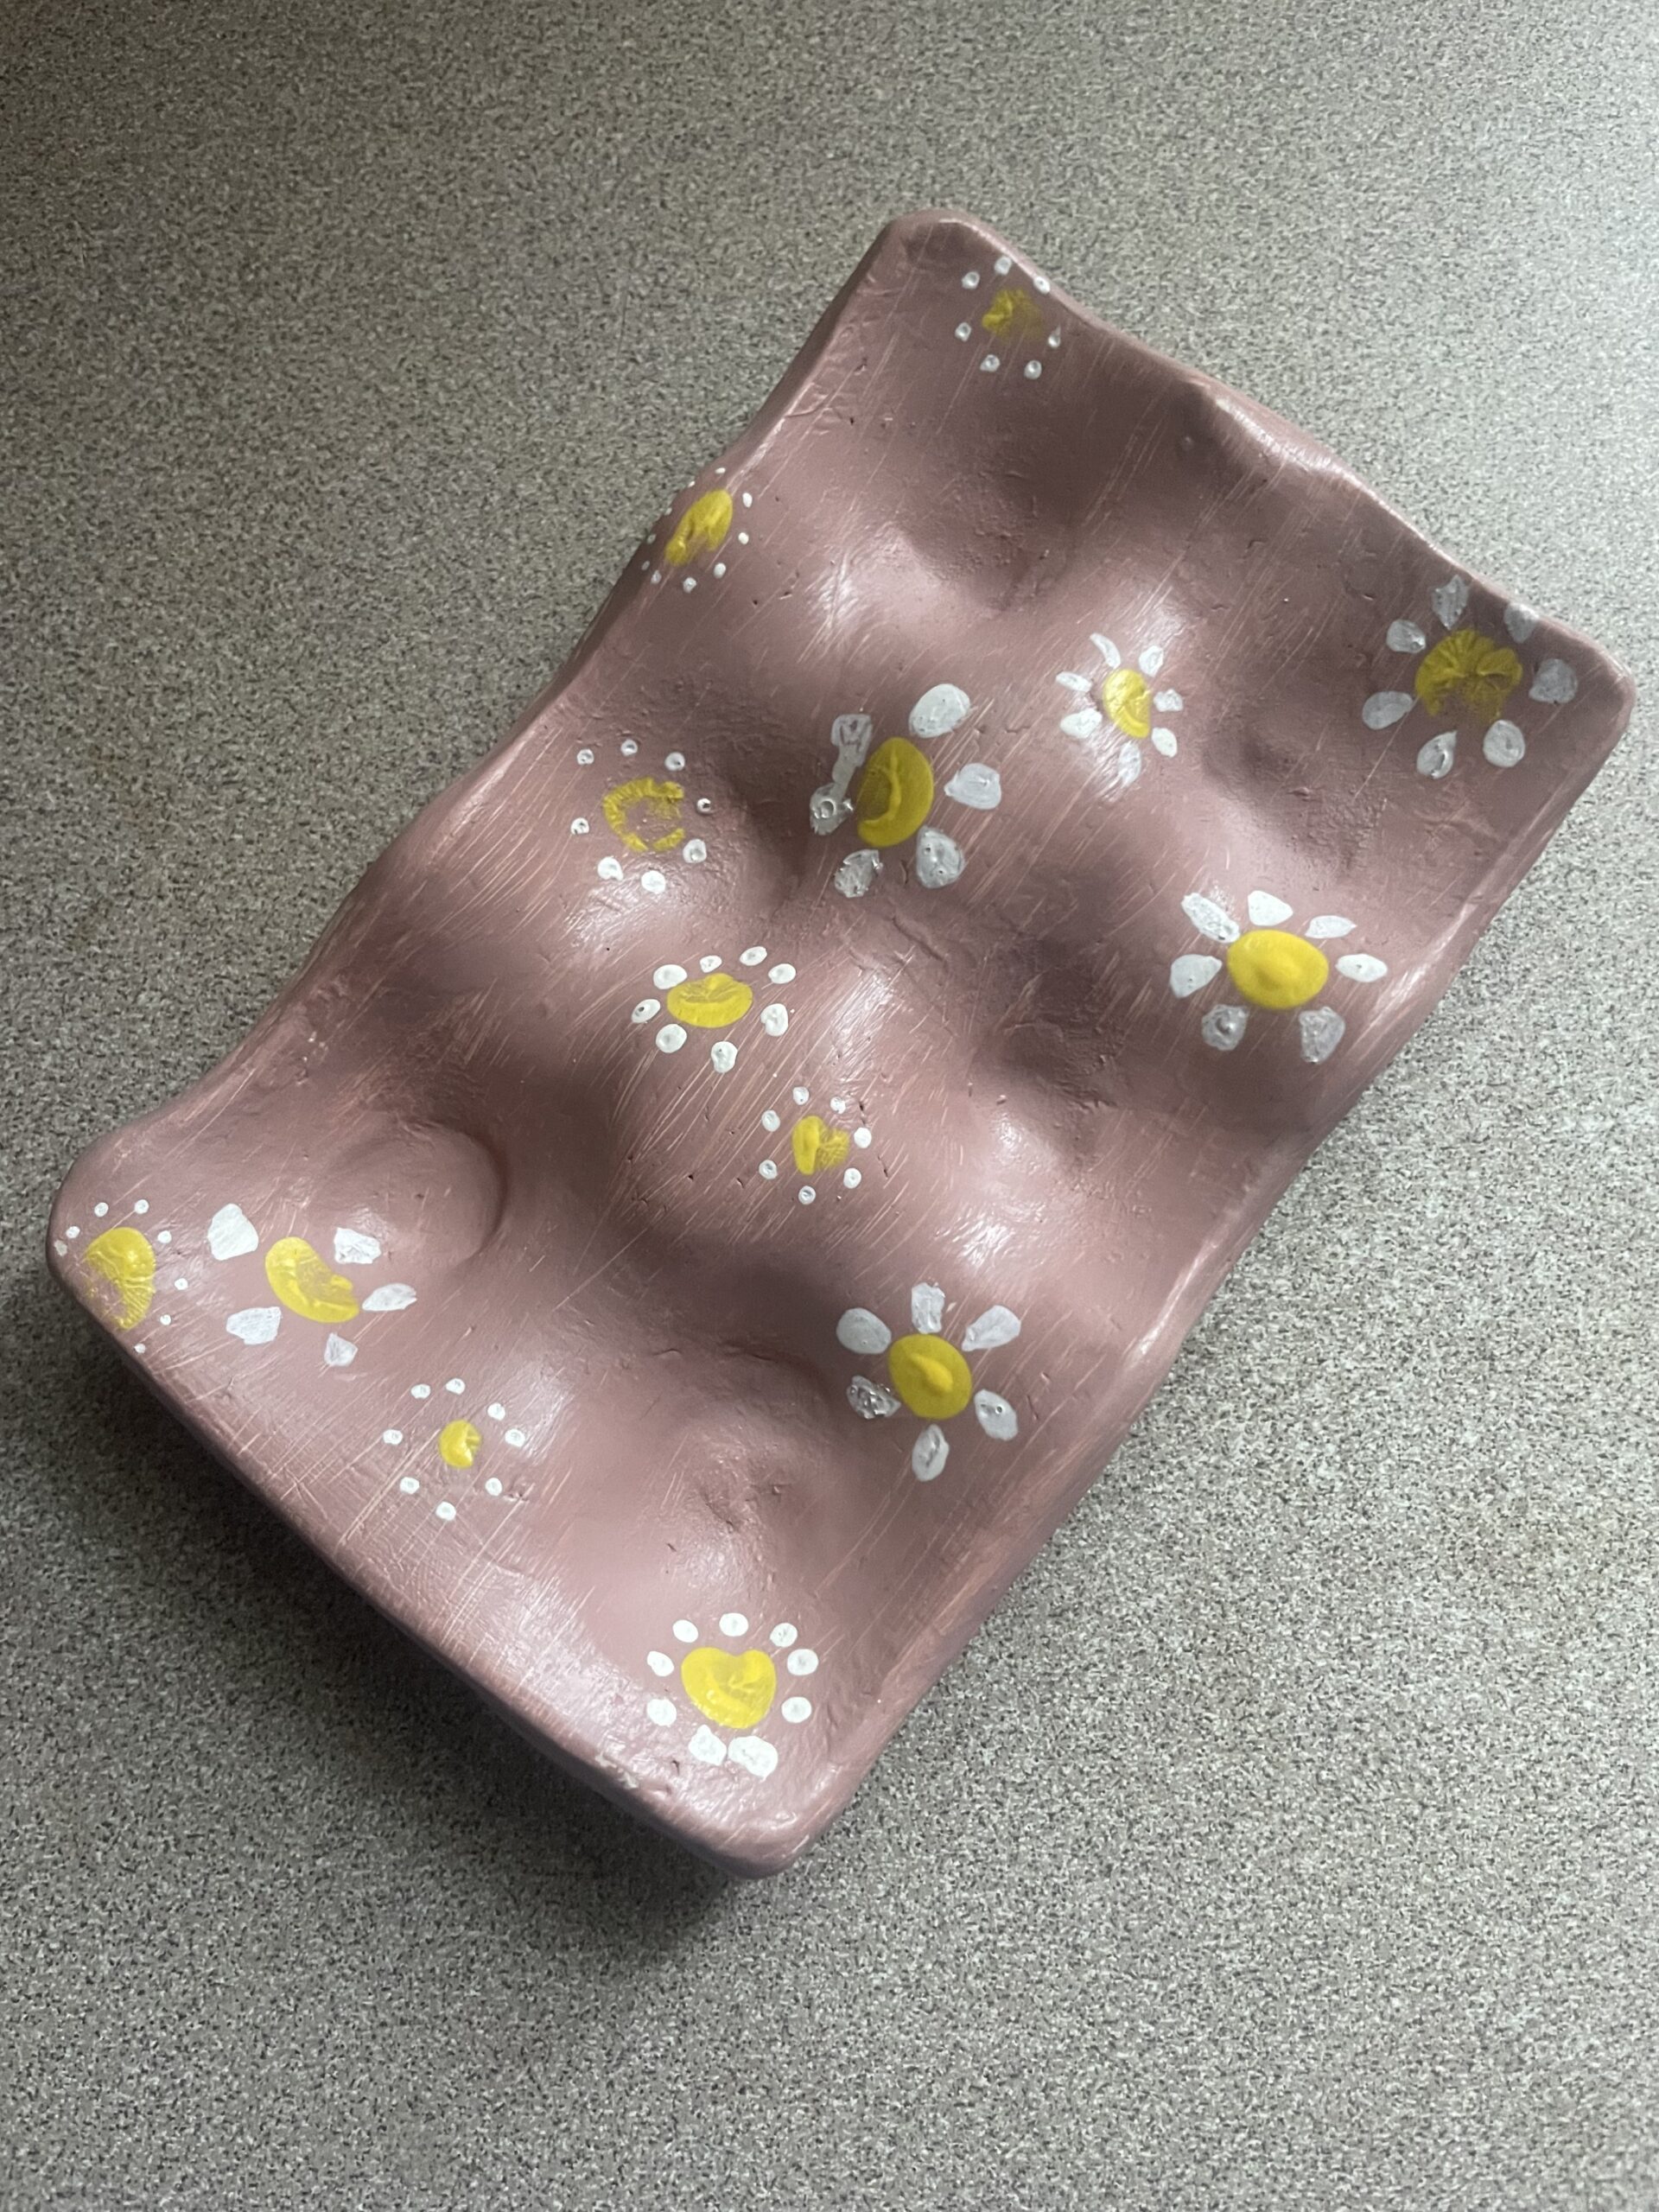
Finishing Touches:
Sand any rough edges for a smooth finish.
Add a bit of acrylic paint for color or metallic accents if you like.
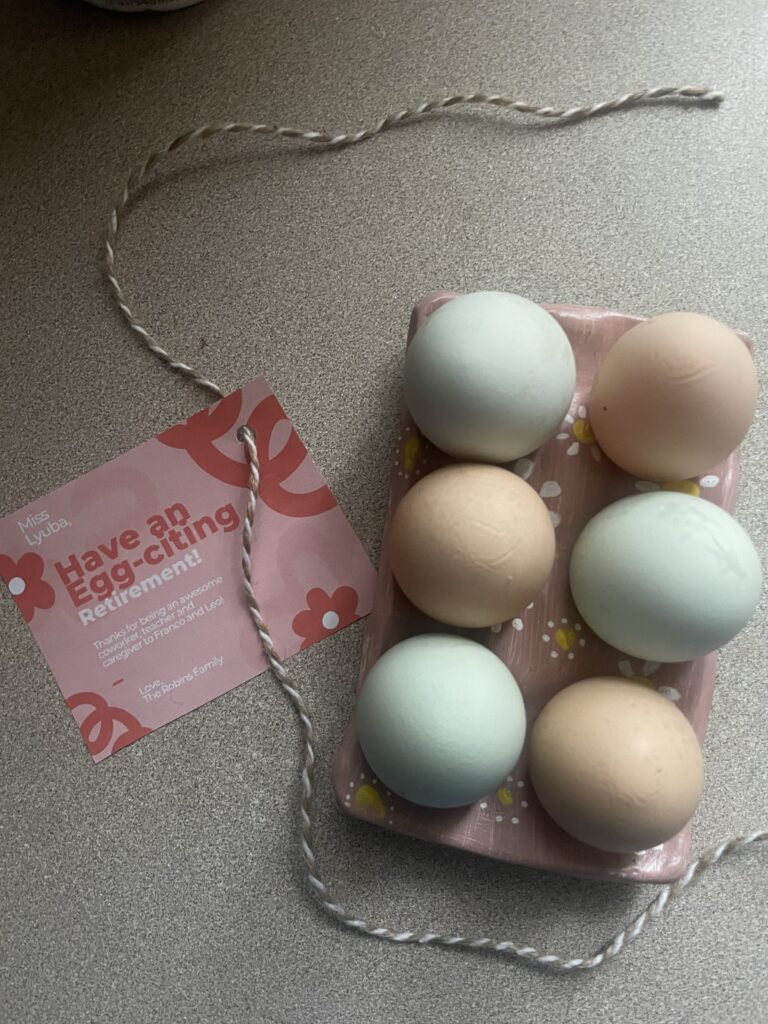
Display your new egg tray proudly – it’s perfect for Easter, spring decor, or everyday organization!
This project is perfect for a cozy craft night or a creative way to repurpose old egg cartons. Would you like me to add a few styling ideas for how to use these trays around the house?
If motherhood has you stressed and you feel like you’ve lost your creativity, I am here to help! Here you will find easy recipes, simple DIY’s, affordable styles, and what to read next. I believe we all have a creative side, some of us just need a little help to find it. I will help inspire you to have creative expression without standards.