Snow Tie Dye Magic: Transforming Your Sweatshirt in a Winter Wonderland
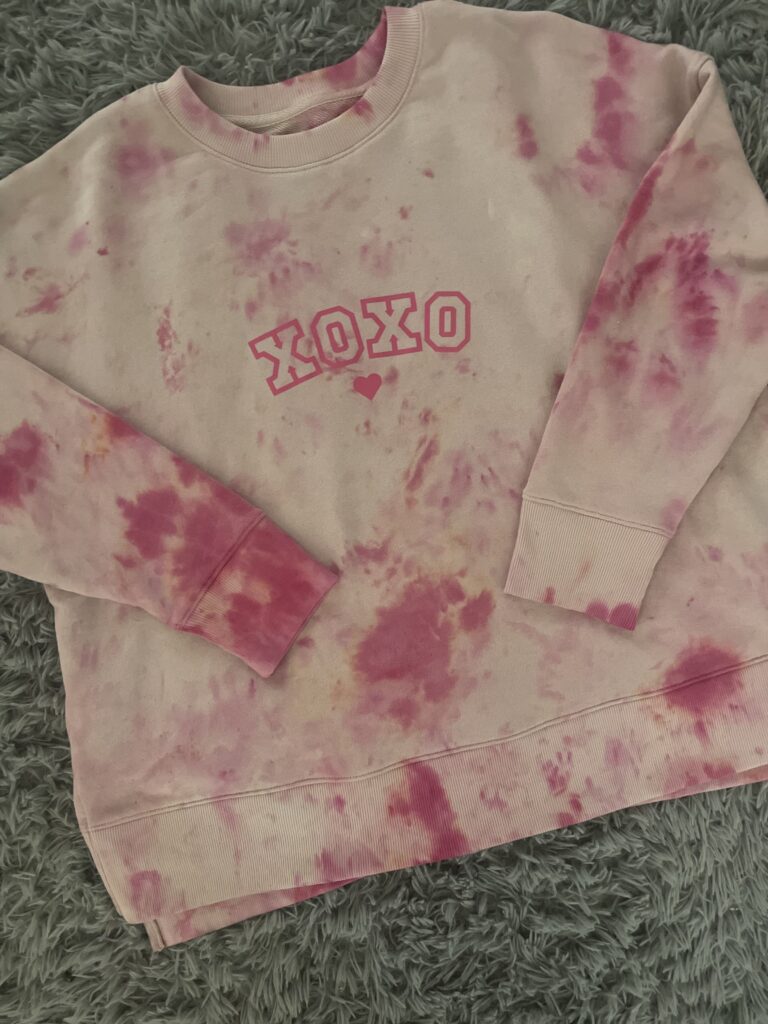
Embrace the winter wonderland with a fun and creative activity – snow tie dye! In this blog post, I will guide you through the steps of snow tie dyeing a cozy sweatshirt and adding a personalized touch with vinyl decals. Plus, I’ve got some awesome SVG designs for you to download and use. Let’s turn a snowy day into a colorful masterpiece!
Materials:
- White or light-colored sweatshirt
- Fabric dye in various colors
- Plastic squeeze bottles
- Snow (freshly fallen works best)
- Rubber bands
- Plastic gloves
- Vinyl decal (optional)
- Iron or heat press (for applying the decal)
- SVG designs (download from the provided link)
Instructions:
- Prepare the Snow Tie Dye Setup:
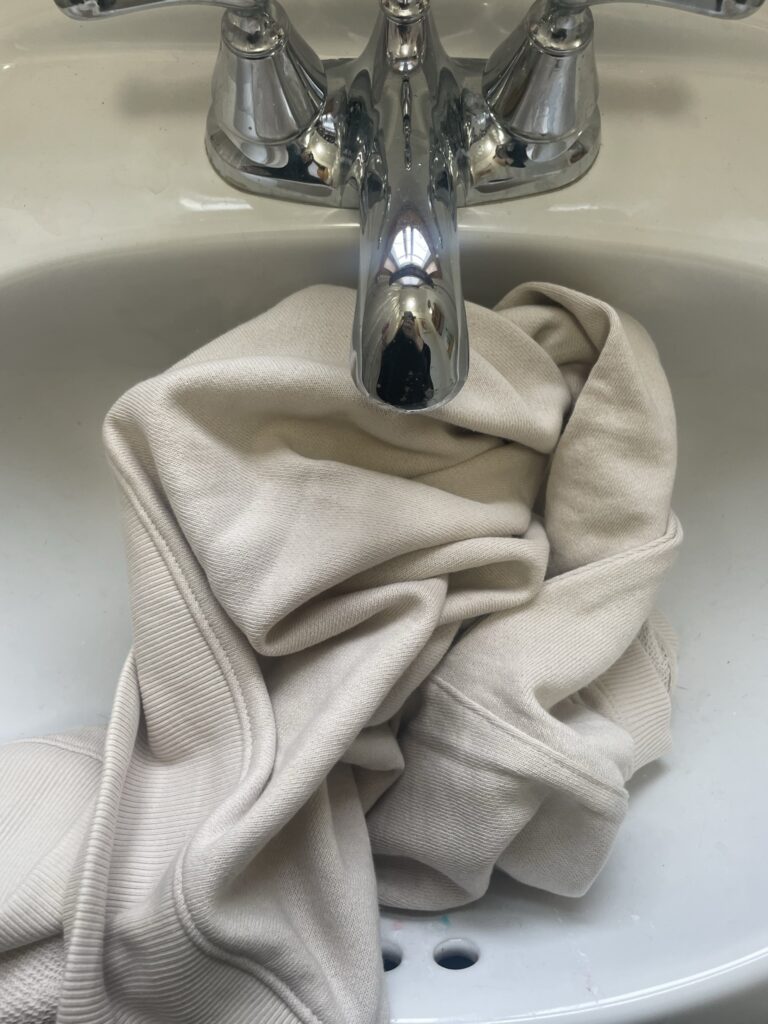
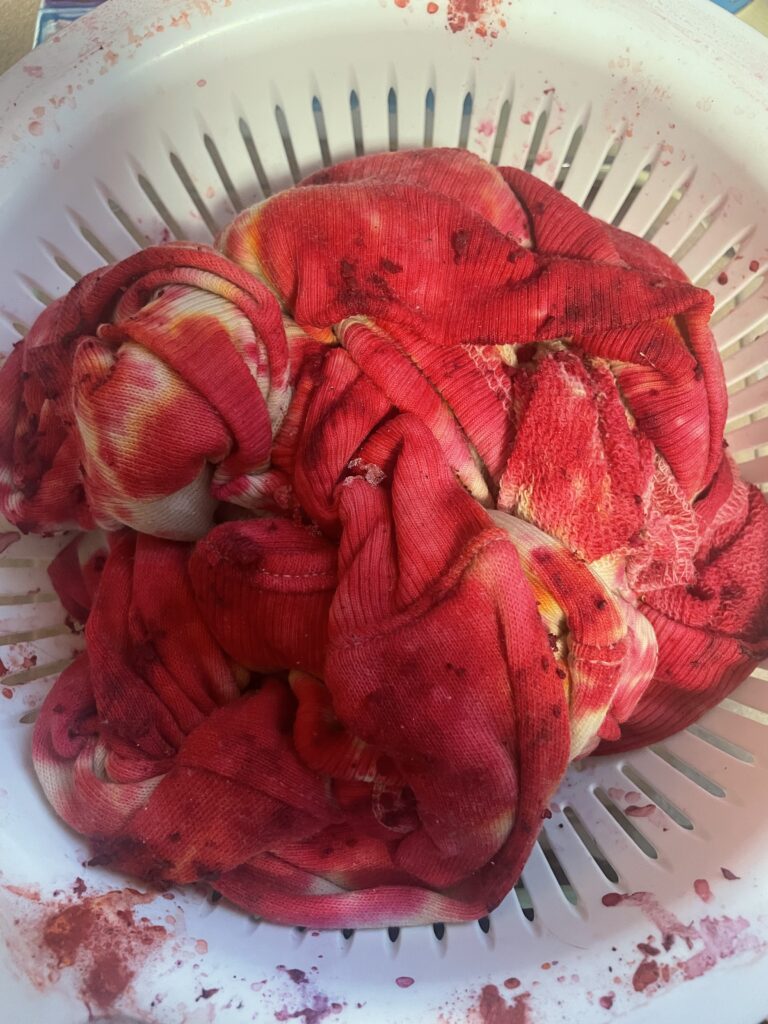
- a. Take a damp sweatshirt and place it in a strainer.
- b. Put the strainer in a baking dish to catch excess water.
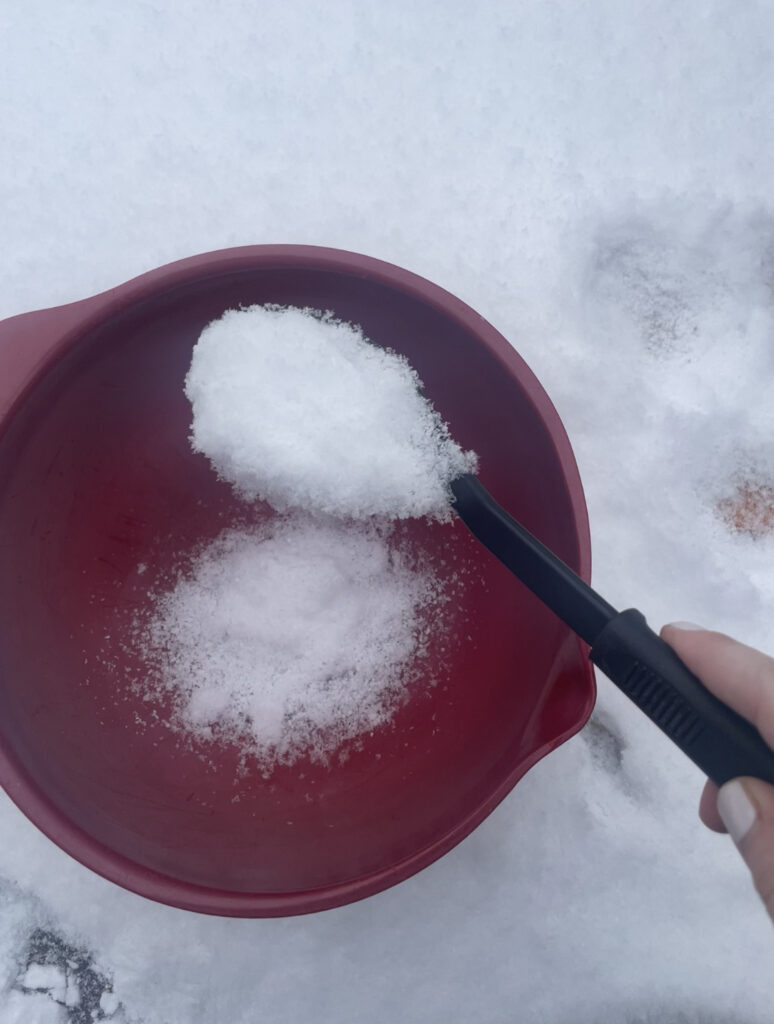
- c. Pile fresh snow onto the sweatshirt, covering it completely.
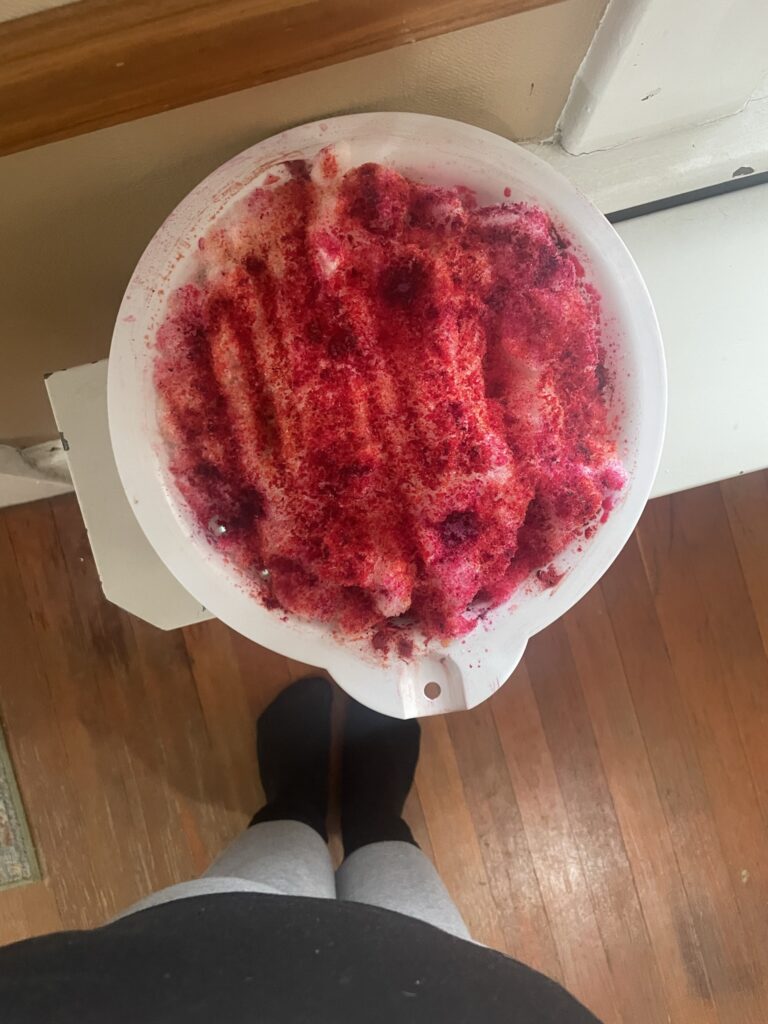
- d. Sprinkle the various fabric dye colors all over the snow-covered sweatshirt.
- Let Nature Work Its Magic:
a. Allow the snow to melt, carrying the dye into the fabric.
b. Leave the sweatshirt until all snow has melted (about 2-3 hours, I put my dish on my heater to speed up the process). - Rinse and Dry:
a. Rinse the sweatshirt under cold water until the water runs clear.
b. Put in dryer or hang to dry. - Vinyl Decal Addition (Optional):
a. Choose your favorite SVG design from the downloaded files.
b. Cut the design using a vinyl cutter or scissors.
c. Place the decal on the sweatshirt and use an iron or heat press to apply. - Enjoy Your Unique Creation:
a. Admire your snow tie-dyed masterpiece!

Snow tie dyeing is not only a fantastic way to embrace winter but also a chance to unleash your creativity. By adding a vinyl decal, you can personalize your creation further. Download my SVG designs, follow the steps, and let the snowy day become the canvas for your vibrant imagination!
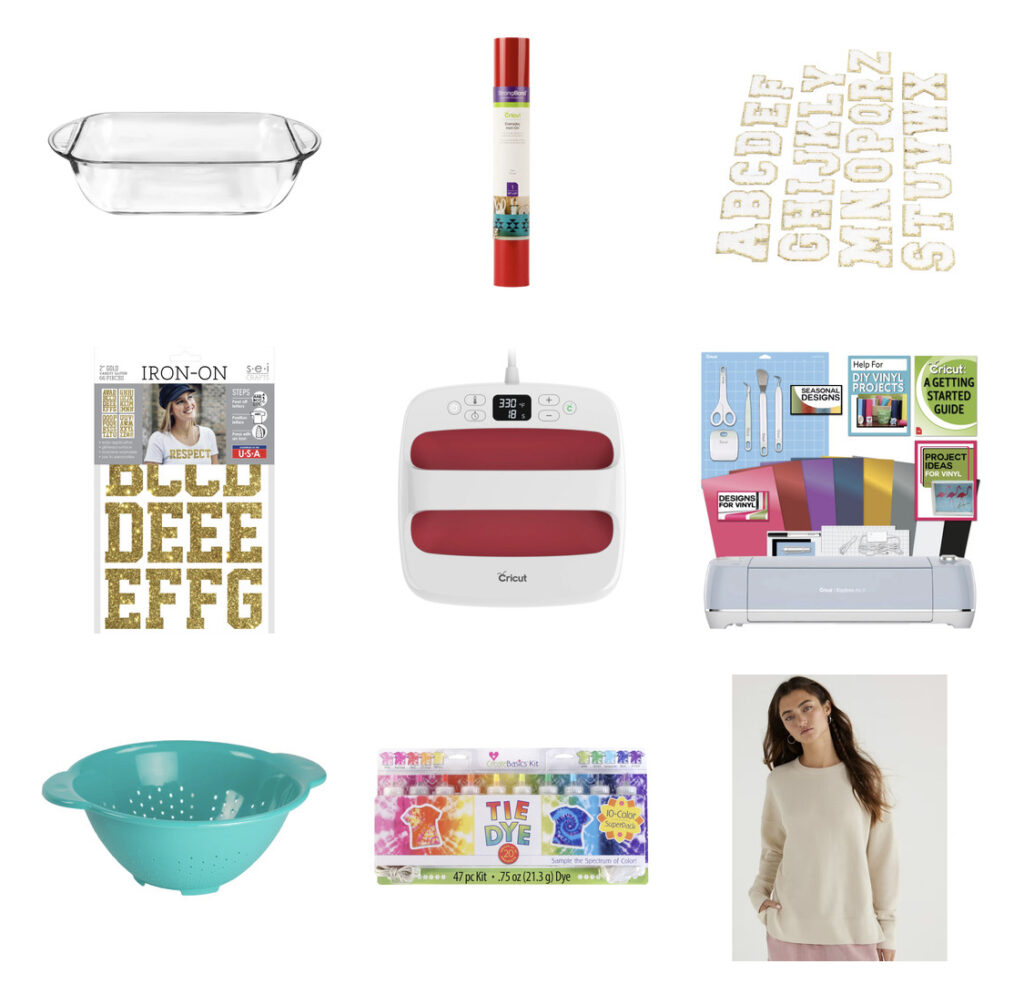
Shop Materials Here
You May Also Like


0 Comments