

Few treats are as timeless and delicious as peanut butter cups. With the perfect combination of sweet and salty, they’re a classic that everyone loves. While store-bought peanut butter cups are always an option, there’s something special about making them from scratch. Not only is it fun and rewarding, but you can also customize them to your liking, experimenting with different fillings and chocolate coatings. In this article, we’ll guide you through the process of making peanut butter cups at home, step by step. Whether you’re a beginner or an experienced home cook, you’ll be able to create delicious, homemade peanut butter cups that are sure to impress.
Introduction to Peanut Butter Cups Recipe
Are you a fan of the classic peanut butter cups that you can find in stores? Why not try making them at home for a delicious treat? This recipe is easy to follow and will have you enjoying your homemade peanut butter cups in no time.
Why Make Peanut Butter Cups at Home?
There are a few reasons why making peanut butter cups at home is a great idea. Firstly, you get to control the ingredients, so you can use high-quality chocolate and natural peanut butter. Secondly, it’s a fun activity to do with friends or family. And lastly, there is something special about enjoying a homemade treat that you’ve put effort into making.
Ingredients Required for Peanut Butter Cups
Peanut Butter Filling Ingredients
- 1/2 cup creamy peanut butter
- 2 tbsp maple syrup
- 2 tbsp coconut oil, melted
- splash of vanilla extract
- 6 tbsp tapioca flour
- 12 oz. chocolate chips
- 1 tbs coconut oil
Preparing the Peanut Butter Filling
Mixing the Peanut Butter and Sugar
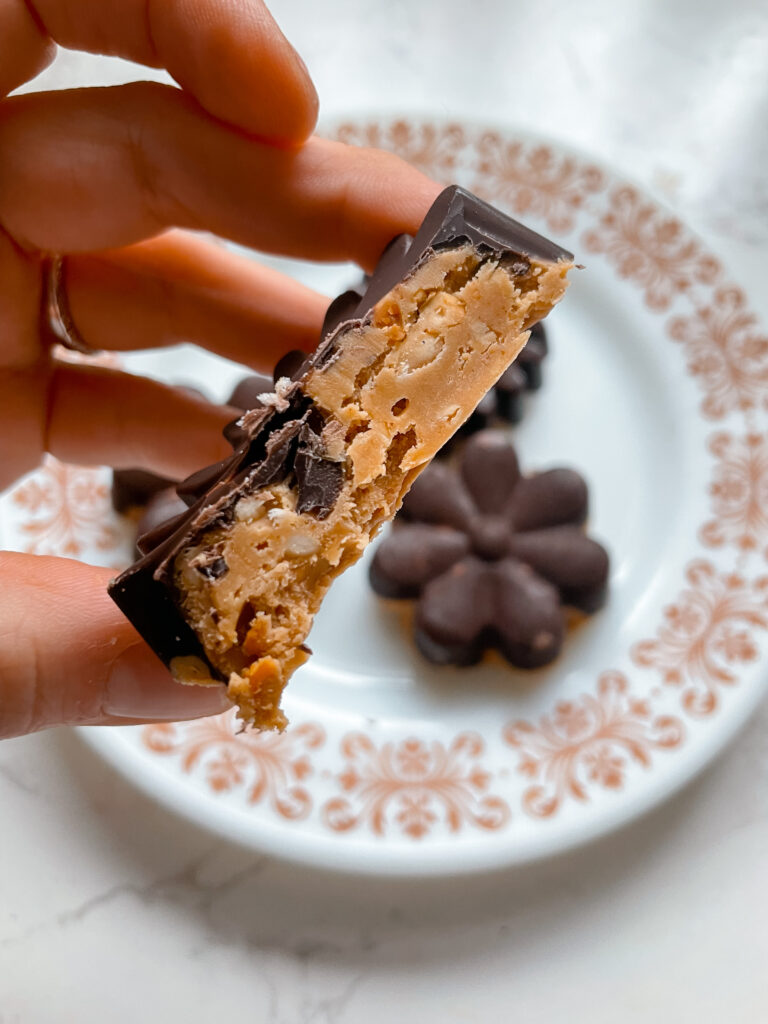
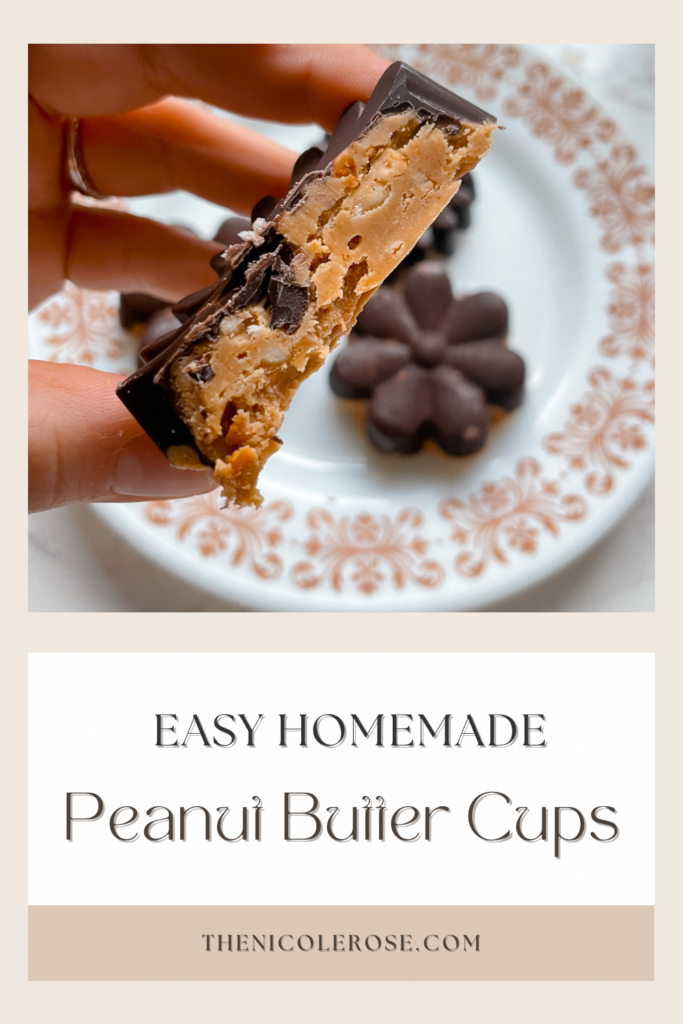
First, mix together the peanut butter, maple syrup, melted coconut oil, and vanilla extract. Then, fold in the tapioca flour until everything is fully combined.
Assembling the Peanut Butter Cups
Assembling peanut butter cups is a fun and easy process that can be done in just a few simple steps.
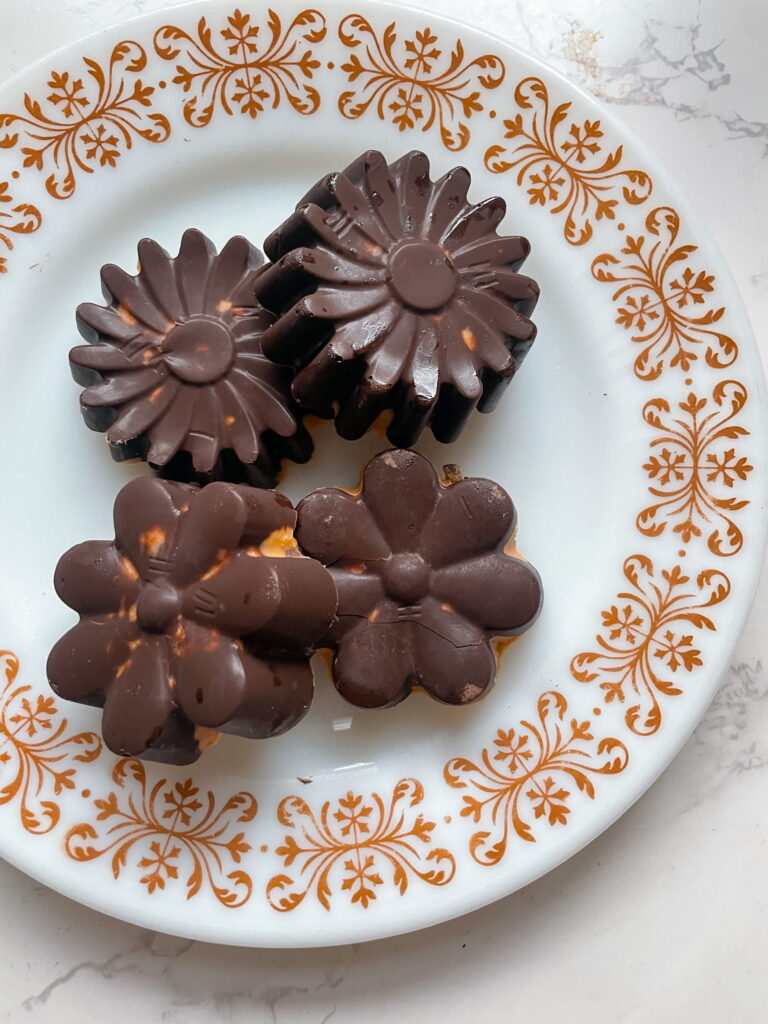
Form a shape
Using a small cookie scoop or spoon, portion out the peanut butter filling into each cupcake liner or mold, flattening it with your fingers if necessary to make sure it fits snugly.
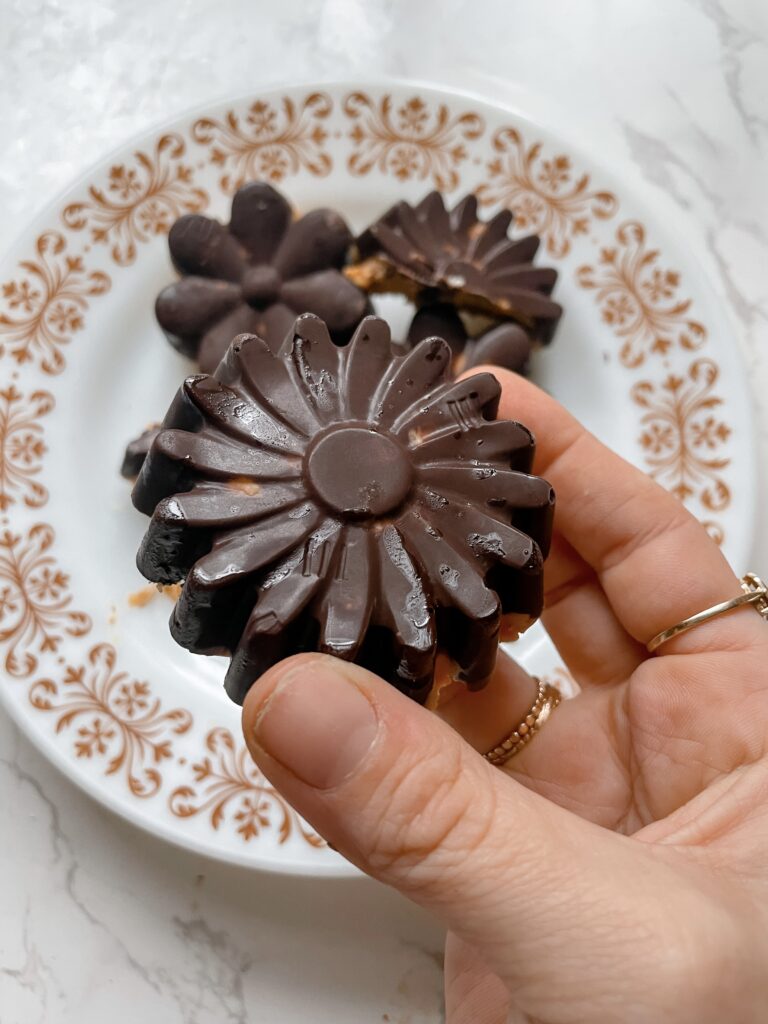
Adding the Chocolate Coating
Once the peanut butter filling is in place, it’s time to add the chocolate coating. Melt chocolate chips and coconut oil in a small bowl or double boiler, stirring until smooth. Spoon the melted chocolate over the peanut butter filling, making sure to cover the entire surface. Tap the muffin tin gently on the counter to smooth out any air bubbles, and then place it in the refrigerator to set for about 30 minutes.

Tips for Serving and Storing Peanut Butter Cups
Serving Suggestions
Peanut butter cups are a classic treat that are perfect for sharing with friends and family. They can be served on their own as a sweet snack or used to top off a bowl of ice cream. You can also try adding a sprinkling of sea salt or chopped peanuts on top for extra crunch and flavor.
How to Store Peanut Butter Cups
To keep your peanut butter cups fresh and delicious, store them in an airtight container in the refrigerator for up to two weeks. You can also freeze them for longer storage, but be sure to wrap each cup individually in plastic wrap or foil to prevent freezer burn.
Variations on the Classic Peanut Butter Cups Recipe
Adding Different Flavors to the Filling
One easy way to switch up the classic peanut butter cup recipe is to add different flavors to the filling. Try mixing in some cocoa powder or vanilla extract for a chocolatey or vanilla twist. You can also experiment with different nut butters like almond or cashew for a unique flavor profile.
Using Different Types of Chocolate
Another way to change up the recipe is to use different types of chocolate for the coating. Dark chocolate, milk chocolate, or even white chocolate can all be used to give the peanut butter cups a different taste and texture.
Final Thoughts on Making Peanut Butter Cups at Home
Making peanut butter cups at home is an easy and rewarding experience that will delight your taste buds. The recipe is simple and versatile, allowing you to experiment with different flavors and coatings to your heart’s content. Whether you’re looking for a sweet treat to share with friends or simply want to indulge in something delicious on your own, homemade peanut butter cups are sure to hit the spot. So grab some ingredients and get started – your taste buds will thank you!Making peanut butter cups at home is a fun and rewarding experience that everyone should try at least once. With just a handful of ingredients and a little bit of time, you can create delicious, homemade treats that are sure to satisfy any sweet tooth. Whether you stick with the classic recipe or try out different variations, the possibilities are endless. We hope this article has inspired you to get creative in the kitchen and make your very own peanut butter cups. Happy baking!
FAQs
Can I use a different type of nut butter instead of peanut butter?
Yes, you can use any type of nut or seed butter that you prefer in this recipe, such as almond butter or sunflower seed butter. Just keep in mind that the flavor and texture may be slightly different.
Do I have to temper the chocolate for this recipe?
Tempering chocolate can give it a smoother, shinier appearance and a better texture, but it’s not absolutely necessary for this recipe. If you don’t want to temper the chocolate, you can simply melt it in a double boiler or in the microwave and use it as is.
How long do homemade peanut butter cups last?
Homemade peanut butter cups can be stored in an airtight container in the refrigerator for up to two weeks, or in the freezer for up to three months. However, they’re so delicious that they usually don’t last that long!
Can I make mini peanut butter cups instead of regular-sized ones?
Yes, you can definitely make mini peanut butter cups by using mini cupcake liners and adjusting the amount of filling and chocolate accordingly. Just keep in mind that the assembly process may be a bit more fiddly than with regular-sized cups.
After 15 minutes, take the tray out of the freezer and carefully remove the peanut butter cups from the mold. Dip each cup into the melted chocolate, making sure it’s fully coated. Then, put the cups back in the freezer for another 10 minutes to let the chocolate harden.
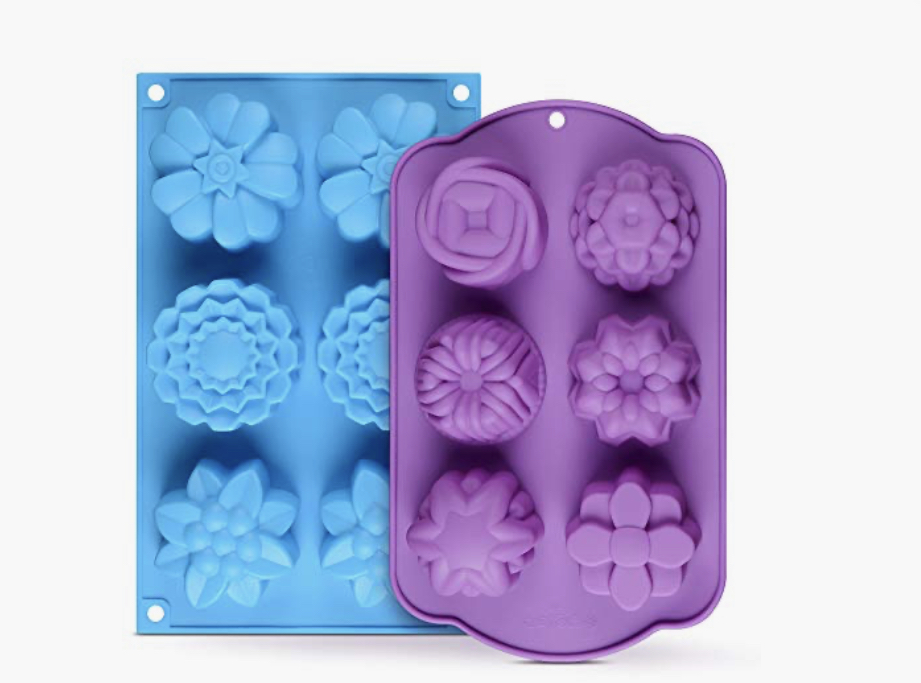
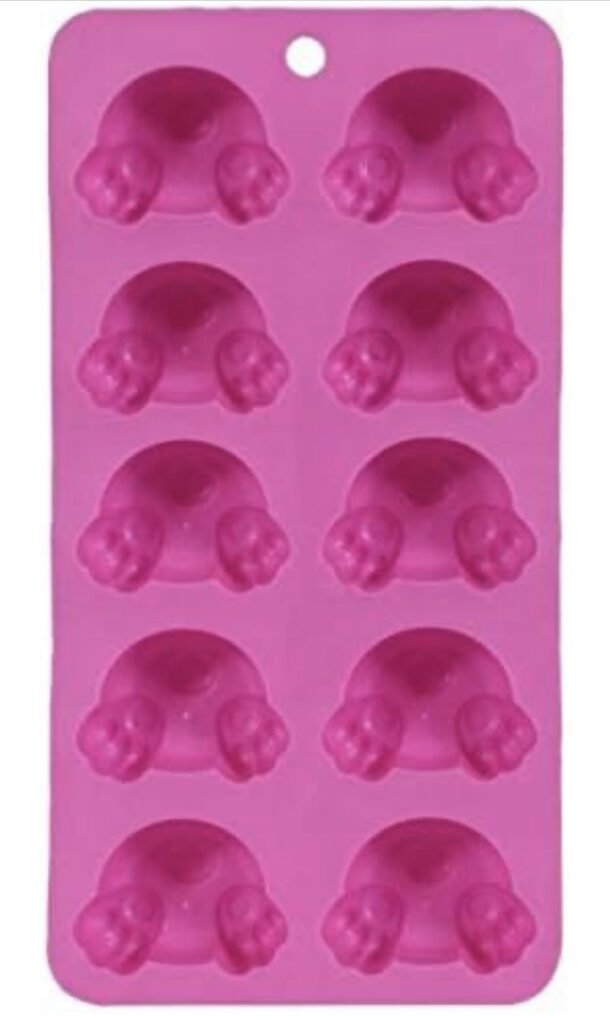
Molds that I used
You May Also Like

0 Comments