Valentine’s Day is the perfect time to create heartfelt crafts that add a touch of love to your home or serve as unique gifts. This DIY air-dry clay tic-tac-toe board is a simple yet charming project that combines creativity and functionality.
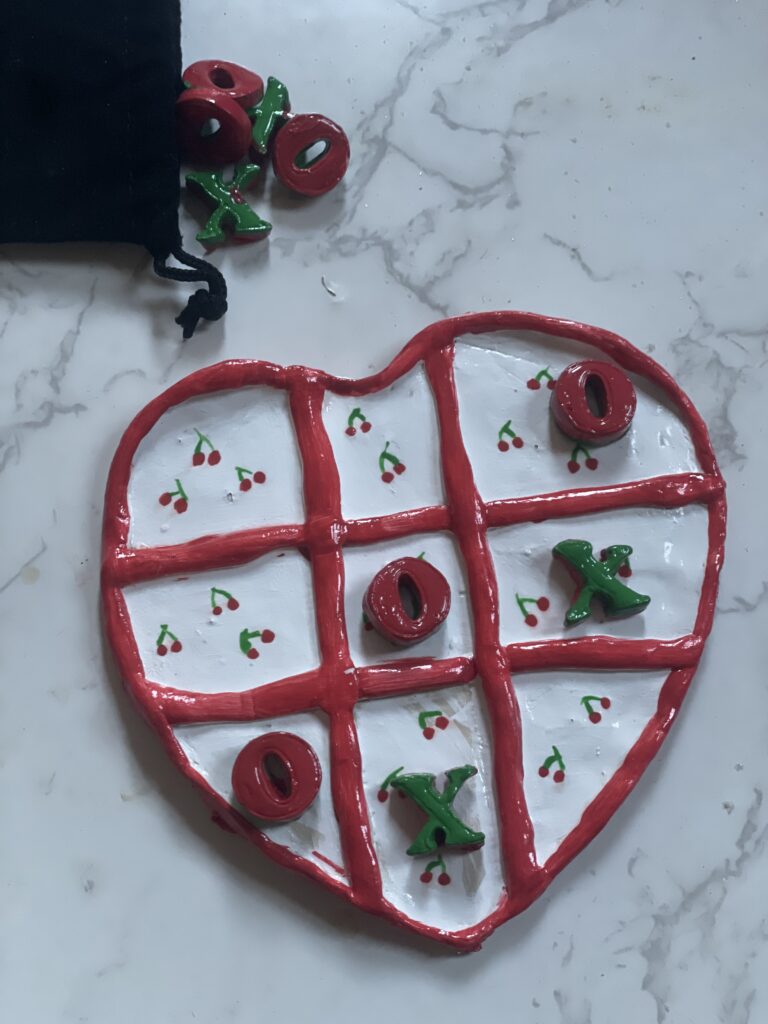
Materials You’ll Need:
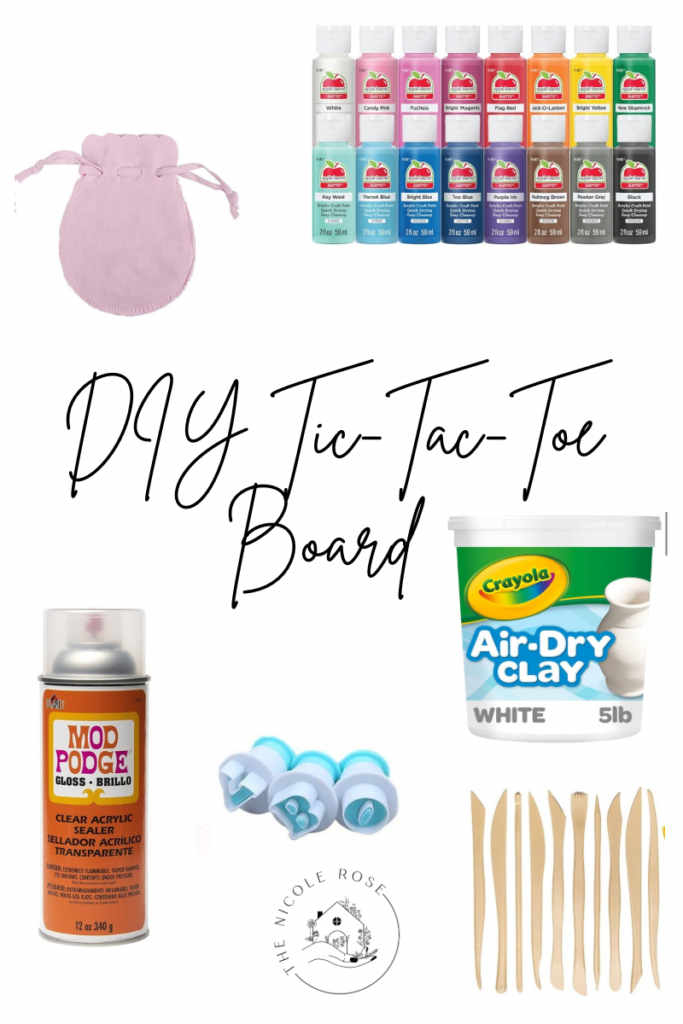
• Air-dry clay (white or your preferred base color)
• Rolling pin
• Craft knife or clay cutter
• Acrylic paint (in Valentine’s Day colors like red, pink, and white)
• Paintbrushes
• Ruler
• Small heart-shaped cutter (optional)
• Sandpaper (fine grit, for smoothing edges)
• Sealer or varnish (optional, for durability)
Instructions:
1. Prepare the Clay
Start by kneading a chunk of air-dry clay to make it soft and pliable. Roll it out evenly with a rolling pin to about ¼-inch thickness. This will form the base of your tic-tac-toe board.
2. Shape the Board
Using a ruler and craft knife, cut out a square (approximately 6×6 inches or adjust as desired). Smooth out the edges with your fingers or sandpaper to ensure they’re even and clean.
3. Create the Grid
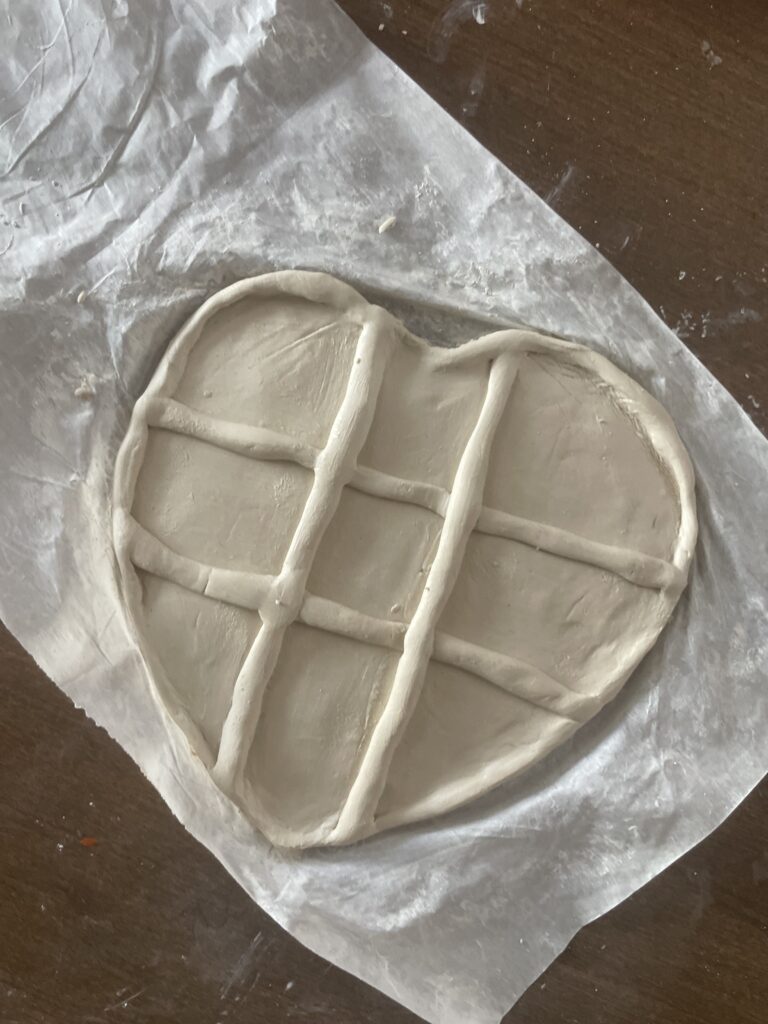
Lightly mark a 3×3 grid on the clay using the ruler and a craft knife or toothpick. Press gently to create lines without cutting through the clay. Roll thin pieces of clay and add to the dish, blending to make sure they stick together.
4. Make the Playing Pieces
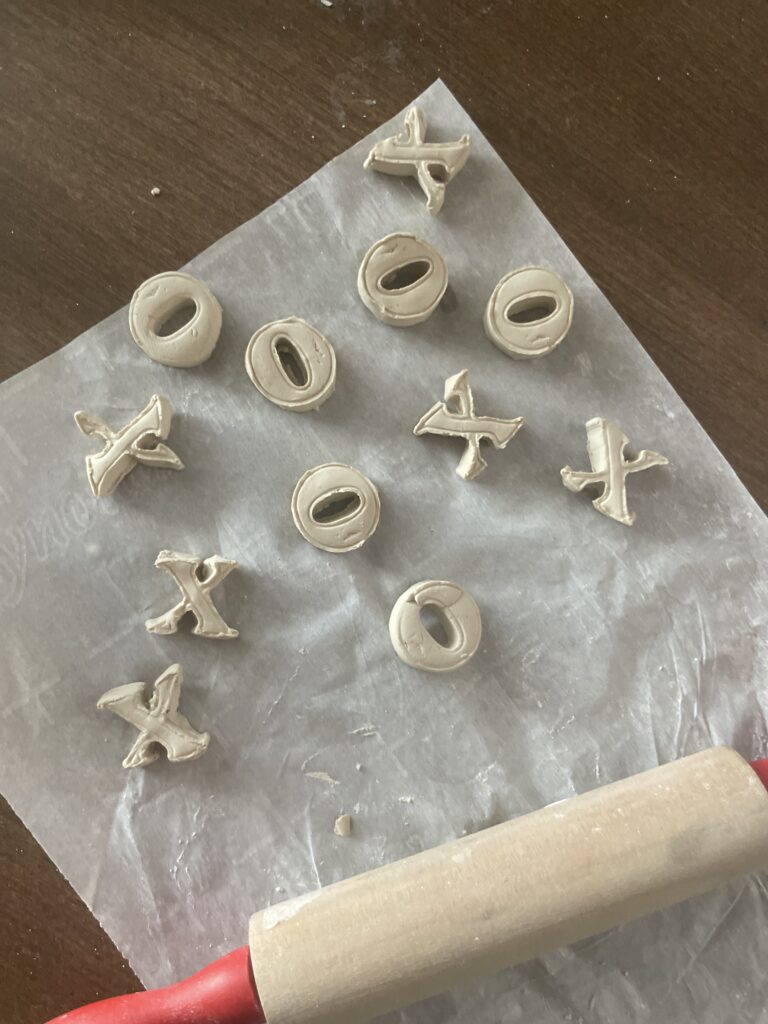
Roll out additional clay and use a small heart-shaped cutter to create five “X” pieces and five “O” pieces. If you don’t have a cutter, you can shape the pieces by hand or use a knife for simple shapes. Smooth the edges of each piece.
5. Let the Clay Dry
Place all clay pieces on a flat surface and let them air dry for 24-48 hours. Be sure to flip the pieces occasionally to ensure even drying.
6. Paint Your Design
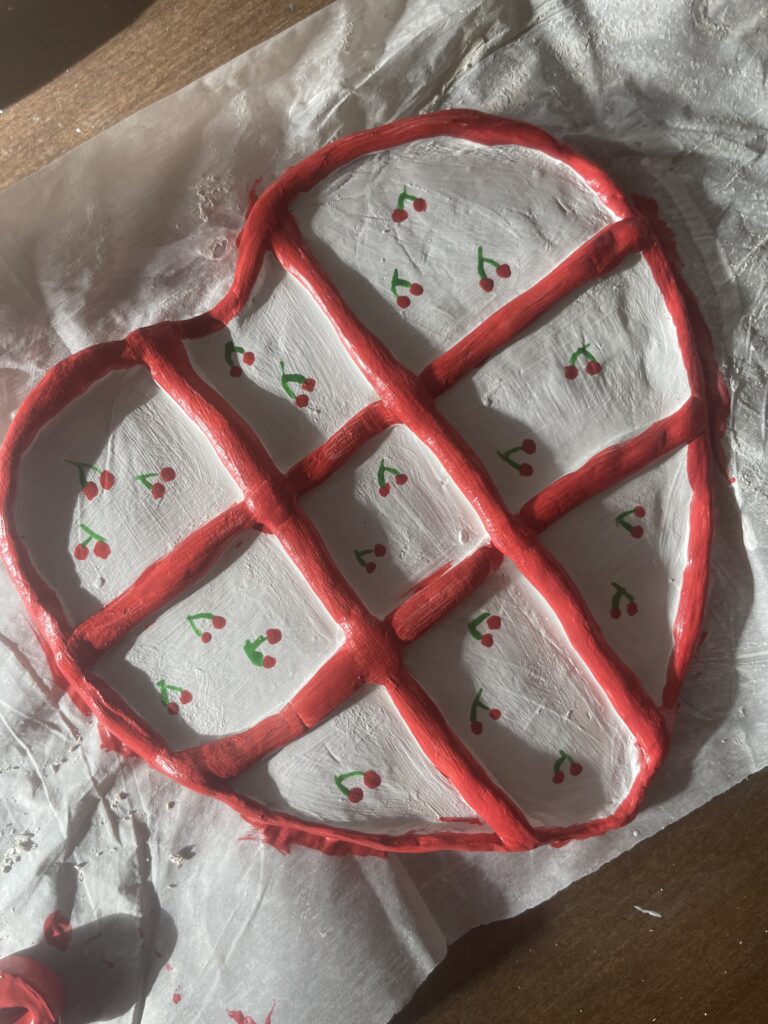
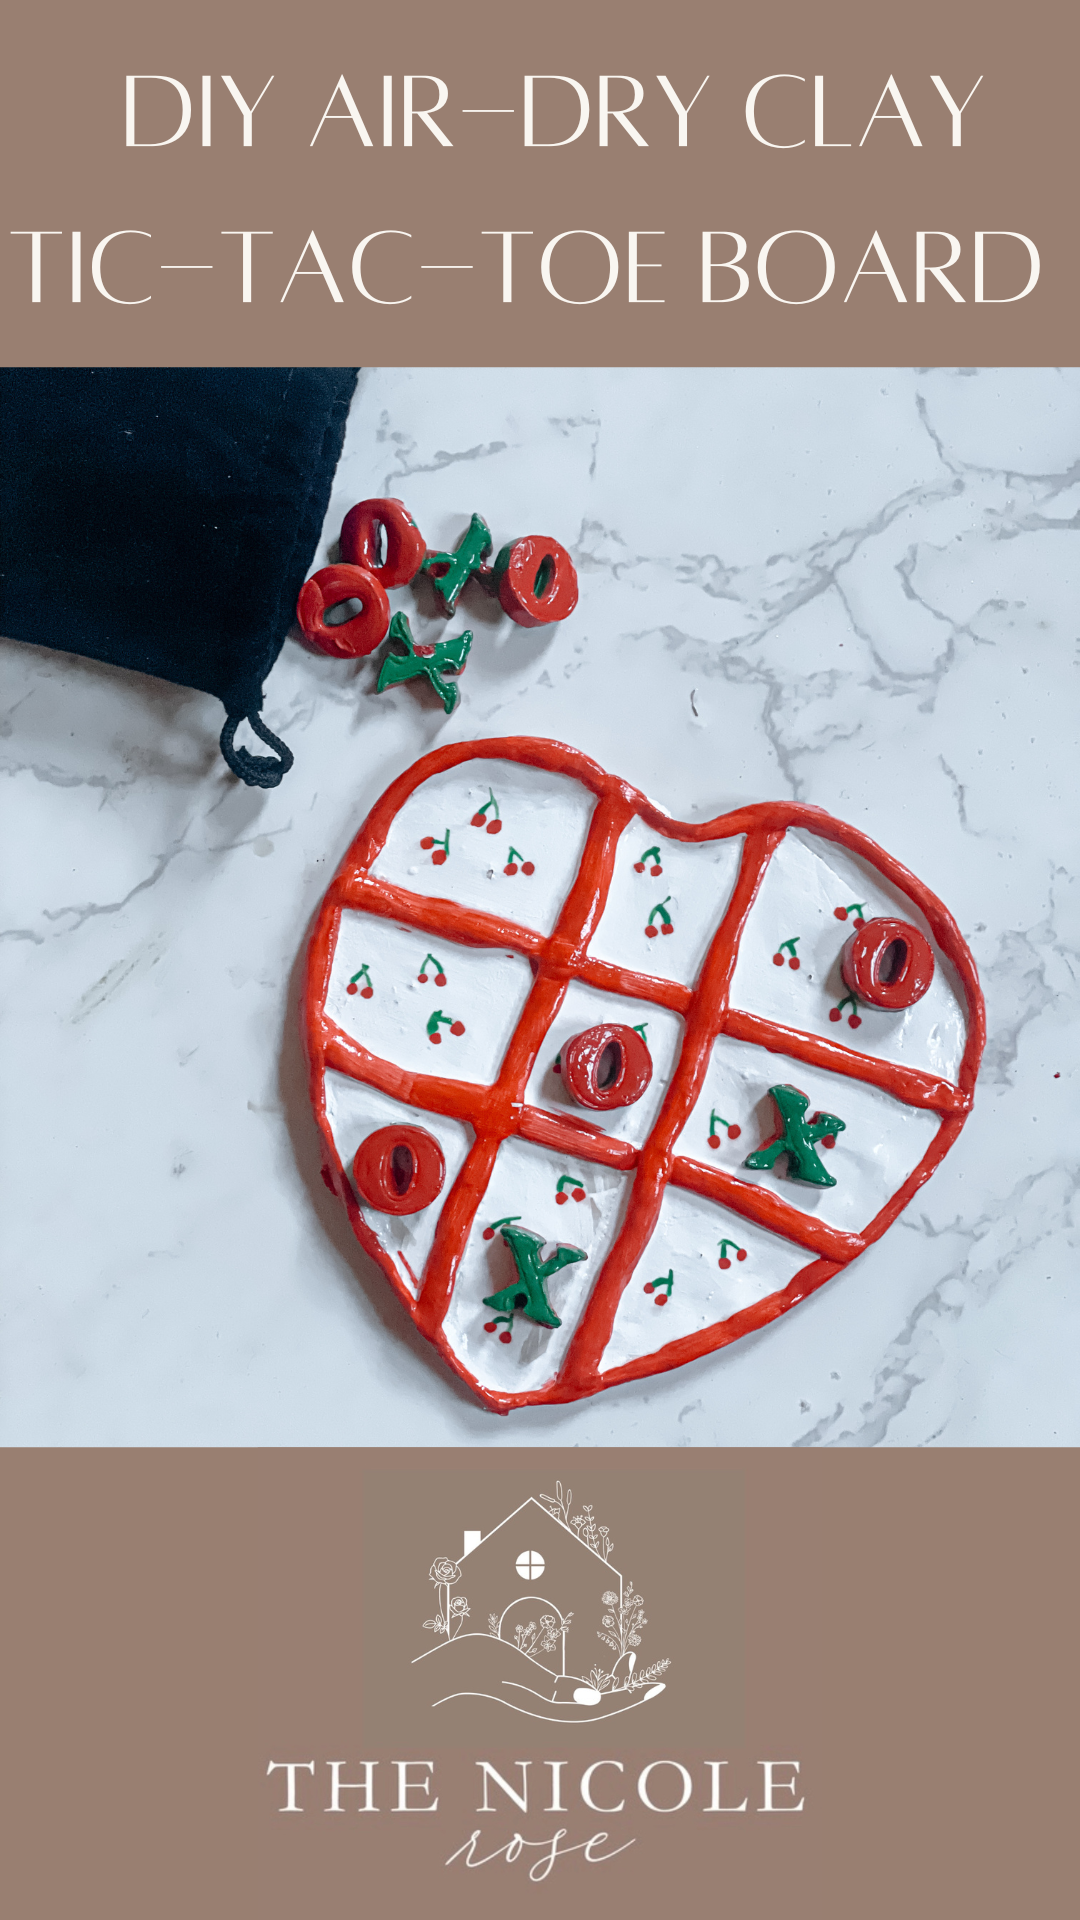
Once the clay is fully dry, it’s time to add some color! Paint the board in your desired base color—white or pastel pink works beautifully for Valentine’s Day. Use contrasting colors for the grid lines. Paint the Xs and Os in complementary shades like red and pink. I made mine with cherries.
7. Seal for Durability
If you want your tic-tac-toe board to last longer, apply a coat of sealer or varnish to the board and pieces once the paint is dry.
8. Assemble and Play!
Arrange the grid lines on the board and place your painted Xs and Os in a small bowl or bag for easy storage. Your Valentine’s Day tic-tac-toe set is now ready to use!
Creative Tips:
• Add personal touches by customizing the colors or painting tiny designs like polka dots or stripes on the playing pieces.
• Use glitter paint for extra sparkle!
• Pair the tic-tac-toe board with a small pouch for storage, decorated with hearts or love-themed patterns.
Shop Supplies Here
You May Also Like


0 Comments