

Crafting a Safe and Stylish Wooden Bead Pacifier Clip: A DIY Guide
This post contains affiliate links.
Pacifier clips are a lifesaver for parents, keeping pacifiers within reach and preventing them from falling to the ground. While store-bought options are readily available, crafting your own wooden bead pacifier clip allows for customization and ensures safety and style. In this guide, I’ll walk through the steps to create a personalized pacifier clip using wooden beads and a way to give it a personalized touch.
Materials Needed:
- Wooden beads (ensure they are non-toxic and large enough not to pose a choking hazard)
- Nylon or cotton cord (strong and durable)
- Metal clip (with a plastic insert to protect clothing)
- Portable laser engraver (optional)
- Scissors
- Lighter (optional, for sealing cord ends)
Step 1: Selecting Beads and Cord
Choose wooden beads that are smooth, free of splinters, and non-toxic. Beads should be large enough to prevent choking hazards, typically around 0.5 to 1 inch in diameter. For the cord, opt for a strong and durable material like nylon or cotton, ensuring it can withstand pulling and tugging without breaking.
Step 2: Stringing the Beads
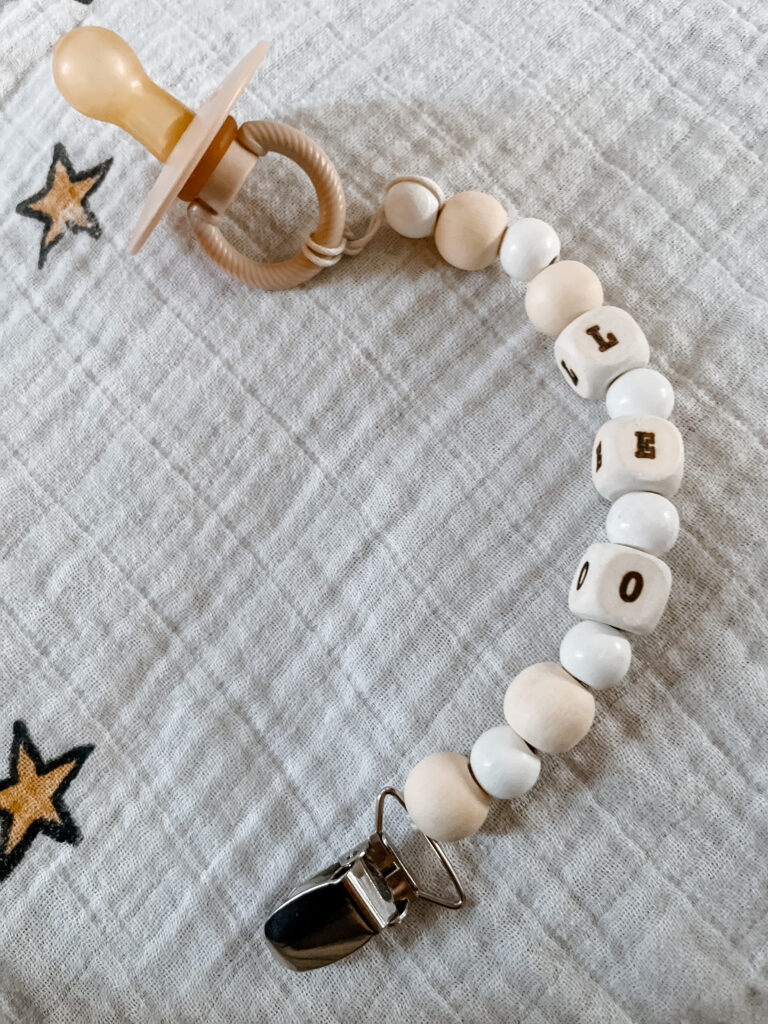
Cut a length of cord, approximately 8 to 10 inches long, depending on the desired length of the pacifier clip. Thread the cord through the metal clip, doubling it over and tying a secure knot to hold it in place. Begin stringing the wooden beads onto the cord, alternating sizes and colors if desired. Leave a small loop at the end of the cord to attach the pacifier.
Step 3: Securing the Ends
Once all beads are strung onto the cord, tie a knot at the end to prevent them from slipping off. Optionally, use a lighter to carefully melt the ends of the cord to seal them and prevent fraying.
Step 4: Finishing Touches
Trim any excess cord, leaving a small tail to ensure the knot does not come undone. Double-check the security of all knots and attachments, ensuring the clip is safe for use. Inspect the wooden beads for any rough edges or imperfections, smoothing them out if necessary.
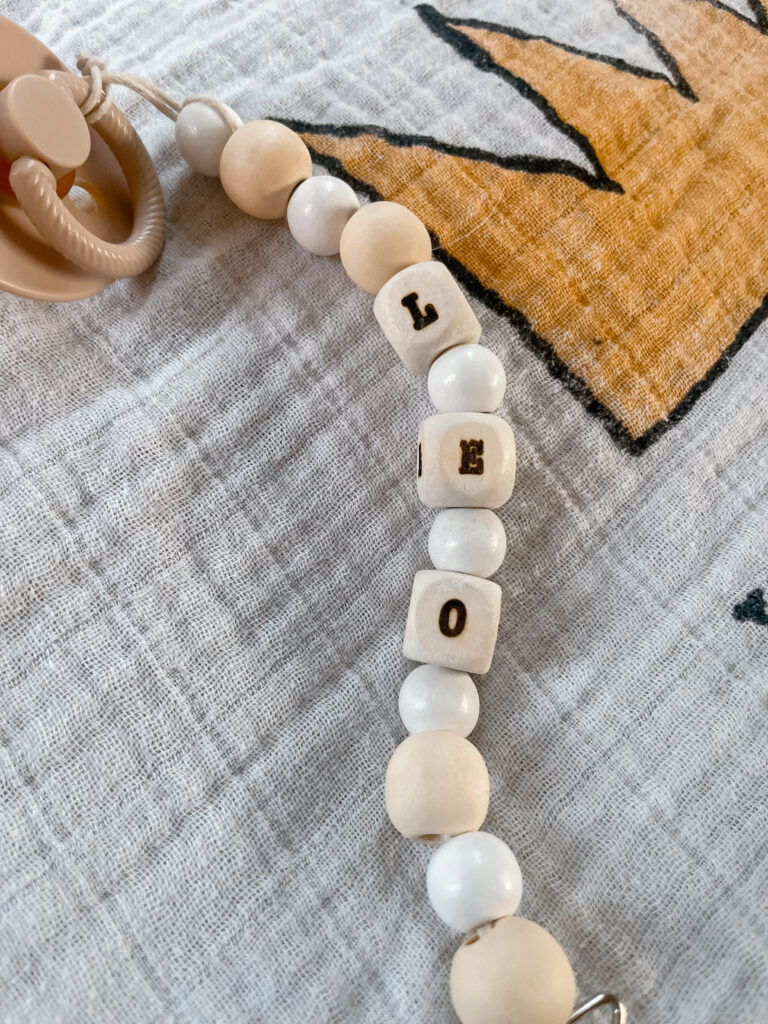
Optional: Designing with a laser engraver to customize the wooden beads with names, initials, or decorative patterns is a fun option. I use this portable laser from LaserPecker.
Enjoy!
Crafting a wooden bead pacifier clip not only provides a practical solution for keeping pacifiers within reach but also allows for personalization and customization. Remember to prioritize safety by choosing non-toxic materials and securing all components properly. With a bit of creativity and attention to detail, you can create a stylish and safe pacifier clip that both you and your little one will love.
Shop Supplies Here

You May Also Like
0 Comments