Creating Timeless Keepsakes: Silhouettes Using Procreate
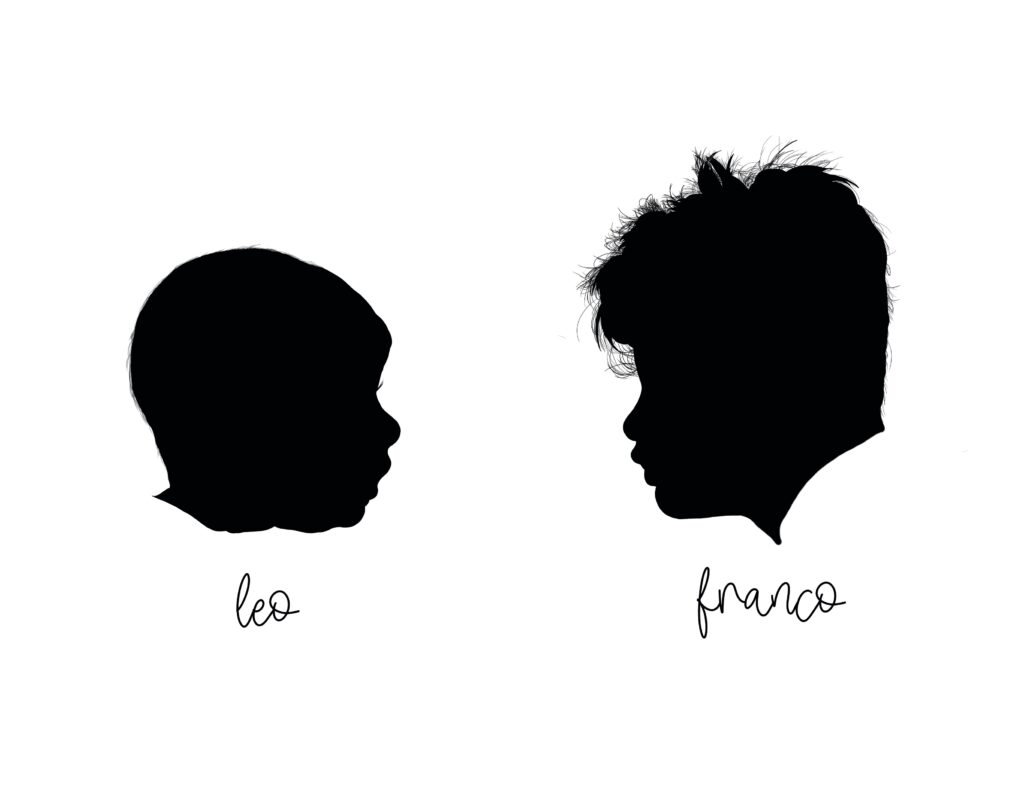
As a mom, I’ve always loved finding ways to capture and cherish moments with my sons. One of my favorite keepsakes has always been silhouettes. They are timeless, elegant, and beautifully simple, capturing the essence of a person with just their outline. Recently, I discovered how easy it is to create these cherished silhouettes using the Procreate app on my iPad, and I’m excited to share this process with you.
Why Silhouettes?
Silhouettes have a classic appeal that never goes out of style. They’re versatile and can be adapted for various uses, from home décor to personalized gifts. What’s even better is having a digital file of these silhouettes. Once you have it, the possibilities are endless: you can print it on canvas, engrave it on jewelry, or even etch it onto wood. The digital format ensures that you can reproduce your silhouette in multiple ways without losing quality.
What You’ll Need
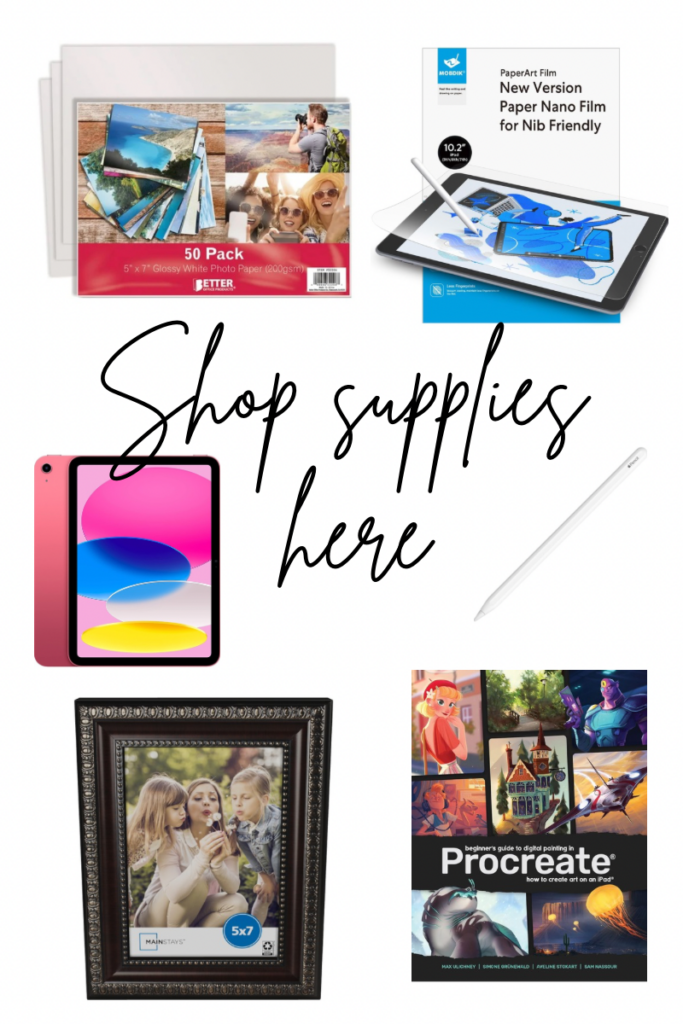
- iPad with Procreate app
- A good quality side-profile photo of your subject
- Apple Pencil (optional, but highly recommended)
Step-by-Step Guide
- Open Procreate and Set Up Your Canvas: Open the Procreate app and create a new canvas. I recommend a square canvas (e.g., 3000 x 3000 pixels) to give you flexibility for different print sizes.
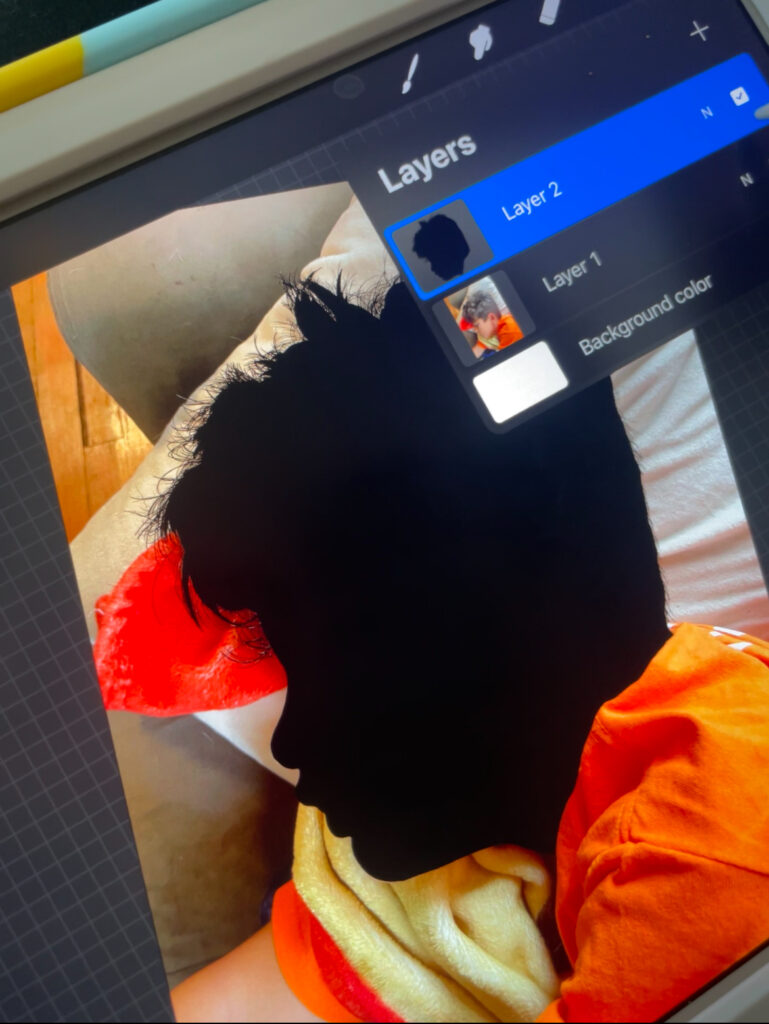
- Import Your Photo: Import the side-profile photo of your subject into the canvas. You can do this by selecting the wrench icon, then “Add,” and “Insert a Photo.”
- Adjust the Photo: Resize and position the photo to fit within your canvas. Lower the opacity of the photo layer so that you can see your drawing lines clearly.
- Create a New Layer: Add a new layer on top of the photo layer. This will be your drawing layer.
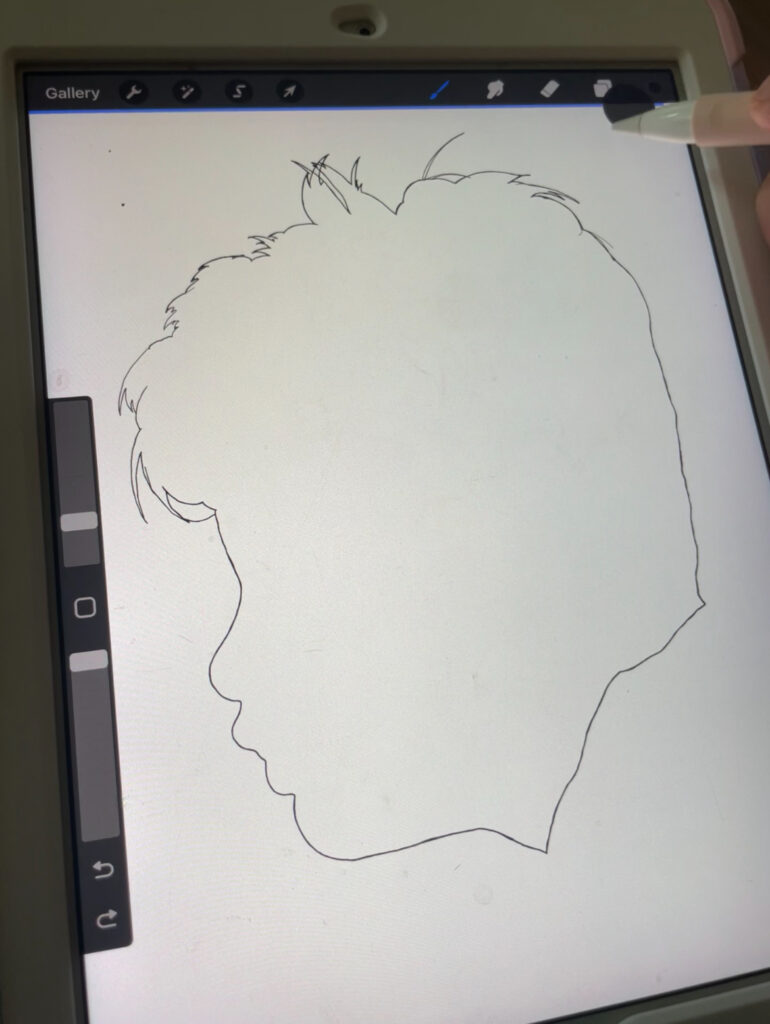
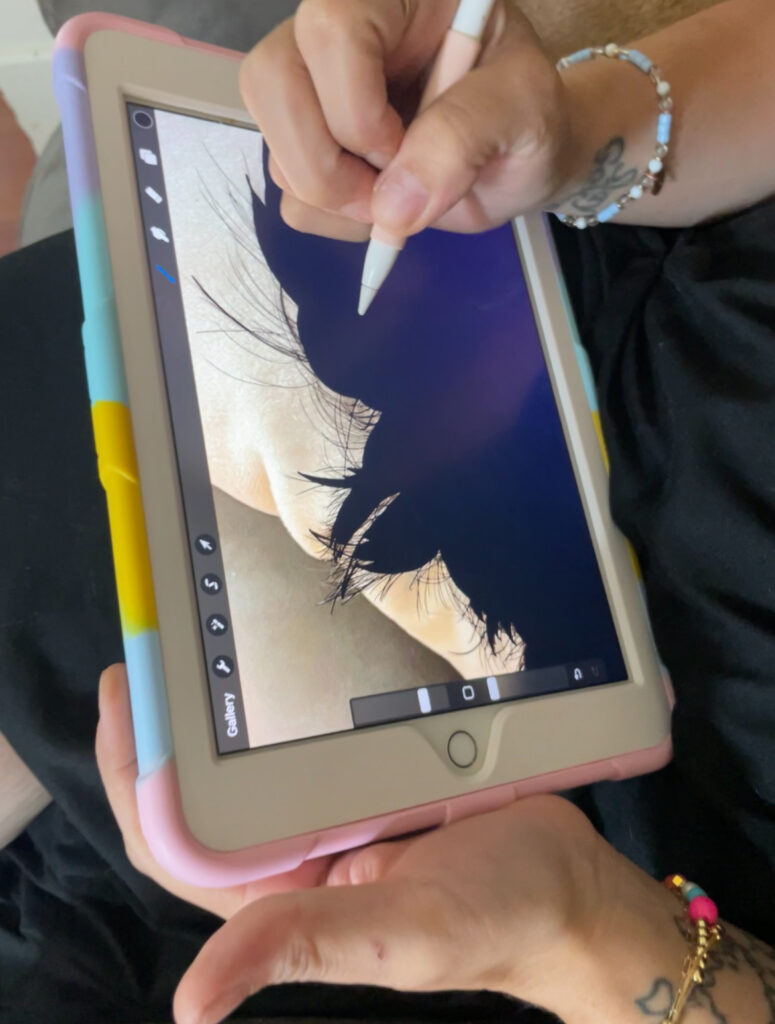
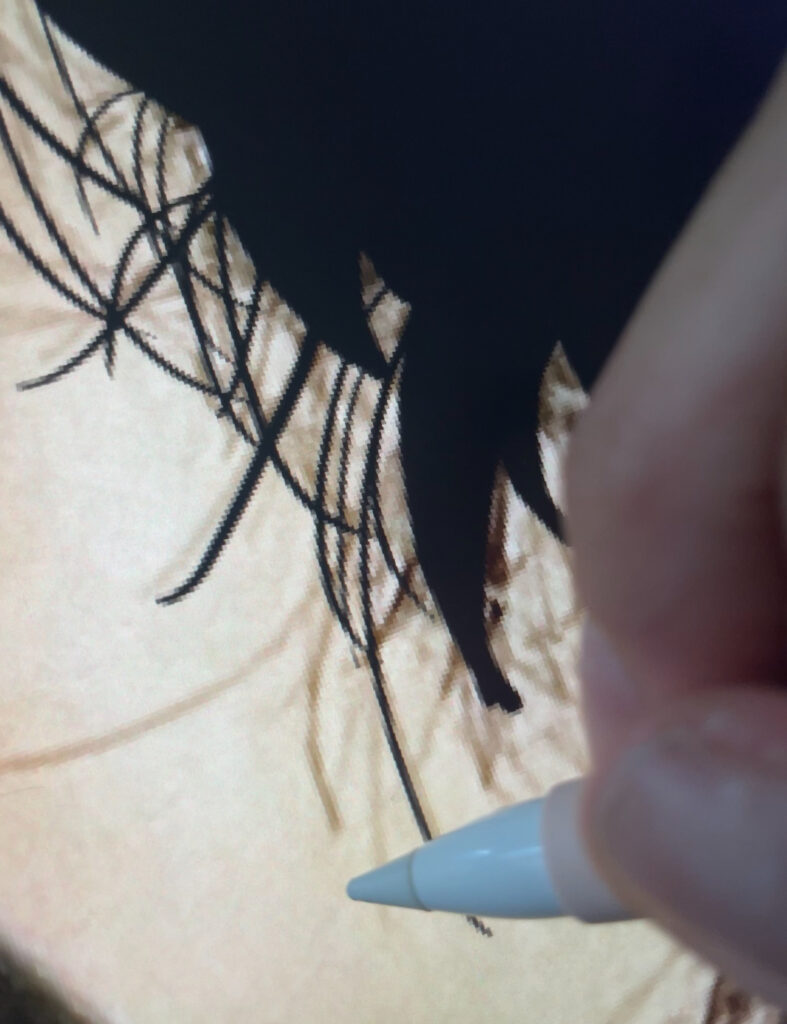
- Outline the Silhouette: Using the Apple Pencil or your finger, trace around the profile of your subject on the new layer. Pay attention to details like the curve of the nose, lips, and hairstyle. Use a monoline brush for clean, smooth lines.
- Fill in the Silhouette: Once you have the outline, close the shape and fill it with black (or any color of your choice) using the paint bucket tool. You now have a solid silhouette.
- Refine the Edges: Zoom in and refine any rough edges or areas that need more detail. You can use the eraser tool to clean up the outline.
- Export Your Silhouette: Once you’re satisfied with the silhouette, export the file. Go to the wrench icon, select “Share,” and choose your preferred file format (PNG for a transparent background is ideal).
Creative Uses for Your Silhouette
Having a digital file of your silhouette opens up a world of creative possibilities. Here are a few ideas:
- Print on Canvas: Create a piece of art for your home by printing the silhouette on a canvas.
- Engrave on Jewelry: Personalize a piece of jewelry with the silhouette, making a beautiful keepsake.
- Etch on Wood: Create a rustic piece of décor by etching the silhouette onto wood.
- Custom Cards: Use the silhouette for custom greeting cards or invitations.
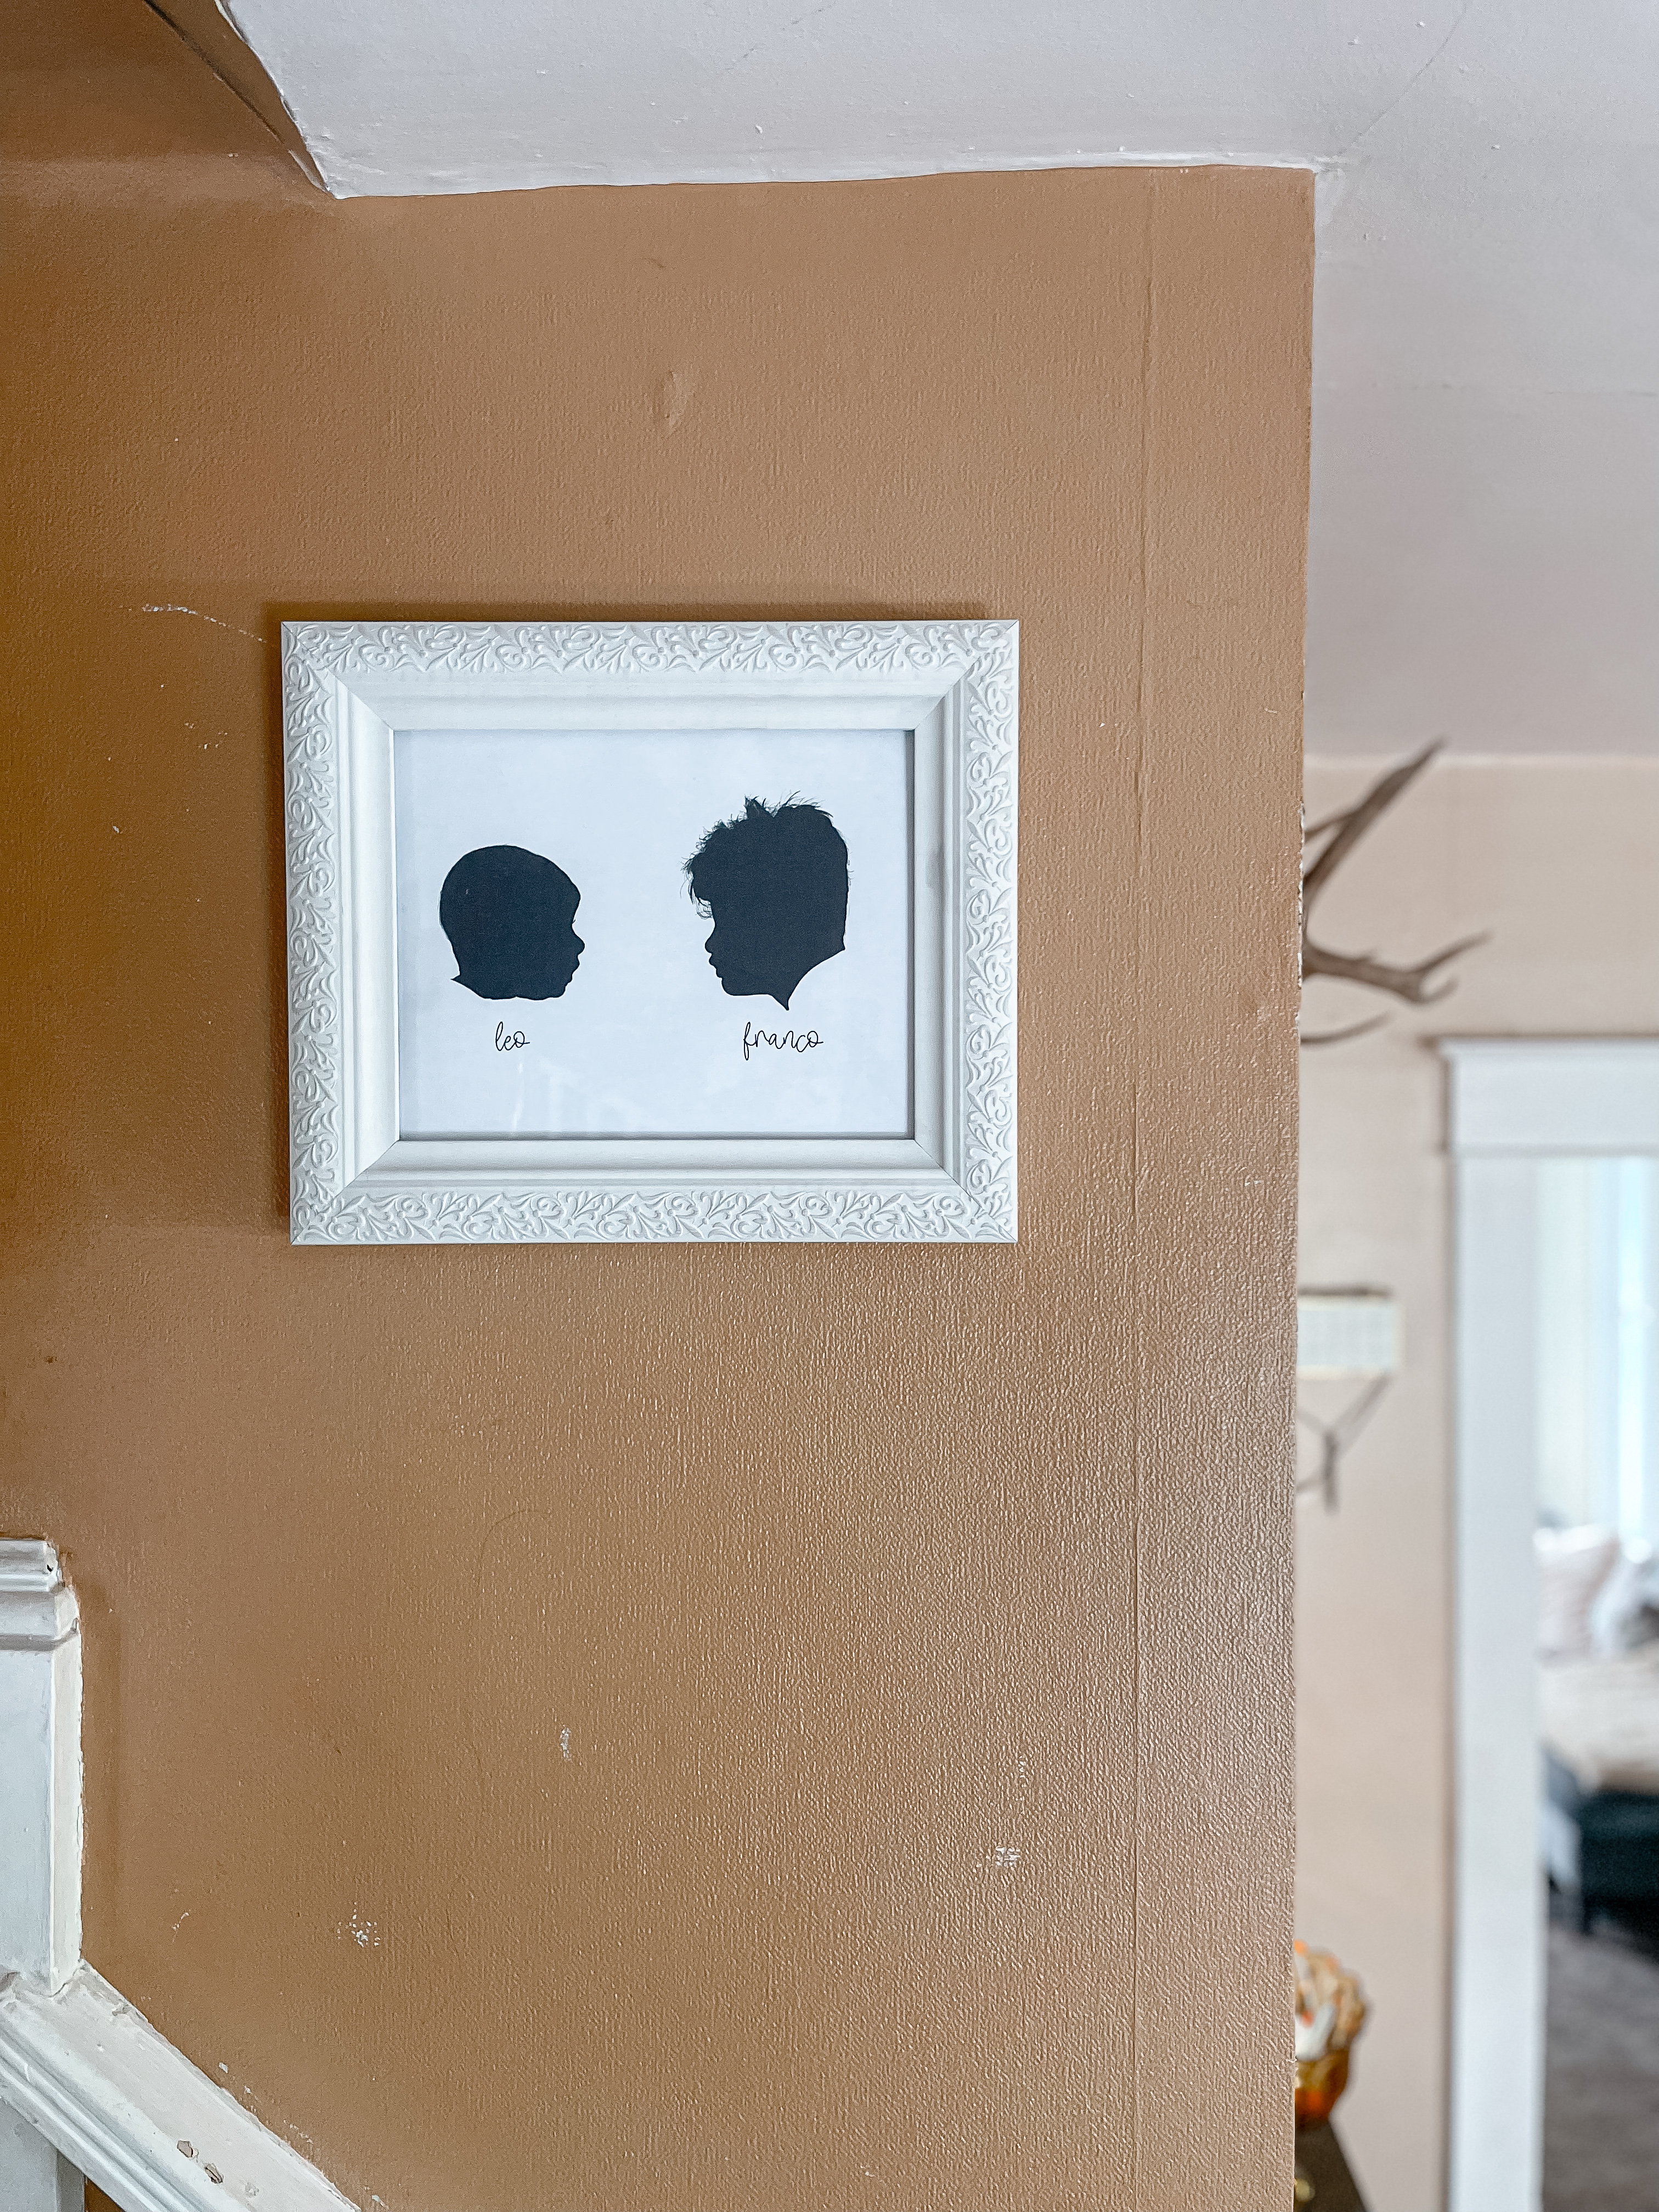
Creating silhouettes using Procreate is not only easy but also a fun and creative way to preserve memories of your loved ones. These silhouettes are timeless keepsakes that you can treasure forever, and having them in a digital format means you can continuously find new ways to enjoy them. If you’re printing them for home décor, creating personalized gifts, or just keeping them as a digital memento, silhouettes are a beautiful way to capture the essence of those you love.
Shop Supplies Here
You May Also Like


0 Comments