

Please follow and like us:
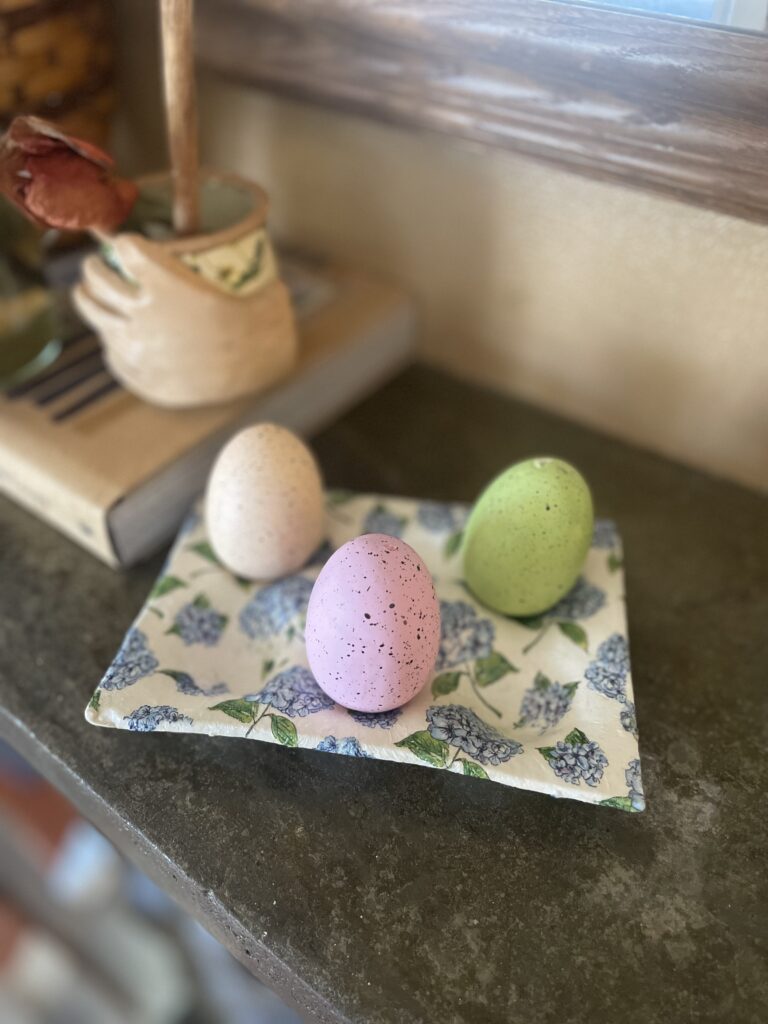
Looking for a creative way to display your decorated Easter eggs or organize small items around the house? These DIY air-dry clay egg trays are the perfect project! You can keep them simple with air-dry clay or take it up a notch by adding a touch of personality with decoupage.
Materials Needed:
- Air-dry clay (about ½ lb)
- Empty cardboard egg carton (6 or 12 count)
- Rolling pin
- Sharp knife or craft blade
- Scissors
- Acrylic paints (optional)
- Paintbrushes (optional)
- Napkin for decoupage (optional)
- Decoupage glue or Mod Podge (optional)
- Varnish or sealant (optional)
- Sandpaper (optional)
Instructions for Air-Dry Clay Egg Tray:
- Prepare the Egg Carton Mold:
- Cut off the lid and any flaps from the egg carton, leaving just the base with the egg cup impressions. This will be your mold.
- Roll Out the Clay:
- On a clean surface, roll out the air-dry clay to about ¼-inch thickness. Make sure the clay sheet is large enough to cover the entire egg carton base with some overhang.
- Mold the Clay Over the Carton:
- Gently lay the rolled-out clay over the egg carton base. Press the clay into each egg cup depression, making sure it fits snugly into the contours.
- Trim the Edges:
- Use a sharp knife to trim the excess clay around the edges for a clean, polished look.
- Dry and Sand:
- Let the clay dry completely according to the manufacturer’s instructions (usually 24-48 hours). Once dry, remove the cardboard mold and gently sand any rough edges.

Optional: Decoupage for a Personal Touch
For an extra pop of color or pattern, try decoupaging your tray:
- Choose Your Napkin:
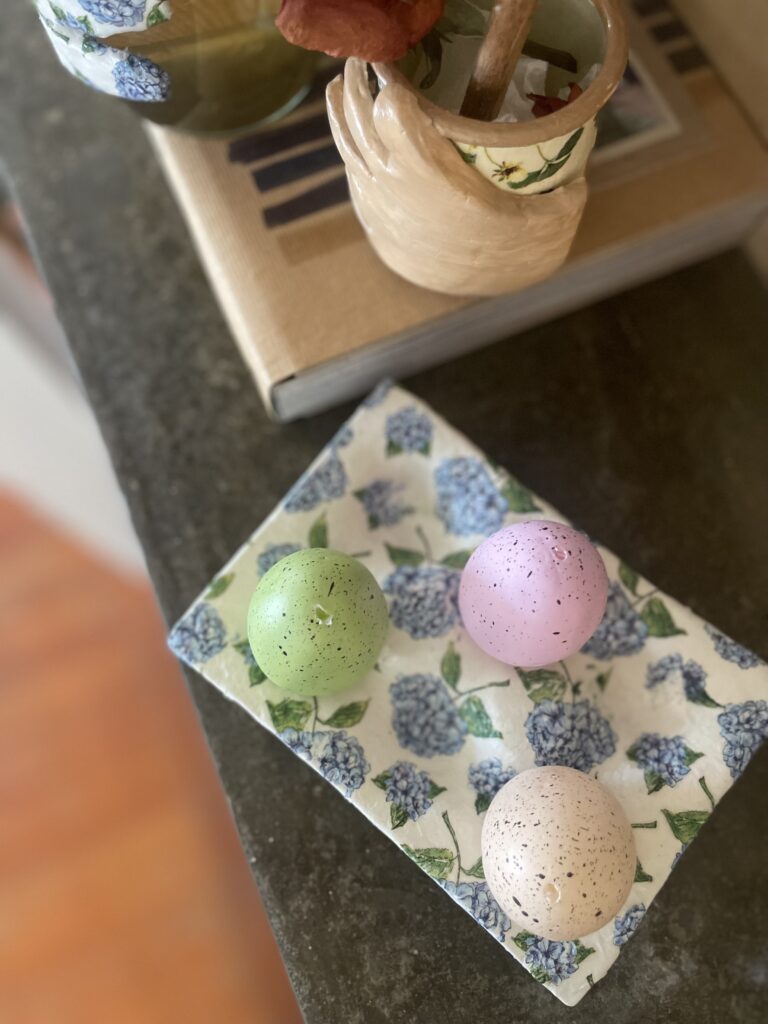
- Pick a decorative napkin with a design you love. Florals, pastels, or even vintage prints work beautifully.
- Apply the Napkin:
- Once the tray is completely dry, brush a thin layer of decoupage glue (like Mod Podge) onto the surface of the tray. Gently press the napkin onto the tray, smoothing out any wrinkles or bubbles.
- Seal the Design:
- Once the napkin is fully dry, add another layer of Mod Podge on top to seal the design and protect it.
- Add a Finishing Coat:
- If you want a more durable finish, add a final coat of clear varnish or sealant.
Finishing Touches:
- Sand any rough edges for a smooth finish.
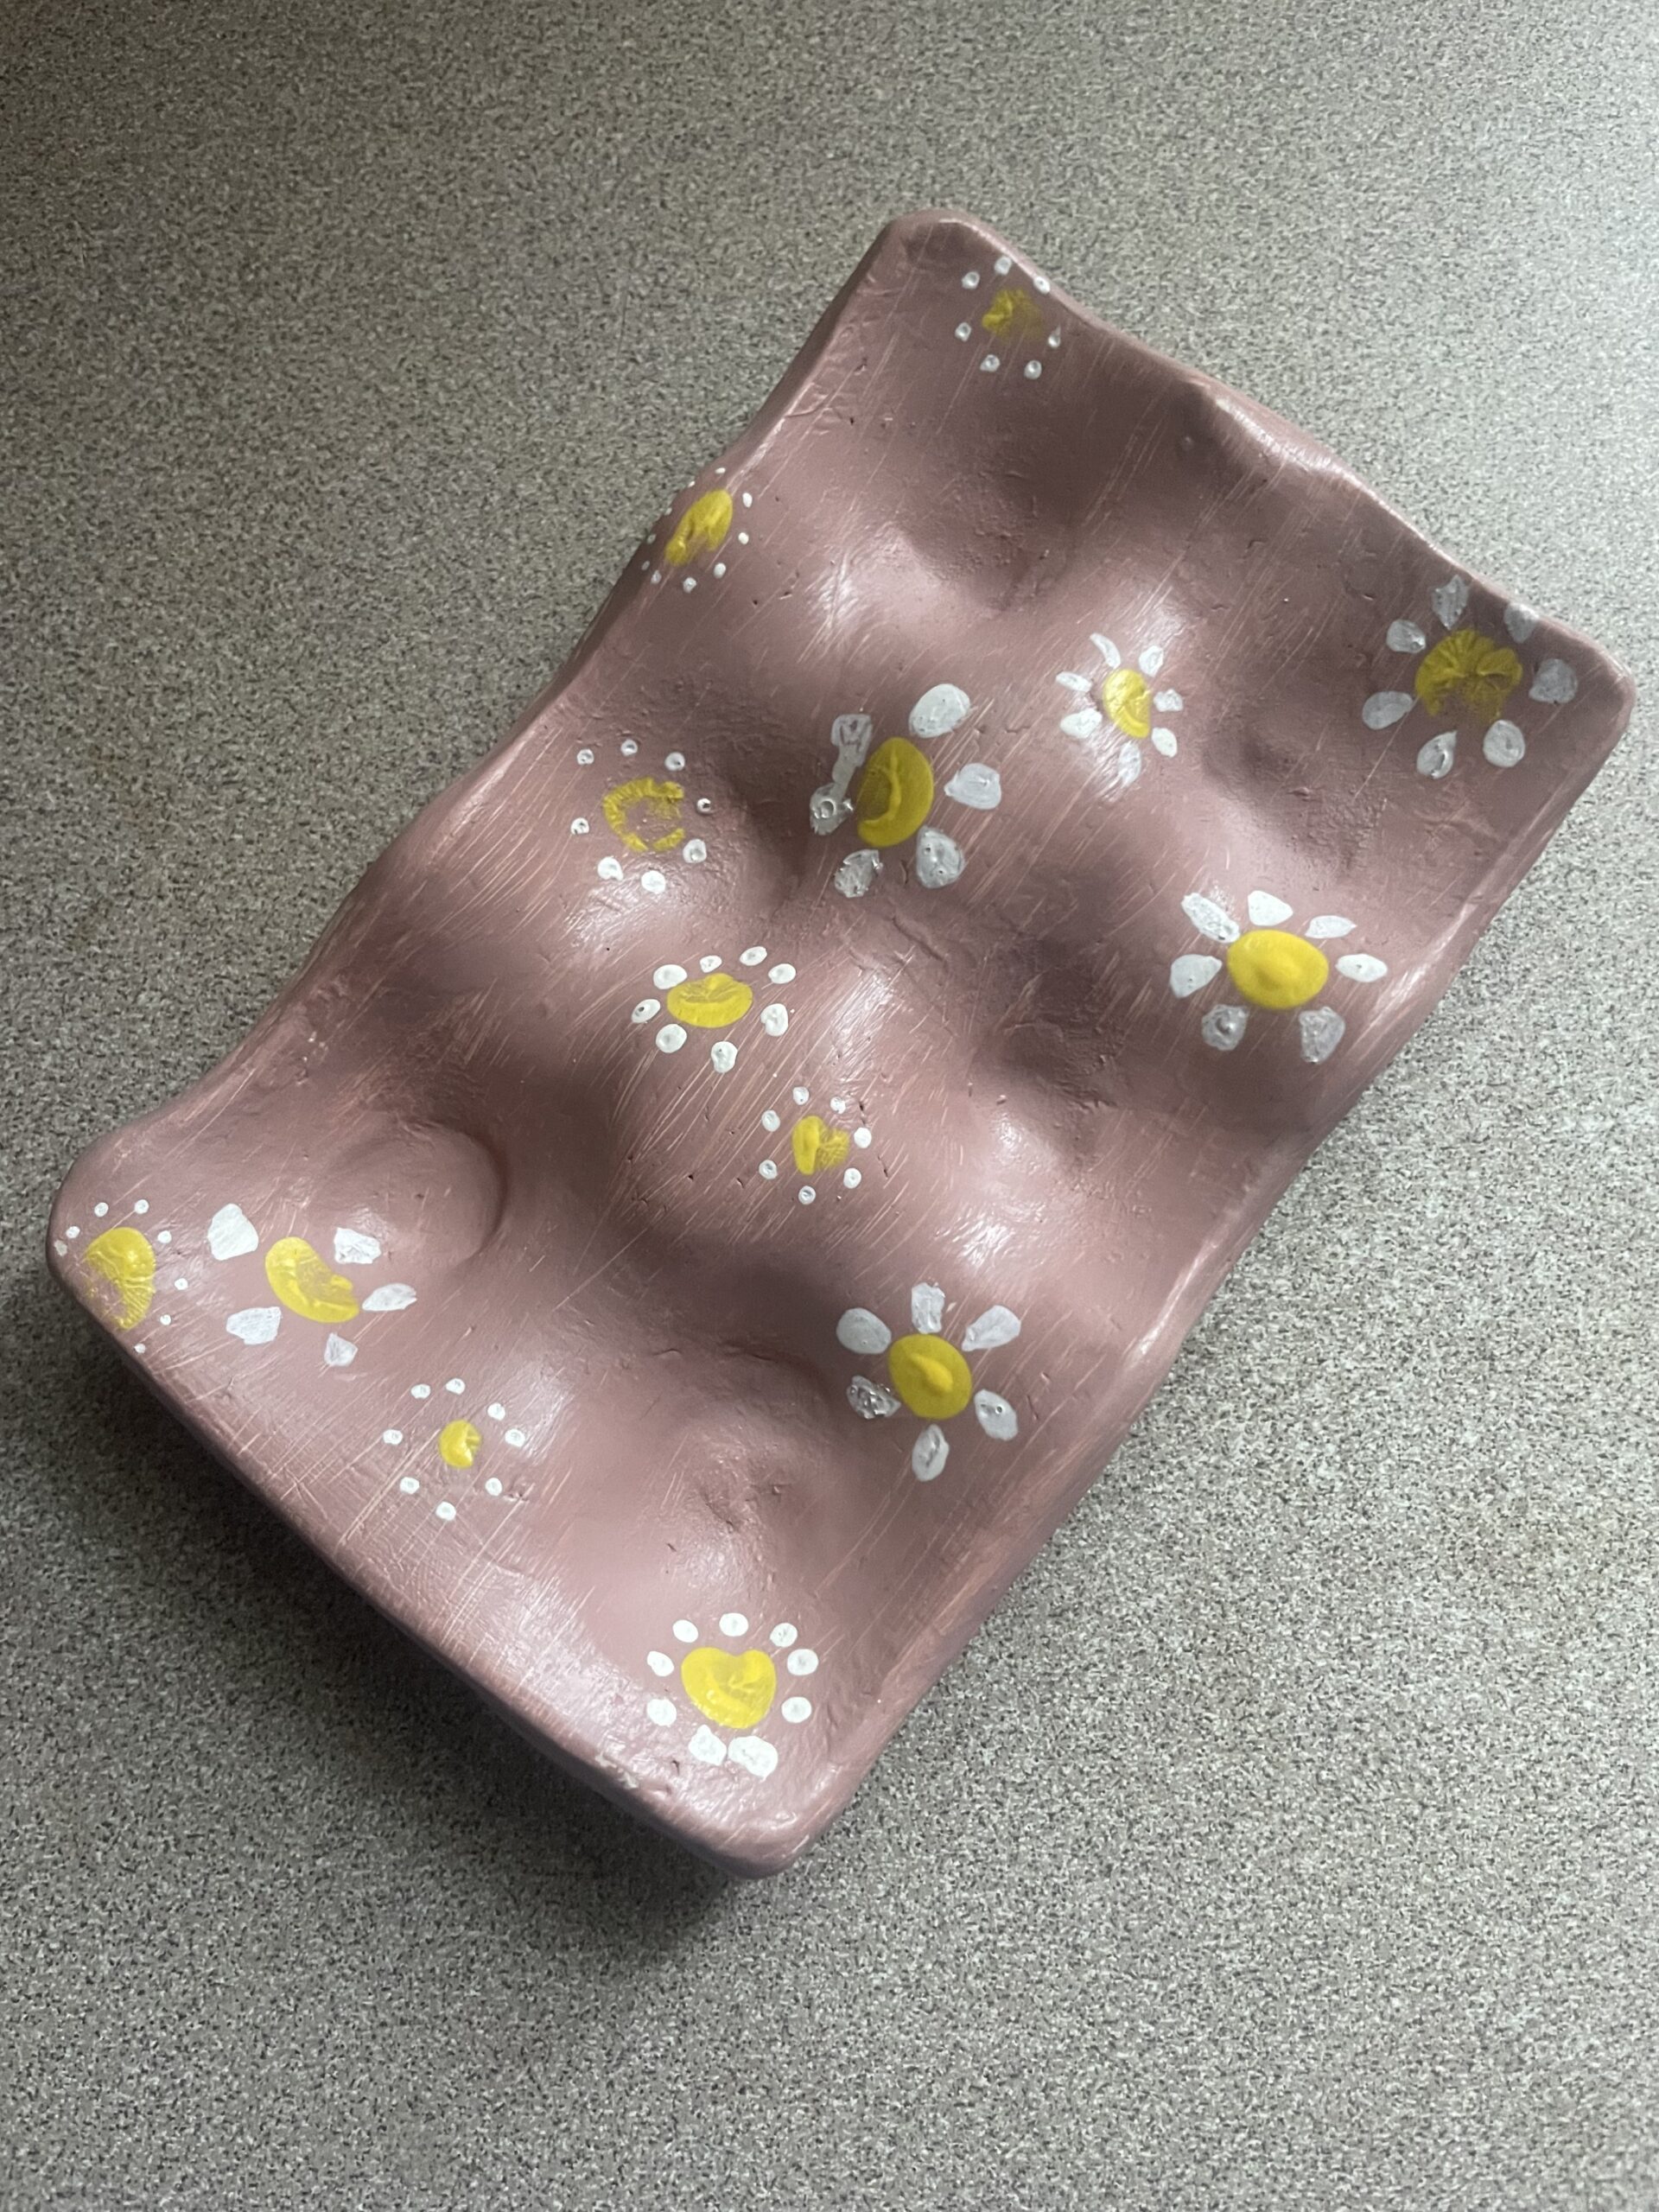
- Add a bit of acrylic paint for color or metallic accents if you like.
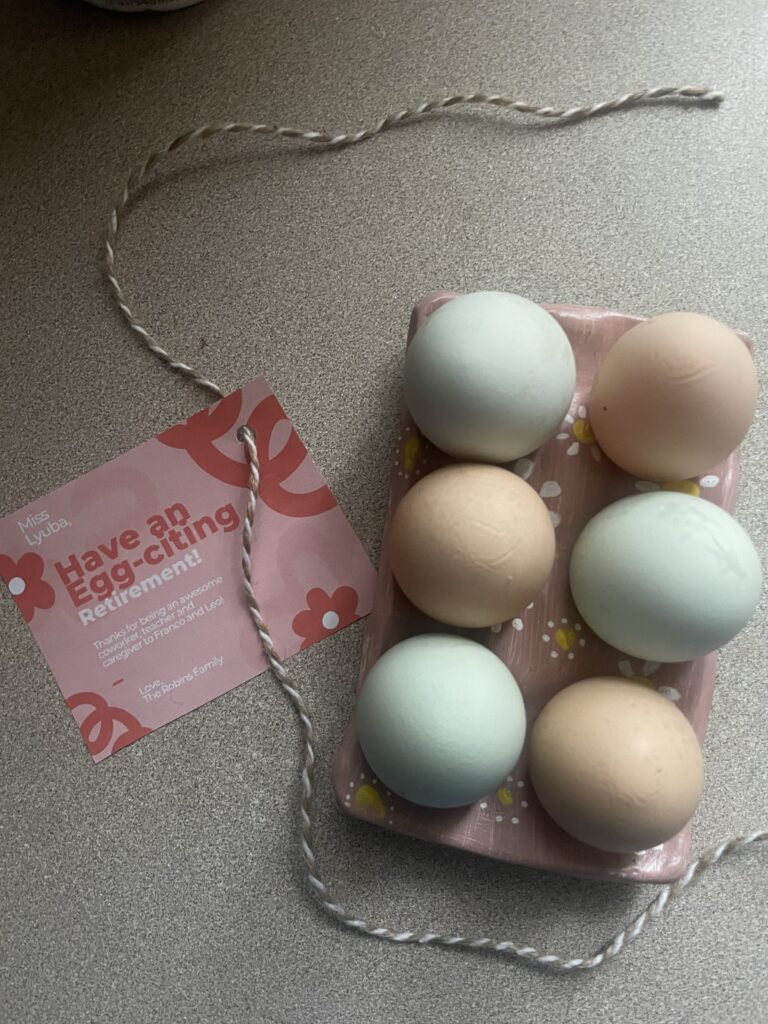
- Display your new egg tray proudly – it’s perfect for Easter, spring decor, or everyday organization!

This project is perfect for a cozy craft night or a creative way to repurpose old egg cartons. Would you like me to add a few styling ideas for how to use these trays around the house?
Shop Supplies Here
You May Also Like
Please follow and like us:
0 Comments