

Get ready to add a spooky yet charming touch to your fall décor with these adorable air-dry clay ghost pumpkins! This craft is perfect for a fun Halloween project, and it’s easy to create using inexpensive materials like a pumpkin from the dollar store and some air-dry clay.
Materials Needed:
- Pumpkin of any size (I used one from the dollar store)
- Air-dry clay
- White acrylic paint
- Black acrylic paint
- Paintbrushes (small and medium)
- Water for smoothing the clay
- Rolling pin
Step-by-Step Instructions:
1. Prepare Your Pumpkin
Start with a small pumpkin, which can be plastic, foam, or ceramic. These are inexpensive and easy to find at dollar stores during the fall season.
Tip: Make sure the surface is clean and free of any dust, so the clay adheres well!
2. Cover the Pumpkin with Air-Dry Clay
Roll out a large piece of air-dry clay, about ¼ inch thick, to cover the pumpkin. Once it’s rolled out, drape the clay over the top of the pumpkin like a ghostly blanket.
- Gently press the clay into the crevices of the pumpkin to capture its shape while keeping the surface smooth.
- Use your fingers dipped in water to smooth out any cracks or imperfections.
Tip: Don’t worry if the clay doesn’t cover the bottom perfectly—focus on making the top look ghostly!
3. Add the Ghostly Details
Let your pumpkin dry for at least 24 hours or until the clay feels completely firm.
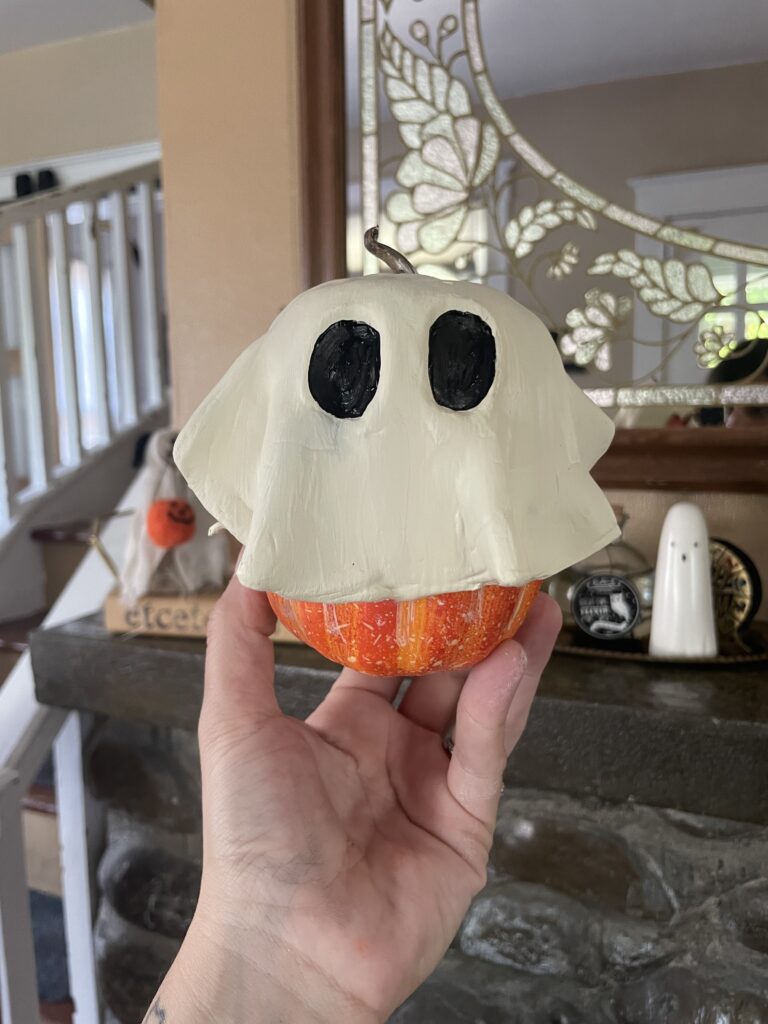
Once dry, it’s time to transform your pumpkin into a spooky ghost! Using white acrylic paint, paint the entire surface of the pumpkin to give it a clean, ghostly appearance.
Tip: You may need two coats of paint to fully cover the clay.
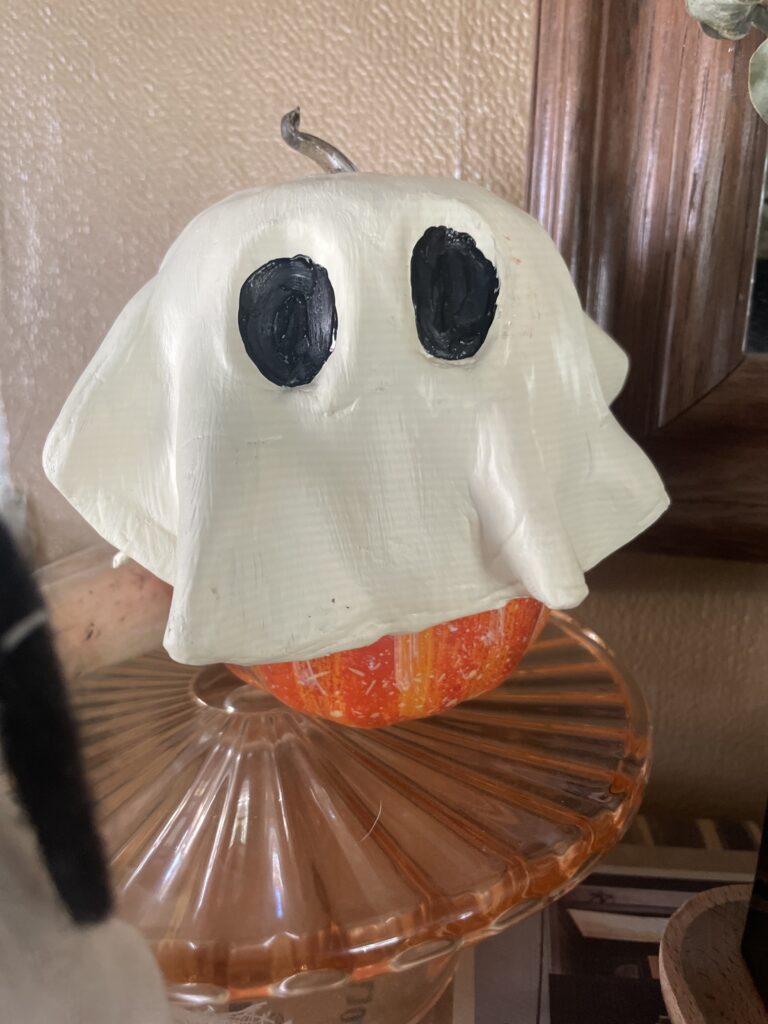
4. Paint the Ghost Eyes
Now it’s time to give your ghost pumpkin some personality! Use black acrylic paint to create two large, oval-shaped eyes in the middle of the pumpkin.
- You can make the eyes as big or as small as you like—it’s fun to play around with different expressions for your ghost.
Display Your Ghost Pumpkins!
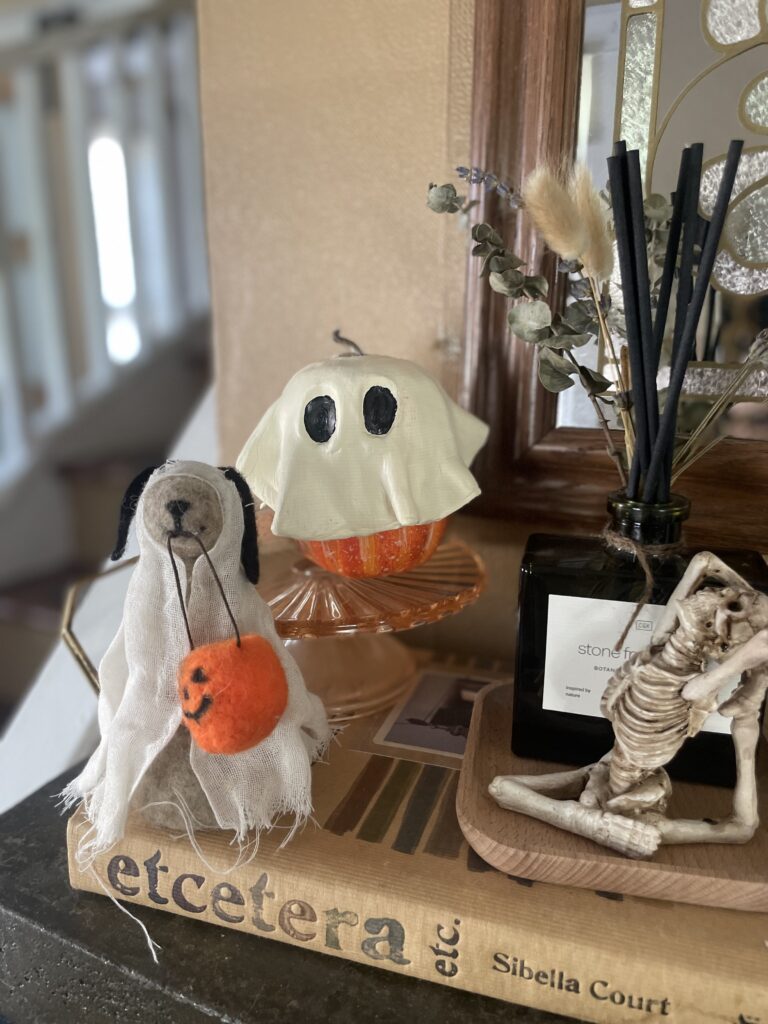
Once the paint and sealer are completely dry, your ghost pumpkin is ready to display! Set it on your porch, mantel, or even as part of a spooky tablescape.
This simple craft is a great way to repurpose dollar store pumpkins and create festive, handmade décor for the Halloween season. Plus, it’s a project that’s perfect for kids to join in on, making it a fun family activity!
Have you made your own ghost pumpkins? Share your creations in the comments—I’d love to see how spooky yours turned out!

You May Also Like
0 Comments