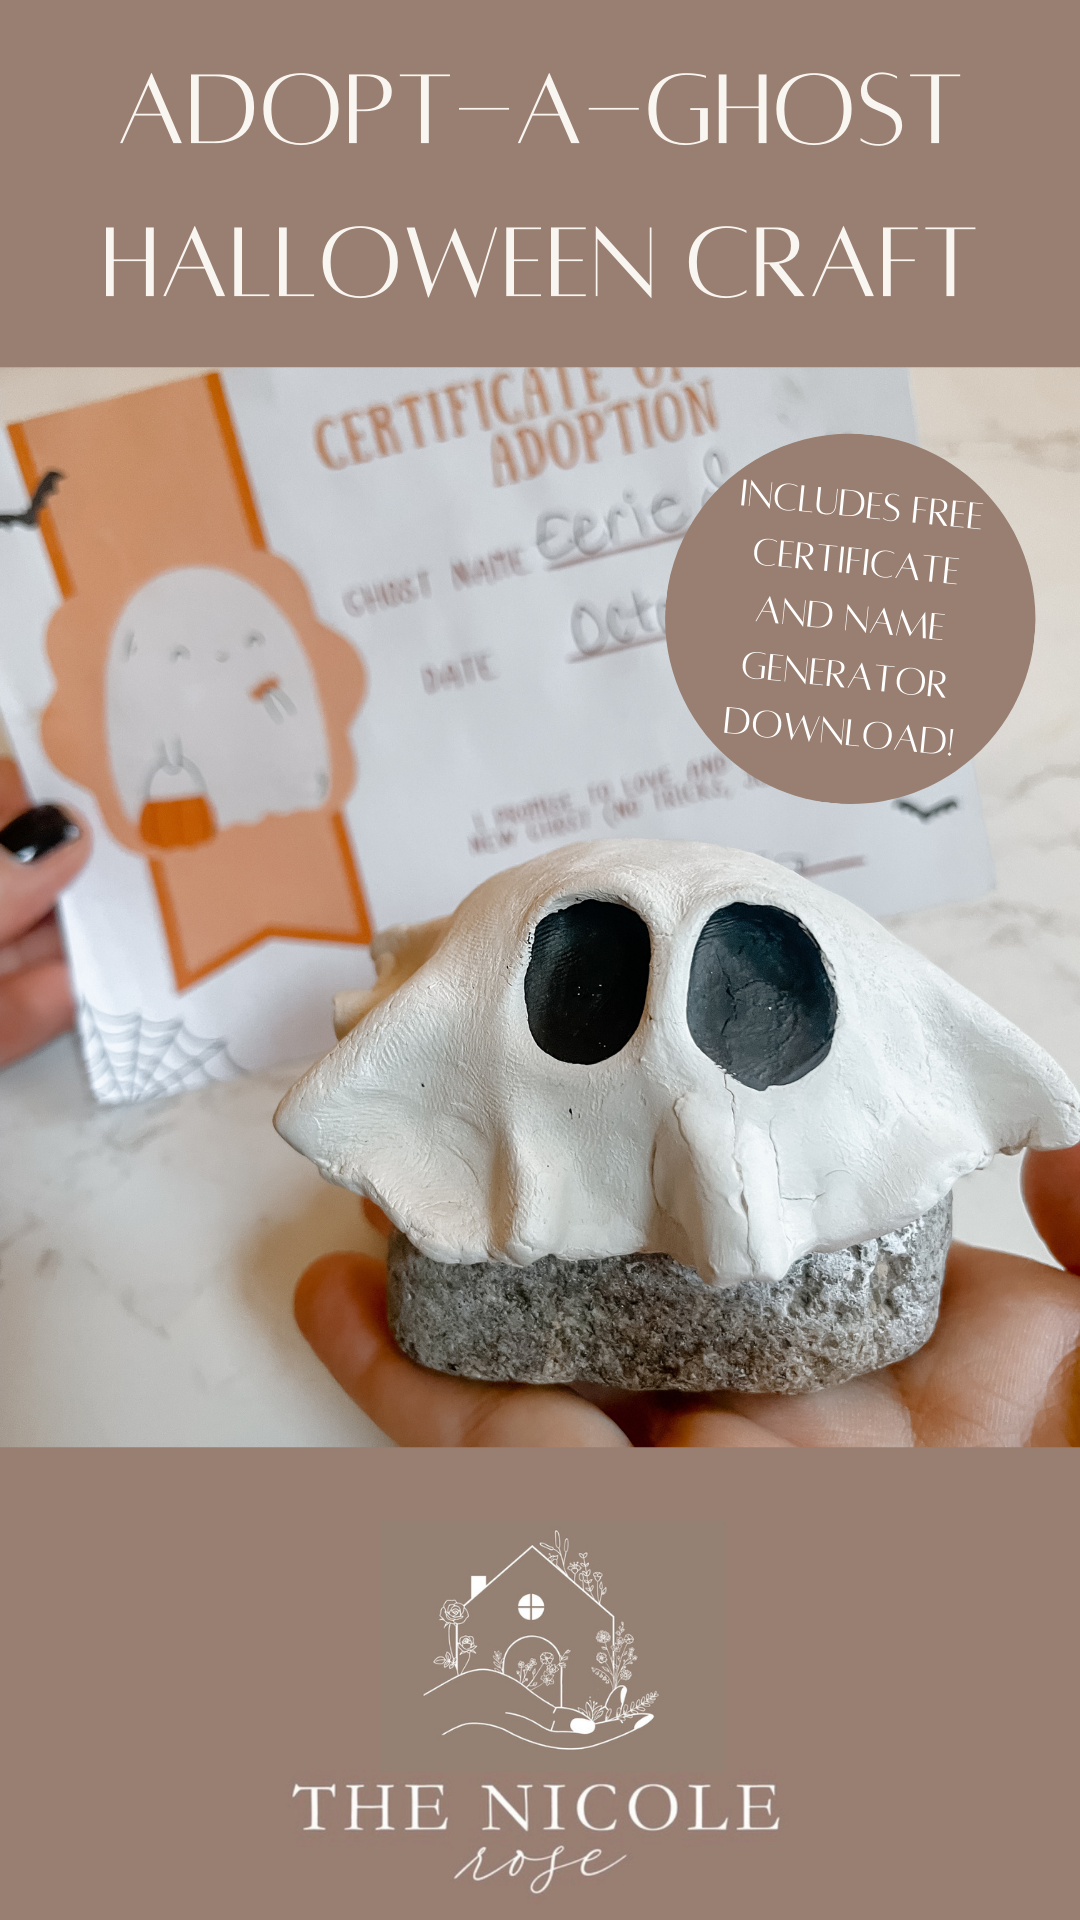
Looking for a fun and unique Halloween craft this year? Try this “Adopt-a-Ghost” project! This charming activity lets you turn ordinary rocks into adorable ghost figures, complete with their own names and adoption certificates. It’s the perfect way to get into the Halloween spirit, and it’s great for kids and adults alike.
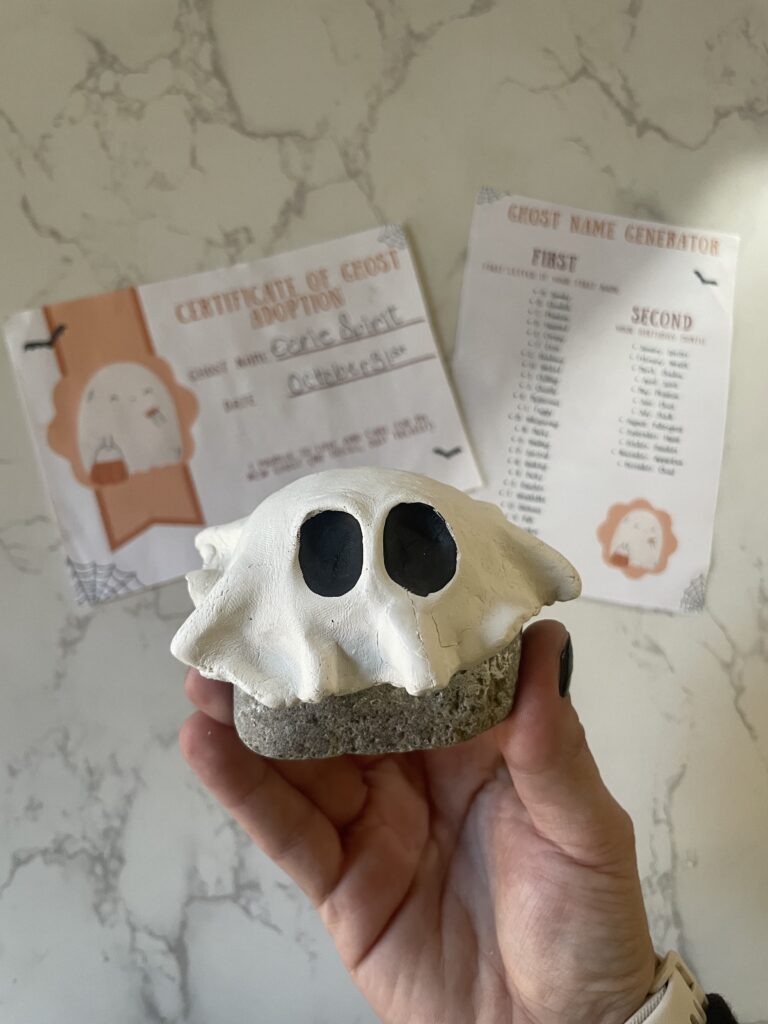
What You’ll Need:
• Rocks (any size or shape you like)
• White paint or air-dry clay
• Black paint or permanent markers for facial details
• Paintbrushes
• Optional: Clear varnish to seal the paint
• Printable adoption certificate (included)
• Printable ghost name generator (included)
Step 1: Find the Perfect Rock
The first step in your Adopt-a-Ghost project is a little adventure: finding the perfect rock! Head outside and look for rocks of different shapes and sizes. Some may have a round, ghost-like form naturally, while others might be more unique. Just make sure they’re smooth enough for painting or covering with air-dry clay.
Step 2: Turn Your Rock into a Ghost
Once you have your rock, it’s time to transform it into a ghost! You have two main options for decorating: using white paint or air-dry clay.
• Using Paint: Simply paint your rock white. You may need to do two or three coats depending on how dark the rock is. Once it’s dry, use black paint or a marker to add eyes and a mouth to your ghost. These can be cute or spooky, depending on your style.
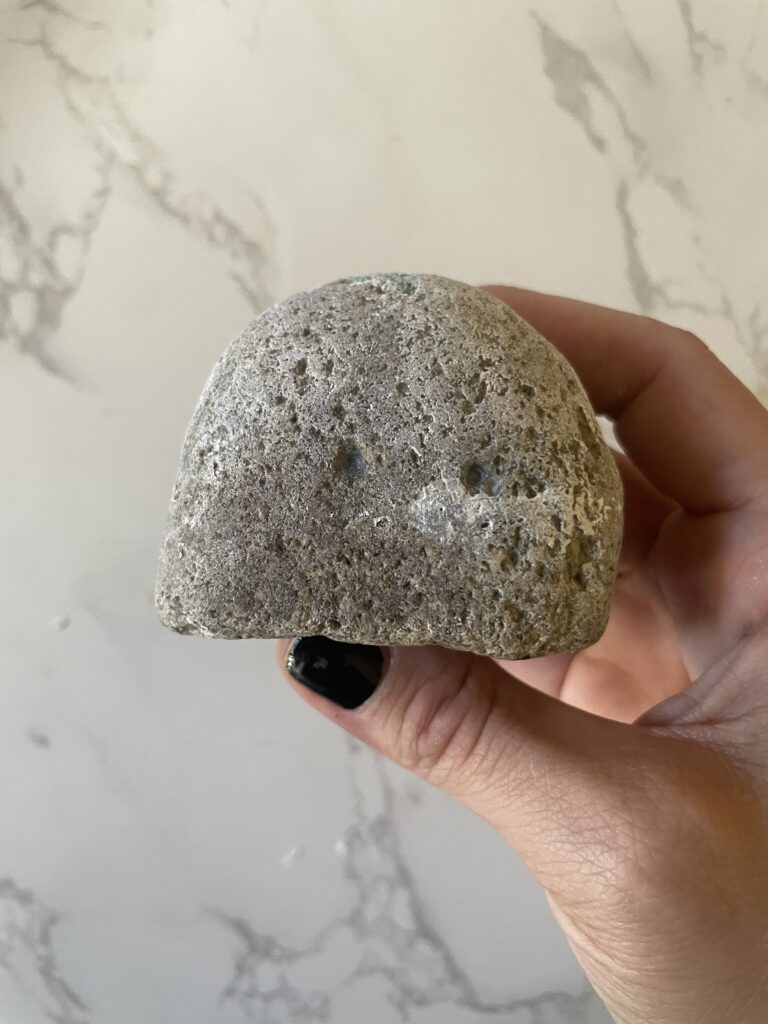
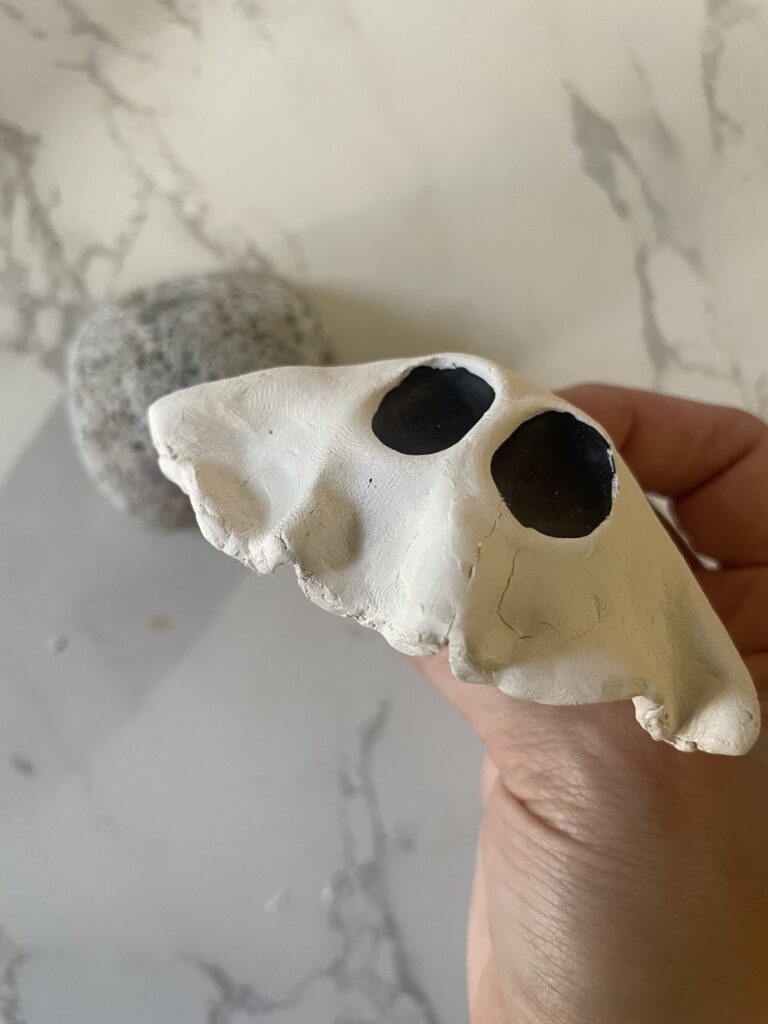
• Using Air-Dry Clay: If you want a more textured look, you can cover your rock with a thin layer of white air-dry clay. Smooth it over the surface, then let it dry according to the clay’s instructions. After it dries, add the face using black paint or a permanent marker.
For an extra professional touch, you can seal your ghost with a coat of clear varnish once it’s fully painted. This helps protect the design and gives your ghost a glossy finish.
Step 3: Give Your Ghost a Name
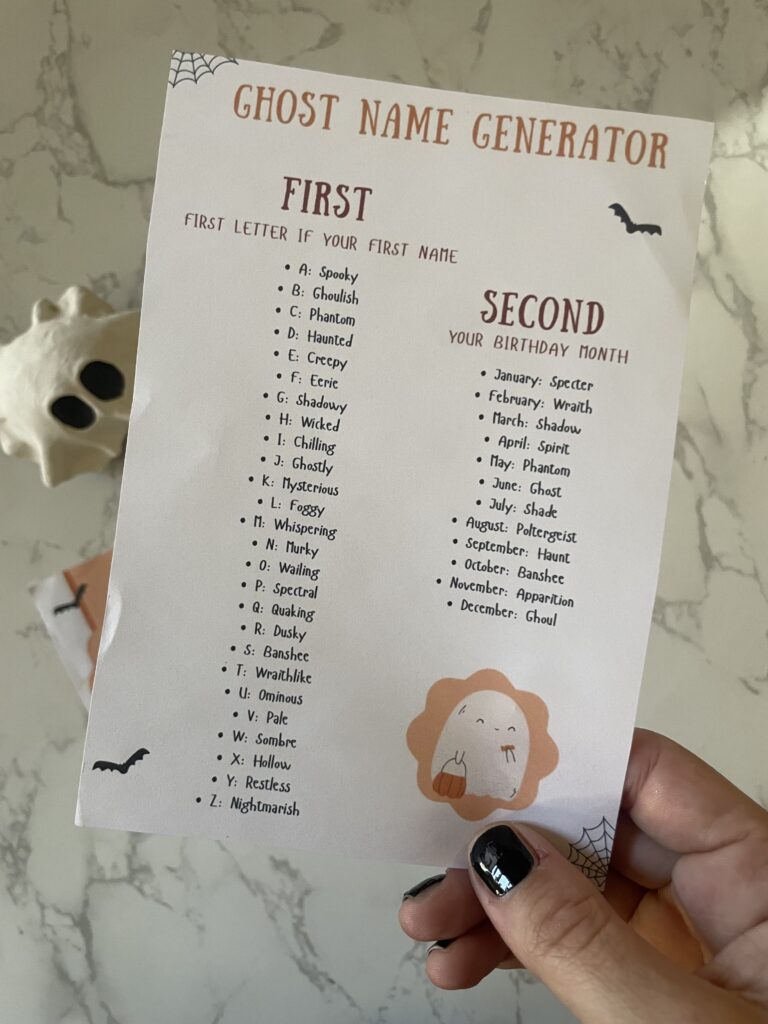
What’s a ghost without a name? This is where the fun really begins. Use the Ghost Name Generator printable to give your new spectral friend a unique and spooky name. The printable is packed with fun combinations that are sure to spark some creativity.
Step 4: Create the Adoption Certificate
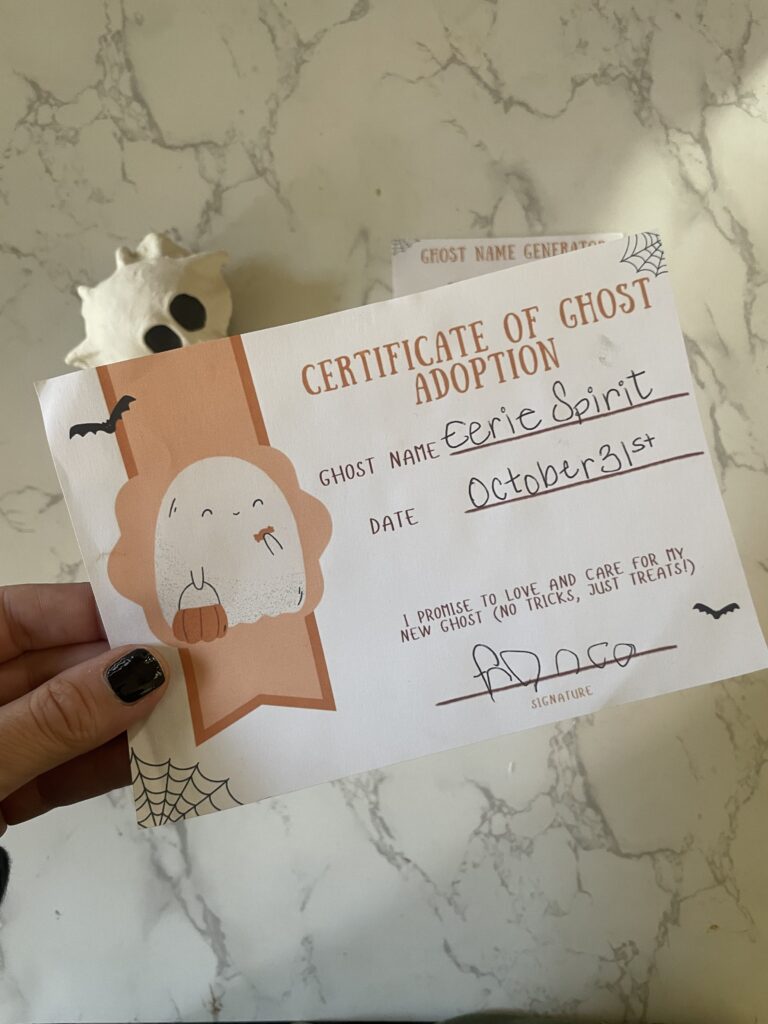
Now that your ghost has a name, it’s time to make it official! Download and print the Ghost Adoption Certificate provided with this craft. Fill in your ghost’s name, the date of adoption, and your own name as the proud adoptive parent. This certificate adds a fun and personal touch to the craft, making it feel like a real adoption event.
Step 5: Show Off Your Adopted Ghost
Once your ghost is finished and the adoption is official, you can proudly display your new friend! Place them on a shelf, desk, or even on your porch as part of your Halloween decor. You can even make multiple ghosts and set up a whole haunted family!
This craft is a perfect activity for a Halloween party, a weekend DIY project, or a classroom craft session. Plus, it’s a great way to combine creativity, outdoor exploration, and a bit of spooky fun.
Bonus Ideas:
• Ghost Village: Why stop at one? Gather several rocks and create a whole ghost village with unique characters and names!
• Personalized Halloween Gifts: These ghost rocks make adorable gifts. Attach the adoption certificate and ghost name card, and give them to friends or family as a quirky, handmade Halloween gift.
• Use Glow-in-the-Dark Paint: Add an extra layer of fun by using glow-in-the-dark paint for the eyes or entire body of the ghost. They’ll light up the night, creating a truly spooky vibe!
With this Adopt-a-Ghost craft, you’ll have a simple, engaging, and creative Halloween activity to enjoy with family and friends. Not only do you get to personalize your ghost, but the added adoption certificate and name generator make this craft feel extra special.
You May Also Like
0 Comments