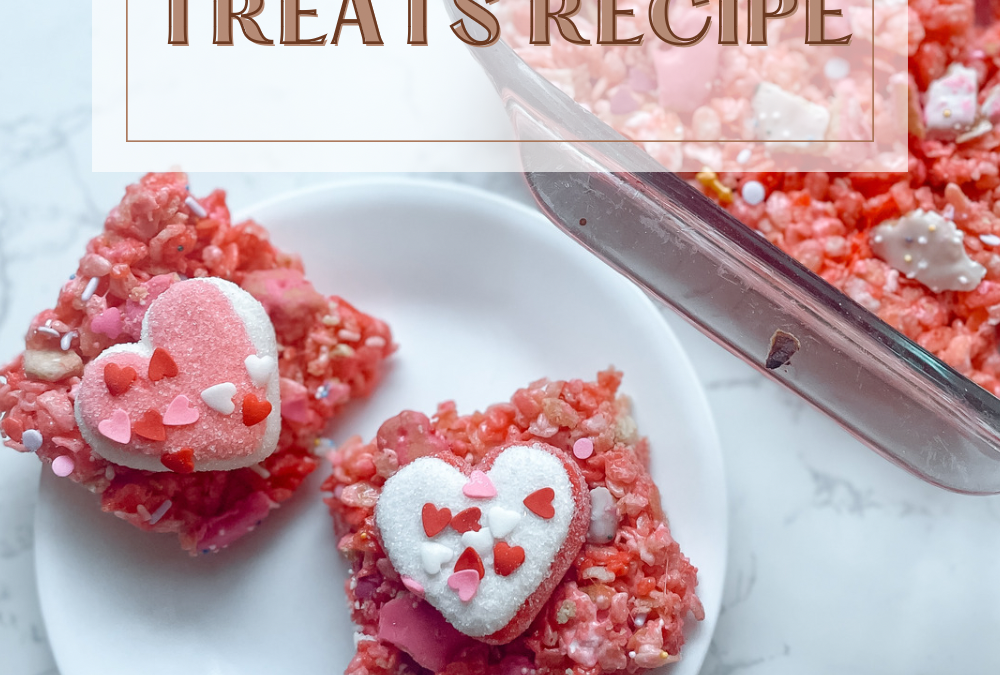
Sweet Love in Every Bite: Valentine’s Day Rice Krispie Treats Recipe
Valentine’s Day is just around the corner, and what better way to celebrate love than with a delightful homemade treat? These Valentine’s Day Rice Krispie Treats are not only delicious but also heartwarming in every sense. The combination of crispy Rice Krispies, heart-shaped marshmallows, and a touch of butter creates a perfect symphony of flavors. Let’s dive into the simple yet charming recipe that will surely steal your heart.
Ingredients:
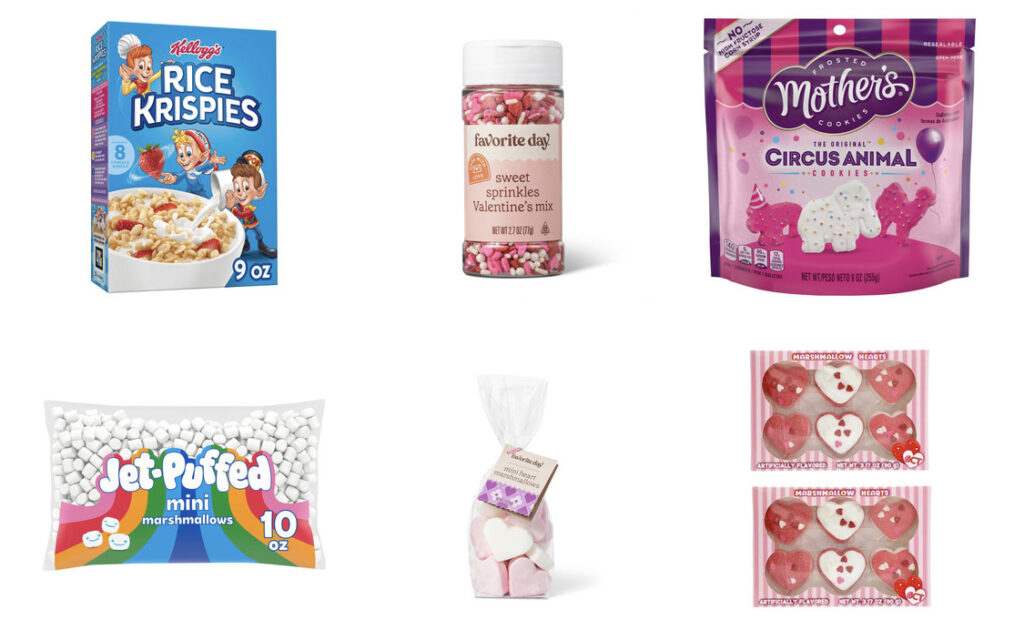
6 cups of Rice Krispies cereal
Heart-shaped marshmallows
1 stick of butter, thinly sliced
Frosted animal crackers
Festive sprinkles
Instructions:
Preheat your oven to 350°F (175°C) and grease a baking dish.
In a large mixing bowl, pour 6 cups of Rice Krispies cereal, ensuring a generous crunch in every bite.
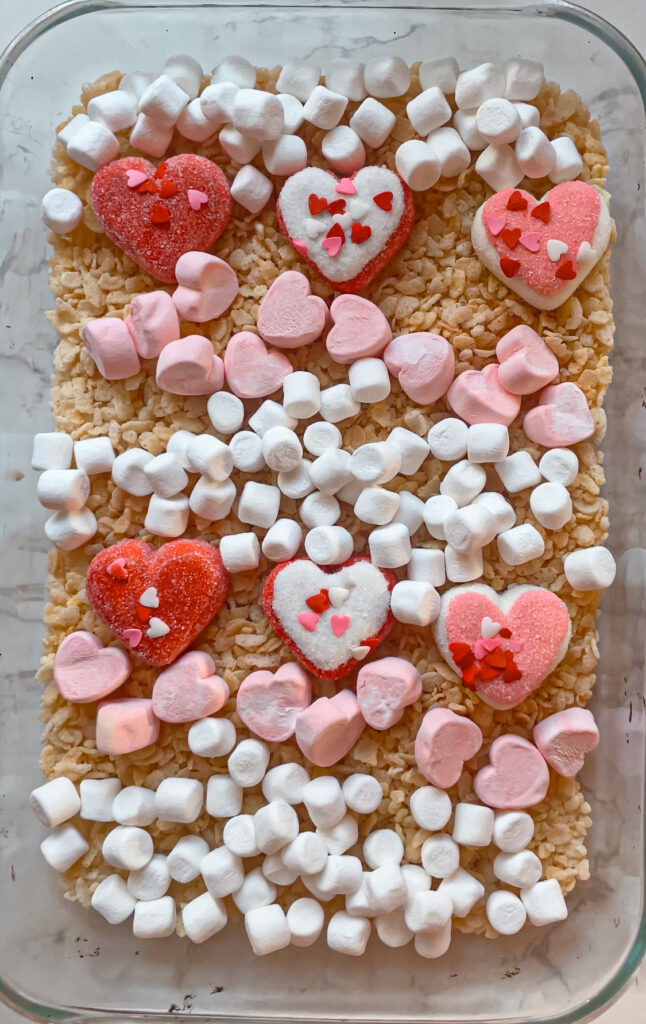
Arrange heart-shaped marshmallows evenly over the cereal, symbolizing the love that goes into these treats.
Take one stick of butter and slice it thinly. Distribute the butter slices across the Rice Krispies and marshmallows, allowing it to melt and infuse a rich, buttery flavor.
Place the baking dish in the preheated oven and bake for about 10-15 minutes or until the marshmallows are gooey and golden.
Once out of the oven, mix until everything is evenly mixed.
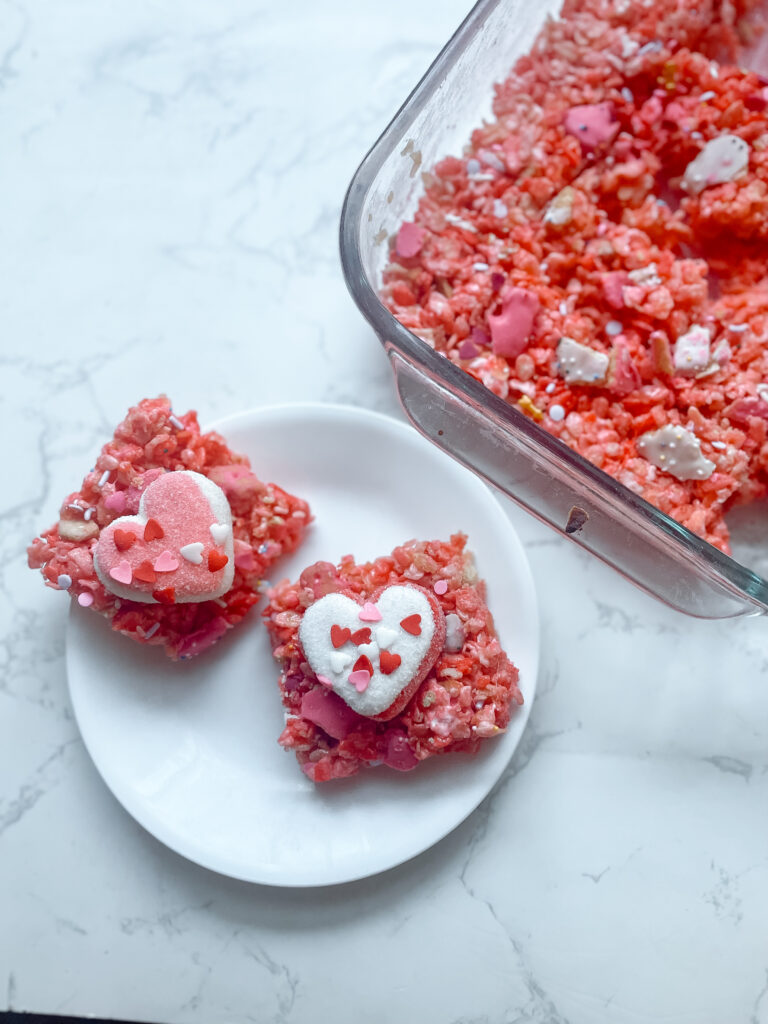
Sprinkle the top with frosted animal crackers for a playful crunch and festive sprinkles to add a pop of color and joy.
Flatten with a spatula so everything is even.
Result:
The result is a batch of Valentine’s Day Rice Krispie Treats that are not only visually appealing but also bursting with flavor. The crispy texture of the cereal, combined with the gooey marshmallows and the buttery richness, creates a heavenly experience for your taste buds.
Enjoy!
This Valentine’s Day, spread love through the joy of homemade treats. The simplicity of this Rice Krispie Treats recipe, enhanced with heart-shaped marshmallows and a touch of butter, makes it a delightful choice for celebrating the season of love. So, gather your ingredients, preheat that oven, and create a sweet symphony that will surely leave a lasting impression on your loved ones. Happy Valentine’s Day!
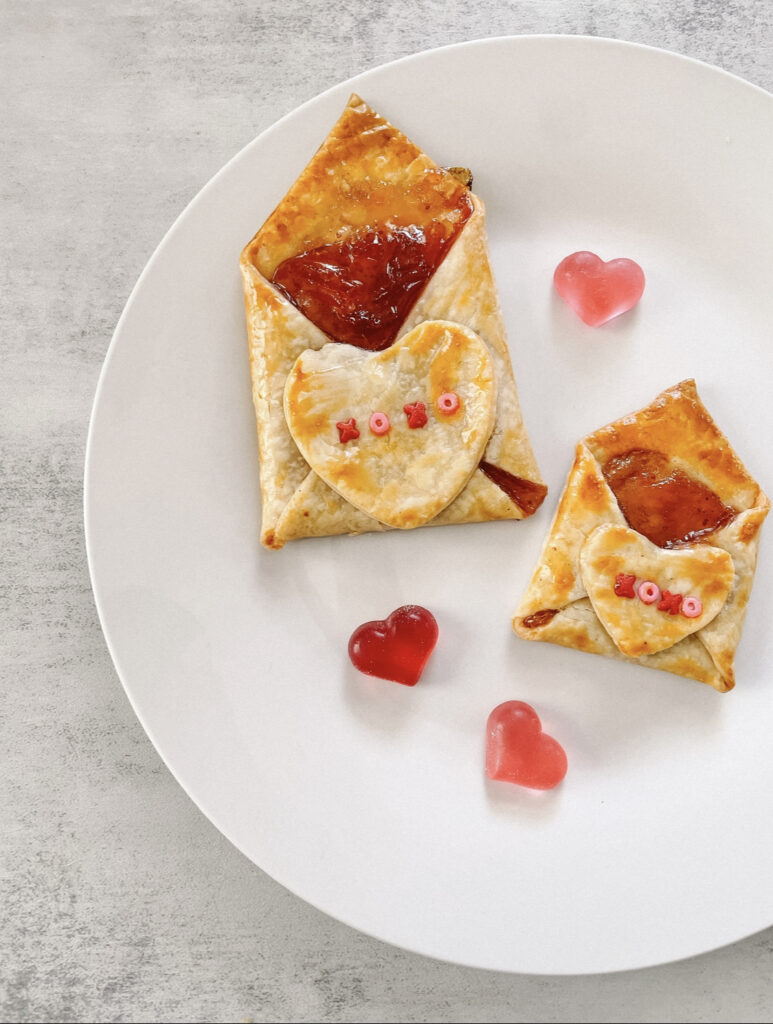
S.W.A.K- Raspberry Hand Pie Envelopes with a Sweet Heart Surprise
Elevate your dessert game with these delightful Raspberry Hand Pie Envelopes, a charming treat that combines the rich flavors of raspberry pie with a touch of whimsy. This simple yet impressive recipe is perfect for special occasions, especially Valentines Day! Let’s dive into the steps to create these adorable, heartwarming pastries.
Ingredients:
1 package refrigerated pie crust
Raspberry Jam
Egg wash
One small heart-shaped cookie cutter
Sprinkles
Instructions:
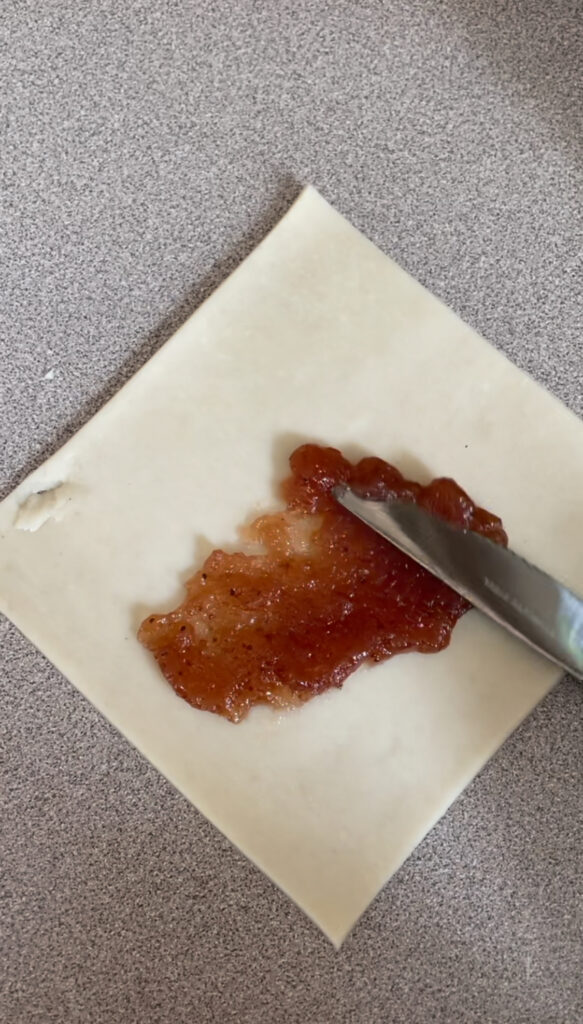
Begin by unrolling the pastry on a floured surface, providing a canvas for your delectable creation.
Use a small square napkin to trace the pattern onto parchment paper and create your guide.
Cut the pastry into four envelopes and four small heart-shaped cutouts using the traced pattern as your reference.
Carefully fill each pastry envelope with the raspberry jam, making sure to avoid spreading it on the back flap.
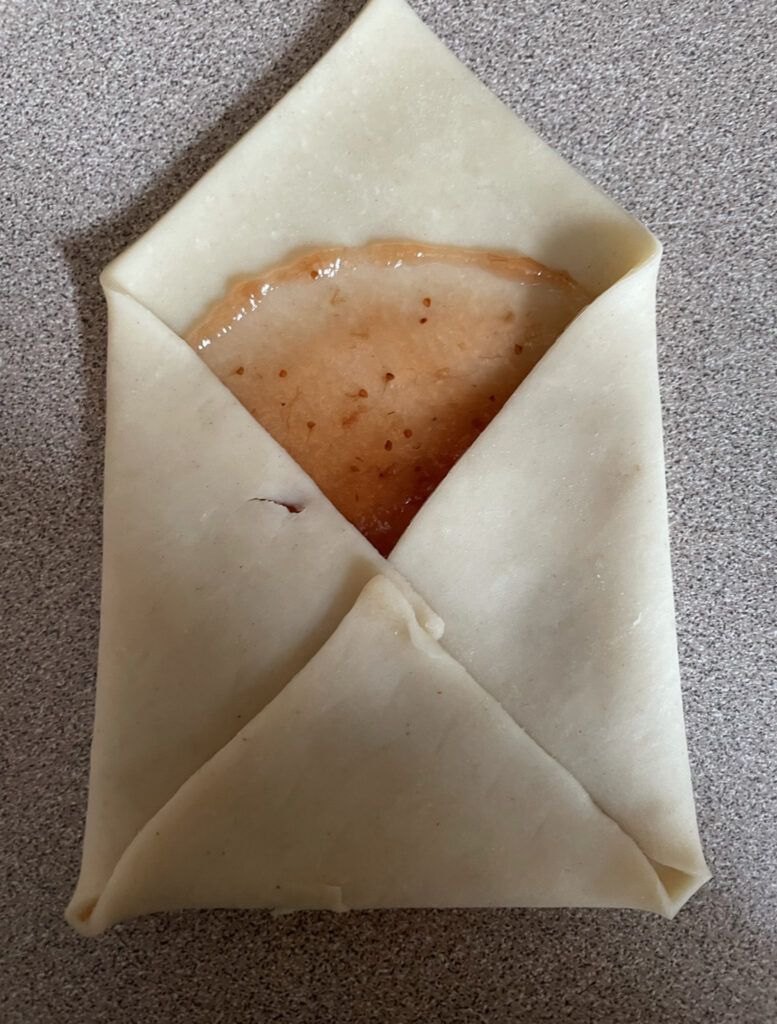
Following the folds of the paper envelope pattern, elegantly fold the cutout pastry, leaving the upper flap open for a charming presentation.
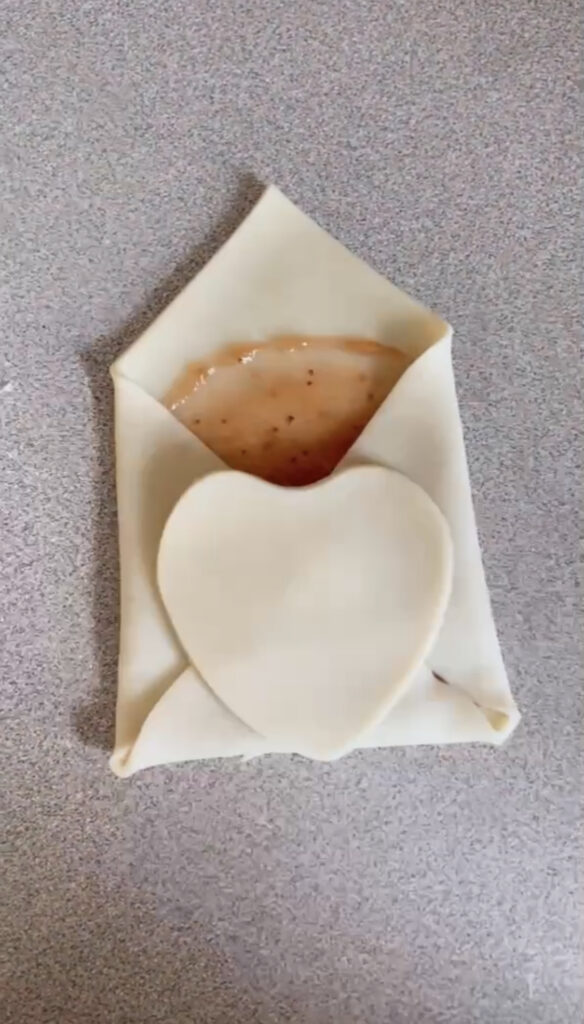
Add an extra touch of love by placing a heart-shaped cutout on the folded edges of each pastry envelope.
Arrange the prepared pastries on a parchment-lined baking sheet, ready to transform in the oven.
Brush the folded pastries with egg wash, imparting a delightful richness, add sprinkles if you prefer.
Bake the pastries at 375 degrees for 15-20 minutes or until they achieve a light, golden brown perfection. Patience is key – avoid removing them from the baking sheet until completely cool to preserve their structure.
Indulge your taste buds in the enchanting combination of flaky pastry and sweet fruity filling with these Raspberry Hand Pie Envelopes. Whether shared with loved ones or savored as a personal treat, these heartwarming pastries are sure to leave a lasting impression. Enjoy the simplicity of this recipe and the joy it brings to every bite!
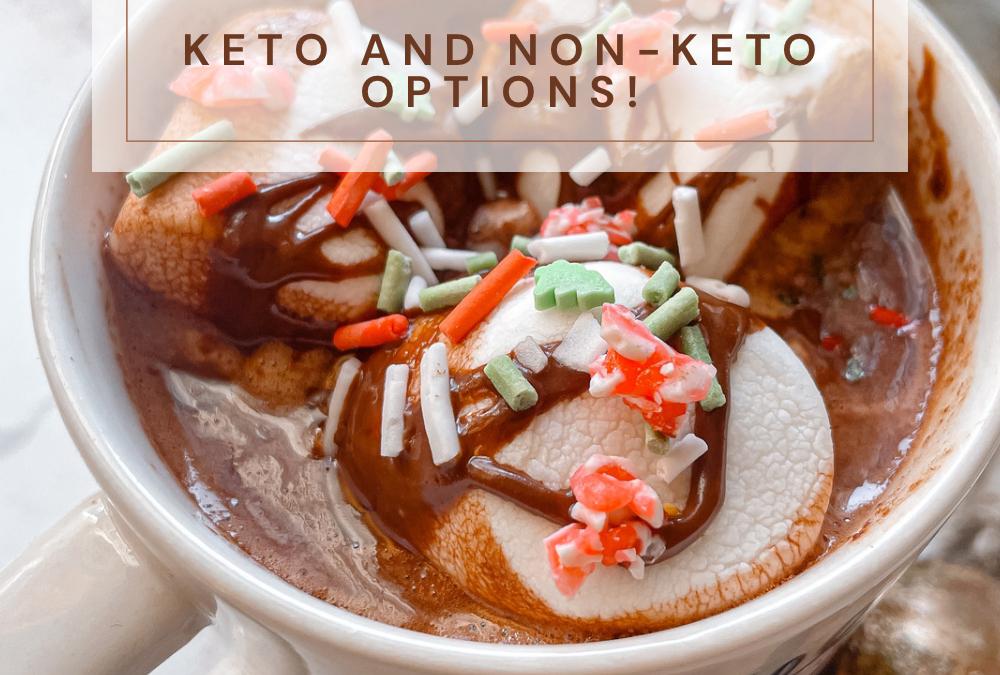
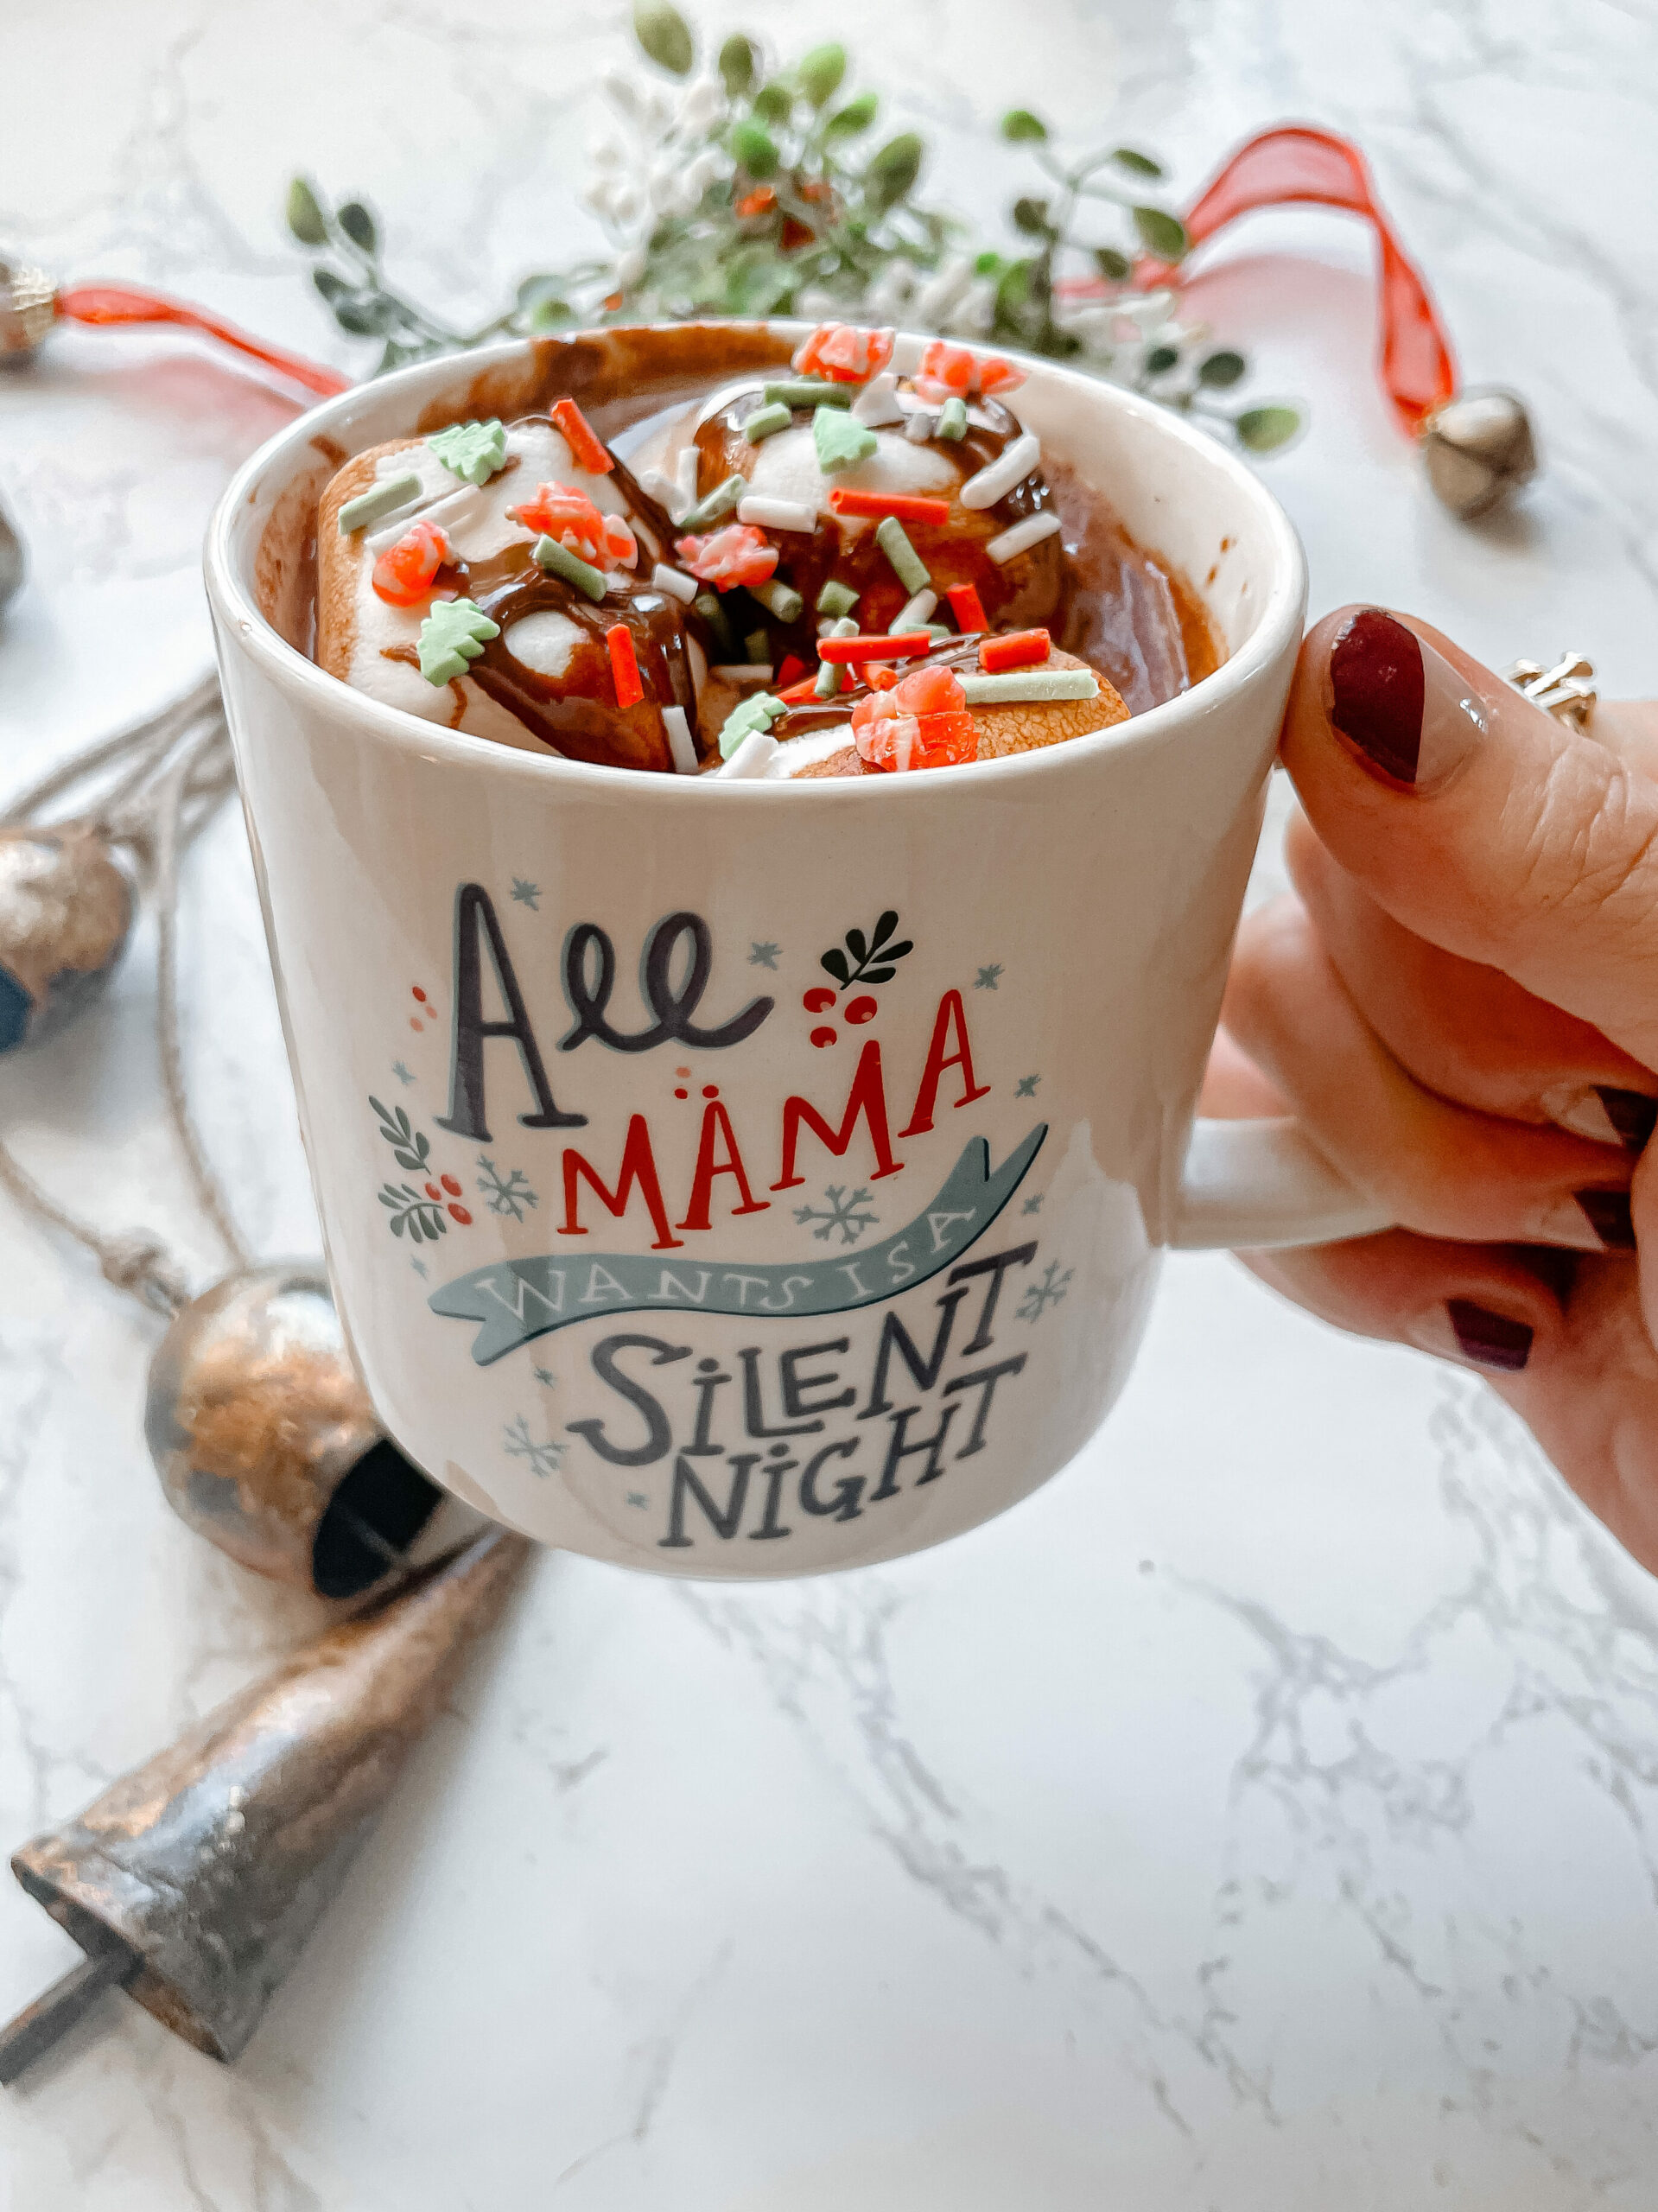
Decadent Hazelnut Hot Chocolate: Keto and Non-Keto Options
This is a sponsored post
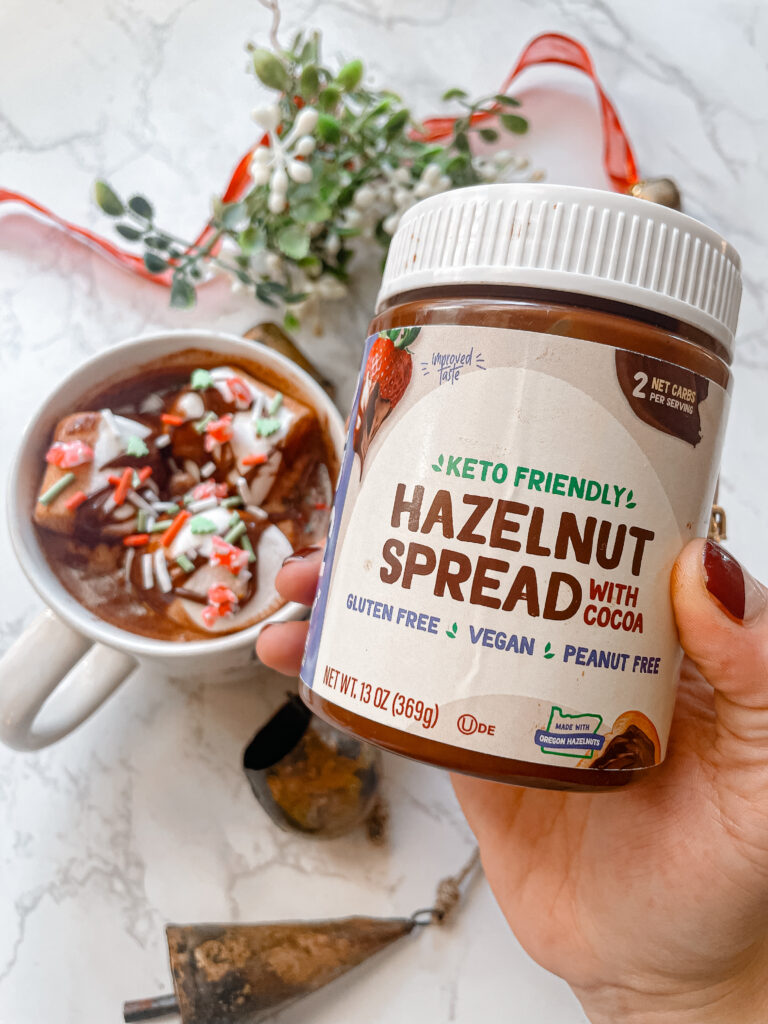
Indulge in the rich, velvety goodness of hazelnut hot chocolate with our special recipe featuring Pyure Organic Hazelnut Spread with Cocoa. Whether you’re on a keto journey or not, this delightful beverage will satisfy your sweet cravings and warm you up during chilly days.
Ingredients:
2 cups unsweetened almond milk (keto) or whole milk (non-keto)
In a small saucepan, heat the unsweetened almond milk over medium heat until warm but not boiling.
Add Pyure Organic Hazelnut Spread with Cocoa and unsweetened cocoa powder to the saucepan. Whisk continuously until the spread and cocoa are fully dissolved.
Stir in Pyure Organic Stevia Blend, adjusting to your desired sweetness level. Be cautious not to overpower the hazelnut flavor.
Add vanilla extract and a pinch of salt, enhancing the overall taste of the keto hazelnut hot chocolate.
Continue to heat and whisk until the mixture is well combined and hot. Remove from heat just before it reaches boiling point.
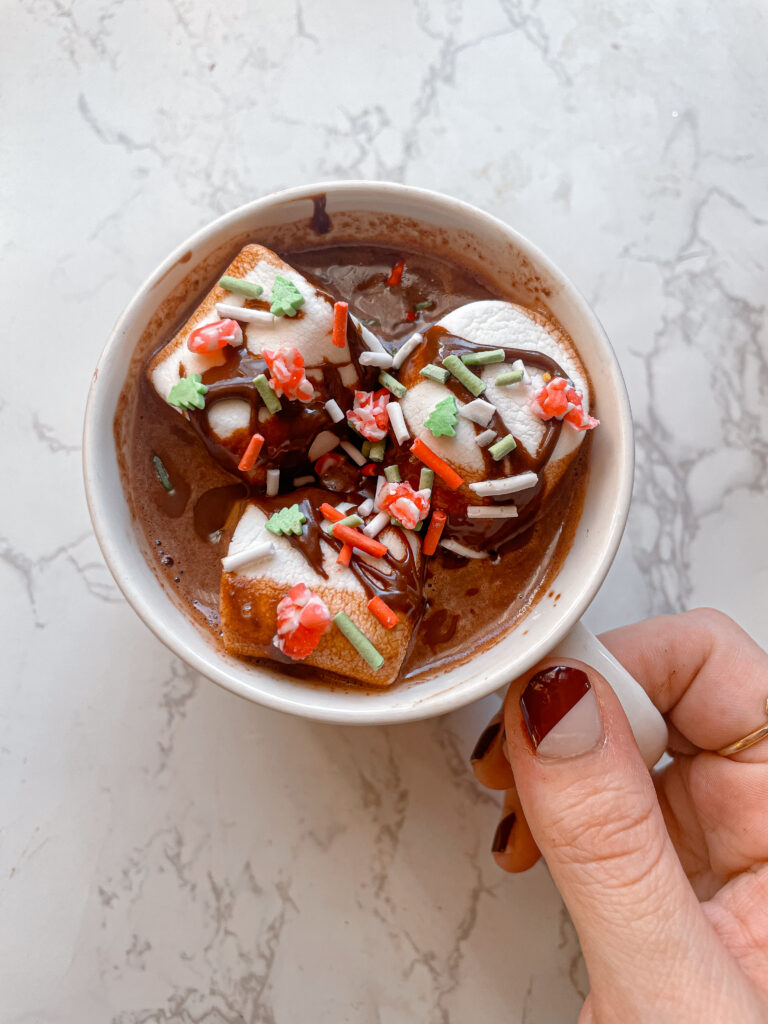
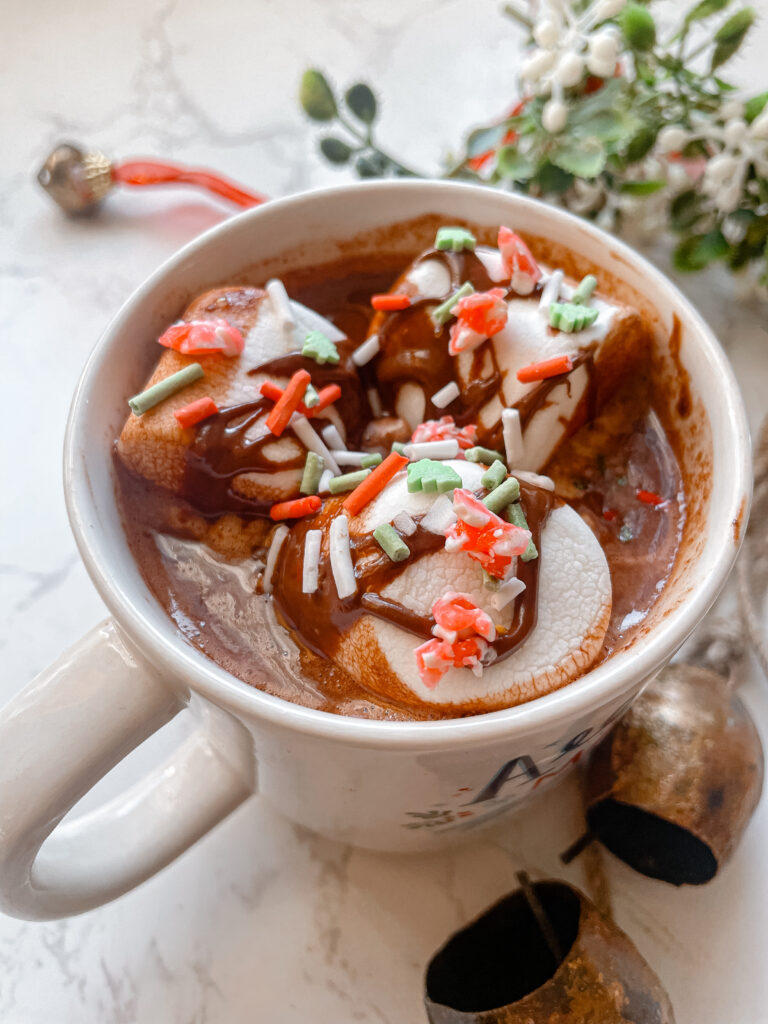
Pour the keto hazelnut hot chocolate into your favorite mug, and if desired, top with whipped cream or a sprinkle of cocoa powder.
Non-Keto Version:
Similar to the keto version, heat the whole milk in a saucepan until warm but not boiling.
Add Pyure Organic Hazelnut Spread with Cocoa and one packet of hot cocoa mix. Whisk continuously until the spread and cocoa are fully melted and blended into the milk.
Continue to heat and whisk until the mixture is well combined and hot. Remove from heat just before boiling.
Pour the non-keto hazelnut hot chocolate into your favorite mug, and feel free to garnish with whipped cream or marshmallows.
Whether you’re embracing a keto lifestyle or not, this hazelnut hot chocolate recipe caters to both preferences, delivering a delightful and comforting experience for all chocolate lovers. Enjoy the warmth and richness of this decadent treat, customized to suit your dietary choices.
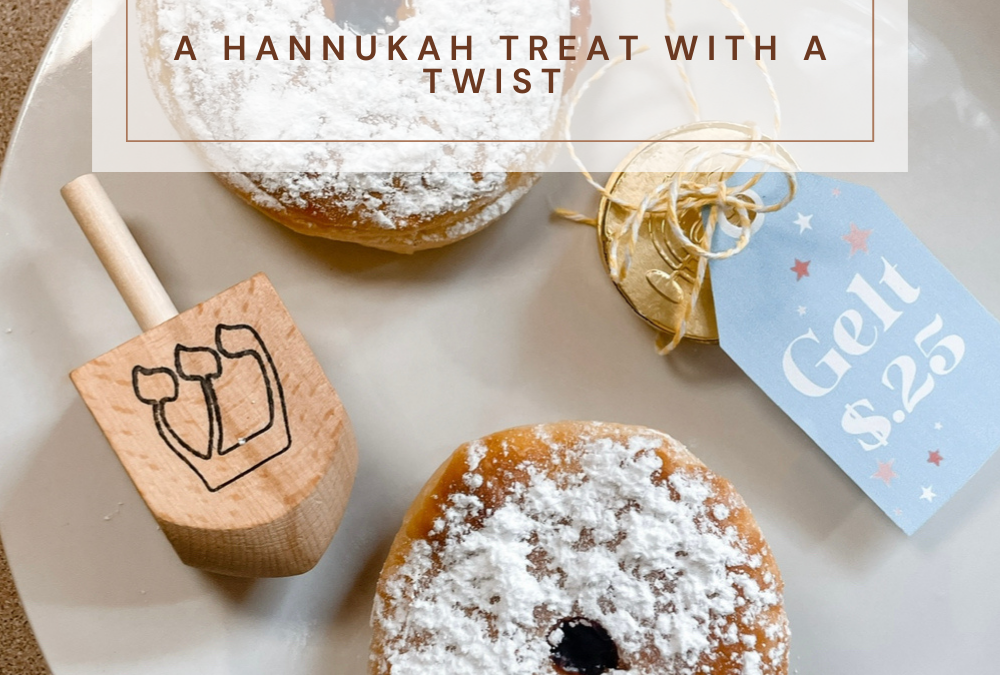
Hanukkah festivities are all about embracing tradition with a touch of innovation. Elevate your celebration with a modern twist on the classic jelly donut. In this blog post, I’ll guide you through the process of making air-fried jelly donuts using Pillsbury Grands biscuits, allowing you to add your favorite jam or jelly after the biscuits are cooked, ensuring a burst of flavor in every bite.
Why jelly donuts on Hanukkah?
Jelly donuts, known as sufganiyot in Hebrew, are a traditional Hanukkah treat. They are deep-fried and often filled with jelly or other sweet fillings. The significance lies in the oil used for frying, symbolizing the miracle of the oil in the Hanukkah story where a small amount of oil lasted for eight days in the temple menorah.
Ingredients:
Pillsbury Grands biscuits (1 can)
Jam or jelly of your choice (strawberry, raspberry, or grape work well)
Powdered sugar for dusting
Instructions:
1. Gather Your Ingredients:
Ensure you have all your ingredients ready to create a delightful combination of flaky biscuit dough, sweet fruit filling, and a finishing touch of powdered sugar.
2. Preheat Your Air Fryer:
Set your air fryer to 350°F (180°C) and allow it to preheat. This ensures your biscuits cook evenly and achieve a golden-brown perfection.
3. Air Fry the Biscuits:
Separate the Pillsbury Grands biscuits and lay them out on a clean surface. Flatten each biscuit as instructed on the package. Air fry the biscuits 6-8 minutes or until they reach a golden-brown color.
4. Cool and Create a Pocket:
Allow the air-fried biscuits to cool slightly. Once cooled, use a small knife to create a pocket in each biscuit by gently cutting a slit into the side, being careful not to cut through entirely.
5. Fill with Jelly:
Take your favorite jam or jelly and carefully inject it into each biscuit pocket. Ensure an even distribution of the fruity goodness, allowing the biscuit to soak up the flavors.
6. Dust with Powdered Sugar:
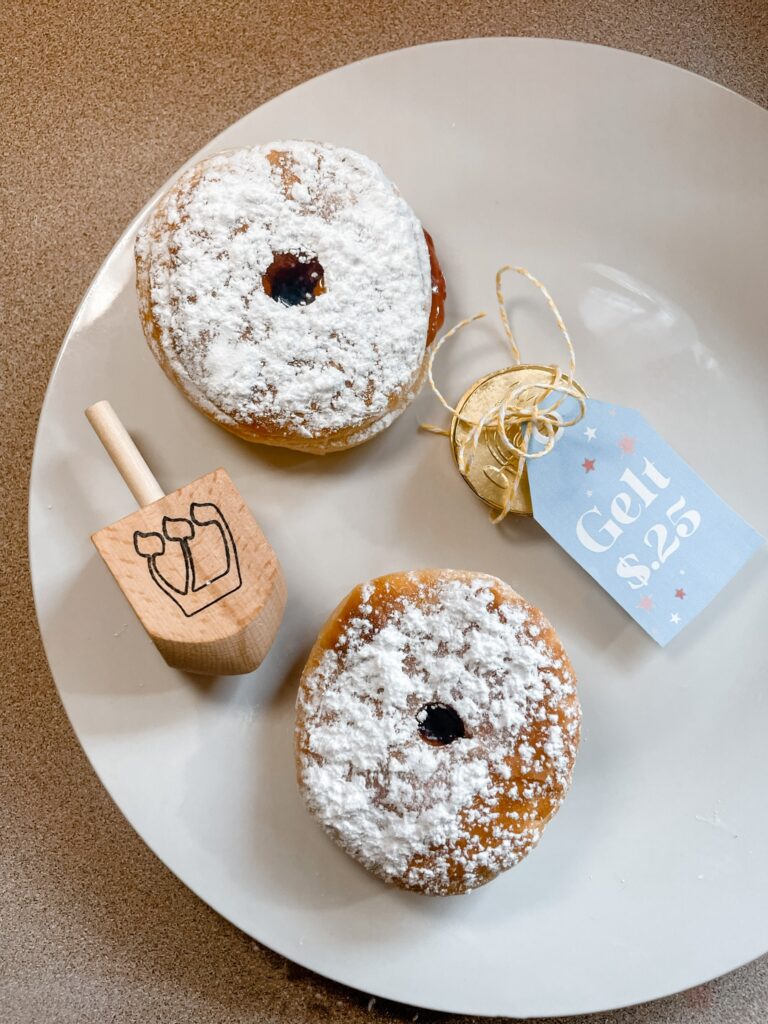
After injecting the jelly, dust the air-fried jelly donuts generously with powdered sugar. This adds a touch of sweetness and a visually appealing finish.
7. Serve and Enjoy:
Present your jelly-filled donuts on a festive platter. These delightful treats are ready to be enjoyed by family and friends. The combination of the flaky biscuit and the burst of fruity jelly creates a memorable Hanukkah experience.
This Hanukkah, savor the best of both worlds with air-fried jelly donuts that combine tradition with a modern twist. Share these delectable treats as a symbol of the joy and innovation that make the Festival of Lights truly special.
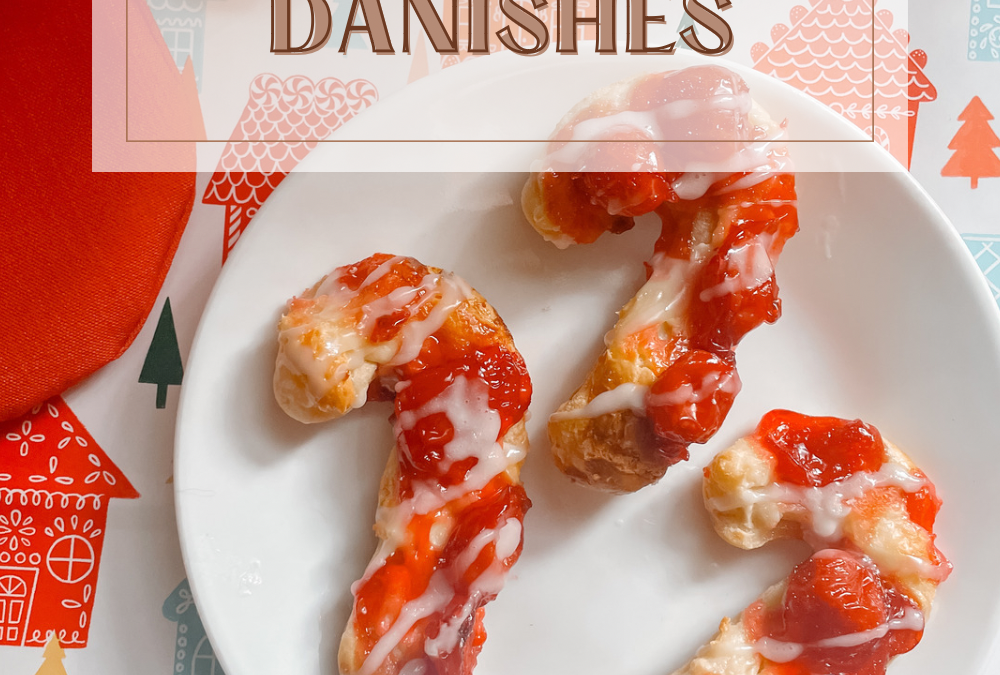
When it comes to holiday baking, there’s nothing quite like the joy of crafting delicious and visually appealing treats. This year, we’re bringing a twist to the classic cherry cream cheese danish by transforming them into candy cane shapes. These festive pastries are not only a delight to your taste buds but also a feast for the eyes.
Ingredients:
To make these cherry cream cheese danishes in candy cane shapes, you’ll need the following ingredients:
For the Pastry:
1 sheet of puff pastry, thawed
For the Filling:
8 ounces cream cheese, softened
1/4 cup granulated sugar
1 teaspoon vanilla extract
1/2 cup cherry pie filling
For the Glaze:
1/2 cup powdered sugar
1-2 tablespoons milk
1/2 teaspoon vanilla extract
Instructions:
Preheat your oven to 400°F (200°C) and line a baking sheet with parchment paper.
In a mixing bowl, combine the softened cream cheese, granulated sugar, and vanilla extract. Mix until smooth and well combined.
Roll out the thawed puff pastry sheet into a rectangular shape. Using a candy cane cookie cutter, cut out each shape until all dough is used.
Spoon a small amount of the cream cheese mixture onto one end of each strip and top it with a spoonful of cherry pie filling.
Bake in the preheated oven for 12-15 minutes, or until the pastries are puffed and golden.
While the pastries are baking, prepare the glaze by mixing the powdered sugar, milk, and vanilla extract in a small bowl until smooth.
Once the pastries are done baking, remove them from the oven and let them cool slightly.
Drizzle the glaze over the candy cane-shaped danishes.
These cherry cream cheese danishes in candy cane shapes are the perfect addition to your holiday dessert spread. Their delightful appearance and scrumptious taste will impress your guests and add a touch of festive flair to your celebrations. With this easy-to-follow recipe, you can create these treats with confidence and share the joy of holiday baking with your family and friends.
If motherhood has you stressed and you feel like you’ve lost your creativity, I am here to help! Here you will find easy recipes, simple DIY’s, affordable styles, and what to read next. I believe we all have a creative side, some of us just need a little help to find it. I will help inspire you to have creative expression without standards.